|
Hasegawa's 1/48 scale
A6M2 Zero Model 21
by
Jordi Farre
|
 |
|
A6M2 Zero Model 21 |

HyperScale is proudly supported by
Squadron
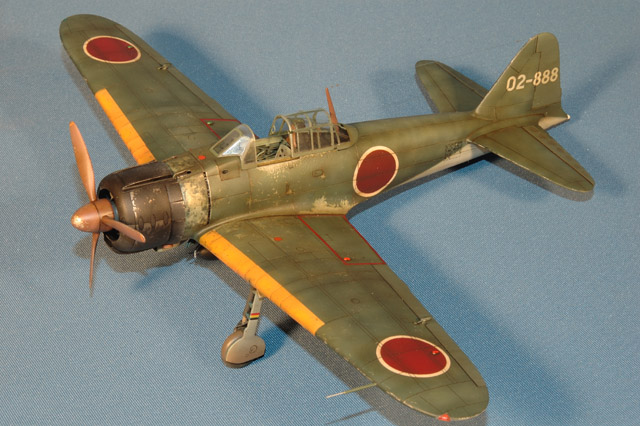
This Zero is Hasegawa's rendition of an A6M2 mod.21 in 1/48 scale.
I wanted to build a different Rei-sen and for this reason I choose a
kamikaze one, it's a well-known type shown in a famous photograph of
"Shikishima Tai" or the first kamikaze unit of the war when it was about
to take off from Mabalacat, Philipines for their first and last mission
on October 25th, 1944.
The cockpit has been enhanced with Eduard P-etched parts as well as
some scratchbuilt ones, the building is straightforward and presents no
serious problems.
In order to represent a Nakajima-built fighter-bomber I simply cut
the antenna mast tip, to give it an A6M5 look, and installed the larger
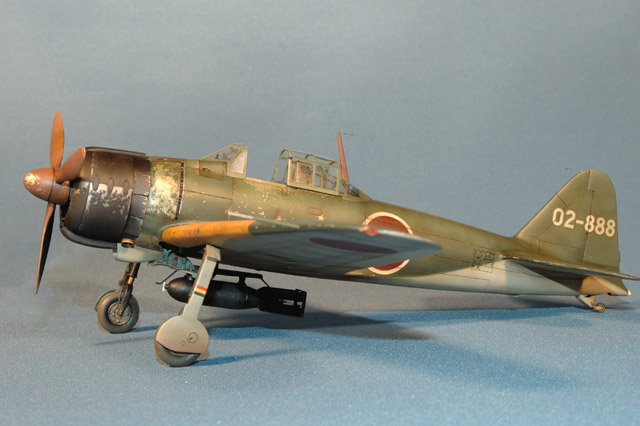
spinner already included in the kit. The bomb is a 250 kgs. one taken
from Hasegawa's B5N1 with thinned fins and a lengthened body and its
rack came from Fine Molds brand.
Once finished, I masked the cockpit and sprayed a coat of enamel
aluminum in order to "bite" a little the plastic and prepare it for the
following camo colors, once dry I airbrushed Tamiya acrylic varnish to
allow the green camouflage paint to be easily removed.
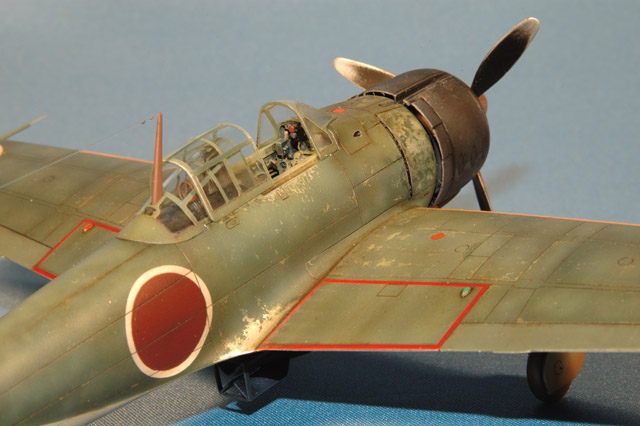
After letting it dry for two days or so I masked some upper surface
areas with Maskol applied with a toothpick, as soon as the maskol has
solidified I applied the camouflage colors the normal way, in this case
Tamiya's IJN Green and Grey, using several shades to give the paint a
used look, as soon as they are dry to the touch I removed the maskol and
retouched the chipping with a used cutter blade, I also reproduced tiny
scratches here and there with a used needle, the acrylic paint is easily
removed because of its poor adhesion to the smooth natural metal surface
found beneath it and a natural-looking paint chipping can be achieved
thanks to this technique.
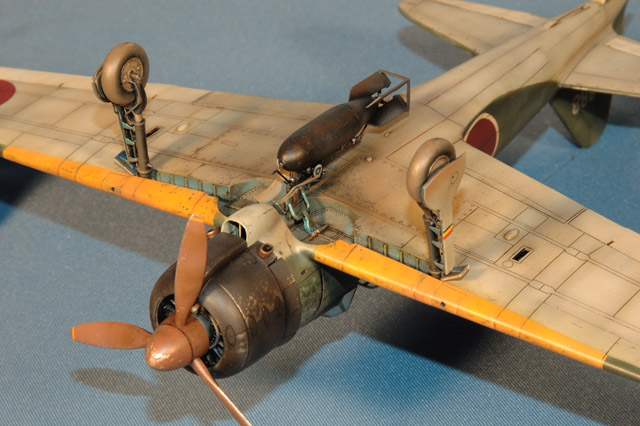
The undersurface chipping was done simply with dark grey paint and also
a normal drawing pencil. Near and inside the wheel wells and landing
gear I applied a very-diluted earth color with an airbrush to simulate
dust and dried mud.
Oooops, almost forgot to add, the hinomarus have been masked and
airbrushed and the 02-888 and manufacturer's plate found in the
spare-decals box.
Once the model looks right to you, a highly dilluted and lightened with
white IJN green mist is sprayed again to give the Zero an homogeneous
look, finally another coat of Tamiya's clear varnish is needed to
protect the colors from the following washes and filters to simulate
dirt and enhance faded paint.
After a few finishing touches such as installing the canopy, pitot tube,
bomb, position lights, antenna mast and aerial, the model was ready to
be put in the showcase!
Click the thumbnails below to view larger
images:
[../../photogallery/photo00024603/real.htm]
Model, Images and Text Copyright © 2007
by Jordi Farre
Page Created 03 April, 2007
Last Updated
24 December, 2007
Back to
HyperScale Main Page
|
 Home
| What's New |
Features |
Gallery |
Reviews |
Reference |
Forum |
Home
| What's New |
Features |
Gallery |
Reviews |
Reference |
Forum |