|
Hasegawa's 1/32 scale
Messerschmitt Bf 109 G-10
by Chris Wauchop

|
Messerschmitt Bf 109 G-10 |

Hasegawa's 1/32 scale Messerschmitt Bf 109 G-10 is available online from Squadron.com
 Hasegawa launched their newly tooled 1/32 scale Messerschmitt Bf 109 family back in 2001 with a G-6 variant. The model was a revelation at the time, being generally very accurate, well detailed and easy to build. Hasegawa launched their newly tooled 1/32 scale Messerschmitt Bf 109 family back in 2001 with a G-6 variant. The model was a revelation at the time, being generally very accurate, well detailed and easy to build.
This initial release was closely followed by a G-4, then a G-14 and a K-4.
Hasegawa's 1/32 scale Messerschmitt Bf 109 G-10 was released in 2004,
Hasegawa's Bf 109 G-10 in the box
Hasegawa's 1/32 scale Messerschmitt Bf 109 G-10 comprises 124 parts in grey styrene, 10 parts in clear and 4 polythene caps. Hasegawa persist in packaging all the grey sprues in a single bag. As a result, some of the larger parts may be scuffed on opening the packaging.
Clear parts are packed separately with the decals. 19 parts are marked "not for use", but many of these will be applicable to some Bf 109 G-10 variants.
Options include the windscreen with air scoop or flare port; short or long tail wheel struts, wide or narrow main wheels (the large and small wing bulges are both included here too), two styles of propeller blade, 2 x 20mm cannon gondola; 300 litre drop tank; plus positionable slats and flaps. A pilot figure is also included.
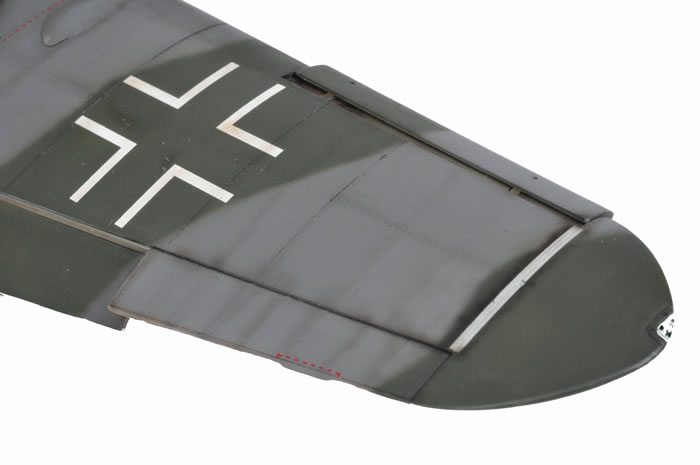
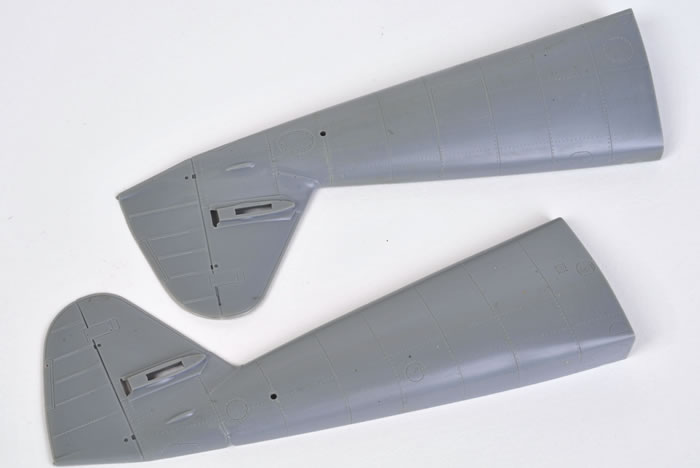
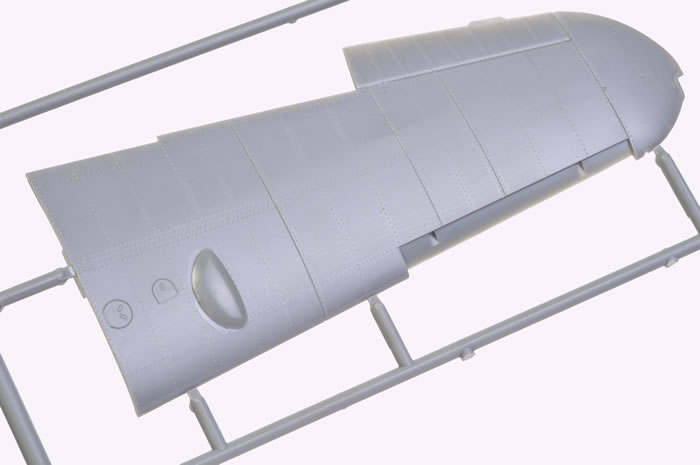
Surface detail is state-of-the-art. Panel lines are crisply engraved, hinges are beautifully depicted and the fabric surfaces are worthy of special mention. The subtle fabric tape is topped with delicate stitching detail. Rivet detail is restrained, but adds an air of authenticity where it is present on the lower wing, radiator housing and tailplanes.
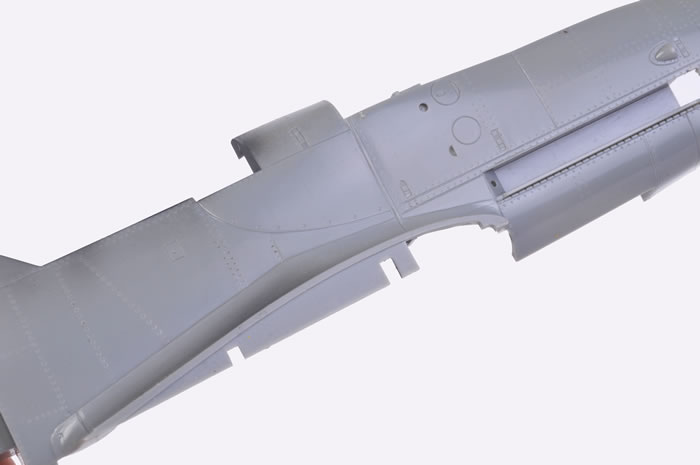
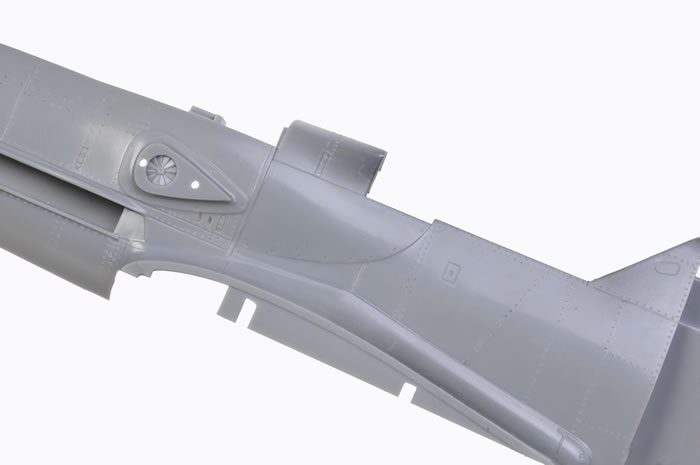
The fuselage is supplied in four main parts. The tail is separate aft of fuselage panel 7. This allows Hasegawa to use common parts for earlier and later variants. A stout rectangular tongue moulded onto the fuselage section of the tail will ensure a positive join with the main fuselage halves.
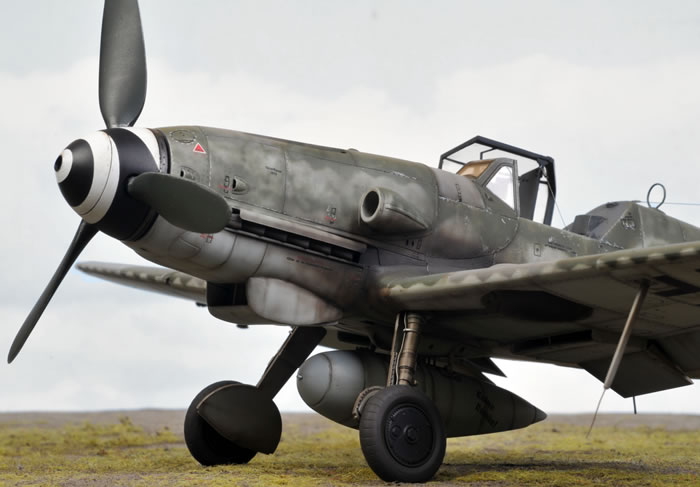
The scoops on the forward cowl are moulded open. The interior of the supercharger intake is free of locator pins, giving a clear view through to the moulded supercharger fan detail on the fuselage side, but the prominent weld seam is not present
Exhaust stacks are not hollow - neither are the machine gun barrels.
A simple horseshoe oil cooler is provided for the front of the fuselage. This locks in place with a twist.
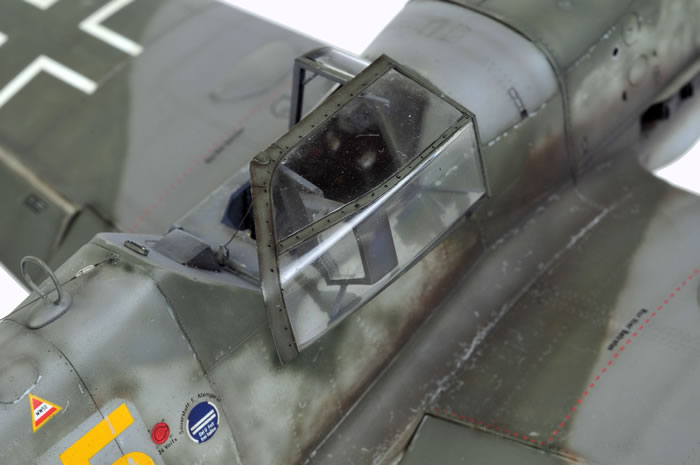
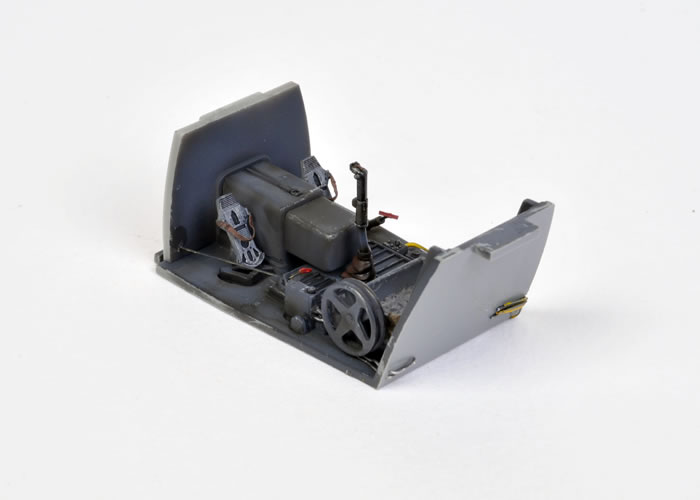
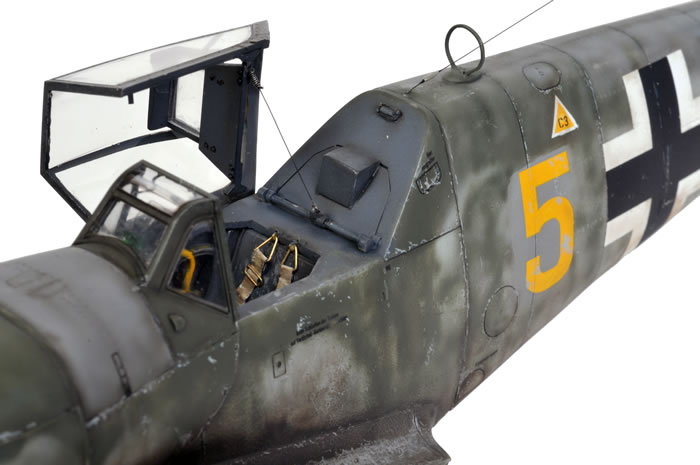
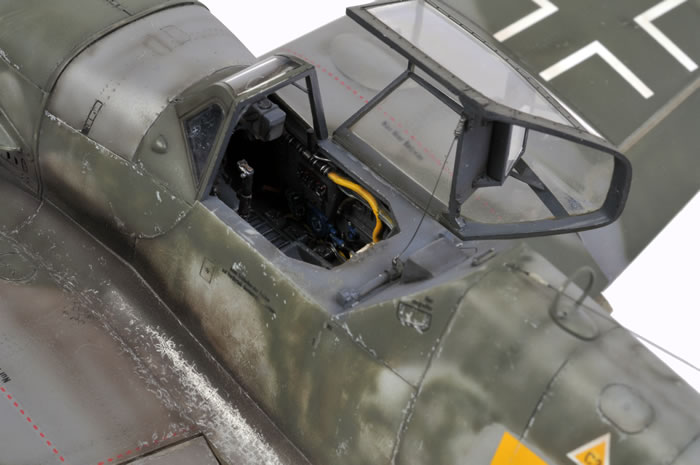
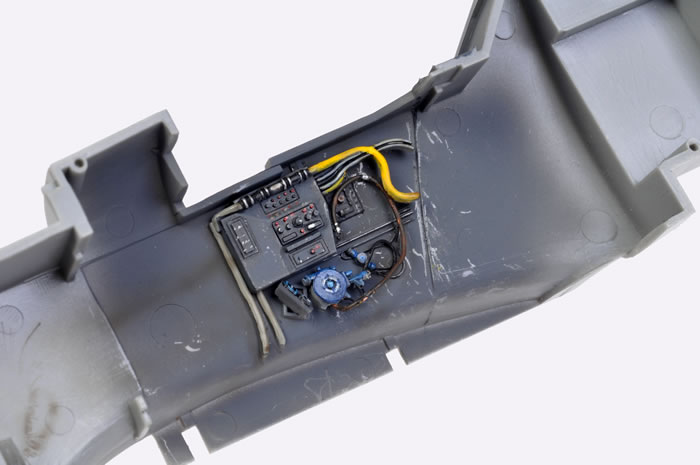
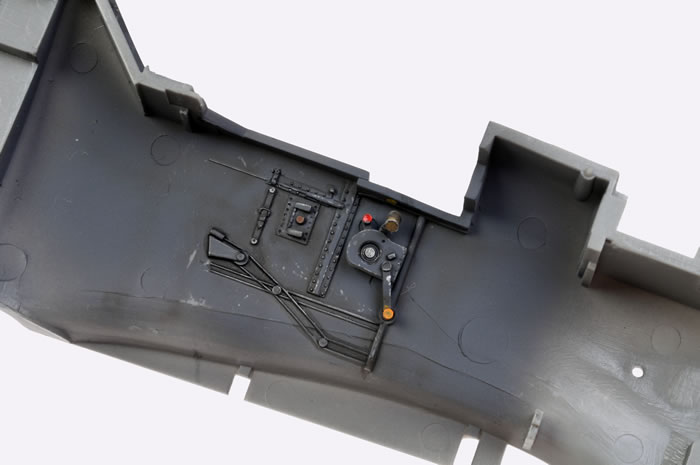
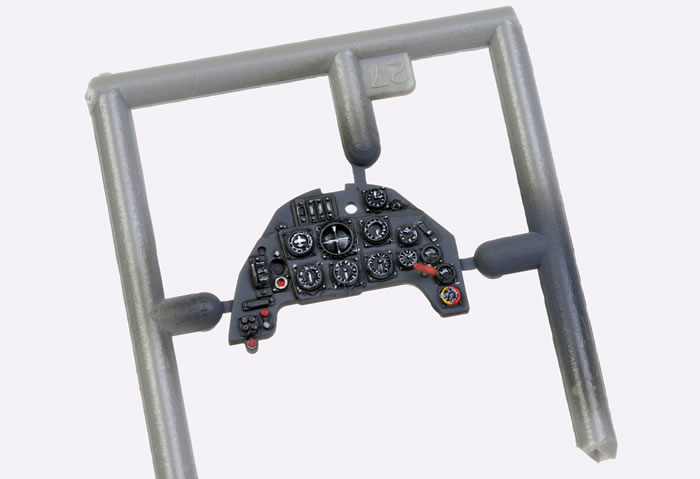
The cockpit is quite conventional. The seat pan is supplied as a separate part. The seat back was not usually installed in these later 109s, and the kit reflects this configuration. Some detail is moulded onto the sidewalls, and other features including the quadrants are separate parts. The instrument panel is a single plastic part with raised detail. A decal is supplied as an alternative to painting.
Perhaps the most significant engineering feature in this kit is the mid-lower fuselage panel. The panel represents the centre section of the wing, and it includes a stout, "H" section wing spar. This ensures perfect dihedral and a good fit at the wing root.
The wings feature positionable flaps and slats. The flaps and slats have locating tabs to improve strength and ensure even alignment.
The round wheel well must be trimmed to the correct profile. The round well is appropriate for the Bf 109F
The glass insulator for the Morane mast is provided as a clear part. This is nice attention to detail. The perspex covers for the navigation lights are clear parts too.
The landing gear is nicely detailed, even including moulded-on brake lines.
The oil cooler housing on the real aircraft had a small supporting strut in the centre of the forward air intake. The kit oil cooler housing has a locating hole in the correct spot, but the strut itself is nowhere to be found. Stretched sprue or fine rod will do the job. Also, the bulge for the battery box behind the pilot is too small.
Instructions are typical of Hasegawa. Construction is called out in 15 steps by the use of exploded view diagrams. Gunze paints are quoted throughout the instructions.
Comparison with Tom Seay's and John Beaman's drawings suggest that the fuselage is the correct length to within 1 millimetre. The miniscule discrepancy seems to be directly in front of the windscreen. As far as I am concerned, that is well within acceptable parameters!
Wing dimensions are spot on.
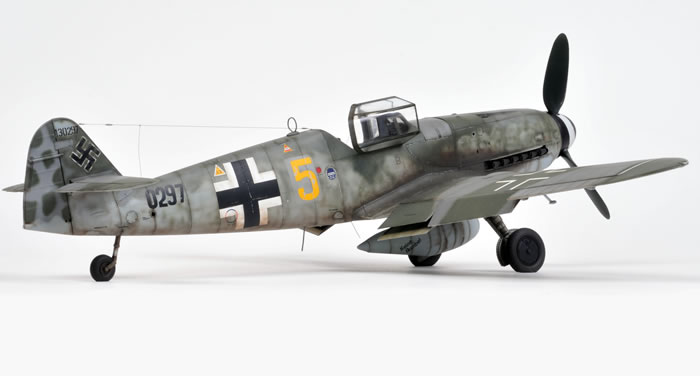
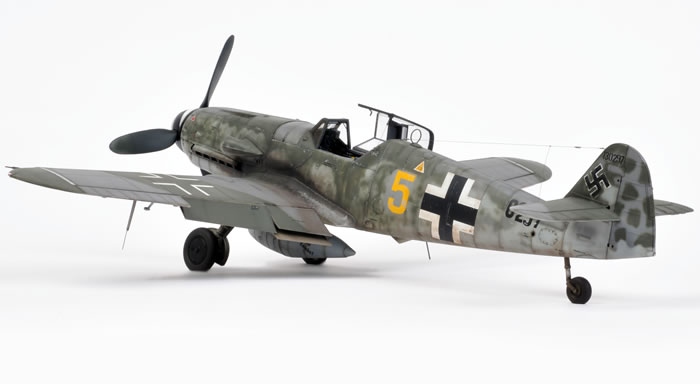
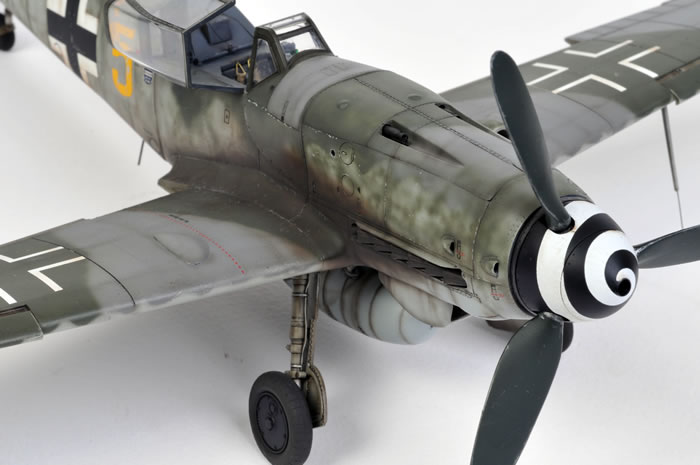
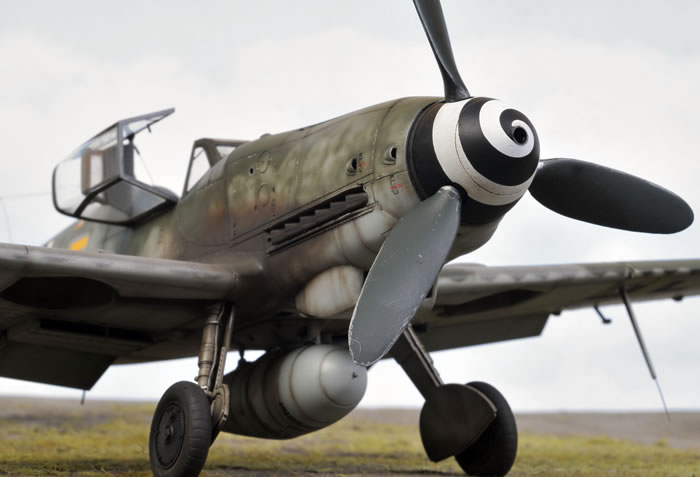
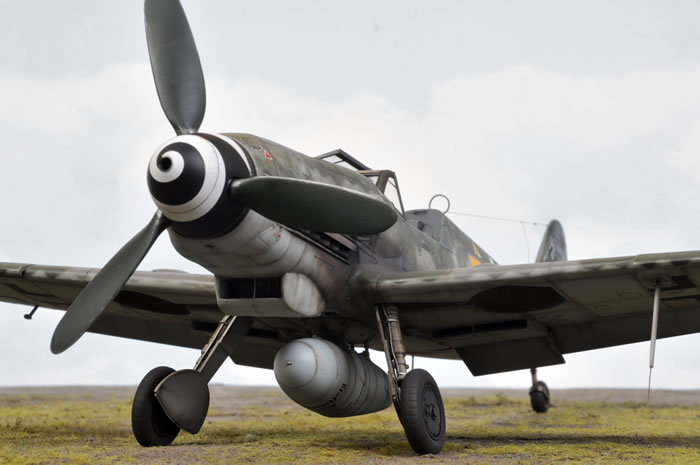
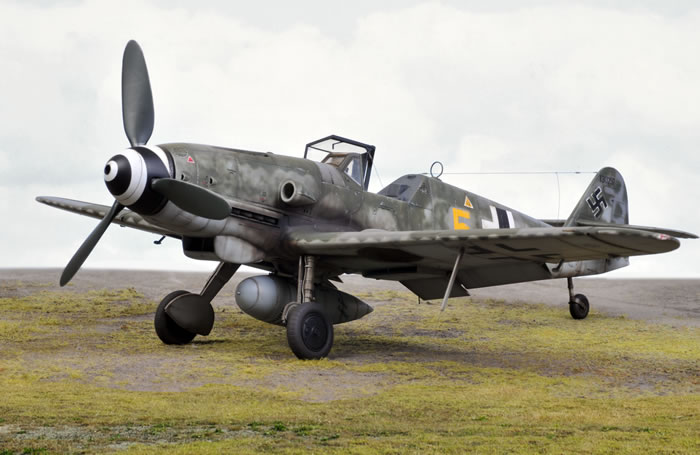
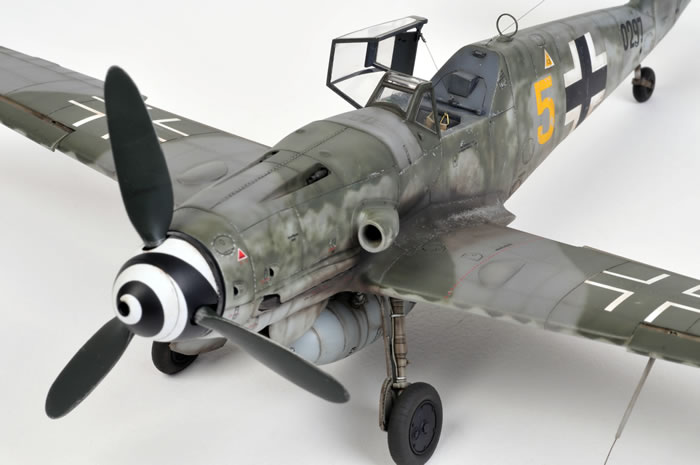
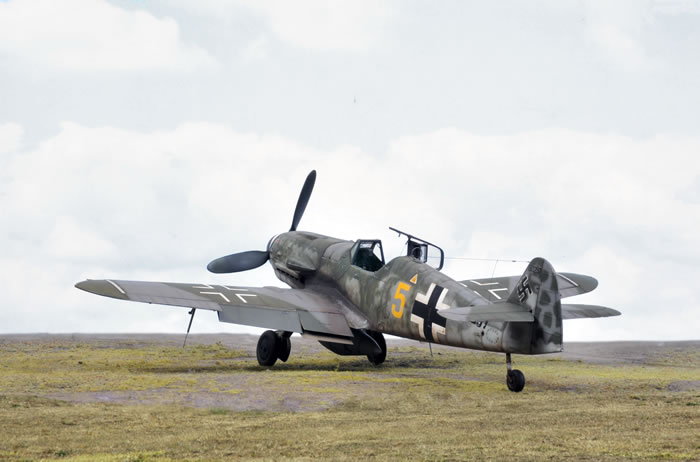
Chris built his kit as a Messerschmitt Bf 109 G-10/R3 of 10./JG 51, flown by Fw Horst Petzchler.
Petzchler scored 22 victories against the Soviets in the closing months of the war. He survived the conf;ict, and this aircraft landed in Sweden after its last operational mission.
The kit instrument panel was used, with careful brush painting to bring out the detail of the dials and switches.
A number of extra parts were used. These included:
-
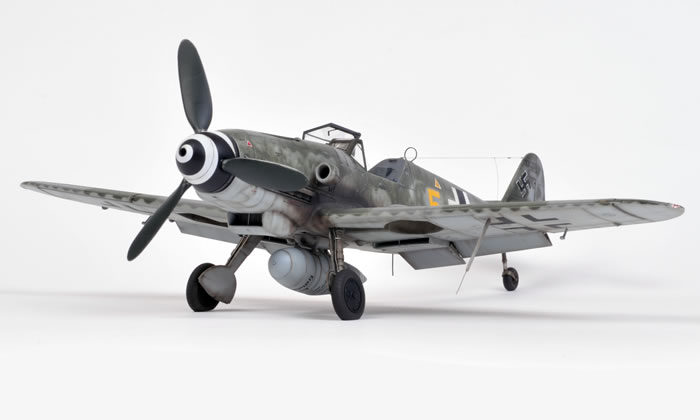
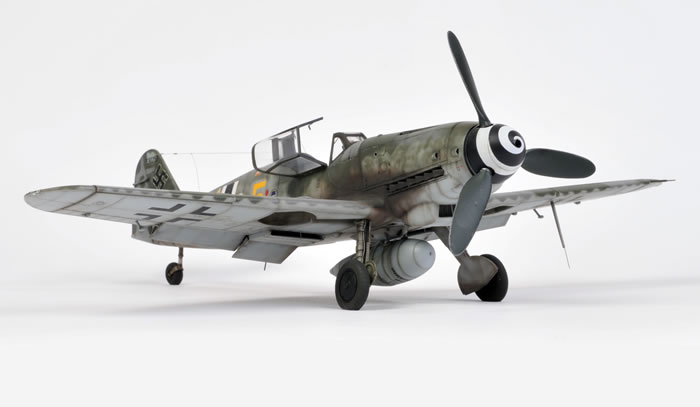
Eagle Parts #28-32 Oil Radiator Fairing
-
Eagle Parts #20-32 - Bf 109 Spinner
-
Eagle Parts #22-32 - Battery Box
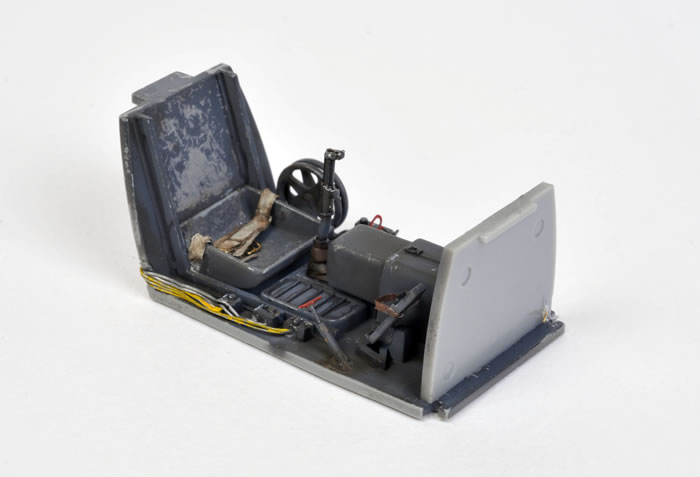
Chris also scratch built the following:
-
Harness straps, buckles and various handles in the cockpit
-
Pitot tube
-
DF loop
-
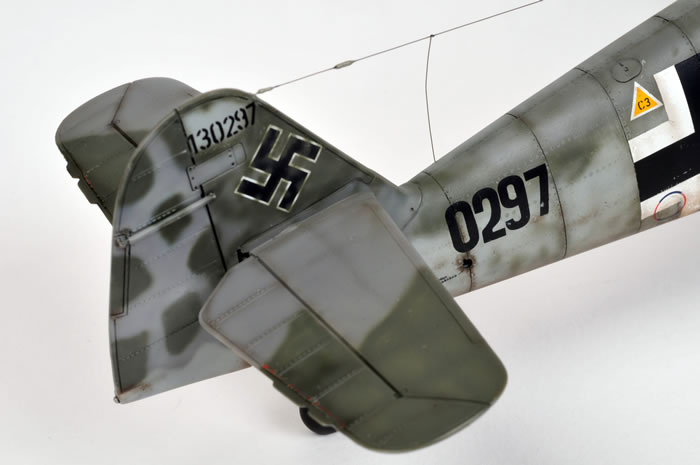
Radio antenna wire with isolators built up from Krystal Kleer.
Additional rivet detail was applied to the surfaces of the fuselage and wings using a jeweller's punch before the major parts were assembled.

Exhaust stacks and machine gun barrels were drilled out with the tip of a hobby blade.
Paint
All paint was applied with the Testor Aztek A470 airbrush.
Paints for the main camouflage scheme were Gunze-Sangyo acrylic H423 RLM 83 Dark Green, H69 RLM 75 Grey Violet and H417 RLM 76 Light Blue.
Several coats and oversprays were applied to acheive the patchy and irregular finish seen in reference photographs of this late-war Gustav.
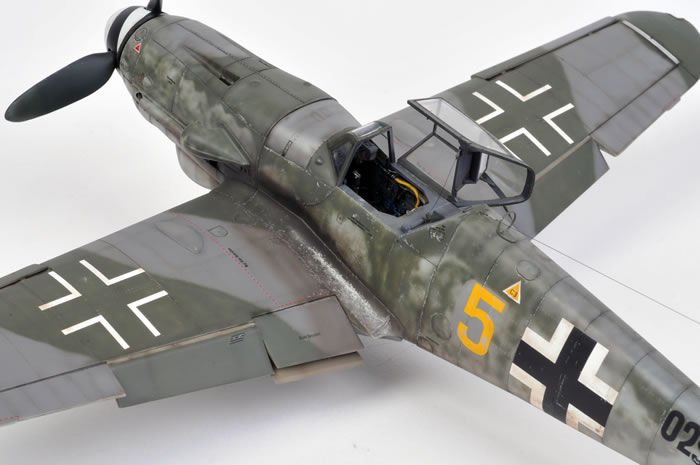
The cockpit was painted Tamiya XF-63 German Grey. This is a nice scale representation of RLM 66 Black Grey. Other interior parts were finished in Gunze H70, RLM 02 Grey.
Markings
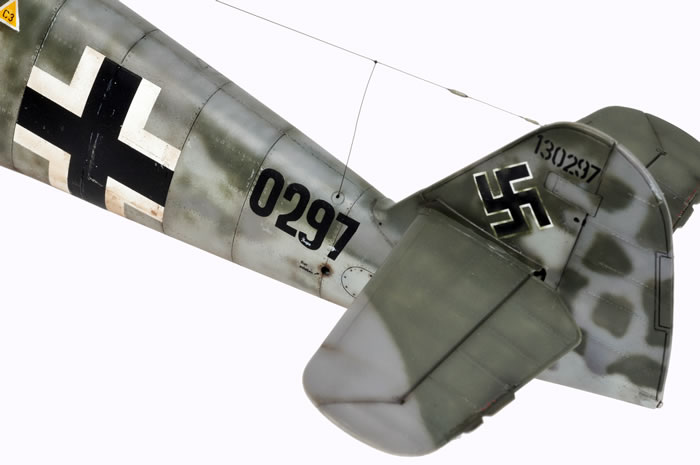
Decals were sourced from EagleCals' 1/32 scale release #80-32. This aircraft probably did not carry the werknummer on the starboard fin but Chris did not notice until it was too late.
All decals were applied using Gunze Sangyo Mr Mark Setter and Mr Mark Softer.
The final coat was the usual Polly Scale Flat.
Hasegawa and Trumpeter have adopted markedly different approaches to their current generation of 1/32 scale WWII aircraft kits.
Trumpeter has taken the hi-tech path. Many of their recent large scale releases bristle with springs, screws, struts, operating metal hinges, wire and more. Cockpit, fuselage interiors, engines and gun bays are comprehensively depicted. However, this level of detail comes at a price - both in dollar terms and also requiring a reasonable degree of confidence.
Hasegawa has taken a more modest approach. Their 1/32 scale Messerschmitt Bf 109 family is 100% styrene plastic. There are plenty of options offered in the kit, but nothing too fancy. No special tools or skills are required. Detail is more than adequate, but those who want to superdetail the kit have ample choice from a large range of aftermarket accessories.
The relative simplicity and reasonable price of Hasegawa's 1/32 scale Bf 109 G and K kits make them appropriate for beginner modellers, but their accuracy and potential for extra detail ensures their popularity with plastic connoisseurs too.
In my opinion, Hasegawa's 1/32 scale Messerschmitt Bf 109 G and K kits look terrific, are fun to build and represent great value for money.
References
-
Monogram's "The Luftwaffe in Sweden 1939-1945" by Bo Widfeldt
-
Monogram Close Up No.7 - Gustav Part 2
-
Schiffer's "Luftwaffe Fighter Aircraft in Profile" by Claes Sundin and Christer Bergstrom
Model
by Chris Wauchop
Text Copyright © 2008 by Chris Wauchop and Brett Green
Images Copyright © 2008 by Brett Green
Page Created 11 December, 2008
Last Updated 11 December, 2008
Back to HyperScale
Main Page |
 Home
| What's New |
Features |
Gallery |
Reviews |
Reference |
Forum |
Search
Home
| What's New |
Features |
Gallery |
Reviews |
Reference |
Forum |
Search