|
Koster Aero Enterprise's 1/48 scale
Mitsubishi G3M Nell
by
Mick Evans
|
Mitsubishi G3M Nell |

HyperScale is proudly supported by Squadron.com
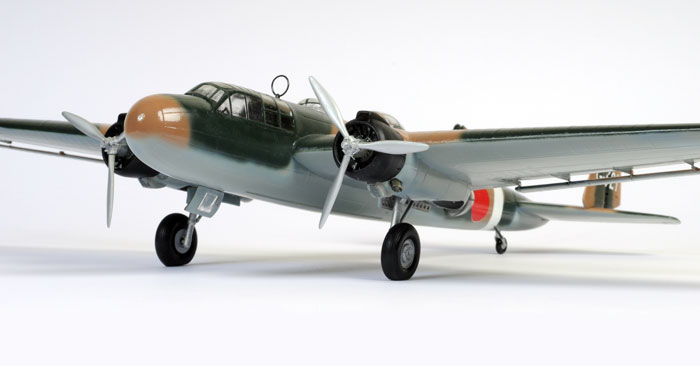
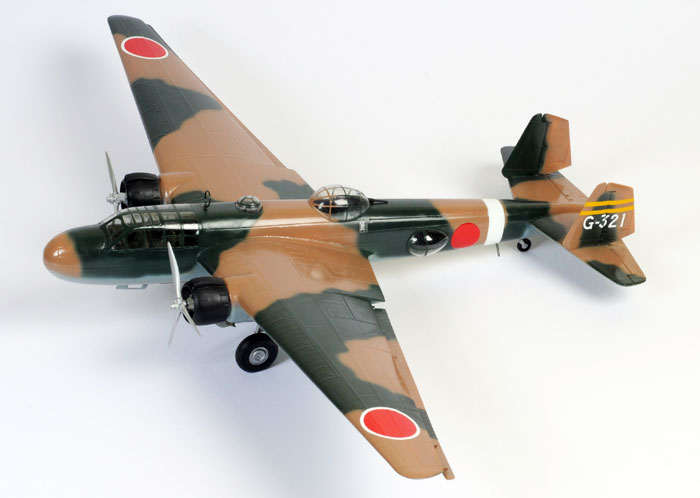
Here is my 1/48 scale Mitsubishi G3M Nell from Koster Aero Enterprises, Kit No KEA 30.
This new vacuum formed twin engine torpedo bomber is a welcome addition to the 1/48 scale Japanese arena and. A full in-box review was posted on HyperScale late last year.
The kit parts are typical of Koster’s earlier releases.
Unfortunately, while the kit looked excellent in the box, it did not live up to expectations during the build. I am quite proud of some of the difficult vac formed kits that I have tackled over the years. Some of these kits were quite crude. Even so, maybe I expected too much from this kit. It turned out to be challenge that saw me lose focus a few times during construction.
The vacuum formed parts are crisply formed with good panel detail but are very thin in places and have quite a few moulding pimples where the vacuforming process had drawn the sheet styrene into the vacuum holes. When these were removed a hole was left to be filled. I counted at least 20 of these on the kit.
The interior detail built up well but I was left guessing about the placement of parts on many occasions. I had to use the limited reference material that was available at the time and often resorted to using the 1/72 scale Hasegawa Nell as a reference source.
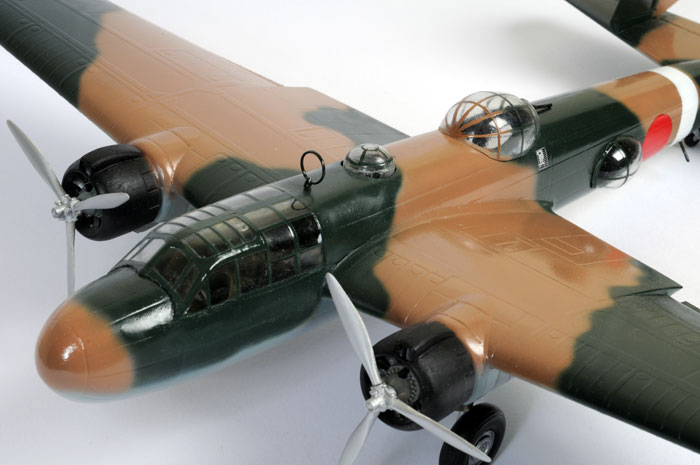
As I pointed out in the in-box review, the vac formed parts for the elevated platform for the upper waist gunner position had been stretched to the limit in the moulding process. There were replaced with totally scratch built items from plastic card. The vac form transparencies were reasonable except for the retractable turret. This was hopelessly thin and in the end was best left retracted.
The cast resin exhaust stubs were also to thin with one of these totally disintegrating when I tried to remove it from the casting block. I then had the task of sitting down and manufacturing one from brass tubing.
A major issue arose with the main undercarriage bays. The areas to cut out are marked on the kit by vacuum formed lines but appear to mirror reversed or maybe this was my own stupidity when I cut them out. Anyway, I used the Hasegawa 1/72 scale kit as a guide and filled the areas that I had removed and started all over again.
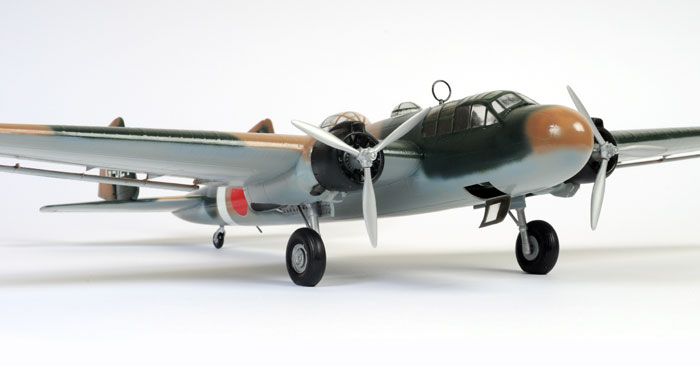
The engine nacelles required many areas to be reinforced with filler and plastic card as the vacuum formed moulding was simply just too thin.
Full length resin flaps are provided along with seven resin hinges and two balance horns. These should have attached easily to the underside of the wing surface except that all the hinges were warped. I replaced these with plastic card.
The instructions were easy to follow most of the time, but lacked detail for the location of some items. A three view plan would have been invaluable during construction too.
The kit was finished in Xtracolor enamels
The kit was over sprayed with semi gloss.
In the end, the finished product does look good but the issues around building this kit compared with other vacuum formed kit manufactures does leave a few questions.
If you do purchase this kit be prepared for some major work. The major parts do fit together well but do reinforce thin areas. My saving grace on many occasions was the fact that I was building my Hasegawa 1/72 Nell at the same time so I was able to use this as a reference source.

Recommended to modellers of very high vacuum formed kit building skills and experience.
Thanks to Koster Aero Enterprises for the sample
Model and
Text Copyright © 2008 by Mick Evans
Images Copyright © 2008 by Brett Green
Page Created 28 October, 2008
Last Updated 28 October, 2008
Back to HyperScale
Main Page
|
 Home
| What's New |
Features |
Gallery |
Reviews |
Reference |
Forum |
Search
Home
| What's New |
Features |
Gallery |
Reviews |
Reference |
Forum |
Search