|
ARII / Otaki 1/48 scale
Kawasaki Ki-100-1b
by Fernando Rolandelli
|
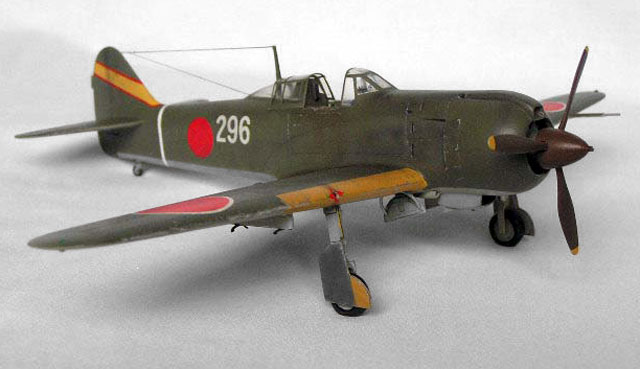
Kawasaki Ki-100-1b
Goshikisen, 3er. Chutai, 59º Sentai, Ashiya Aeródromo, Japan, 1945 |

HyperScale is proudly supported by Squadron.com
History
Though the Ki.100 may be considered the natural evolution of the Ki.61 Hien, in fact both Japanese and Americans regarded it as a new design. We have all read about how the factory producing the liquid-cooled Ha-40 engines powering the Hien was destroyed by B-29s on January 19th, 1945, leaving a heap (about 275) of engineless fuselages on the Kawasaki Kagamigahara factory grounds. The Ha-40 had never been even near reliable anyway, and had already been replaced in the D4Y by an air-cooled engine, but, of course, that was the Navy. In spite of this, Kawasaki made a similar installation using an available supply of 1.500hp Mitsubishi Ha-112-II engines, the ones in the excellent Ki-46, fairing it into the slim fuselage giving it a distinct “pear” shape. The result was astoundingly good, Ki.100s were just a bit slower than Hiens due to the increased frontal area, but more maneuverable due to their lighter overall weight (it could be relieved of the heavy cooling system of the in-line engine). The first series had Hien fuselages noted by the high backs, but later batches incorporated the low fuselage and all-vision canopy that had been designed for the Ki.61-II. Easy to fly and reliable, something that could never be said of the Ki.84, it was highly regarded by both its pilots and the opposition. Being the last Japanese fighter to enter combat, the Americans failed to assign a code name for it (“Tony” did not apply to it), but the Japanese, regarding it a completely new design, called it the Goshikisen (not just “Hien”, as some sources quote).
The Kit
Long ago, Hasegawa issued several batches of Ki.100s, in both main versions. Unfortunately, at the moment my time was being completely wasted building 109s, so, when I realize how smart Japanese aircraft could be, they were long gone. So I bought a cheap Arii/Otaki kit instead. On opening the box, I could state that, though apparently correct in shape (fin leading edge may be on suspicions, and the wing’s main spar lines should be perfectly parallel), its cockpit was an invention and, worse, the whole thing was covered in sunken rivets, just like the Ki.43 and 44 kits from the same brand. At least they are correctly placed at the sides of decent panel lines, so, if some of them had showed in the end, I would not have been very worried. Decals looked awful, but some of them would have to go; in the end they behaved quite correctly. I had build a couple of real Tonys, so I was well acquainted with the cockpit; I decided to add an Eduard set, the big one, 49 299, to dress it and add any airframe detail that would be missing. As I envisioned a good work on the cockpit, I bought a Squadron vacuformed canopy; it wouldn’t fit, but the open hood would look fine. True Details wheels replaced the kit’s concoctions, and off we went.
The first step was obliterating the sunken rivets. At first I thought that several coats of primer, interspersed with sanding would be enough, but they were not. I resorted to some Mr Dissolved Putty, a first, and it did the job marvelously.
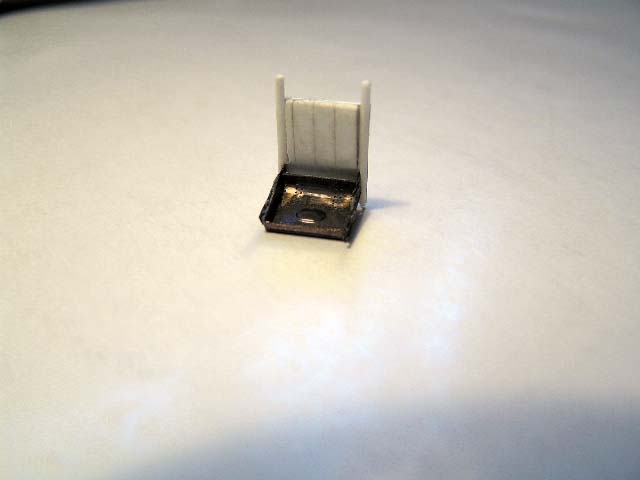
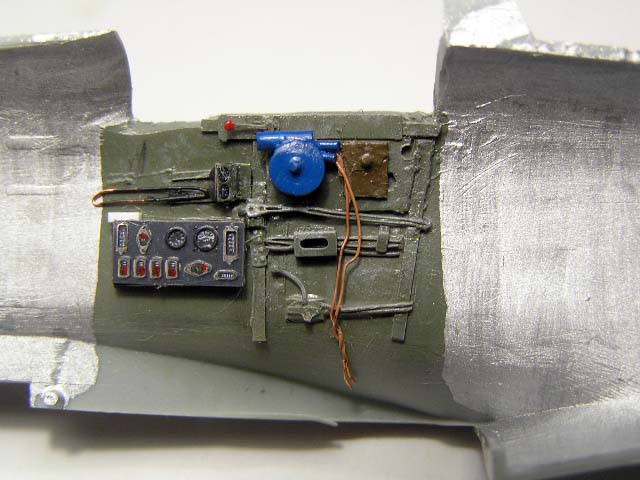
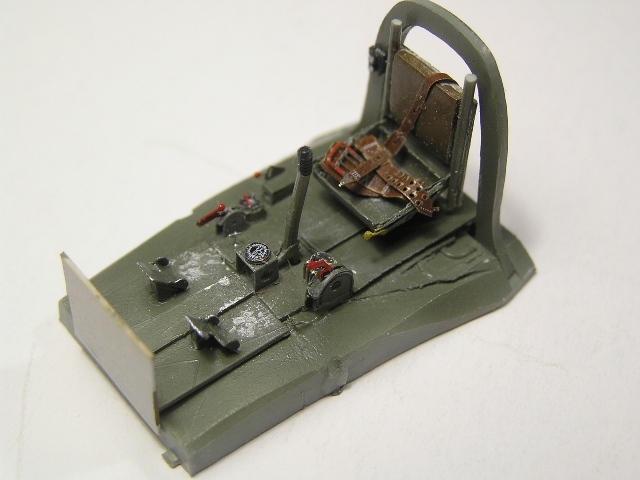
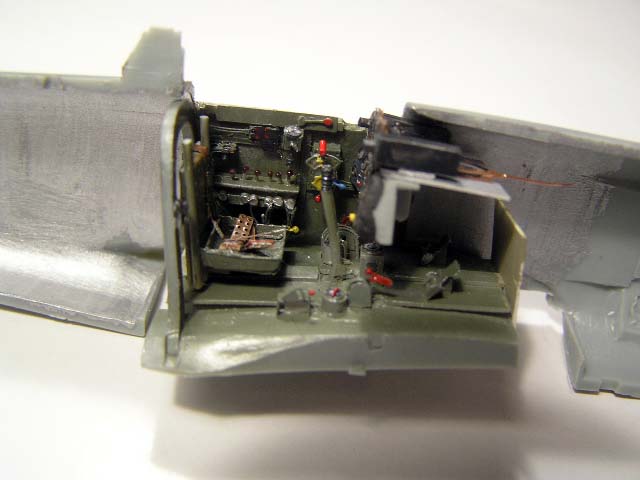
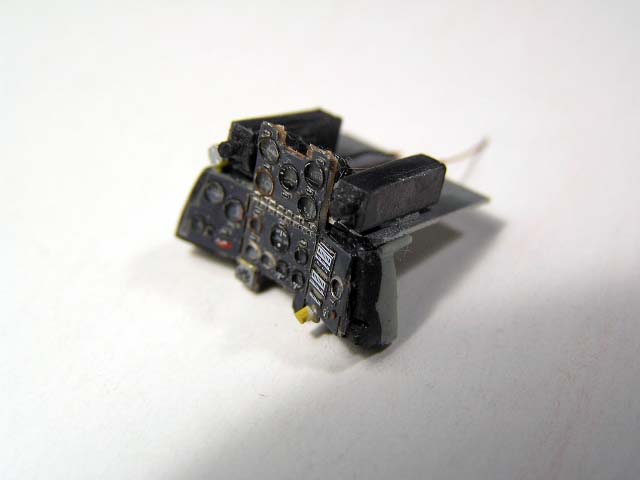
Then I turned to the cockpit. I erased the heavy sidewall and floor detail, which I proceeded to reconstruct with Evergreen stripes and sheet plastic, copying the sidewalls and floor in the Hase Hien kits. To that basic plastic cockpit I added the Eduard PE.
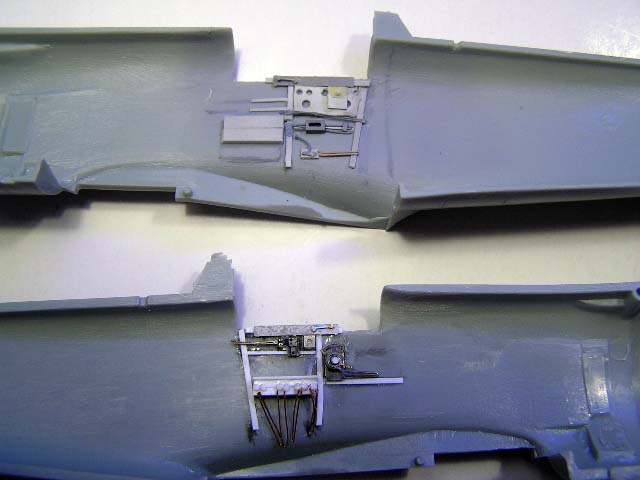
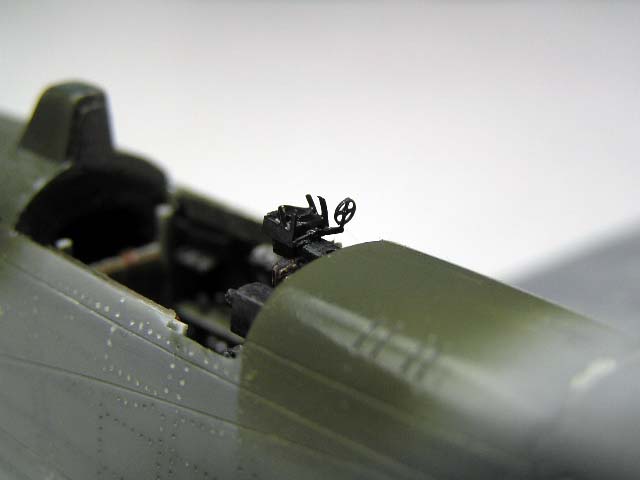
As I would do in most Japanese kits, I built the “shelf” behind the instrument panel and added the gun butts, the sight frame and the instruments’ backs. I modified the hydraulic selector lever fit, which is markedly different from the Ki.61s, depicted in the PE set (as well as the Aires resin cockpit and the Hase kit…)
As anticipated, the Squadron canopy wouldn’t fit, but I used the windscreen and back fixed portion from the kit, and replaced the hood, destroyed while sawing, with the vacuformed piece, appropriately tilted backwards. If displayed closed, it would be too short, but opened it doesn’t show at all.
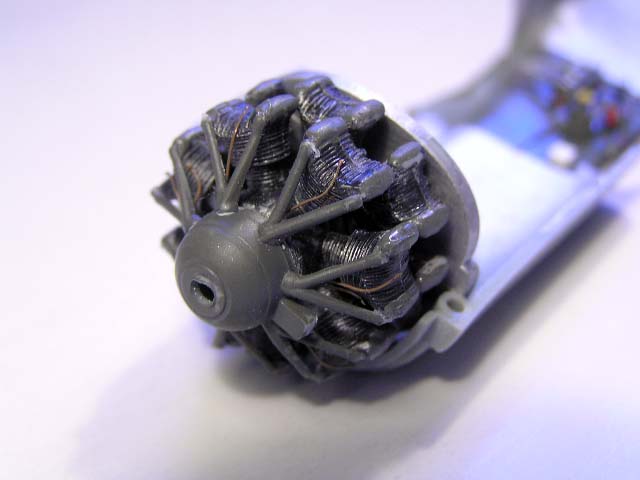
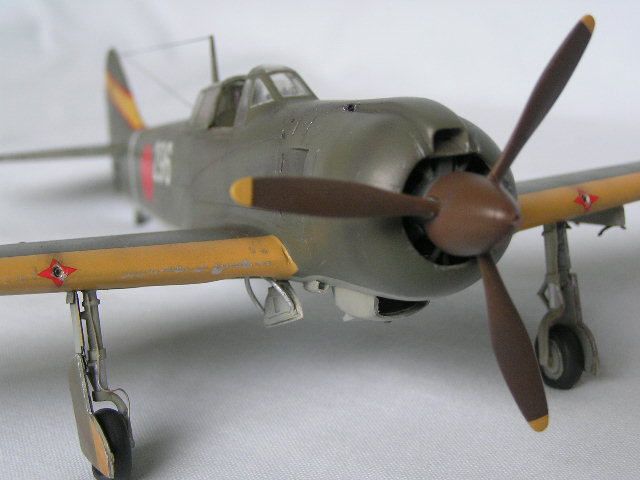
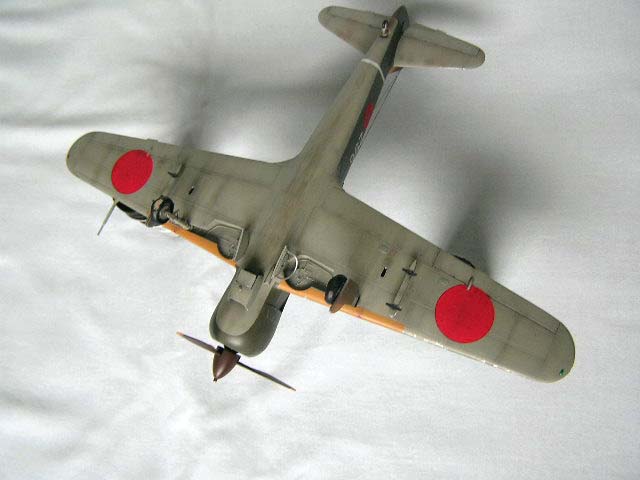
The rest of the construction was really a breeze, including detailing the engine, showing the basic noblesse of the kit. I discarded the chunky looking drop tanks for the Eduard attaching points, and the equally chunky upper part of the undercarriage doors by the complex, folding PE structure, which looked great and could be attached to the legs without undue difficulty. I added the wing and cowling guns from pierced rod, after deepening the shallow gun throughs the most I could. Not tidy but OK in the end.
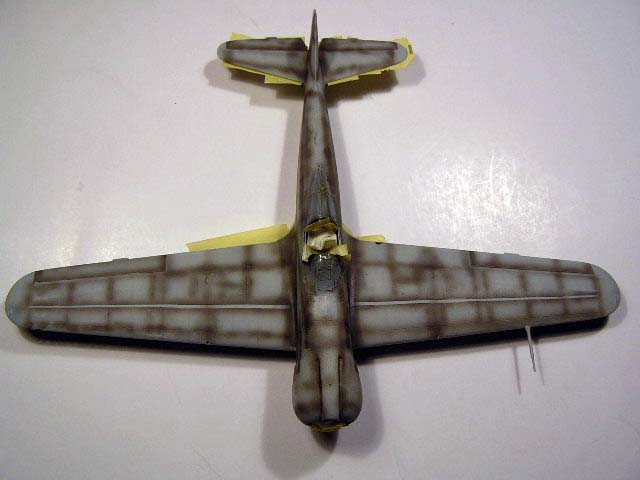
I followed the example in the Aerospace Museum at Cosford, England, featured in the book by Mikesh and reported to be the both only survivor of its kind and a model restoration. Pictures show a deep green with a hint of olive on the upper surfaces and the usual Grey-Green (not NMF) on the undersides. The cockpit is also Dark Green, presumably the same. For the undersides I used WEMMCC ACJ12. Now, WEMMCC also makes a “Kawasaki Army Green”, ACJ09, which certainly looks good, but of course I did not have it in time. Trying to mimick the look of the pictures, I selected an Xtracolor tin, X116 “FS34102 Green”, which is quite unlike the 34102 by any other brand and, IMHO, quite incorrect, but an excellent approximation to the color I wanted. It went on virtually everything, cockpit and upper surfaces, which had been duly prepared with a heavy preshade. The ID bands were painted in WEMMCC ACRA03 “Giallo Mimetico 3, FS 23434”, which is a deep yellow, with just a drop of Red added, and the propeller with the Tea Color from the same source (ACJ13).
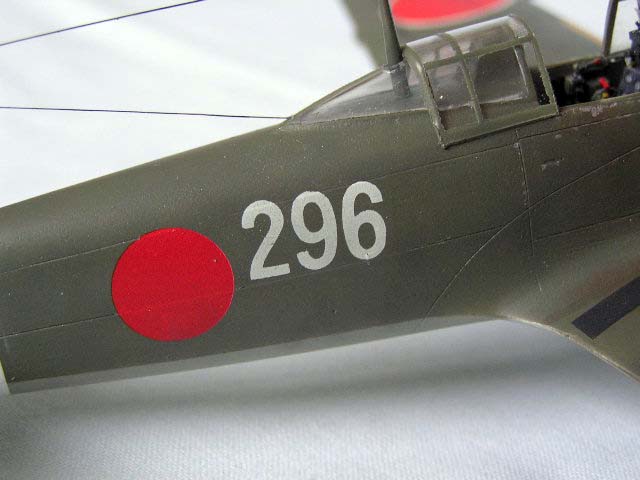
Well, from the start I knew I could not trust these, specially the White border Hinomarus, with their thin, off-center rim. I had a bunch of Hinomaru decal sheets but, as had happened with the Hien, none seemed to fit. I had, however, the Hase Hien sheet, the Hinomarus looked a bit bright, but went OK in the dark background. I managed to blotch the fuselage ones, so I replaced them with the kit’s which performed admirably, as did the fuselage numbers. The tail band was hopeless, so I painted it with the same aforementioned Yellow.
I do not like the “aircraft dump, somewhere in Japan, 1946” look, so went relatively light with weathering. The preshade, applied both masked and free hand, had done its job anyway. I did some postshade with a lightened base color, including the fabric covered flying surfaces. After that went the oils streaks and then attacked the whole airframe with a very diluted Black-Umber mix, in strakes and dots. Some chipping and some dusting with chalk powders followed, the whole sealed with Xtracrylics Flat Clear.
The inevitable happened and even before I finished my Goshikisen, I had the chance to travel to Thessaloniki, Greece, where, in maybe the only hobby shop in town I happened to find an original, 1999 edition of the Hasegawa Ki.100-I, the “fastback” version, which I duly purchased. Nevertheless, I like my Goshikisen, a lot of work went into it and it really paid off.
Model,
Text Copyright © 2008 by Fernando Rolandelli
Page Created 7 October, 2008
Last Updated 7 October, 2008
Back to HyperScale
Main Page |
 Home
| What's New |
Features |
Gallery |
Reviews |
Reference |
Forum |
Search
Home
| What's New |
Features |
Gallery |
Reviews |
Reference |
Forum |
Search