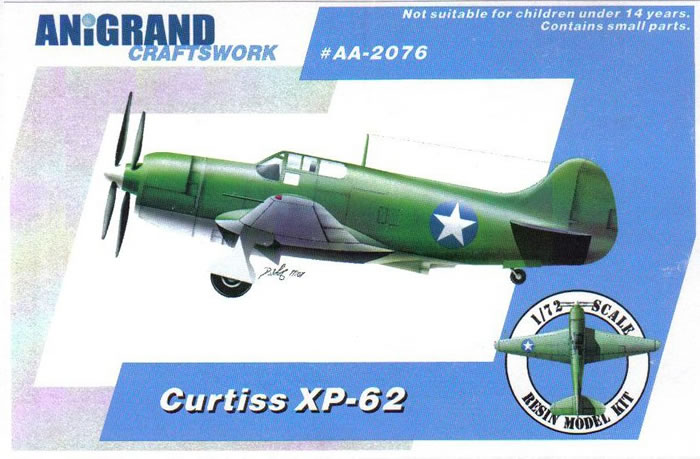
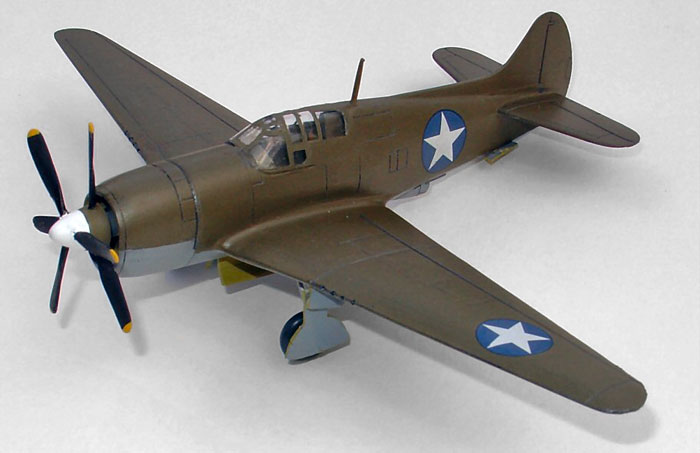
Anigrand's 1/72 scale
Curtiss XP-62
by John Doerr
|
Curtiss XP-62 |

HyperScale is proudly supported by Squadron.com
Background
The Curtiss Airplane was in deep trouble. They had been the leading fighter producer with the P-36 and P-40s but it seems they suffered from a hardening of the corporate arteries. As much as they tried to update their P-40 line or advance new designs, it seems that their designs just never seemed to be good enough to warrant both the investing money into the programs and upsetting the wartime production quotas. XP-62 was built to fulfill the high altitude interceptor mission. Only one was built and quietly scrapped before even completing the test program. The XP-62 was the last Curtiss designed prop fighter. Below are links to two sites that cover the history of the XP-62Both sites present good brief histories of the XP-62
http://en.wikipedia.org/wiki/Curtiss_XP-62
http://www.anigrand.com/AA2076_XP-62.htm
The Kit
Anigrand has built a tradition of releasing unique models that main stream companies do not cover. I can’t imagine, given their esoteric subject matter of experimental and prototype aircraft that the major companies would ever sell enough to recover their investment. The release of these aircraft does fill a niche that somewhere, at least one or more of their kits would appeal to most modelers, to complete their particular collection. Also to their credit Anigrand has a reputation of high quality, well fitting casting.

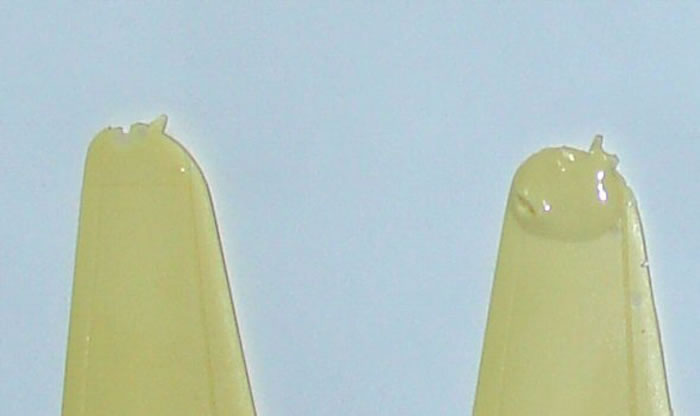
The Anigrand XP-62 kit consists of 30 pieces, nine of which are the engine and prop. The moldings are done in a tan resin with crisp petite recessed line lines. The parts come loose, as in the photo, with very little flash and no pour reservoirs, just a few stubs. Clean up of the parts is quite minimal and easy. See my FirstLook review for info on the kit itself.
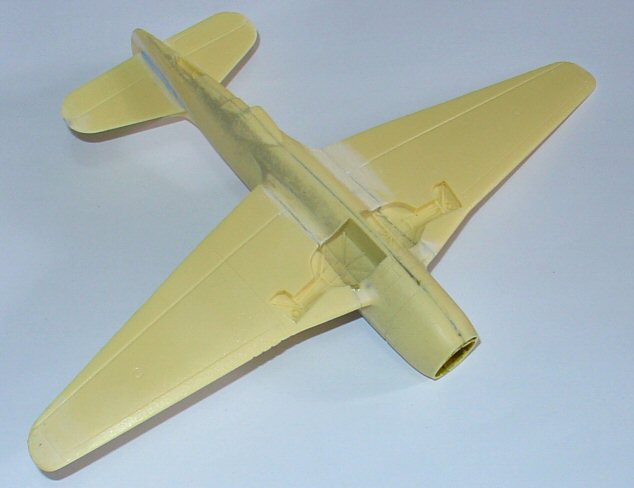
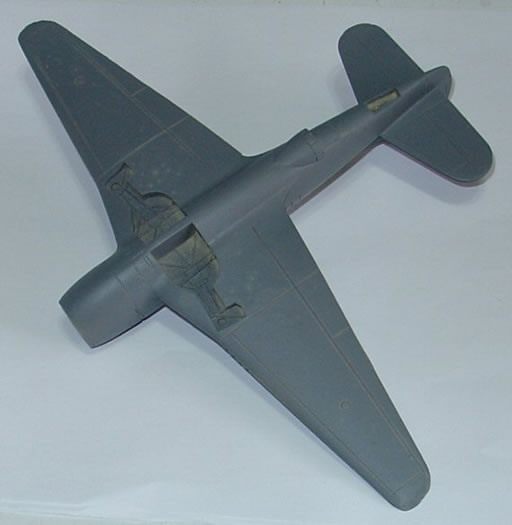
Dry fitting the fuselage halves together revealed an outstanding match up. The resin canopy was just slightly cloudy but no worse than most plastic kits. A dip in Future and it became crystal clear.
Construction of this kit simple and easy, providing care and time was taken
to allow the CA to harden and cure properly. The fit of all the pieces was very good overall. There were a few gaps to be filled. All of the pieces required minor clean up of flash and tabs, with a small number of bubbles to be filled. The bubbles were filled with gap filling CA. The filed areas were sanded smooth, then a light coat of Mr. Surfacer was applied and the areas polished. I did not want to being dealing with filling and sanding the more fragile areas after the initial construction
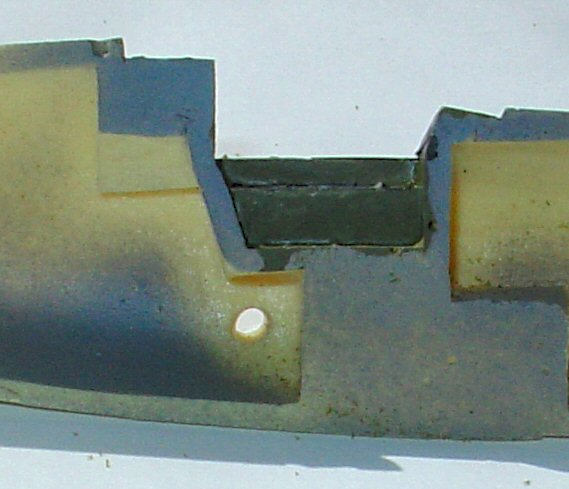
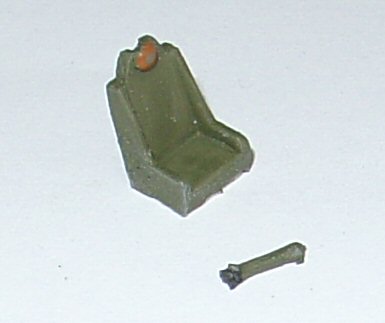
Oddly enough construction did not start with the cockpit. Being an OOB build for the Nostalgic Plastic display at the upcoming Nationals, meant no extra detail would be added to the cockpit, which consisted of molded in blank sidewalls and consoles, and a generic looking stick and seat. If I was building this for my own display I would add a better looking seat and stick and add at least decals to busy up the consoles and instrument panel. The entire inner cockpit surfaces can be easily reached and painted after assembly.
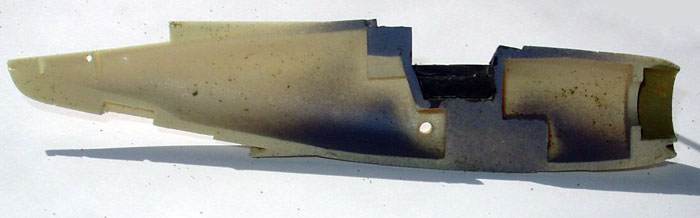
Initially I primered and painted the interior. However I then realized I would need to sand much of it and let it go. I started by gluing the fuselage halves together and filling any gaps that existed. The seams were then sanded down with progressively finer grit until smoothed and any lost panel lines were rescribed. The tail empennage was added next and the same procedure followed like wise after I added the stabilizers and wings. The wings, fin and stabilizers all have locating pegs that mate to holes in the fuselage. The fit was not perfect but using slow hardening CA allowed me to line everything up properly. There were only a few easily filled gaps, nothing at all like the horror stories I had heard about resin kits
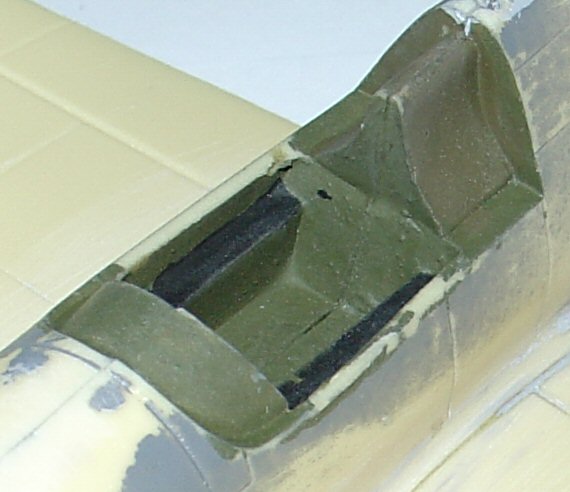
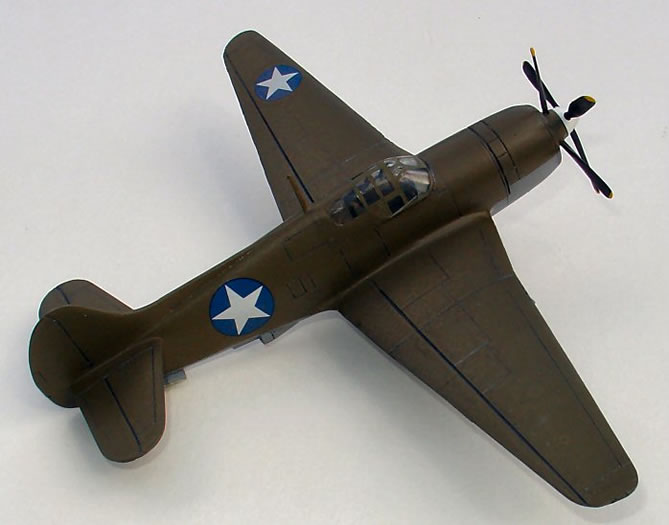
Then I repainted the cockpit Curtiss green, based on Model Master (MM) enamel interior green but with an added touch of olive drab and brown, and the instrument panel and consoles black and added the seat and stick. The portion behind the seat, visible through the scallops was painted olive drab. It was both a Curtiss practice and appeared that way in the few existing photos. The canopy was added and faired in, then masked off. I nice touch was the back of the canopy extended well behind the scallops and made the sanding a relatively easy procedure. During the downtime I painted and assembled the remaining subassemblies, the engine landing gear and counter rotating props. The gears hubs and engine were painted in MM Metalizer steel. The engine crankcase was painted with Tamiya Extra dark sea gray and the tires were painted with MM acrylic Marine US Navy 5D, dark gray, which to my eye is the prefect “tire” color. A black wash was added to the landing gear and engine to bring out the details.
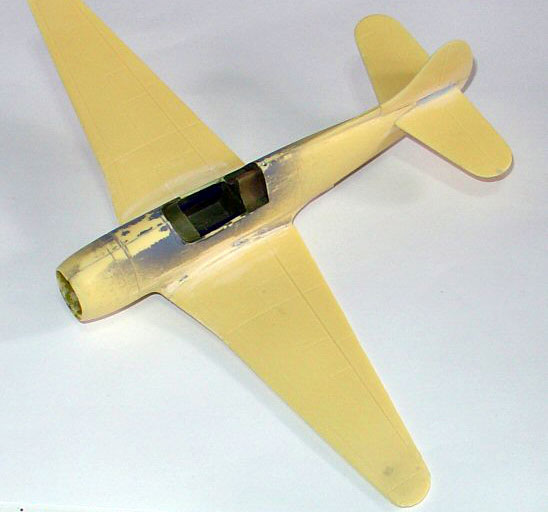
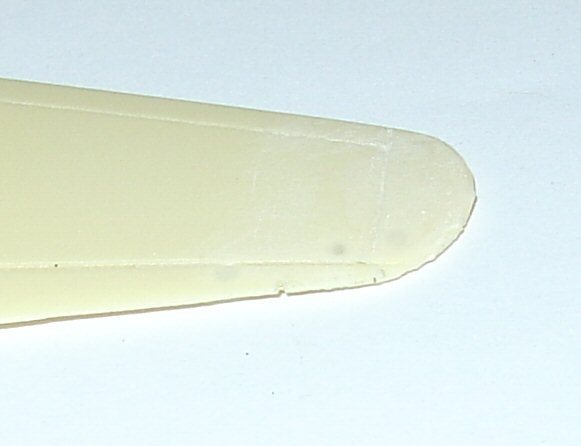
All went well until I tried adding the canopy. The canopy was a clear resin gem. It was nice and clear with wee defined frames. However, when I attempted to add the canopy it was wide at the back end plus it fell short in both the vertical, and length. I aligned the front portion, and because the area it mated to on the aft side was windowless I decided to make my adjustments there. It took four days of intermittent sanding and filling with both putty and gap-filling CA, not to mention coats of Mr. Surfacer to get it filled. There still remains a slight, smoother rise through the transition zone, especially on the right side that is visible from certain directions.
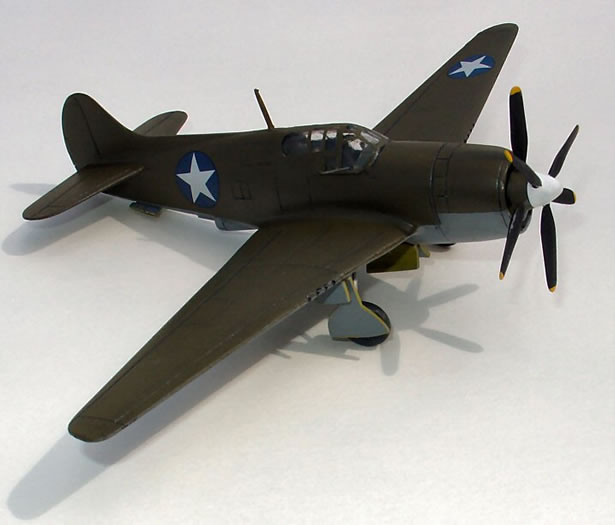
The landing gear also presented problems. The legs and support struts are in one piece and the wheels nicely done. The alignment is off giving the wheels a toe in on the forward side. The doors are very thick and out of scale in thickness. The three-piece doors are in one piece to be cut a part. The cut lines between the outer door and strut cover is fine, but the cut scribing between the inner, wheel door, and the strut cover is is miss marked. I initially made my cut on the scribed lines and discovered too late. On the left gear door the cut is made at angle so bottom of the strut door is parallel to the ground in a three-point stance. The right door is scribed opposite. After checking my photos, the bottom of the strut door should be perpendicular to the strut. The offending portions were cut from the wheel door, then added to the strut door, filled, sanded and smoothed.
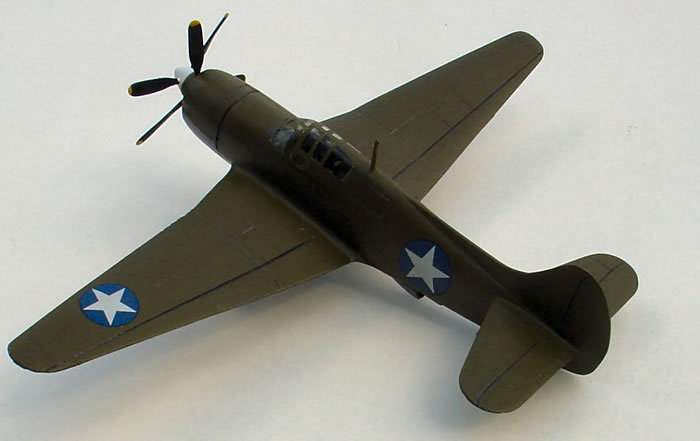
Here is where I ran into the biggest problem of the kit. The lack of documentation. Very few photos exist and they are all exterior views showing the prototype wearing an olive drab and neutral gray scheme. I decided due to the lack of definite information the cockpit would be in Curtiss green, with all other interior surfaces in zinc chromate primer.
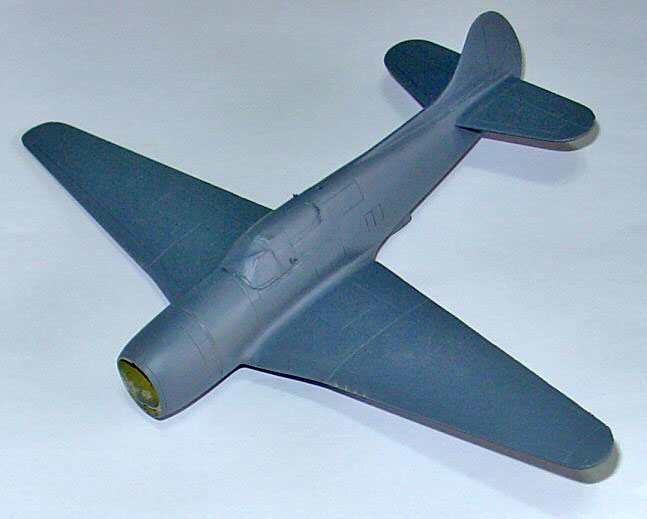
The Curtiss green was mixed, as stated previously and Tamiya yellow green was used for the zinc chromate. MM enamel olive drab and neutral gray were used to complete the painting
I found the kit almost ridiculously easy to build, except for the canopy and landing gear problems with the vast majority of my time spent checking for gaps and making sure all the seams were properly filled and smoothed. If I were building this kit for my own display I would replace the seat and stick; find some decals to busy up the consoles and instrument panel, which is not all that visible through the canopy, and replace the gear doors with thin sheet plastic. Instead of trying to fair in the canopy I would use the hot water method to soften the resin and squeeze the aft sides closer together. Given the simple nature of the kit and general ease of construction, I would recommend this kit to modelers of average abilities and the financial resources to afford it, and the interest in unique airplanes. There was nothing about this build that required more than patience, and the careful application of basic modeling skills. This kit would be an excellent introduction to those who have not built a resin kit before.
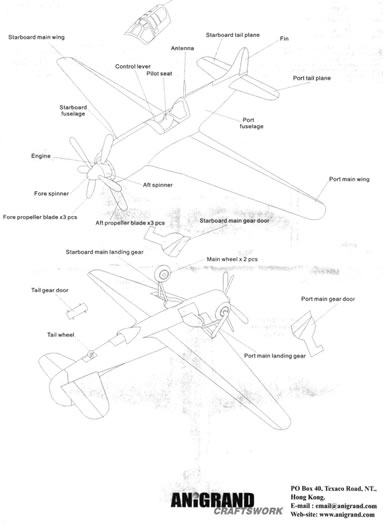
Parts layout photo from Anigrand Craftswork; www.anigrand.com
Model courtesy of Nostalgic Plastic.
Model, Images and
Text Copyright © 2008 by John Doerr
Page Created 17 June, 2008
Last Updated 17 June, 2008
Back to HyperScale
Main Page |
 Home
| What's New |
Features |
Gallery |
Reviews |
Reference |
Forum |
Search
Home
| What's New |
Features |
Gallery |
Reviews |
Reference |
Forum |
Search