Hasegawa's 1/32 scale
P-47D Thunderbolt
by Matt Odom
|
Republic P-47D Thunderbolt "Bubbletop" |

Hasegawa's 1/32 scale P-47D Thunderbolt is available online from Squadron.com
 About three months ago or so I was bored, stuck in that rut in which us modelers often find ourselves. Devoid of any inspiration and lacking in ambition, I decided to go through ‘the stash’, hoping to find something that would light my fire. What I found was Hasegawa’s 1/32nd scale Thunderbolt. About three months ago or so I was bored, stuck in that rut in which us modelers often find ourselves. Devoid of any inspiration and lacking in ambition, I decided to go through ‘the stash’, hoping to find something that would light my fire. What I found was Hasegawa’s 1/32nd scale Thunderbolt.
It was a project I had started some time earlier but had been put away during a move. It was perfect for what I needed – it had already been started and was to the point that it was time to glue wings to fuselage and start applying paint.
This project started in large part due to the HyperScale community and even more so due to Mr. Brett Green himself.
I have recently discovered the joy that is Osprey’s modeling series. Specifically, I have found that no matter what the subject of their latest modeling book, that they’re so fully loaded with tips and techniques as unique and individual as the authors themselves that I purchased Osprey’s Modelling the P-47 Thunderbolt by Brett Green despite having no real desire to ever build the subject of the title.
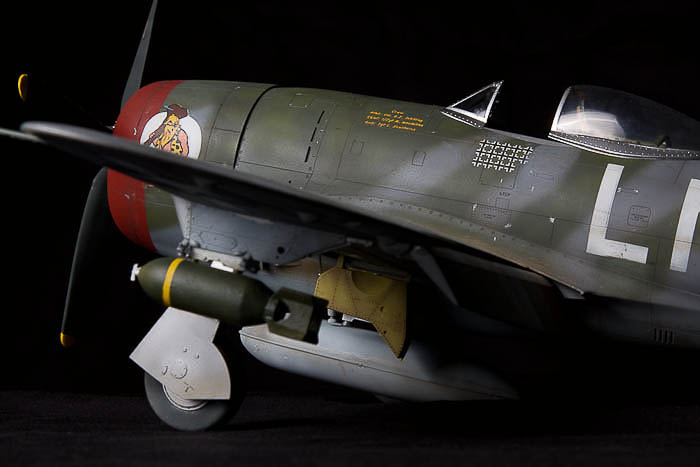
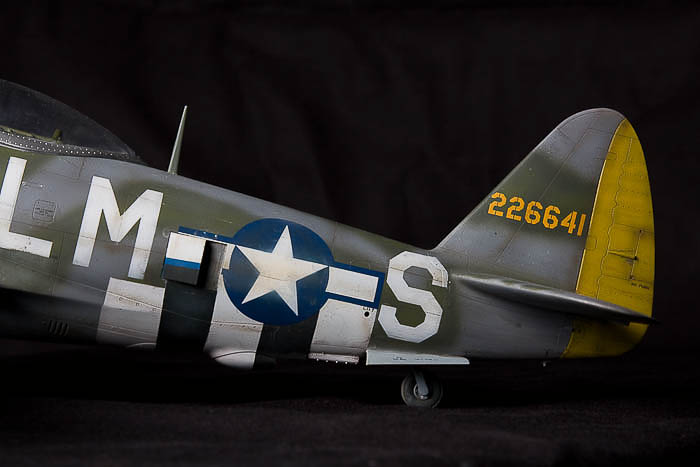
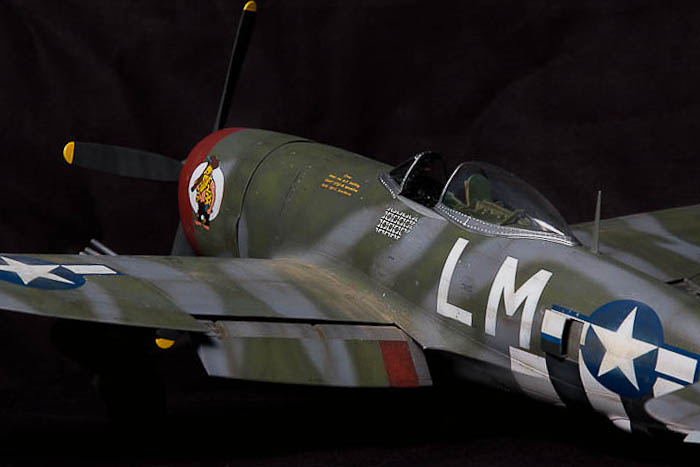
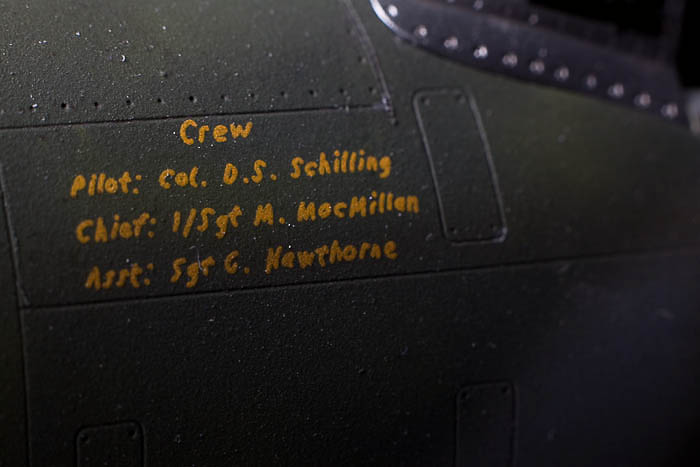
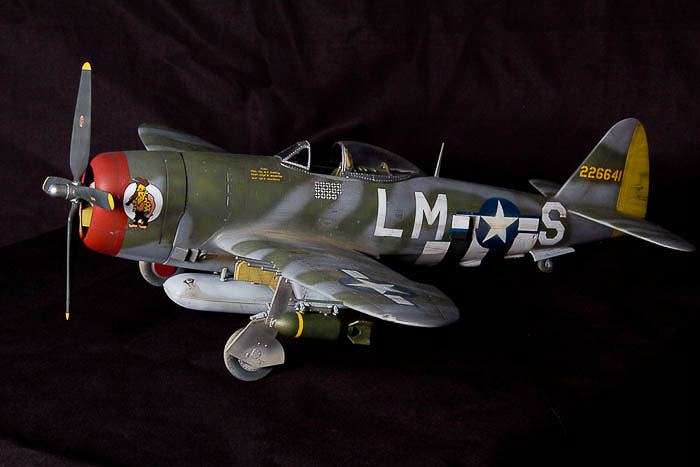
Having never been a particular fan of the P-47 I never expected to build one, but one day I discovered an old friend in the form of an aftermarket set of decals. The LSP decal range released markings for Hasegawa’s then new P-47D, specifically for machine 226641 – Hairless Joe. Having fond memories of building the old Monogram “High-tech” kit as a kid in the same markings, I couldn’t resist. I purchased the decals and the model and without further ado set up the following parameters for the build:
-
I was going to use as many new techniques and I could think of
-
It was to be an ‘out of the box’ build (Yeah, because that always happens right?)
-
It was to be a quick, fun, stress-free build to get me back on track (both when the project was started, and when it was resumed.)
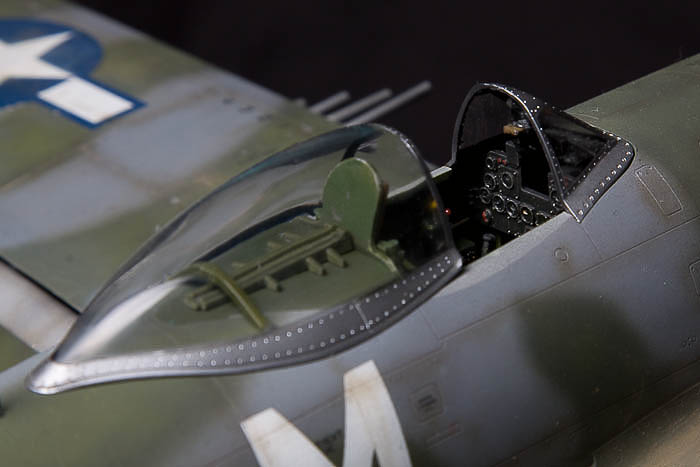
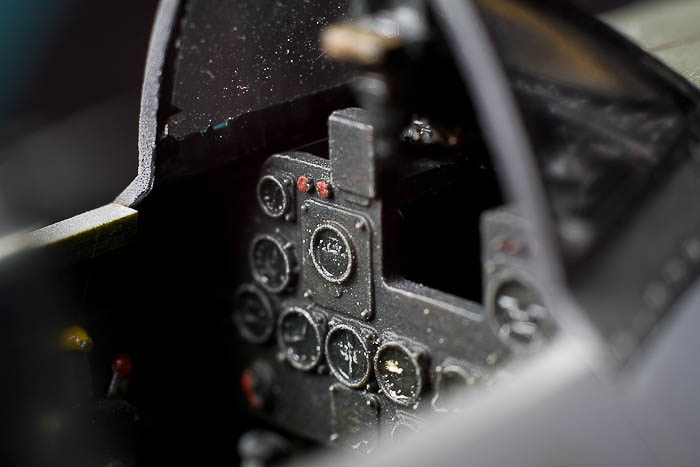
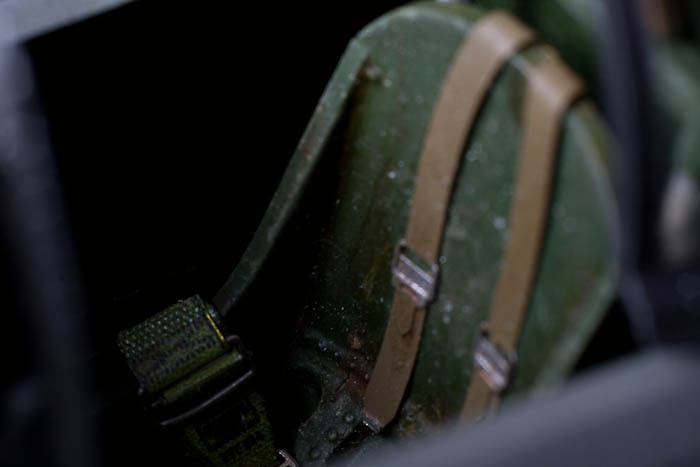
Well we all know what they say about the best intentions. After pulling the kit back out of the box I decided the large 32nd scale cockpit was far too spartan without harnesses – you can see where this is going already can’t you? – Naturally a quick visit to the Spruebrothers web store solved this problem.
While I was there I somehow found a set of Quickboost gun barrels added to my cart as well.
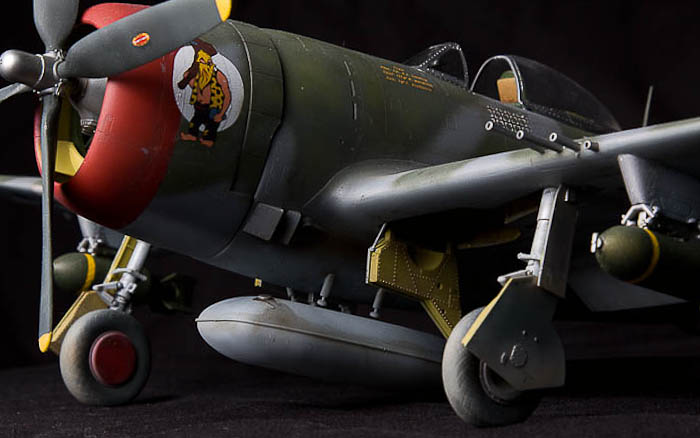
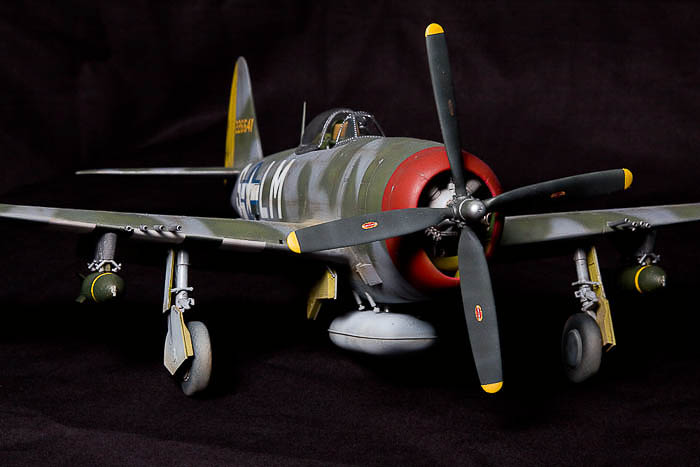
Having decided that these were acceptable detours from my original route, I quickly got to work gluing and sanding. Now I don’t know who designed the four-piece cowl for this kit, but I do know that I don’t like them very much. I was never able to get mine to fit properly (and expecting a hassle from the start I was extra careful during assembly) I ended up sawing off and relocating the engine mount – otherwise I had almost 1/8” step at the bottom.
Thinking things were going well from that point on I got down to paint.
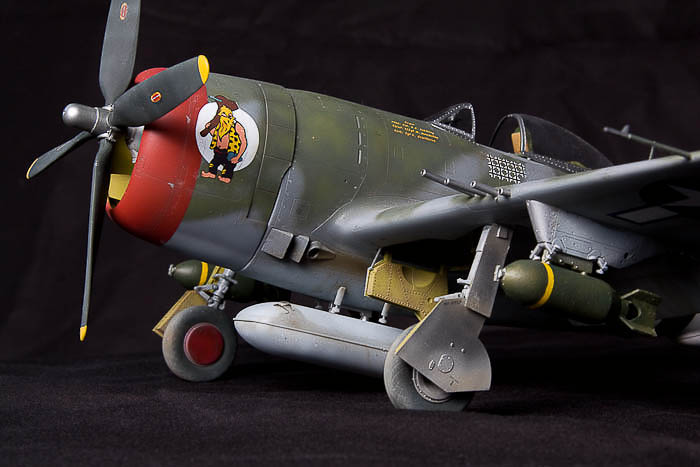
The camouflage was sprayed freehand using Model Master enamels shot through my new Iwata CM-C plus airbrush. The paint was sealed in my usual fashion with Future and it was suddenly time for decals.
Then disaster struck.
The waterslide decals from the kit, which I was required to use, bled with the application of solvaset, leaving white circles devoid of ink on all the national insignia.
The waterslide decals from the aftermarket set disintegrated upon contact with water
And because wonderful things come in threes, the dry transfer decals from Hobby decal (which were AMAZING I might add) lifted the paint in a few areas, leaving the paint on the back of the dry transfer sheet as opposed to the dry transfer on the model. This could’ve been my fault, as I’ve never used dry transfers before – like I said I am still very, very impressed with the product.
So after several emergency emails to Mal Mayfield of Miracle Masks he was kind enough to make me up a set of code letters last minute and I had them in days – amazing service and an excellent product to match.
So all in all, what started out as an ‘out of the box’ build with the goal of being a quick stress-free project turned into a nightmare, but staying true to my original intent I tried many new things – all of which I learned from Brett Green’s book and from the forums here at HyperScale. End of the day I truly believe I’m a better modeler for it.
In closing it occurs to me that I’m sure people will take issue with how I’ve painted Hairless Joe, for such a famous marking with a relatively large number of photos available, it is still a hotly contested topic. Here are the decisions to which I came with the help of the 56th Fighter Group website:
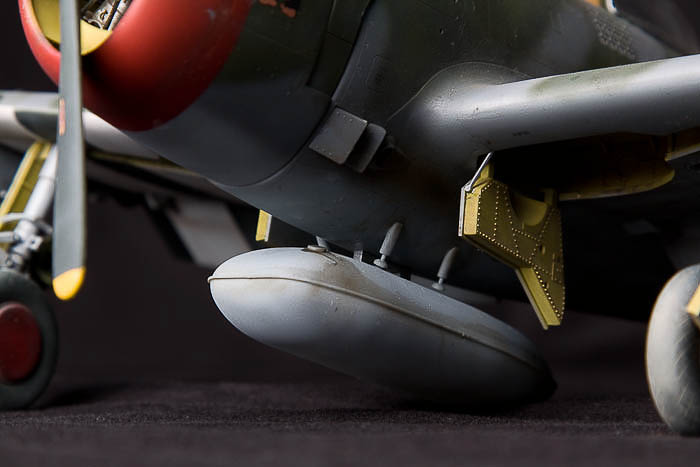
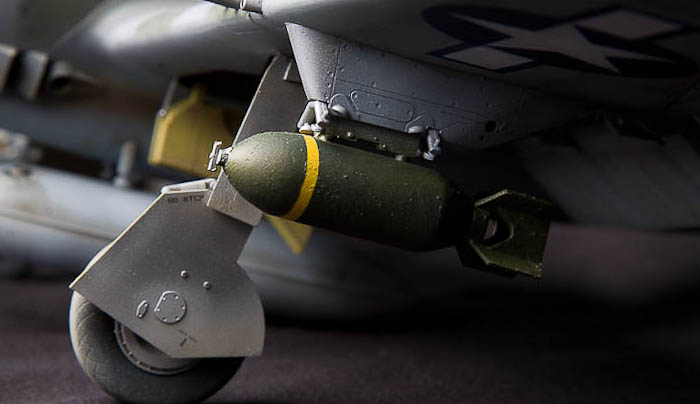
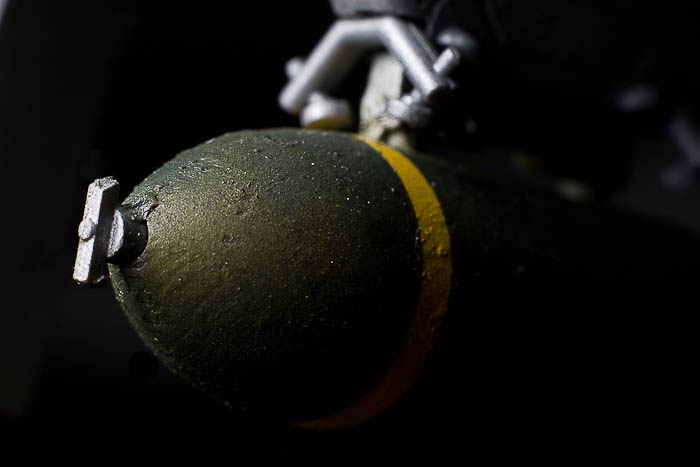
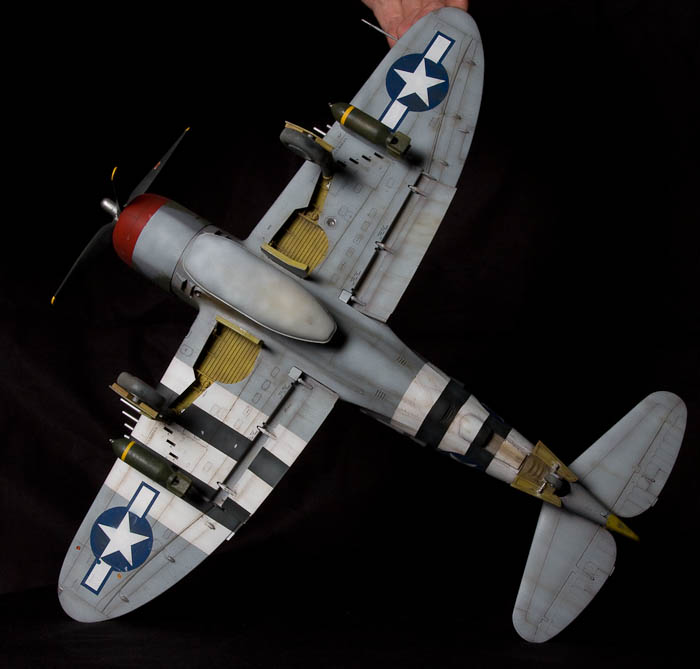
The aircraft is painted as the ‘late’ version of Hairless Joe. The port wing is thought to have been replaced and repainted, but is devoid of invasion stripes. The port undercarriage door is natural metal and the wheel hub is gray – not red to match the starboard. The starboard gear door is the underside colour and the invasion stripes do no extend across it. The bomb pylons ARE painted, but heavily chipped front and back. The original camouflage was applied with the canopy closed, resulting in a masked natural metal silhouette on both sides of the cockpit however the overspray was cleaned off the canopy frame at some point in the airframes lifetime, returning it to a natural metal finish.
Photos by Ryan Cannon
Model and Text Copyright © 2010 by Matt Odom
Images of completed model Copyright © 2010 by Ryan Cannon
Page Created 31 August, 2010
Last Updated
1 September, 2010
Back to HyperScale
Main Page

|
 Home
| What's New |
Features |
Gallery |
Reviews |
Reference |
Forum |
Search
Home
| What's New |
Features |
Gallery |
Reviews |
Reference |
Forum |
Search