Meng's 1/72 scale
Mansyu Ki-98
by Phillip Weston
|
|
Mansyu Ki-98 |

Hasegawa's 1/48 scale P-39Q/N Airacobra is available online from Squadron.com
Brett Green presented a very good introduction, both to the aircraft itself and to the Meng model, the subject of this review, and you can read this by following this link.
My modelling interests lie with US Naval aircraft, particularly pre-WW2, and my preferred medium is vacuform, so this model represents a departure from my usual subjects and because of this I had no reference material apart from what could be found on the internet and from the kit’s instructions.
Models of conceptual aircraft have traditionally been the subjects of conversions or short-run resins and vacuforms so it is delightful to see Meng’s depiction of the Ki-98 looking very much like a mainstream injection moulded kit.
Instructions
The bilingual (Chinese/English) instructions are double-sided and fan-folded to approximately A-5 size pages. There is a colour front page, that replicates the box art, and a colour rear page showing the three painting schemes covered by the decal sheet. As well as a brief introduction to the aircraft there is the usual page of general instructions, cautions and a paint colour chart for Hobby Color, Mr Color and Vallejo. For this build I used a few Mr Color items alongside some Tamiya acrylics for no other reason than the fact that I had them already in my stock of paints. There are twelve construction stages done in diagrammatic form.
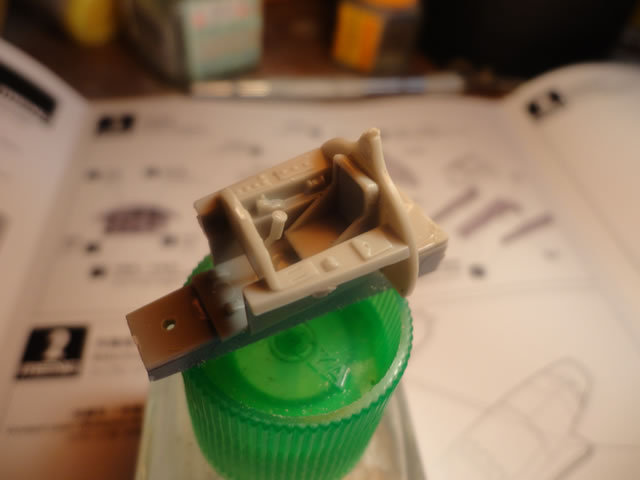
Construction begins with the interior items that fit into a cockpit tub. The modeller could enhance this with the addition of seat straps, levers and fine painting, but I banked on the closed canopy obscuring anything but the broadest of details and just painted it as directed in the instructions.
Since this is a conceptual model I imagine there are several areas, such as the cockpit, in which the kit’s designers took some artistic license both in form and colouring. I think, for example, that the undercarriage legs (particularly the nose gear) would be just too long and thin to support a landing aircraft. The undercarriage puts the cockpit, in scale terms, at approximately twelve feet above the runway!
Early-on in the build I found two important things about the kit: Firstly the fit of parts is very good; so good that the majority of components were eventually joined by just assembling them together and then wicking-in some thin liquid cement to make the bond.
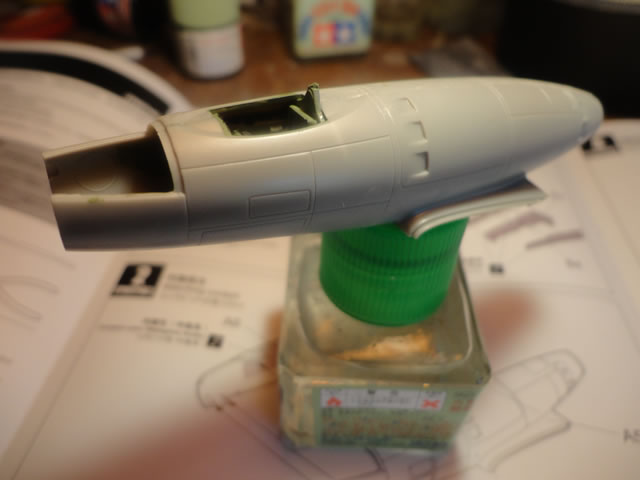
Secondly the sprue attachment points on many components extend over the joining surfaces of those components; it is not just a matter of trimming away the sprue attachment, you have to file-away the “bump” so that the two surfaces can join. These sprue attachment points can be seen in the excellent photos of the Brett Green article and I tried to show this in my photo of the fuselage halves.
At construction step three I deviated slightly from the diagram by omitting the nose guns. This, and the few other times that I did it, were concessions to my clumsiness knowing full-well that fine parts (guns, prop, pitot head) would only get broken during construction if they were not saved until after painting.
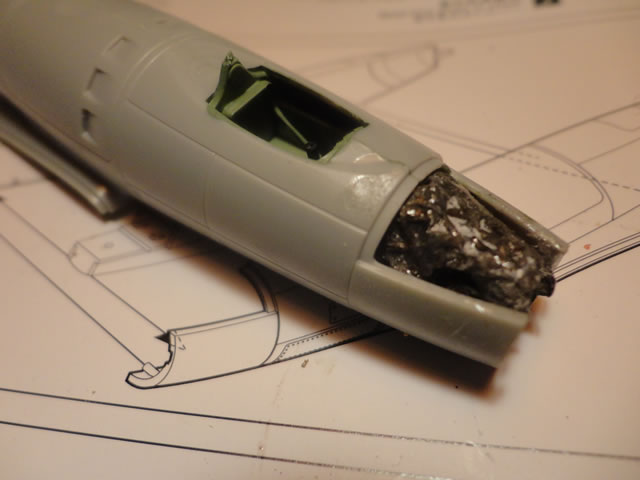
This was a nose wheel aircraft and so some nose weight will be necessary if it is to sit properly on its own undercarriage. Step three reminds the builder to “Add weight to the nose” but not the quantity involved, nor how and where to secure it. The photo shows my solution which involved shaping a piece of scrap lead until it fitted the space immediately in front of the cockpit and then CA gluing this into place. I must admit that adding nose weight always leaves me slightly apprehensive; too little and it’s a clumsy tail-sitter, too much and the undercarriage leg buckles with the strain. The nose leg on the Ki-98 is, as previously mentioned, quite long and spindly so the latter option would not do!
At Step 5 I found the main undercarriage bays (parts B24) a bit fiddly to position between the tail boom halves prior to joining them together. This was not a fault in the kit’s design nor the shapes of the components, more my inattention to dry-fitting them prior to assembly.
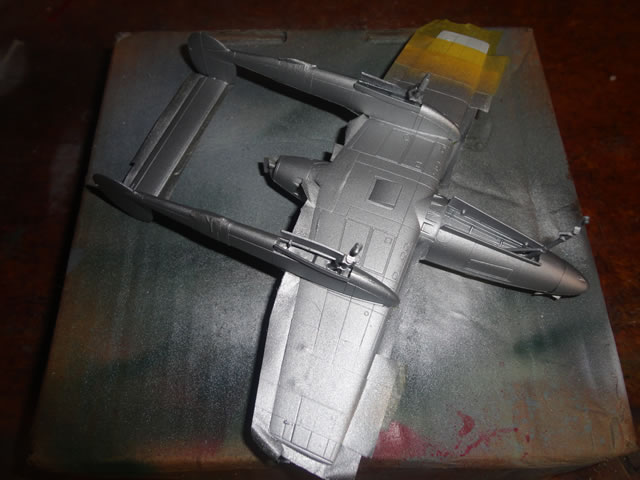
At Step 9 the elevator is added as part of assembling the completed tail booms to the fuselage nacelle. To reiterate a previously made point, the fit of components is excellent and I used no filler and very light sanding of completed seams right through the whole build. I like the design of joins for the nacelle, wings and tail booms.
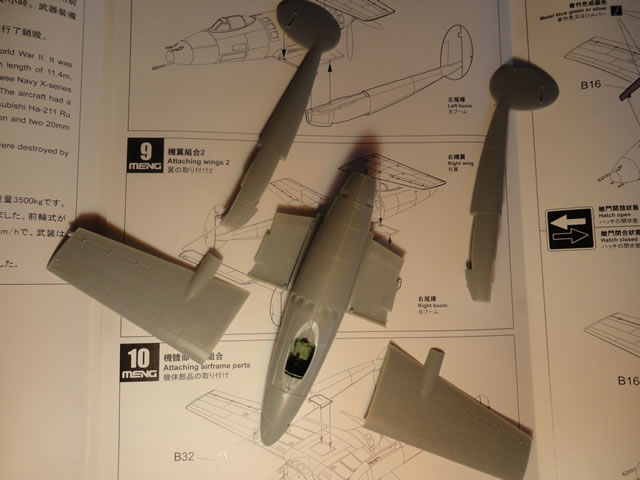
They come together accurately, with the wings and booms in the correct relationship to one another and with no gaps. This joint spoils many-an-otherwise-good P-38 kit and Meng have got it “just right” for the Ki-98 model. Incidentally, I think the moveable surfaces depicted on the elevator look too small to be effective, and lack any balancing (artistic license again?).
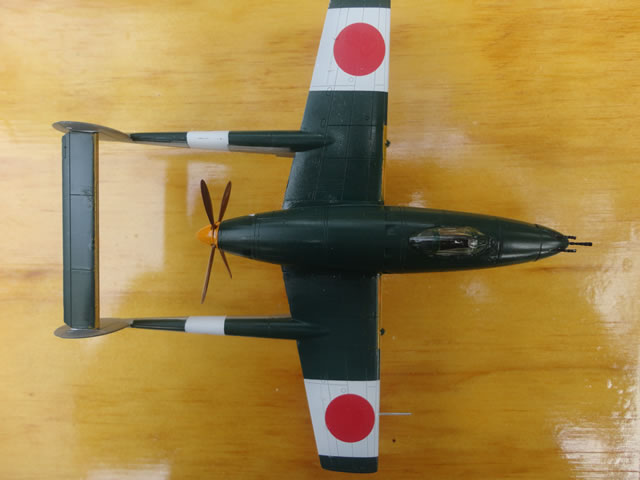
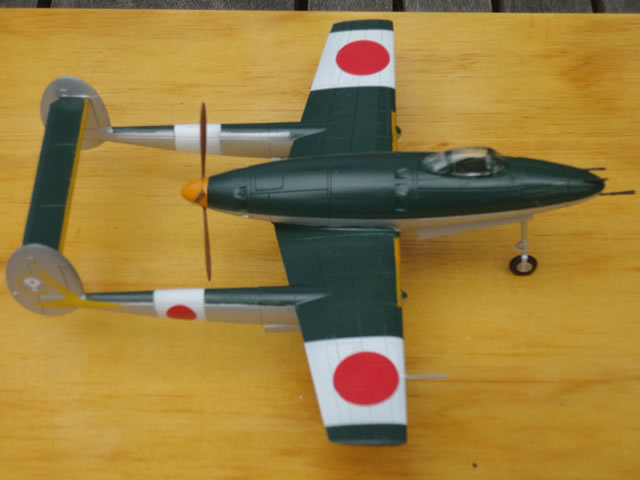
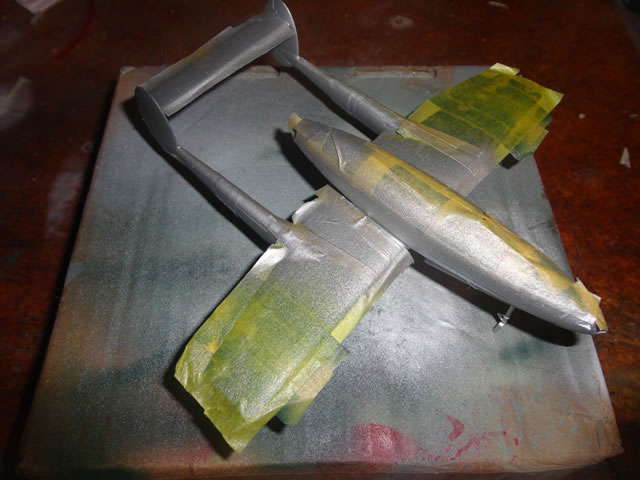
There are three alternative colour schemes catered-for by the supplied decals: A green and silver “Imperial Japanese Army The End of 1945” (the scheme I chose), an all-silver “Manchukuo Air Force The End of 1945” and a dappled brown and grey scheme “Royal Thai Air Force The End of 1945”. No serials are supplied for any of the colour schemes. I painted and masked in stages using Tamiya acrylics, but found that the demarcation between tail boom and wing root was the most difficult. I admit that I had to use a fine brush to make corrections after the masking was removed.
Initially decal application caused me no issues. The above-wing national markings and left side fin chevron applied easily, the decals being thin, opaque and having minimal carrier film. I used “Mr Mark Setter” to ensure the decals conformed to panel lines and this worked really well. One of the underwing national markings and right side fin chevron, however, disintegrated on soaking. I spent an irritating period assembling the fragments onto the model, and it’s a credit to the decal solution that they settled down without visible gaps or lines.
After the decals had thoroughly dried I added the painted wheels, pitot head, prop and nose guns. With the wheels in place I was satisfied that there was “just enough” nose weight and the model sat correctly. The completing act was a light brush coat of flat acrylic varnish.
This was a most enjoyable build with a high standard of component engineering and excellent parts fit. Three quite attractive colour scheme options are supplied but, being a model of a concept aircraft, I can see no reason why it could not be completed as a post-war “captured” aircraft in US or RAF markings. Meng models are to be congratulated on an excellent effort, and the Ki-98 is highly recommended to all 1/72 scale modellers.
Model and Text Copyright ©
2013 by Phillip Weston
Page Created 21 March, 2013
Last Updated
21 March, 2013
Back to
HyperScale Main Page

|
 Home
| What's New |
Features |
Gallery |
Reviews |
Reference |
Forum |
Search
Home
| What's New |
Features |
Gallery |
Reviews |
Reference |
Forum |
Search