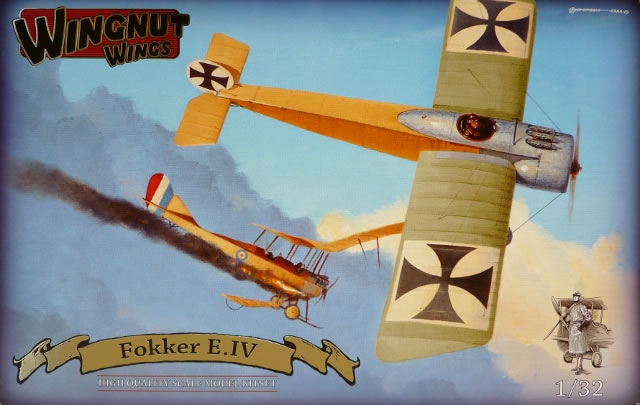
Fokker E.IV
Wingnut Wings, 1/32 scale
| S u m m a r y |
Catalogue Number: |
Wingnut Wings Kit No. 32029 - Fokker E.IV |
Scale: |
1/32 |
Contents and Media: |
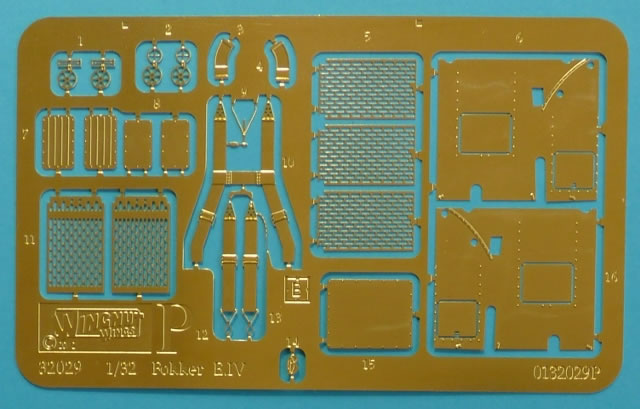
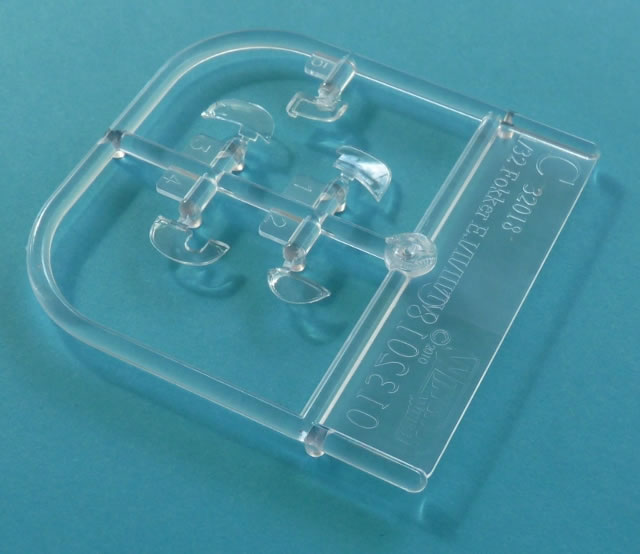
9 sprues of injection moulded grey plastic parts; one sprue of clear plastic; one fret of photo-etch metal detail parts; markings for five aircraft |
Price: |
USD$69.00 with free shipping worldwide, available online from Wingnut Wings' website. |
Review Type: |
First Look |
Advantages: |
Accurate representation; outstanding detail; cleverly engineered for ease of assembly; crisp clean mouldings; comprehensive decal sheet in perfect register with minimal carrier film; excellent use of photo-etched parts, and an educational instruction booklet. |
Disadvantages: |
|
Conclusion: |
Another quality package from Wingnut Wings. The intelligent engineering allows modellers of all skill levels to competently build a WWI aircraft. It does so without compromising detail and a fine result can be accomplished straight from of the box. Very highly recommended. |
Reviewed by Rob Baumgartner

HyperScale is proudly supported by Squadron
The Fokker Eindecker went through quite a few changes during its evolution.
The most distinctive of the series was the E.IV. It was designed to mount the 160-hp Oberursel U.III engine, which was essentially two 7-cylinder U.0 engines bolted together. This extra power allowed an increase in armament and production versions carried 2 x 7.92mm IMG 08 “Spandau” machine guns.
To allow for the new flying characteristics, the wings, cockpit and undercarriage all had to be repositioned. Other changes were the lengthened fuselage, increased height of the upper rigging pylon, and a new mount for the heavier engine.
Although the aircraft’s speed was good, it manoeuvrability let it down. The extra weight of the components, combined with the gyroscopic effect of the engine, proved to be too much of a burden for the wing warping E.IV.
Despite some successes with the type, the “Fokker scourge” was coming to an end, and only 49 aircraft were delivered to the Front.
This highly anticipated version of Fokker’s famous Eindecker is upon us and lives up to the high standards set by its predecessors.
Inside the sturdy box are 9 sprues of grey coloured plastic, a clear tree for the various windscreen options, and a single fret of photo-etched metal. Also included is an A4 sized decal sheet and the characteristic instruction book that doubles as an excellent source of reference material.
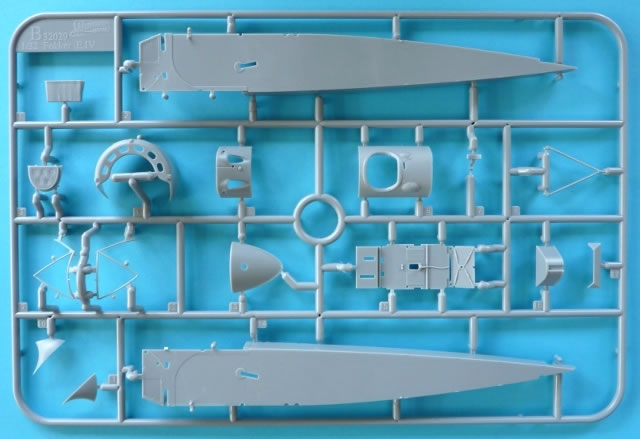
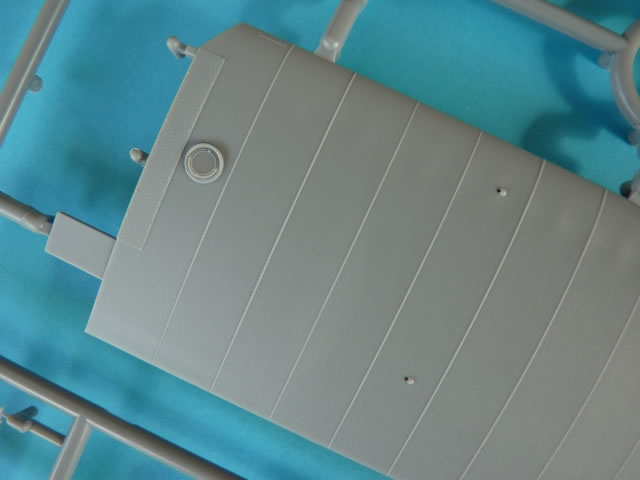
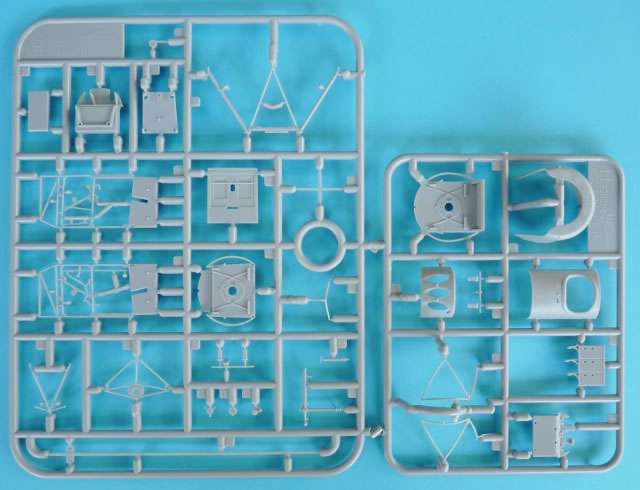
Much is new compared to earlier releases in the series. Sprues B, G, and H are specifically for the E.IV, while A, C, D, E and F will be familiar from previous incarnations. The result is over 200 parts to play with (including p-e) although the option chosen will limit the count to about 70% of this.
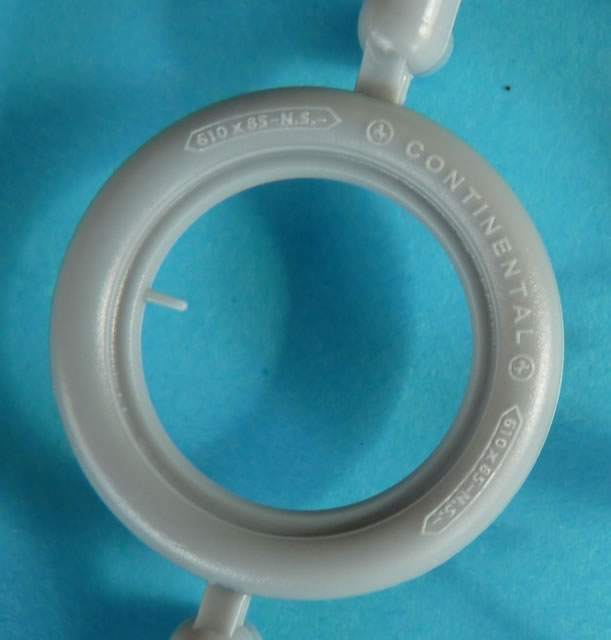
What hasn’t changed is the high level of detail exhibited on each part. The moulding on my example was crisp and defect free, with any ejector pins being placed in areas that are not easily seen on the finished product. Attachment points to the sprue have also been carefully considered. For example, those relating to the engine cylinders have been placed on the mating surfaces only. This means that there will be no loss of detail on the exquisite cooling fins during the clean-up process.
Assembly starts with the cockpit and a dry-fit of the plastic components reveals that everything fits perfectly. If it doesn’t, then check for “flash” in the various openings.
A case in point is the socket in the middle of the floorboard (A44) that locates the lower horizontal bar of the control column (G19). Increasing the upper limit of the hole will allow the machine gun cable at the bottom of the control column to align properly with its partner on floorboard. It will also remove the unnatural bow when the opposite end of the aforementioned member is wedged under A18.
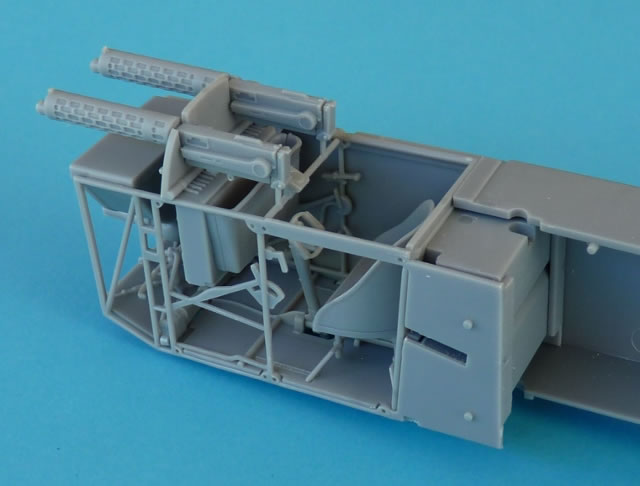
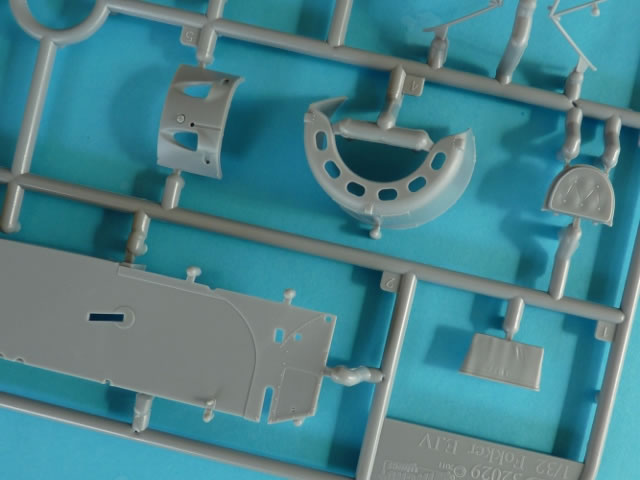
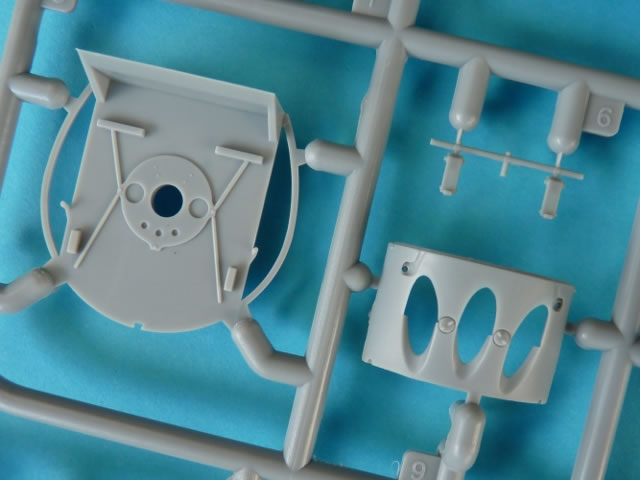
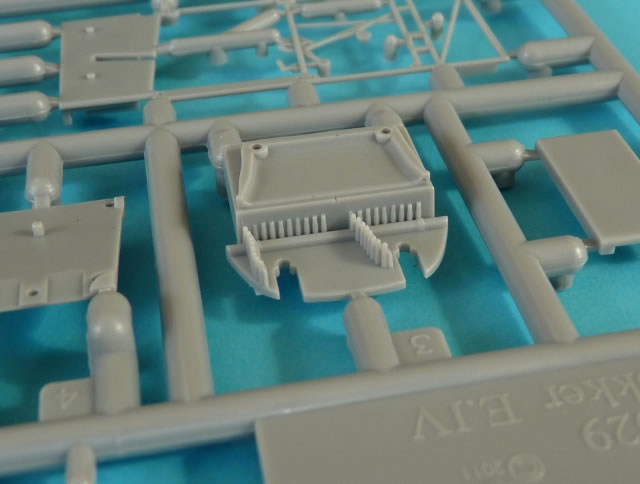
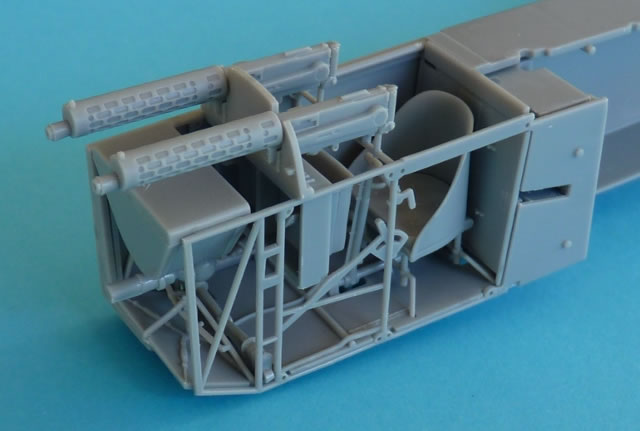
There are 26 parts that make up the cockpit area. Gone is the starboard instrument panel seen in earlier Eindecker releases, and consequently the associated switches and “pulsimeter”. Some of the E.IV’s interior is open to speculation, so it’s up to the modeller to decide if they wish to add any perceived missing equipment.
Here we see the first use of the photo-etched parts and these are utilised for the seat harness and foot plates. A rigging diagram is also supplied to show the airframe bracing and control wires.
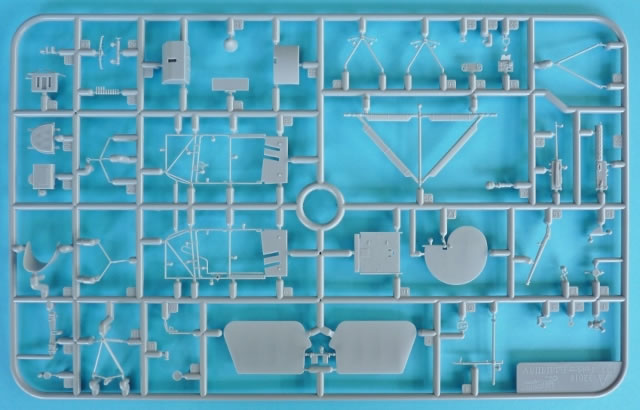
Now it’s decision time. You can either build the regular 2-gun production version or the 3-gun prototype. The latter necessitates a firewall with the extended bottom longerons as well as the careful removal of some side cowl detail. Everything is clearly shown on the instruction sheet and the only thing required of the modeller is a steady hand.
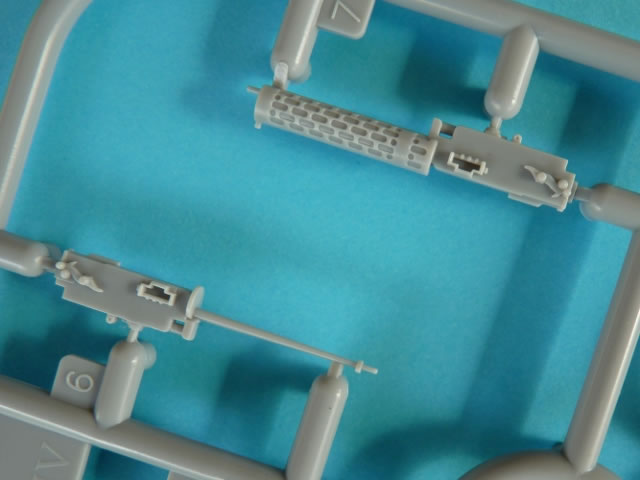
The armament comes in dual flavours. In addition to the plastic machine guns, there are two styles perforated photo-etched jacket. Thoughtfully WNW also include both “gate” and circular foresights on the IMG 08 “Spandaus”.
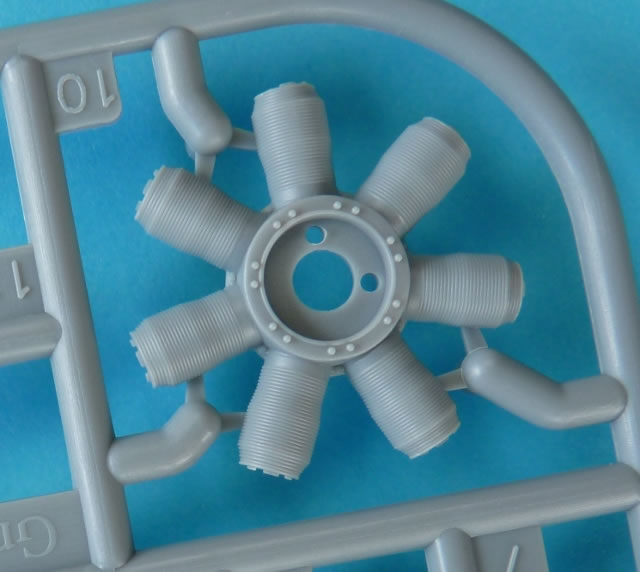
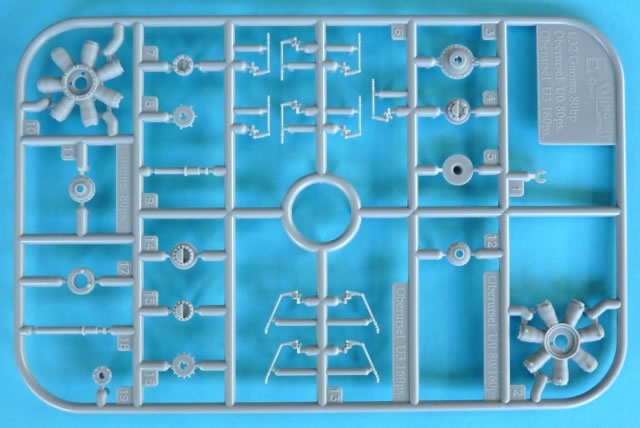
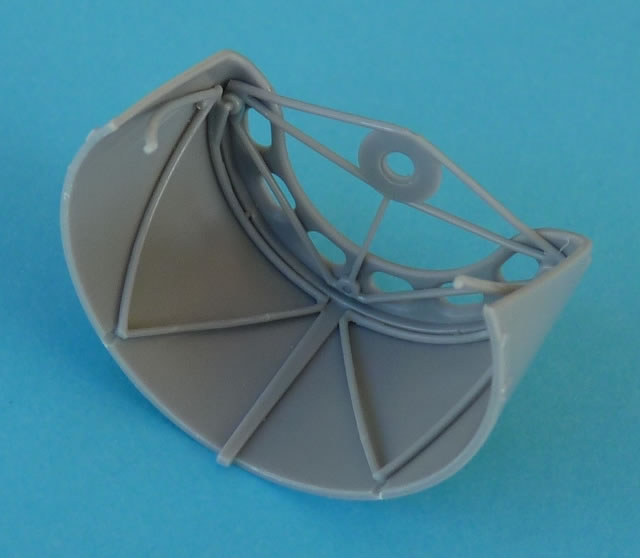
An extra-long cowling was fitted to the E.IV and a cursory look at the engine will tell you why. Extra framing was required to mount the longer 14 cylinder U.III, which was basically a couple of 80hp Oberursel engines bolted together. This is exactly how WNW have portrayed it by providing two “E” sprues of their U.0.
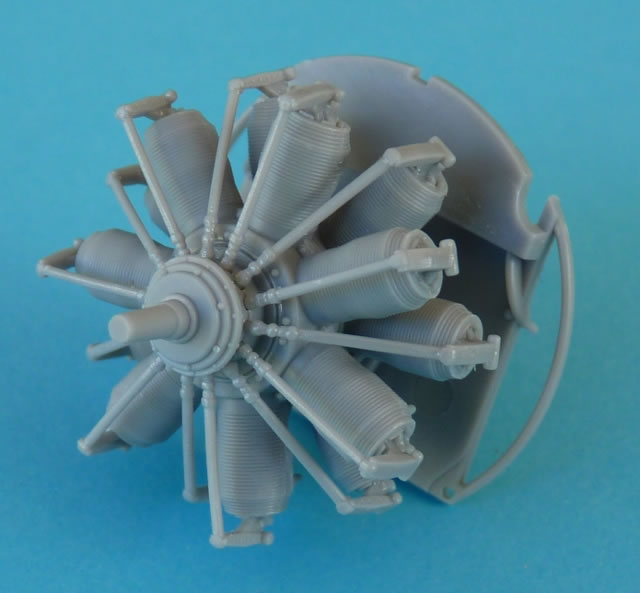
A diagram is provided for those that wish to add the spark plug leads at the rear of the cylinders.
The aforementioned framework needs a lot of care when removing the moulding seams. These delicate parts are a prime target for distortion as I soon found out on more than one occasion. Fortunately their precise location inside the cowl quickly restores the assembly back to its correct shape.
The undercarriage is a clever piece of engineering. This potentially fragile structure is quite strong when assembled and will comfortably support the weight of the completed model. During the clean-up process, make sure you don’t mistake the junction between the tubular frame and the trailing wooded attachments for a moulding seam.
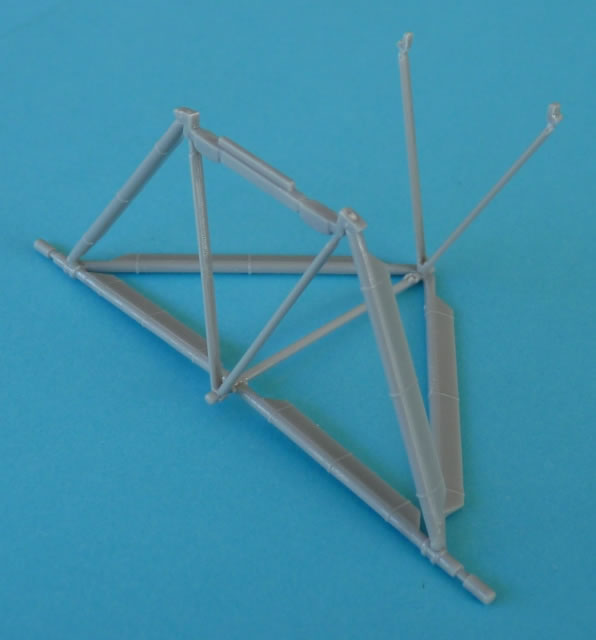
Note that the rigging control horn assembly A45 has been accidently labelled as A10 in the instruction’s diagram.
A smattering of excess plastic prevented the upper decking and engine cowls from achieving a perfect fit. Once these moulding imperfections were removed, all was well and no filler was required.

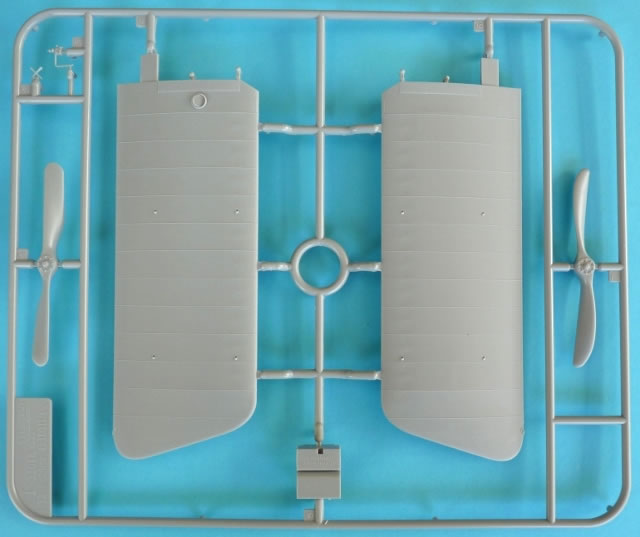
The wings are a masterpiece of engineering. Predictably each side is produced as a single entity and no distortion or blemishes were to be seen anywhere. The trailing edges are commendably thin and the rib capping is unwavering and importantly…consistent in detail.
Each wing fits tightly into the fuselage halves and supports itself without the need for glue or rigging. This is due to the marvellous way in which WNW have designed their kit. The wing tabs slide into a box structure formed by the rear inner fuselage frame and parts A18 and F5. If the wings don’t slip in easily, it’s because of superfluous plastic inside F5. On my example it was easily scrapped off with a sharp scalpel blade.
To furnish the different aircraft in this release, there are a number of alternate parts included. There’s a choice of Integral or Garuda propeller, multiple windscreens, a headrest, rear view mirror, anemometer, external fuel pump, and even a coaming mounted altimeter.
The rigging on an Eindecker is quite complex. The drawings in the instruction book give a reasonable indication of where everything goes. If some of these areas are still a little vague, judicious study of the included period photographs will resolve any outstanding issues.
Marking Options
A generous decal sheet supplies marking for 5 aircraft.
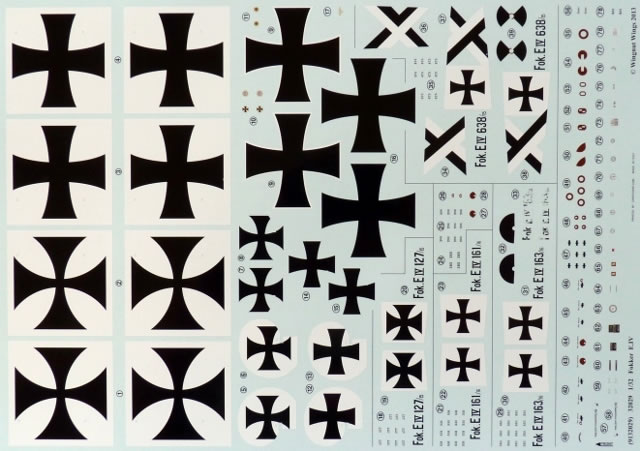
Apart from the national and personal markings, we get an assortment of instrument faces, propeller logos and stencil data. Everything is printed in perfect register with good colour density and a minimum of carrier film around each item.
- Fokker E.IV 122/15, prototype, flown by Anthony Fokker and Otto Parschau (8 victories) September 1915.
This historic aircraft never saw combat. Sadly the box-top artwork depicts otherwise. Synchronising the 3 guns to fire through the propeller proved to be a nightmare, not to mention the associated extra weight. After the port “Spandau” was removed, Otto Parschau evaluated the type and was the first person to fly the E.IV in combat. He scored a total of 8 victories during the war before an aerial battle on 21 July 1916 saw him land with severe stomach wounds. He died 3 hours later.
- Fokker E.IV 127/15, flown by Max Immelmann (15 victories), FFA 62, January 1916.
Immelmann gained 3 of his eventual 15 victories in this aircraft. On 31 May 1916, the synchronising mechanism failed on E.IV 127/15 and he was lucky to land safely after shooting off his propeller. Little did he realise that a few weeks later he would be killed when the same problem occurred while flying E.III 246/16.
- Fokker E.IV 638/15, flown by Karl Albert, Albert Oesterreicher, Alfred Prehn (1 victory), Wilhelm Viereck (2 victories), and possibly Kurt Wintgens (19 victories), KEK 3, mid-late 1916.
This machine is the most colourful of the group and appears to have been used by a number of pilots. The tentative connection to Wintgens is due to the double “X” on the fuselage; a marking he used on one of his Fokker E.IIIs.
- Fokker E.IV 161/16, flown by Lt. Müller, Kest 6, April 1917.
Aircraft that had exhausted their usefulness at the Front were often sent to home defence units. This E.IV was one such aircraft and was seen with Kest 6 in April 1917. The metal cowlings have been over-painted which is a bonus for those that don’t trust their “swirl” painting techniques.
- Fokker E.IV 163/16, flown by Kurt Student (6 victories), AOK 3 Fokkerstaffel, August 1916.
Student was credited with 6 victories by war’s end. It would have been 7 if his Russian Morane on the Eastern Front was confirmed. He survived the conflict and served in the Luftwaffe where he was in command of the German airborne forces. He died in 1978.
This is another first class effort from the WNW team.
Everything fits with precision and the detail on all parts is sharp and consistent. The extra items in the kit allow not only a varied range of aircraft to be built, but some can be modelled at different stages of their career.
Don’t be put off by what appears to be a myriad of rigging. It’s not structural as far as kit assembly is concerned, and the termination points are very accessible. EZ-Line will work wonders for the faint hearted.
The mindset used by the manufacturer is towards ease of assembly and this is evident throughout. Detail has not been compromised as a result, nor has accuracy. We still get the trademark instruction manual/reference booklet as well as the assurance that what’s in the box is going to be the best of its type in any scale.
It’s the perfect addition to the growing Eindecker family.
Thanks to Wingnut Wings for the review sample.
Review Text and Images Copyright © 2013 by Rob Baumgartner
Page Created 4 December, 2013
Last updated
4 December, 2013
Back to HyperScale Main Page

|
 Home | What's
New | Features
| Gallery |
Reviews | Reference
| Forum
| Search
Home | What's
New | Features
| Gallery |
Reviews | Reference
| Forum
| Search