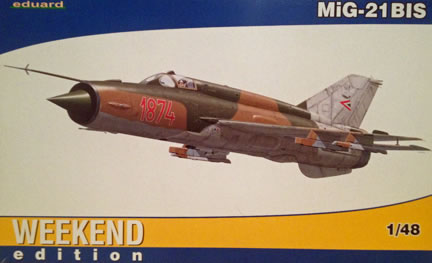
Eduard's 1/48 scale
MiG-21bis
‘Weekend Edition’
by Rafe Morrissey
|
|
MiG-21bis |

Eduard's 1/48 scale MiG-21bis Weekend Edition is available online from Squadron.com
It seemed like such a simple proposition. Build a kit in a year and be paid back for it. That was the pitch at the Northern Virginia IPMS club last February.
I had shown up to do a demo and they were unpacking their 2013 ‘Build the Same Kit’ subject, the Eduard 1:48 MiG-21BIS. “Nice kit,” I thought as I looked through the box. “I can get this done in eight months.” I said and before I knew it I had my checkbook out. Suffice it to say that my modeling “eye” is always bigger than my modeling “stomach,” and this case was no different. So here at the beginning of February, I am penning on article on the build. The big question now is was it worth it since I didn’t get my money back. Well, I can honestly say that I am still happy to have had the chance to tackle this kit and hope a few perspectives will help those who may be looking to do the same.
I’ve only built a few Eduard kits but I have to say that I have enjoyed all of them. I think it is a bit misleading to refer to them as limited run as the detail and finesse certainly seems comparable to more main stream manufacturers. There are a few issues that come as a by-product of the manufacturing process, but nothing that a competent modeler can’t handle.
In the Box
Even though this was a weekend edition, there is still a generous amount of plastic in the box. In addition to a well-detailed interior there are numerous options for drop tanks, rockets and missiles which many of the mainstream manufacturers skimp on or omit all together.
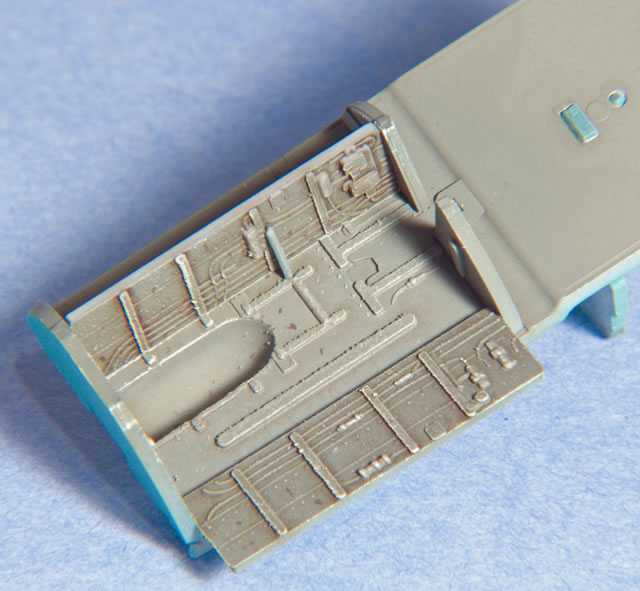
One thing you do notice is that many items that would be molded in one piece are separated. The fuselage, for example, is comprised of four parts plus the radome. Part of this is to allow for different versions of the aircraft, but it is also evident with the gear wells that must be assembled into boxes and the ejector seat which is built up from seven individual pieces. None of this is a major problem but it does make the building process a bit fiddlier than it might otherwise be. Fortunately, the fit on most of the parts is exemplary making the extra construction a pleasant experience.
‘Weekend’ or ‘Weakened’?
So I suppose a fair question is to ask what compromises you face with the ‘Weekend Edition.’ While those familiar with Eduard’s Profipak kits will clearly miss the extra decals and pre-painted photo-etch parts, in comparison to a standard kit, there is still a high level of detail. The cockpit looks quite nice with just the kit parts, though the more complex building once again shows up in four piece side consoles.
Eduard provides decals for the sidewall details and one of the biggest challenges is matching the color. I found a couple Floquil railroad colors that provided a good match. NYC Jade Green and Conrail Blue in a three to one ratio blended with the decal very nicely. Even with the Profipak version, you will face this issue as the parts are presented in pre-painted photo-etch. I applied the decals to thin plastic card and trimmed once they had dried.
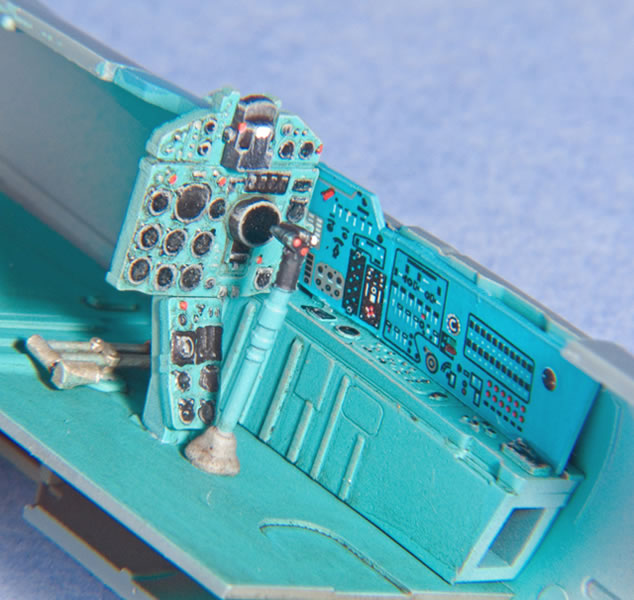
The instrument panel is where you really miss the photo-etch but fortunately, Eduard provides a nicely detailed part that can be painted to look quite nice. To be honest, I always feel a little guilty using a pre-painted instrument panel since I am relying on Eduard’s printing rather than my painting, but they do look nice. Sometimes, it is good to go back to basics and do it yourself as Eduard only makes photo-etch for almost everything.
Where’s the Prop?
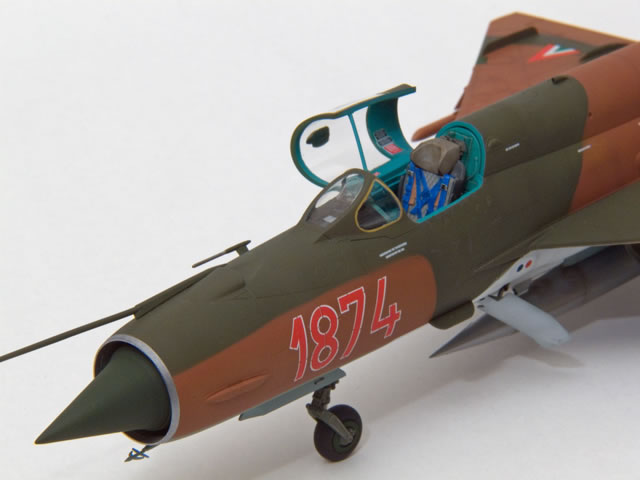
My friends know I build mostly World War II subjects, so this was a bit of a departure for me. Still I enjoyed working on the business end of the jet engine. One thing I am still struggling with is how to eliminate the seams inside the exhaust nozzle. I left it as I couldn’t come up with an acceptable strategy, but will keep thinking about it.
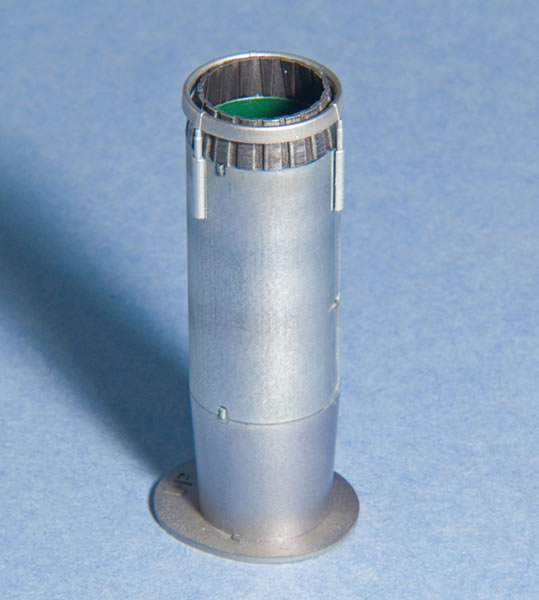
I was surprised at the color call out for the nozzle interior as a bright green paint but references confirmed it. It must be some tough paint and Russians appear to use it everywhere! The same color was listed for the radome and antennas. I used Alclad II lacquers for the nozzle end and exterior. I also experimented with Tamiya weathering powders to add some tinting to the nozzle. It is a bit hard to see in the photos but look quite nice on the model.
Fitting the Fuselage
Building up to the final airframe is quite a complex task. There are a number of unused parts for other variants so identifying and installing the appropriate scoops and details takes a while.
In the end, it all comes together quite nicely. Fit is generally very good and I just needed a bit of Mr. Surfacer 500 along the wing to fuselage seams. I removed the excess with Mr. Color Thinner which eliminated the need for sanding in this hard to reach area.
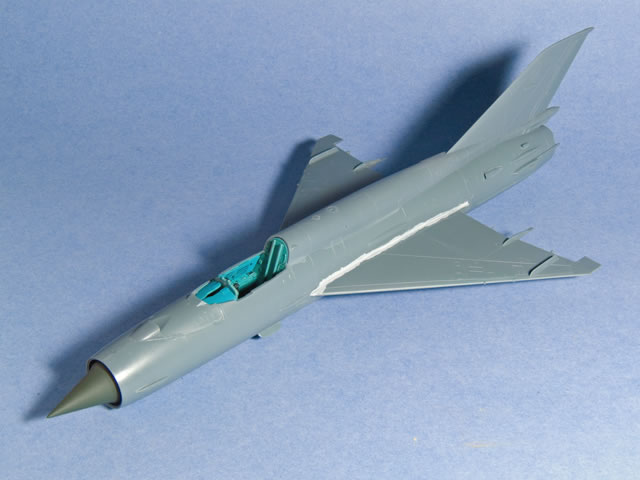
The fit of the spine and tail was excellent.
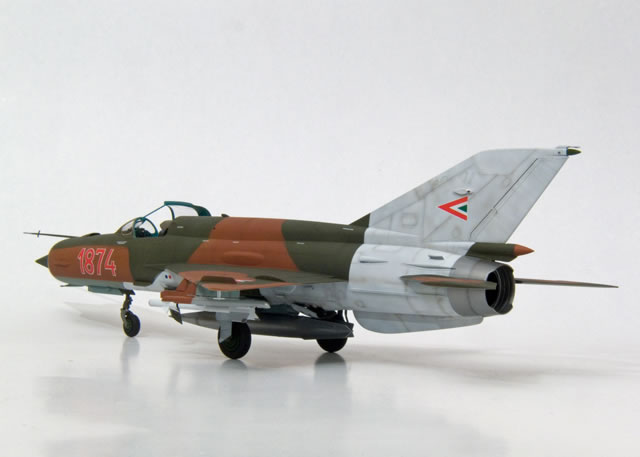
Not being a MiG aficionado, I didn’t have any aftermarket decals in my stash and made the easy choice to just go with the markings Eduard supplied in the box. Fortunately, I quite liked the scheme with features temporary white exercise markings on the rear fuselage and underside.
I painted the white areas first after pre-shading the panel lines. I generally post shade these days but this scheme is tailor made for the pre-shading approach. I wanted to make the white areas look really beat up to match the box. The remainder of the camouflage was applied using enlarged copies of the painting diagram to cut out soft masks that were held slightly off of the surface with rolled up bits of tape.
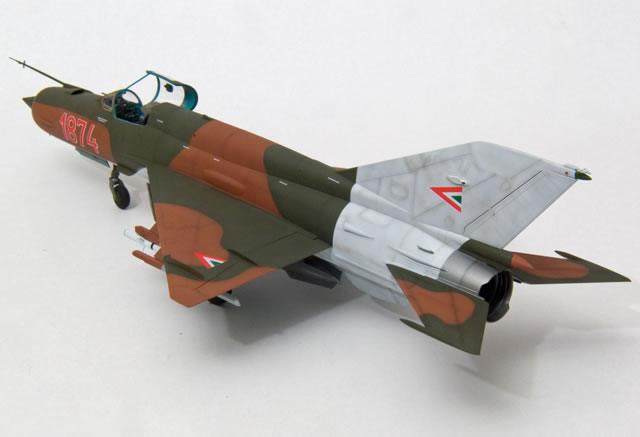
As with any multi-color scheme, the masking and painting process takes a long time, but in the end the results were very pleasing. There a many options for arming the MiG. I chose a configuration that I imagined would be a typical interceptor layout with two R-3S missiles and a centerline tank so the pilot could streak out, shoot the missiles, drop the tank and scoot back home.
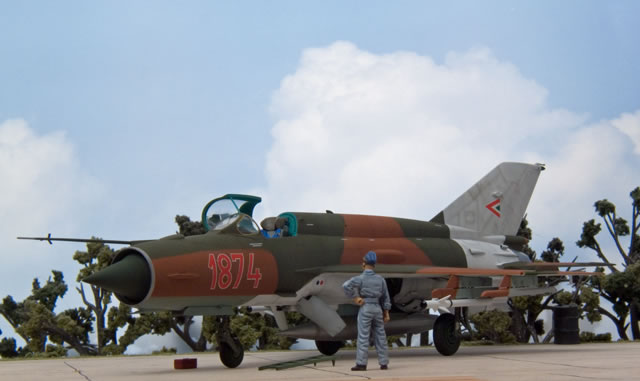
Finally, I added some vanes on the pitot probe with thin plastic card. I suspect Eduard provides these as photo-etch pieces as there is no reference to them in the instructions but their absence is really noticeable.
So the kit definitely took longer than a weekend, but I can’t accuse Eduard of false advertising as I can’t even take the shrink wrap off in a weekend. That said, the multiple part assemblies required in the kit make this a much more complex build than one might expect. Still, if one takes their time and follows the instructions, there is nothing in the kit that would prevent the ability to turn out a great replica of this iconic aircraft.
I thought it was certainly worth the money I didn’t get back and liked it well enough to go out and get the Profipak version.
Images and Text Copyright ©
2014 by Rafe Morrissey
Page Created 7 March, 2014
Last Updated
7 March, 2014
Back to
HyperScale Main Page

|
 Home
| What's New |
Features |
Gallery |
Reviews |
Reference |
Forum |
Search
Home
| What's New |
Features |
Gallery |
Reviews |
Reference |
Forum |
Search