|
MiG-21PF
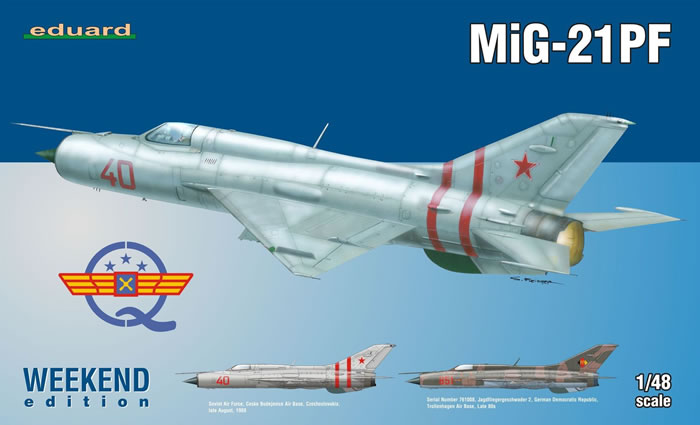
Eduard Weekend Edition, 1/48 scale
S
u m m a r y |
| Catalogue Number: |
Eduard Kit No. 84127 - MiG-21PF Weekend Edition |
| Scale: |
1/48 |
| Contents and Media: |
7 grey plastic sprues,1 clear sprue, 1 SUPER FABRIC seatbelt, 1 decal sheet, A4 instruction booklet. |
| Price: |
USD$39.95 plus shipping,
available online from Eduard |
| Review Type: |
FirstLook |
| Advantages: |
Easy build, great detail from the kit plastic without the need to worry about fiddly resin and etch. Great value for money. |
| Disadvantages: |
|
| Conclusion: |
There’s not much to say that I haven’t said about this kit before. Just get one. |
Reviewed by Michael Drover

Eduard's 1/48 Bf109E-7 trop Weekend Edition is available online from Squadron.com
The MiG-21PF was a development of the MiG-21 F-13 with improvements made to the engine, radar and weapons control system.
The PF was the first all-weather radar equipped variant of the MiG-21 family. Early versions were fitted with the TsD-30T radar. From the seventh production block onwards they were equipped with the RP-21 Sapfir ‘Spin Scan’ radar. This gave the PF an instant improvement over the earlier F-13 as it was only equipped with a ranging and gun radar.
The PF was the first true missile and radar armed MiG-21 in the long line of its development.
As sure as the sun rises and sets, Eduard are certain to release their Profipack kits as a Weekend Edition. Here we have the Weekend Edition of the now infamous Eduard MiG-21. This time delivered as the early PF version.
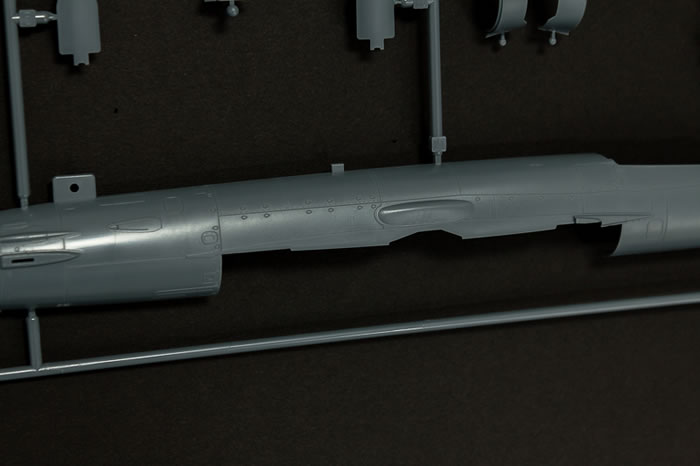
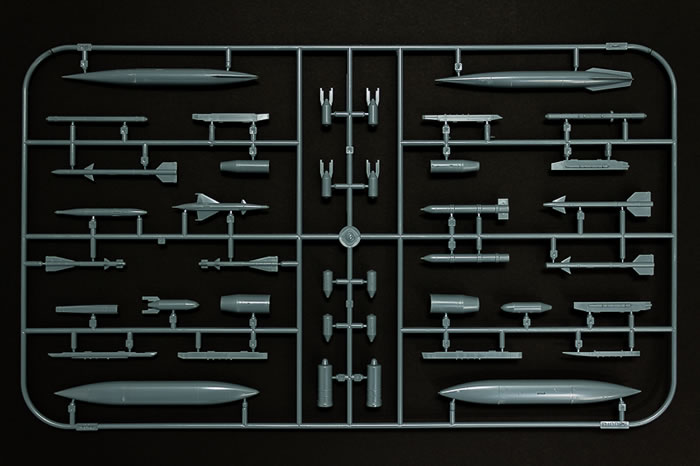
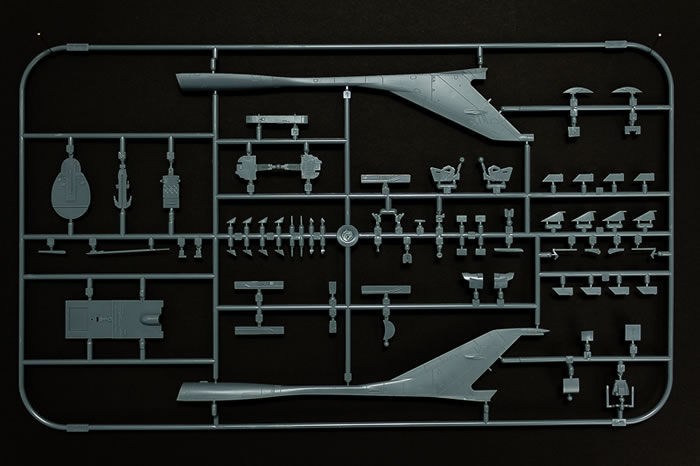
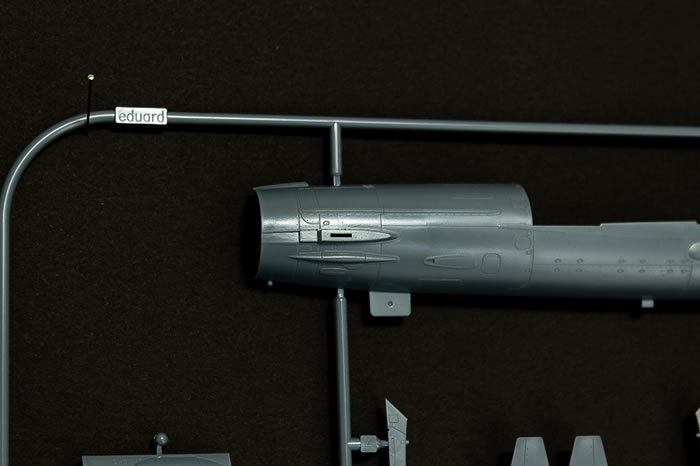
Arriving in Eduard’s standard box we find seven grey plastic sprues and one clear sprue all of course perfectly cast. Each sprue excludes various parts to arrive at the PF variant. This isn’t a bad thing as you’ll end up with a fair amount of stuff to put in the spares box if you’re building multiple variants of the kit. The PF was limited with the air-to-air ordnance so you’ll end up with a fair few left overs.
Kicking off the build is the cockpit. Two options are available for the instrumentation. The first is to use the supplied decals for the instrument panel and side consoles. Secondly, if you think you’re deft with a fine paint brush, you could lend your hand to painting the raised details by using the instrument and side console. I think I’d opt for this option as the forward hinging canopy will allow you to show off all of that handiwork to its best.
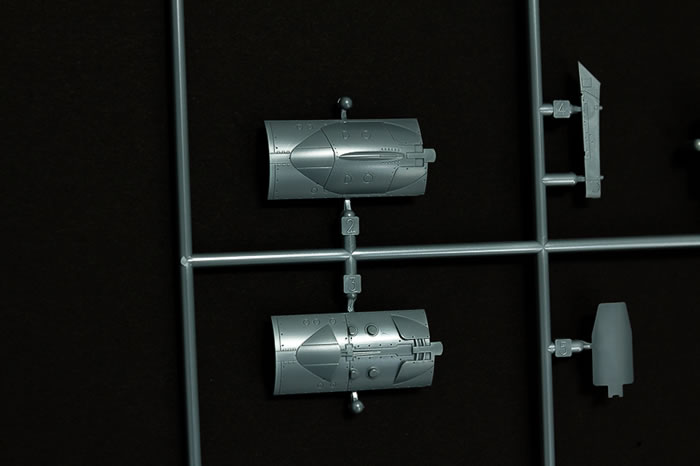
Moving on to the engine assembly, we’ve got a fairly straight forward procedure. The main body of the exhaust consists of left and right halves, single piece exhaust petals, flame holder and compressor face. As there is quite some depth to the exhaust, it should look great when detail painted and installed.
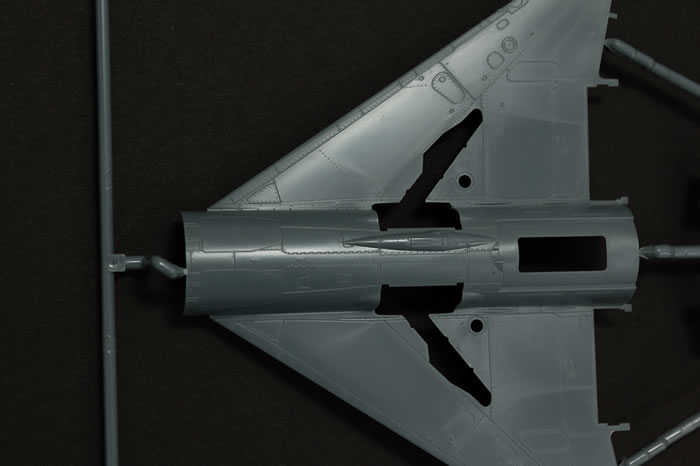
Next on the build is the main undercarriage wheel well. Bulkheads make up the forward and rear of the wheel well while the external faces of the engine bay make up the walls. Additional pipe work and (nitrogen/oxygen?) bottles for the bay are supplied so it should look nice and busy. Although this is an area that is not normally seen when the model is on its wheels, it will pay to give it some attention as the MiG-21 wheel wells are an exposed area of the aircraft.
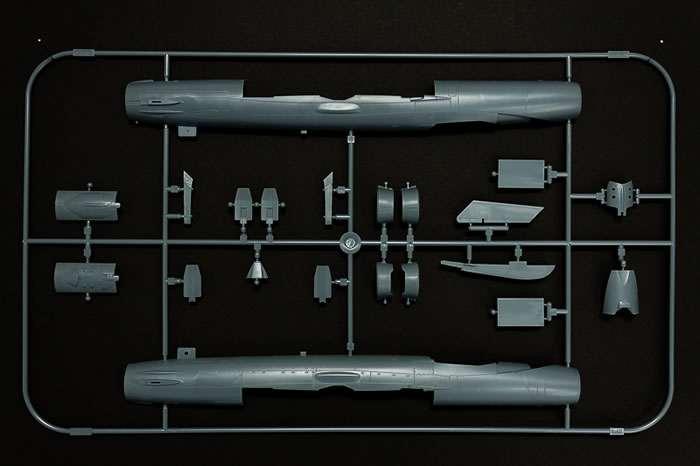
Once all of these sub assemblies are complete, stick them into the fuselage and then glue it together.
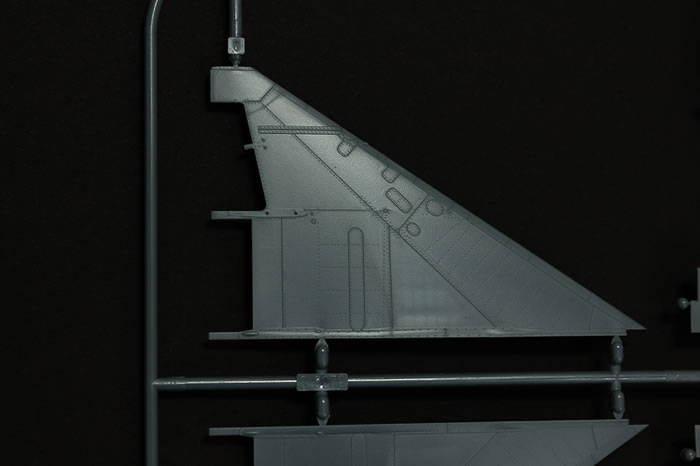
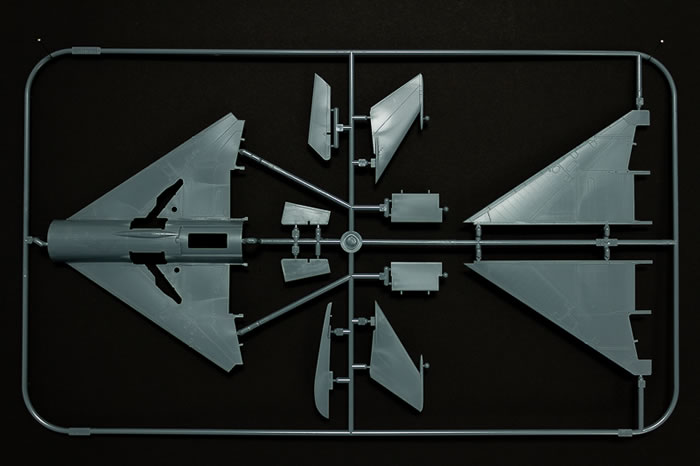
The remainder of the build is essentially the flying surfaces with some additional work in the wing sections of the wheel wells to be completed before they are glued. If you chose to open the air brakes, you’ve got some work to do as the closed doors need to be removed and then replaced with the interiors of the air brakes wells.
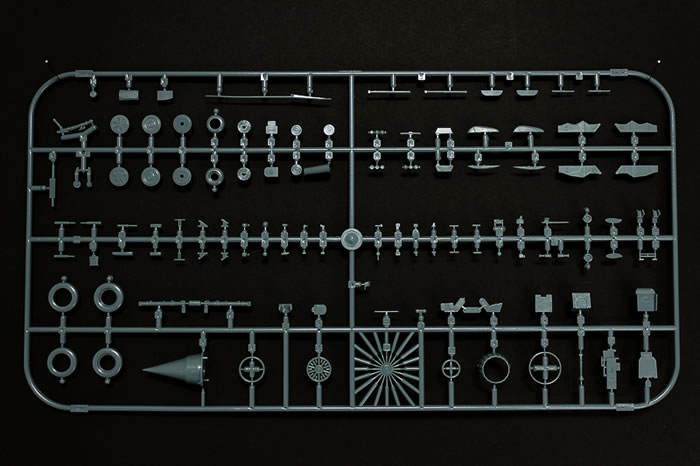
The second to last item on the assembly list is the tricycle undercarriage. Both the main wheels and the nose wheel are made up of left and right wheels and hubs which will aid with painting. Paint the tyres and hubs separately and then insert the hubs into the tyres.
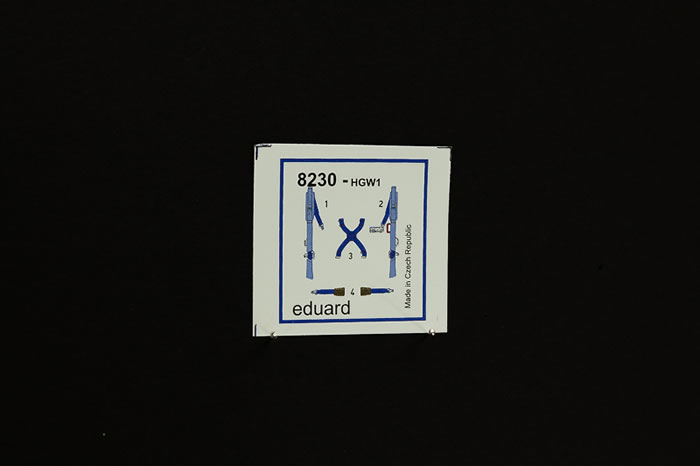
Finally the fourteen piece SK ejection seat is built up and installed into the cockpit. The seat is dressed up with a seat belt from the SUPER FABRIC line.
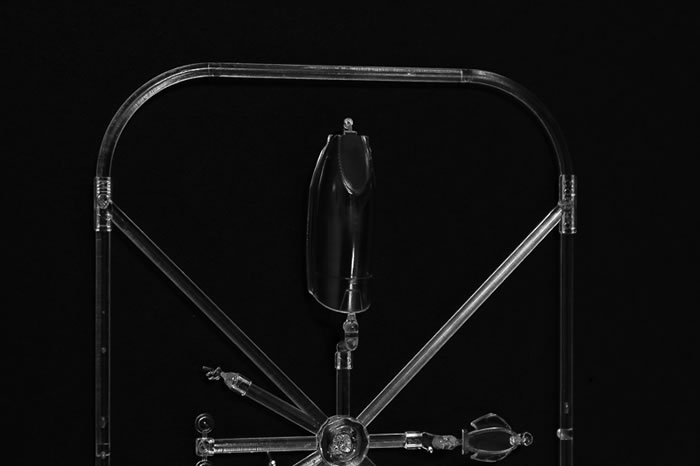
Finally the canopy is installed. The MiG-21PF had an armoured windscreen that was separate to the forward hinged canopy. If choosing the closed option be sure to select the correct canopy as it has the needed space to install the armoured windscreen. If you find yourself forcing it, you’re probably using the wrong one.
Markings
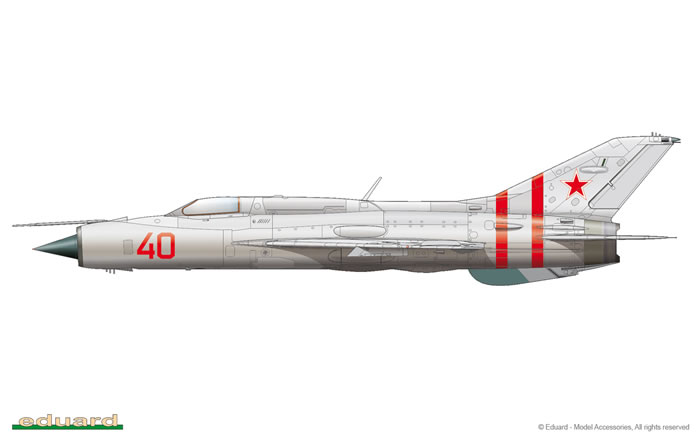
Two marking options are supplied, with a decent amount of provided for the airframes and ordnance.
-
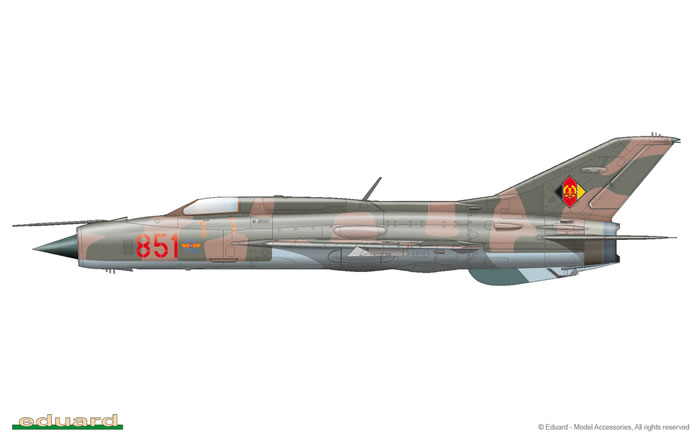
Soviet Air Force, Ceske Budejovice Air Base, Czechoslovakia, late August, 1968
-
Serial Number 761008, Jagdfliegergeschwader 2, German Democratic Republic, Trollenhagen Air Base, Late 80s
I’ve reviewed different variants of this kit a few times now and I still enjoy rediscovering the excellent quality that can be found in this model.
The Weekend editions of these kits might exclude the bells and whistles of their Profipack cousins but they certainly can stand alone with the kit plastic straight out of the box.
For those that aren’t interested in the resin and etch of the Profipack editions be sure to get yourself one of these.
Recommended.
Thanks to Eduard for the sample
Review Text Copyright © 2014 by Michael Drover
Page Created 15 July, 2015
Last updated
15 July, 2015
Back to HyperScale Main Page
Back to Reviews Page |
 Home
| What's New |
Features |
Gallery |
Reviews |
Reference |
Forum |
Home
| What's New |
Features |
Gallery |
Reviews |
Reference |
Forum |