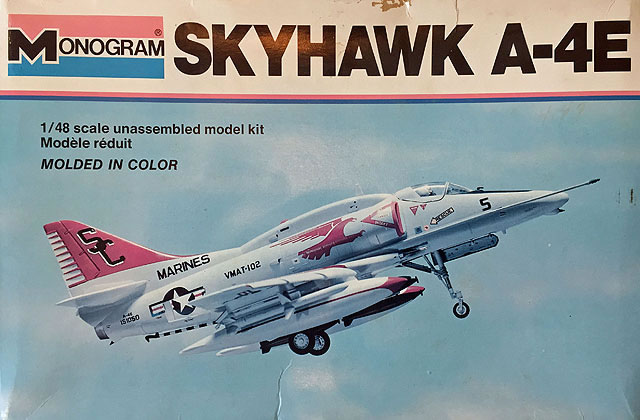
The Once and Future Scooter:
Building Monogram’s Classic
1/48 scale
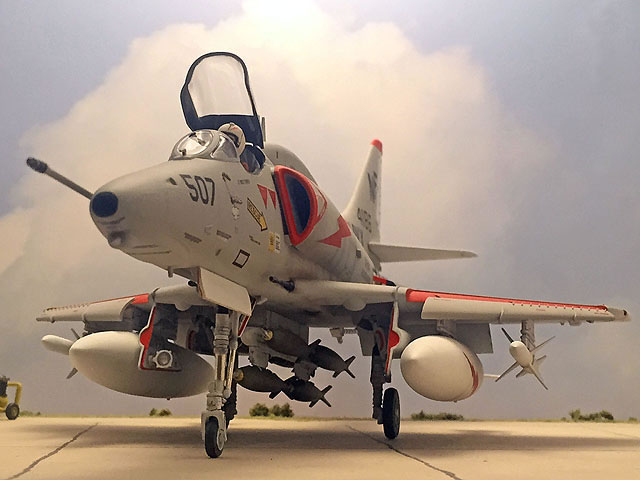
A-4 Skyhawk
by Rafe Morrissey

Revell's 1/72 Shackleton is available online from Squadron for only $35.99!
If you’re like me, you probably have one of those kits from your youth that never quite made it. For me it was the Monogram 1:48 A-4E. I started it when I was 13 or 14 back in 1984. I just couldn’t seem to get it put together right and it languished on a shelf at the top of my closet and ultimately got tossed out when I moved out from home. It has always been “the one that got away.” I managed to track one down a few years ago in the exact same boxing. When I was looking for a project to take down to Savannah where I grew up for summer vacation, I thought it would be the perfect chance to try the kit again back where I first attempted it. Since I was traveling, I also decided to do as much work as possible using simple techniques and brush painting.
Unboxing a Classic
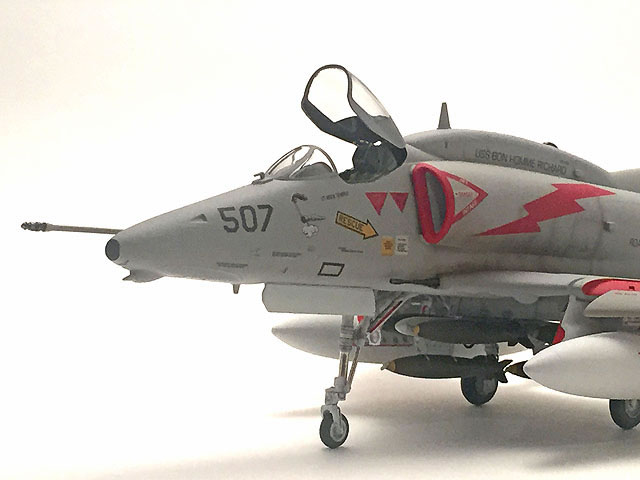
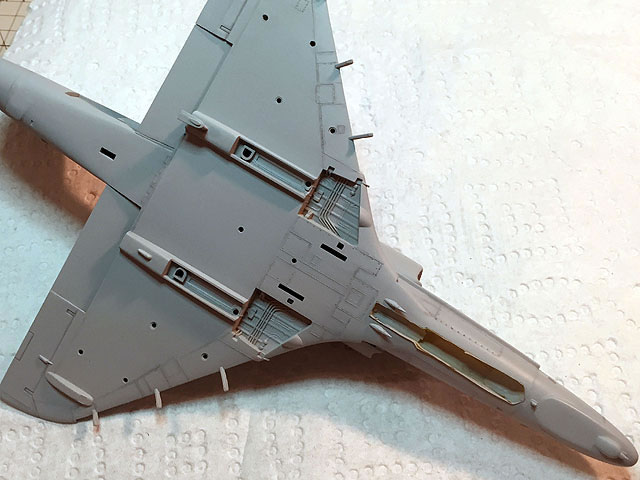
For many years, Monogram’s A-4E/F was the best kit available in 1:48 scale. Although molded with raised surface detail typical for 80’s vintage kits, the kit offers accurate dimensions, well-detailed landing gear bays and a generous amount of ordinance including two drop tanks, two AGM-45 Shrike missiles, and 6 Mk. 82 bombs with a multiple ejector rack.
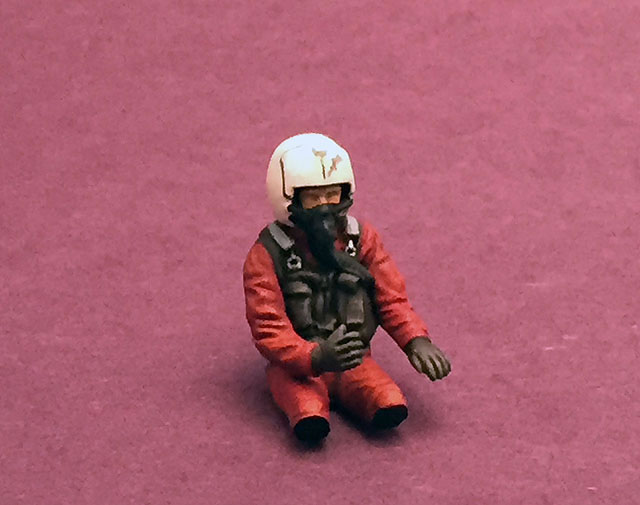
Cockpit detail is basic but ultimately adequate and a nice pilot figure is included.
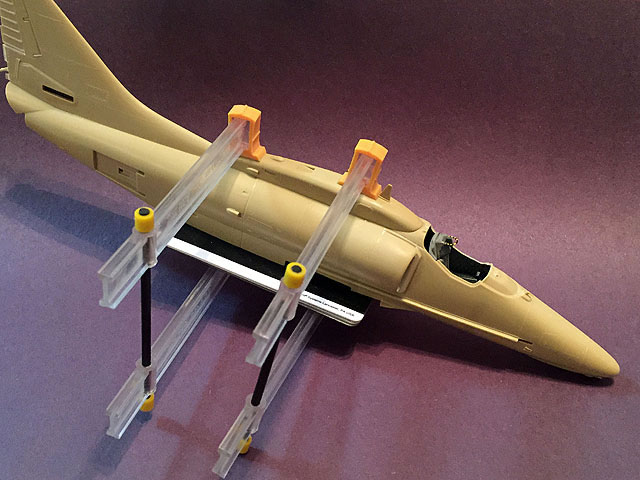
The kit is a definite tail-sitter and a clear stand is included on the clear sprue. As with most Monogram kits, everything looks nice in the box, but the fit is questionable. I was to find, however, that with some simple fit improvement techniques, the kit went together far better than it first appeared it would.
The Fun Begins
After my usual process of washing all the parts with Dawn dish detergent, rinsing thoroughly and allowing them to dry, I began with the cockpit. The Monogram cockpit seems extremely basic at first glance with only three parts. The ejection seat is molded into the cockpit tub which in the age of resin and photo-etch details, feels quite crude.
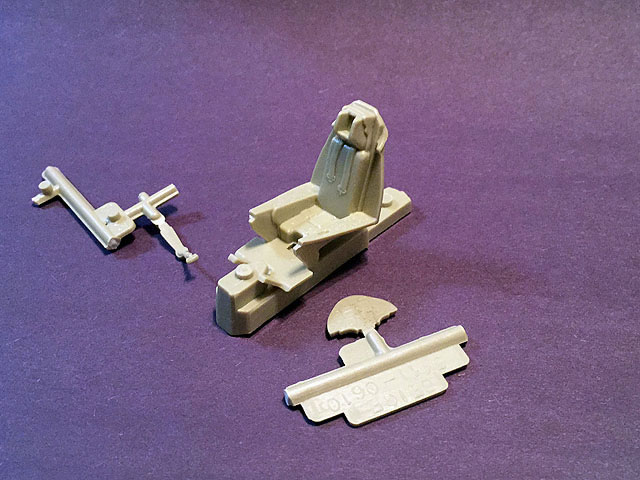
In keeping with my intention to use only the basic techniques available when I first tried to build it, I decided to work with what was there. After careful brush painting, I was surprised at how much better the parts looked under paint. I did use some sprue stretched from the kit trees to replicate the ejection handles.
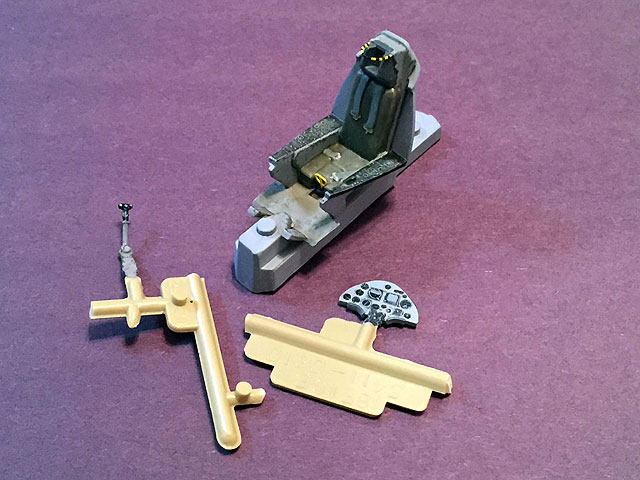
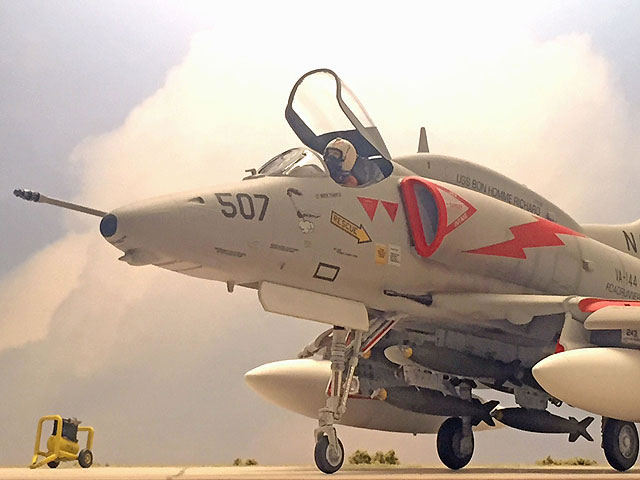
I ran a sharp #2 pencil in the creases between the seat and the cockpit tub. After a quick spray of Testors Flat Coat from a spray can, this made it look like a separate part. There is actually a nice bit of cockpit detail molded into the fuselage halves including the quilted padding that is a distinctive feature of Skyhawks. A wash and dry brush followed by a dusting of the side consoles with Tamiya weathering pastels and some pencil chipping made the cockpit look surprisingly good.
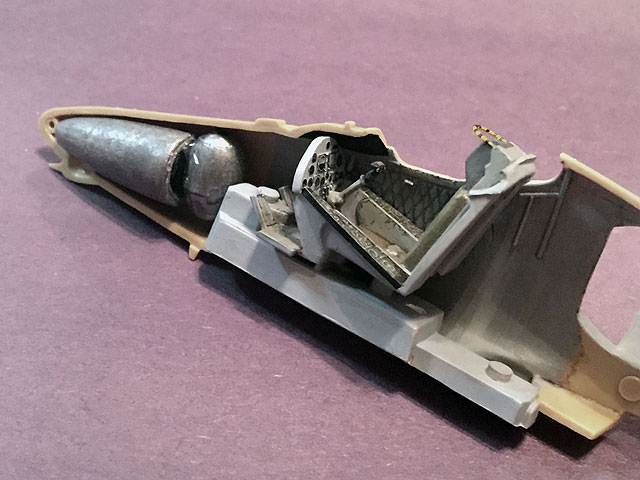
I didn’t want to use the clear stand, so I put some fishing sinkers in the nose.
Fixing the Fit
Monogram kits of this vintage have ejector marks on many parts including the mating surfaces. It is important to examine each part carefully and trim any ejector pins away.
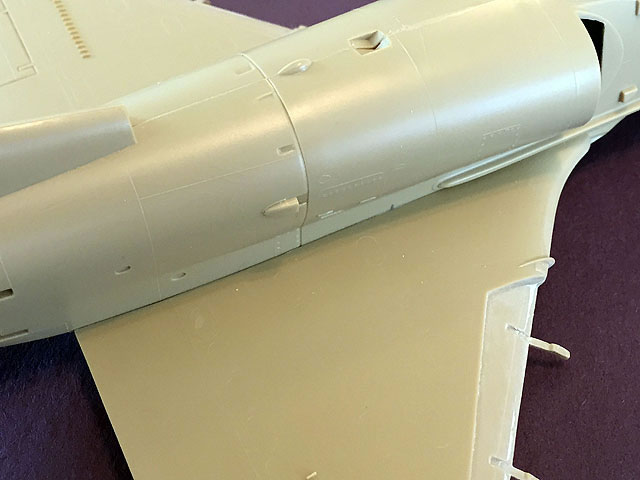
I used a curved #10 blade on flat surfaces and sanded the mating edges of the wing and fuselage halves. I also scraped and sanded away the copyright information on the lower wing half. Generally the fuselage and wing halves fit well after cleanup, though there is a big seam on the wing in the recesses for the leading edge slats. Actually there should be no recess at all as the slats simply fit over the wing surface on the real thing, but I decided to just fill the seams with Perfect Plastic Putty.
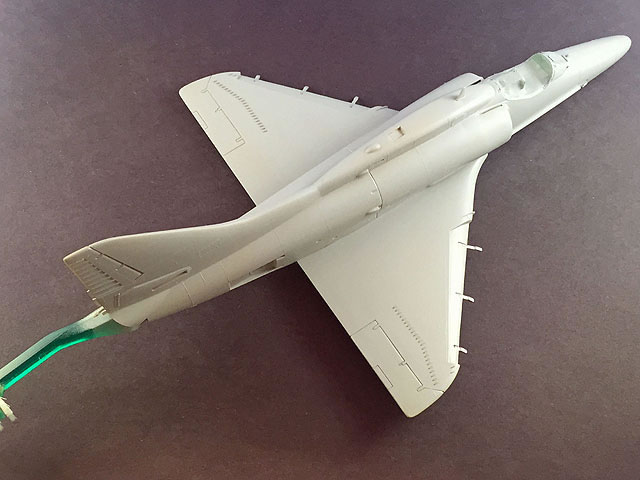
The biggest issue came when I attempted to fit the wing assembly to the fuselage. Large gaps appeared on both wing roots.
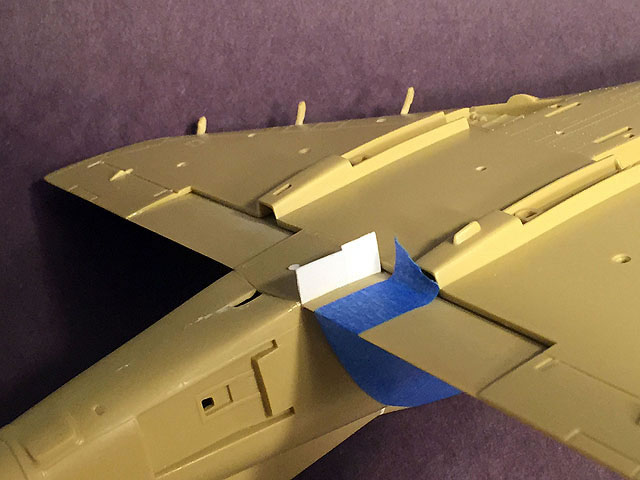
My first instinct was to try to fill the seams with plastic strips but I just couldn’t imagine Monogram would engineer the kit with such a bad fit. I then decided to cut a section of sprue that had a large I.D. plate molded with it to use as a spreader. I measure the width of the opening on the underside of the fuselage and cut the sprue a couple millimeters longer.
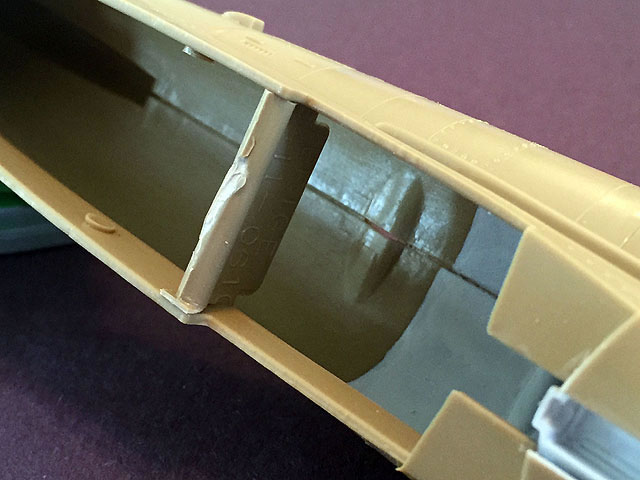
After a few test fits and some trimming, the wing to fuselage fit was almost perfect.
I did need to add a thin plastic shim at the trailing edge of one wing, but think I could have eliminated this gap too with a second spreader bar further to the rear.
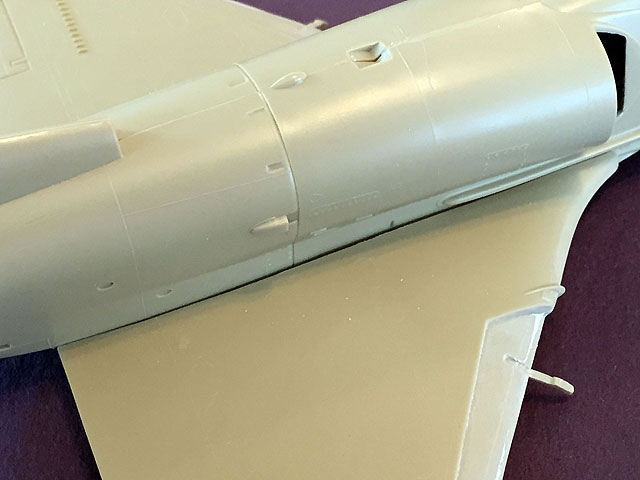
Another tip I realized for next time is to not glue the nose wheel well in place until the fuselage is closed. This allows it to be centered in the opening. There is room to install a clamp to hold it in place before adding the wing. I suspect many of the old Monogram kits can be made to fit better with such methods and actually go together better than we thought back then. Many of the seams were eliminated just by sanding away the plastic that oozed out of the seams when they were glued. I did need some perfect plastic putty to eliminate some sink marks on the top of the fuselage and the seams where the intakes joined.
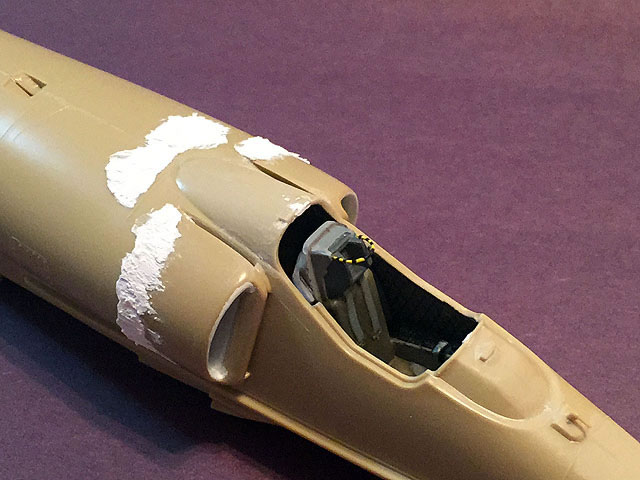
Careful scraping and sanding of edges of the avionics hump resulted in a good fit though clamps were needed to hold the part firmly in place until the glue set. I did use a bit more putty at the front edge. I wiped the excess putty away right after application with a damp Q-tip eliminating the need to sand in this area.
Emergency Measures
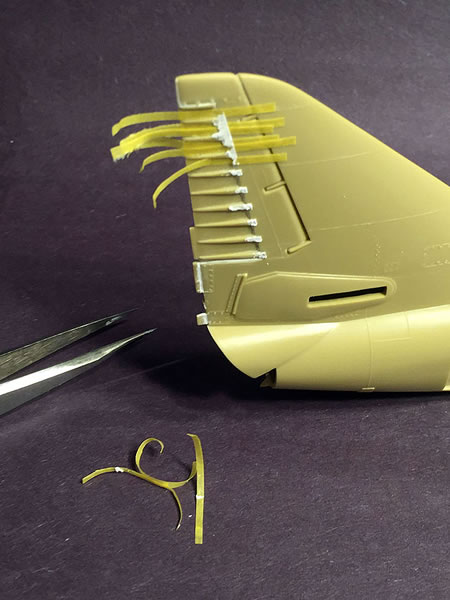
During construction, I managed to break off one of the small antennas under the tail. For an easy replacement, I stretched a piece of kit sprue and then filed and sanded the end to shape.
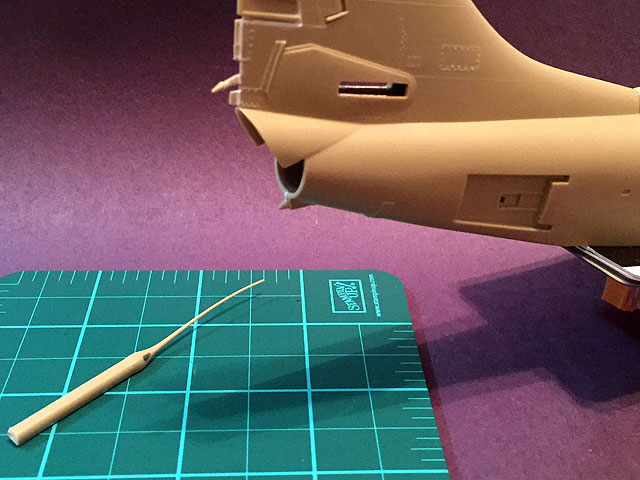
I carefully cut it off and glued it on the model.
Raised panel lines are another throwback challenge from the 1980s. Rescribing is always an option but that was more work than I wanted to do on vacation. Actually, the raised lines can be made to look decent with a couple simple techniques. First, lines crossing the fuselage or drop tanks can be restored by using a needle in a pin vise and making a single pass against a straight edge. I use Dymo tape as a guide. For the wing tanks, I just rolled a #10 blade carefully along the line to fill in the missing portions erased from the sanding. This raises a small kerf of plastic that tricks the eye into thinking the line is intact once painted.
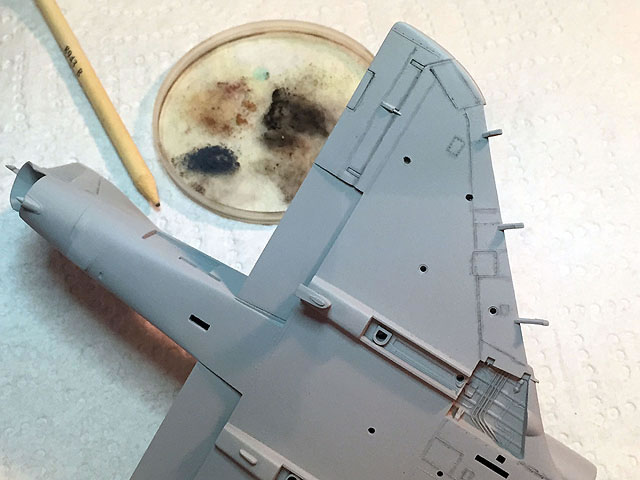
Another helpful l technique is one I learned from a great guy named Jim Baker who was a master at building raised panel line kits. Once the model is primed, use an artists’ blending stump to apply pastel chalk powder along each line. Wipe the excess powder away in the direction of air flow with a paper towel. This leaves a pre-shaded panel line.
Mist on the finish color coats and the overall look provides a nice weathered appearance.
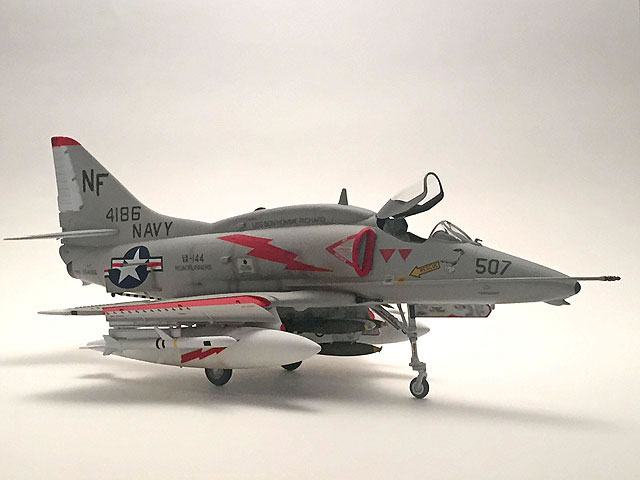
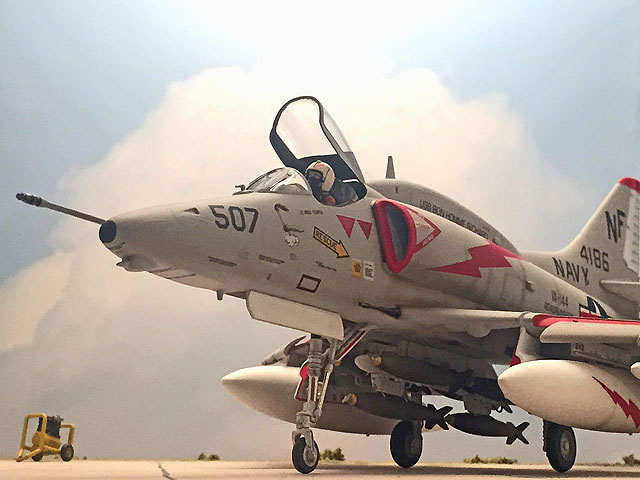
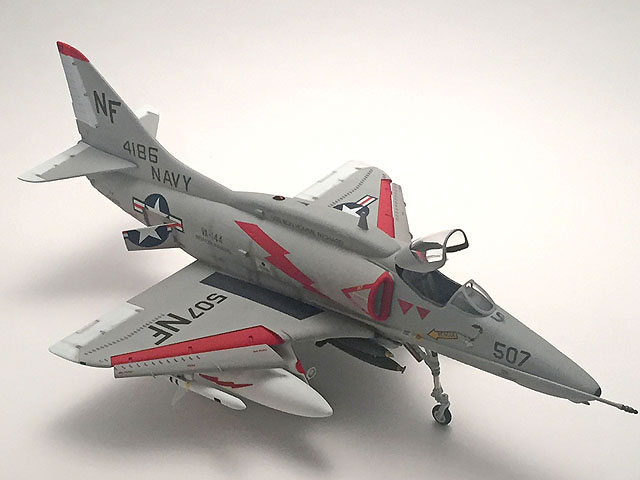
I used Tamiya XF-2 Flat White on the bottom and a custom mix of Tamiya paints for the light gull gray top color.
The correct color is easily achieved by adding a bit of the white to XF-20 Medium Gray. When painting was complete I sprayed a coat of Pledge Multi Surface Finish (MSF) for a gloss coat. I always add a few drops of Tamiya thinner which breaks the surface tension and helps it level out.
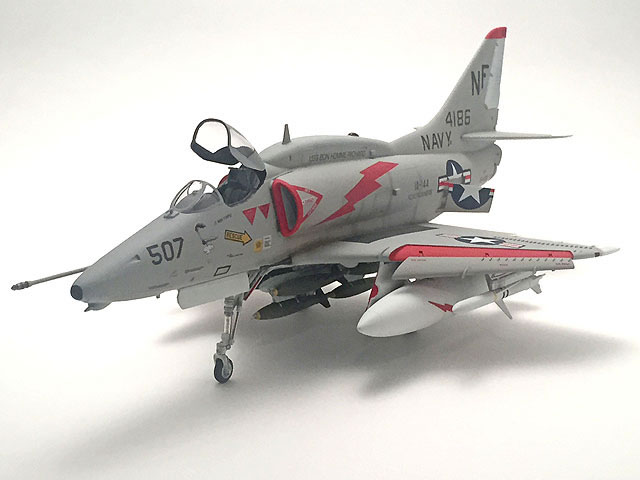
I really wanted to use the original kit markings, but recalled that Monogram decals from this era were thick and did not respond well to solvents. I also recalled an article indicating that they were not intended to and instead should be applied with only hot water. I followed this method for most of the decals and it worked pretty well. After sliding them into position I rolled out the excess water with a Q-tip. For small markings I applied the decals into a puddle of Pledge MSF. This method really worked well and prevented any silvering. I used some old Microscale stars and bars because I thought they would settle better over the speed brakes. My method here was to fit the speed brakes in the closed position (they fit in place tight enough to hold but could easily be removed. Next I applied the decals in the correct position. After they had dried, I used a sharp X-Acto knife to cut through the decals. The old decals were a bit brittle, so I had to do some touching up, but the brakes worked well in the end. I sprayed Pledge MSF over all the decals letting it cure overnight. Finally, I applied a flat coat with Testors Clear Flat lacquer. Overall, I thought the decals looked great for being 36 years old. There were a couple places where the white undercoat on the red peeked out and some were slightly yellowed, but I am very happy to have the original markings from the kit I attempted so long ago.
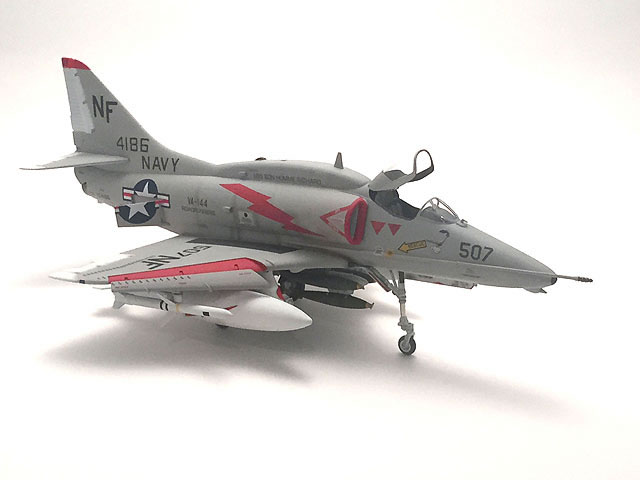
I applied some post shading and streaks with a thin mix of Tamiya XF-1 Flat Black and XF-64 Red Brown. I also used some pastel chalks around the openings for the cannons and the shell ejection ports. I weathered the landing gear bays with thinned MIG Neutral Wash. The landing gear struts were weathered using a sharp pencil to highlight detail and add chips and ground pencil dust to apply shadows. I used Bare Metal Chrome foil for the oleos on the nose gear strut.
The bombs and missiles were hand painted. I used Tamiya masking tape to mask the stripes and was impressed at how well it worked even when applying the paint with a brush. A few touch ups were needed here and there but it proved you don’t need to airbrush all the time.
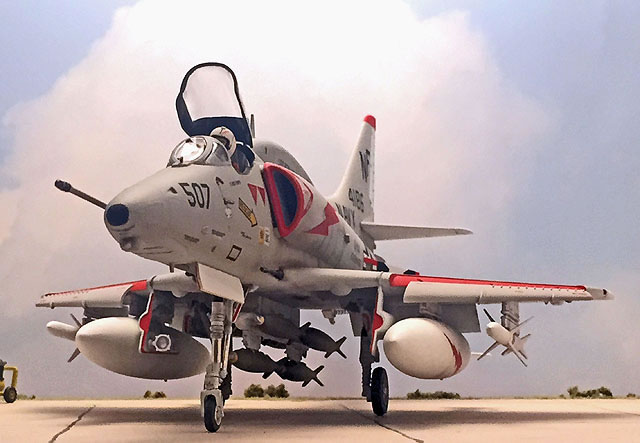
So, some 32 years after I first tried to build a Monogram A-4, I was finally able to complete most of the kit back in my old home town. It was a great feeling to be able to set things right after such a long time. There is usually a bit of nostalgia involved in modeling, but in this case it was a real time warp. I am really impressed with the Monogram kit. Using some basic fit improvement techniques really helped eliminate the biggest fit challenges in the kit. The final result is very pleasing and stands up well compared to the more expensive Hasegawa kit. When considering the final appearance, the fact that Hasegawa includes no weapons or pilot and the big price difference, I think the Monogram kit is well worth considering even after so many years.
Tips for Photographing Your Model with Your Phone
Cameras on cell phones keep getting better and better. You can get good model photographs right on your cell phone. In fact, all of the photos for the Skyhawk article were taken with my iPhone and a simple lighting setup. I used a cheap work light from Home Depot with a 75 watt Reveal bulb.
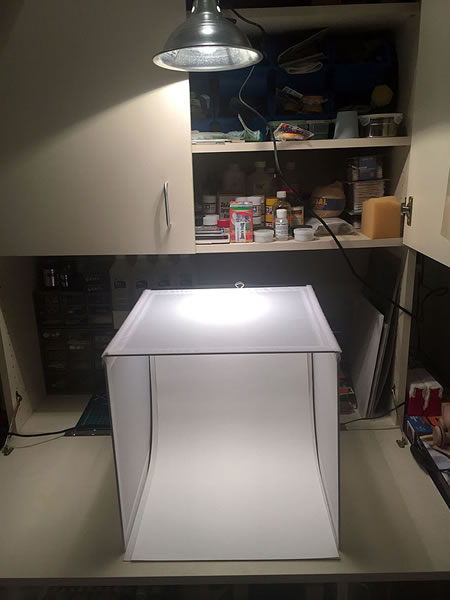
A piece of black construction paper and a curved piece of poster board served as the backdrop. Direct light produces harsh shadows, so I used my light box. You can diffuse the light by placing the light higher above the model or rig a diffuser over the light source. One way to do it is to clamp a piece of baking parchment paper over the opening of the lamp. BE CAREFUL NOT TO LEAVE THE LIGHT ON TOO LONG! Just turn it on for the photo.
Here are a few more tips for using your camera phone:
Don’t get too close to the model. You will get better shots by holding the camera phone a few feet from the model and using the zoom function to get closer to details.
Keep your hands steady. I sit backward on a chair and rest my hands on the back rest.
Use a light source that your camera likes. Fluorescent light bulbs left a tint to the photos from my camera. The Reveal bulbs gave the best results.
Model, Images and Text
Copyright ©
2016 by Rafe Morrissey
Page Created 20 January, 2017
Last Updated
20 January, 2017
Back to HyperScale Main Page
|
 Home
| What's New | Features | Gallery | Reviews | Reference | Resource Guides | Forum |
Home
| What's New | Features | Gallery | Reviews | Reference | Resource Guides | Forum |