|
de Havilland Mosquito B Mk. IX / B Mk.XVI
HK Models, 1/32 scale
S u m m a r y : |
Catalogue Number: |
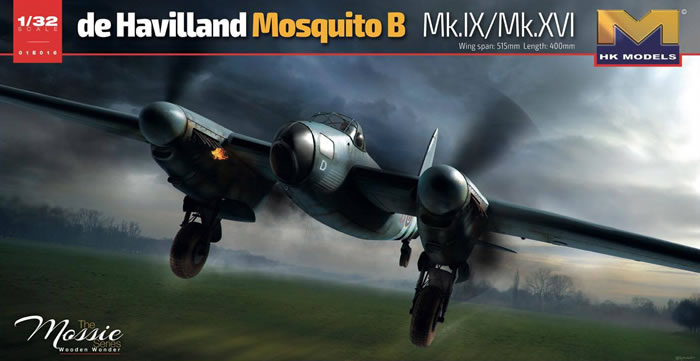
HK Models Kit No. HK01E16 - de Havilland Mosquito B Mk. IX / B Mk.XVI |
Scale: |
1/48 |
Contents & Media |
375 plastic parts on 24 sprues of grey plastic and three sprues of clear plastic; two photo-etched frets; markings for three aircraft. |
Price: |
TBA |
Review Type: |
First Look. |
Advantages: |
High quality plastic parts; good level of detail; crisp and fine surface textures; comprehensive instructions. |
Disadvantages: |
|
Conclusion: |
There is a respectable parts count, some nice engineering, and a finely detailed kit to be had with this release, and no doubt we’ll see more sets released to coincide with this hitting the shelves. |
Reviewed by James Hatch

Special Hobby’s Mirage F.1B/BE is available online from Squadron.com
The Mosquito was probably one of the RAF’s most versatile aircraft designs, and indeed, an aircraft that we may never have had at all if it wasn’t for the perseverance of its designer, Geoffrey de Havilland. It was actually the simplicity of de Havilland’s design that could well have seen the project being stillborn.
To meet Air Ministry requirements for a high-speed bomber, de Havilland proposed a new airframe, composed mainly of non-strategic materials, and powered by twin Rolls Royce Merlin engines. Unlike designs which were submitted by other manufacturers, de Havilland envisaged that his machine would be fast enough to be totally unarmed, and with a smooth, aerodynamic exterior. For the Air Ministry, this perhaps seemed a little too much like a flight of fancy, and de Havilland was asked to simply act as a contractor for designs from other manufacturers. Undeterred, Geoffrey de Havilland took on his design under a private venture arrangement, using a small design team led by Eric Bishop, and work began under strict secrecy at Salisbury Hall, Hertfordshire, in October 1939. The aircraft was to be designated ‘DH.98’.
Even though de Havilland’s proposal was for an unarmed bomber, his team created a design, which would allow the installation of four forward firing cannon that would sit in the forward belly of the aircraft, and fire through blast tubes. With the war now in full swing, and changes in Air Ministry requirements, which saw a general acceptance of the DH.98 for a reconnaissance role, a full-size mock-up was inspected by the Air Ministry in December 1939; only 2 months after the project began in secrecy. The foot was now firmly in the doors, and from this point, the Air Ministry made demands of the DH.98 which saw it being developed for a high-speed bomber and also fighter role.
The Mosquito, as it soon came to be known, was one of the most versatile airframes in frontline service, with it eventually being used for roles such as night-fighter, long-range fighter, photo-recon, fast bomber, and maritime strike aircraft.
No potted history of the Mosquito can be complete without a few words about its construction. The main airframe itself was composed of wood, with the fuselage being formed over a concrete buck, as halves, using a sandwich of balsa in between birch layers. These rigid shells required no internal framework, and once fitted out, were glued together and strengthened by simple bulkheads. The wings were also all-wood, being constructed from spruce and plywood, mainly. This highly successful design was also operated by the US, as well as Canada, Australia, China, France and New Zealand etc. and nearly 8000 had been built by the time production ceased in 1950.
This is of course HKM’s second incarnation of the Mosquito, with this particular kit version, the Mk.IX and Mk.XVI differing from the original release, mainly due to being fitted with the two-stage Merlin engine. This B Mk.IX was derived from the PR Mk.IX machine, and there are parts in this kit, albeit unused, for such a machine. I’m pretty sure that type could be cobbled together with relative ease.
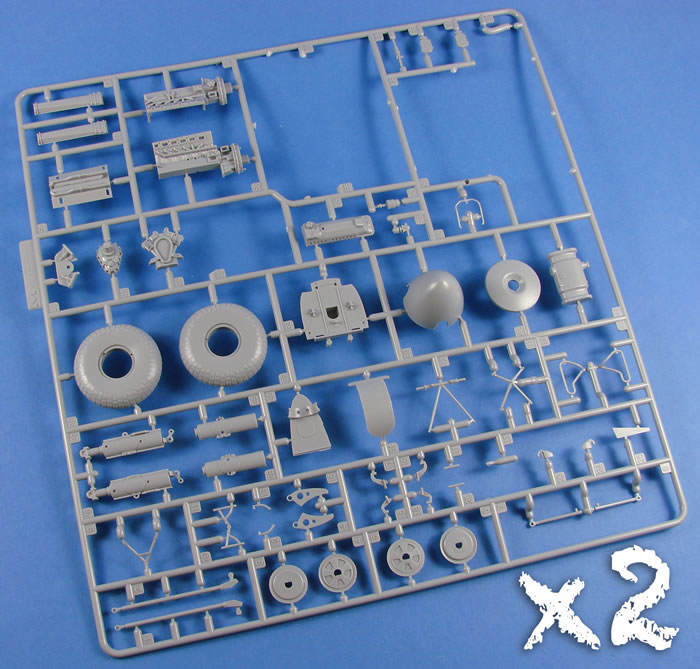
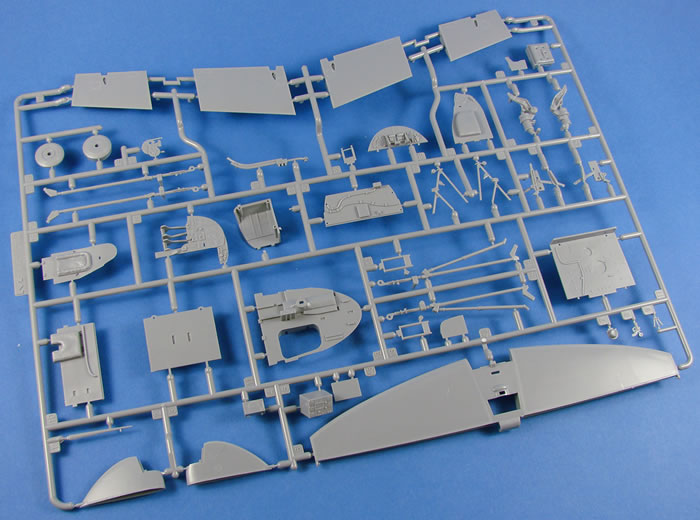
There are 24 sprues of light grey styrene, all individually wrapped, a further three slide moulded main parts (wing, forward fuse, rear fuse), and three sprues of clear styrene. If you like a nice part’s count, despite some of the single piece parts included, then you won’t be disappointed. A total of 375 plastic parts are included, with options for both standard and bulged (cookie/blockbuster) bomb bay. These are supplemented by two frets of PE parts, and a single decal sheet from Cartograf.
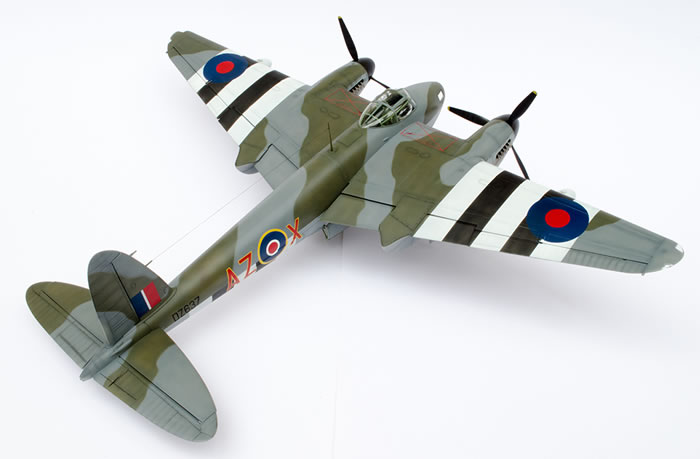
Tomek Wajnkaim’s atmospheric box art is superb and would certainly catch my eye if I was in the local hobby store. At this point, I do have to state that I have had an input on this kit, as with the previous Mosquito release, and this extends to a few design touches and also work on the manual. My extended team at LSM has also contributed with the box art and box design, instruction illustration and decals. The box carries the LSM logo too, stating our input. I don’t want anyone to be of the impression that I will write my article based on something I hadn’t declared. This kit, as with any other, isn’t perfect. No doubt about that. I will also state from the outset that there has been no re-tooling of either the wing (intake shape), or the nose section. These remain the same as the original release, along with any respective clear parts. For an review of the previous release, take a look at Jason Gill’s article HERE. Okay, onto business.
Many a paragraph has been written about the previous release, both in modelling communities and on social media. Instead of doing an entire review for this new kit, I’ll do an overview, and describe the differences that are to be found with the B Mk.IX and B Mk.XVI.
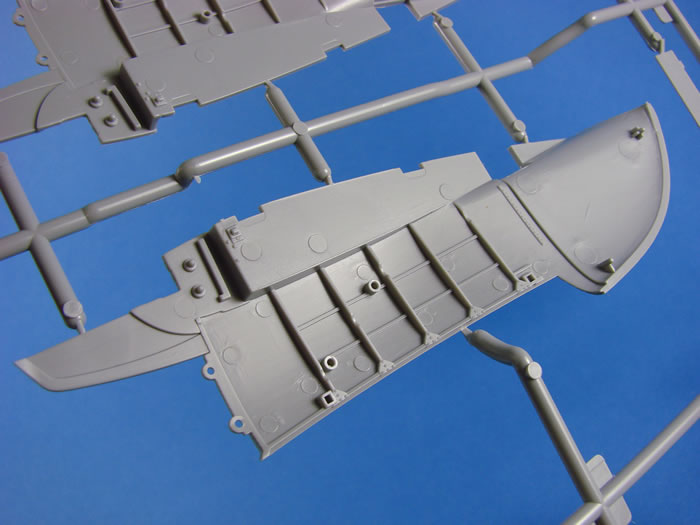
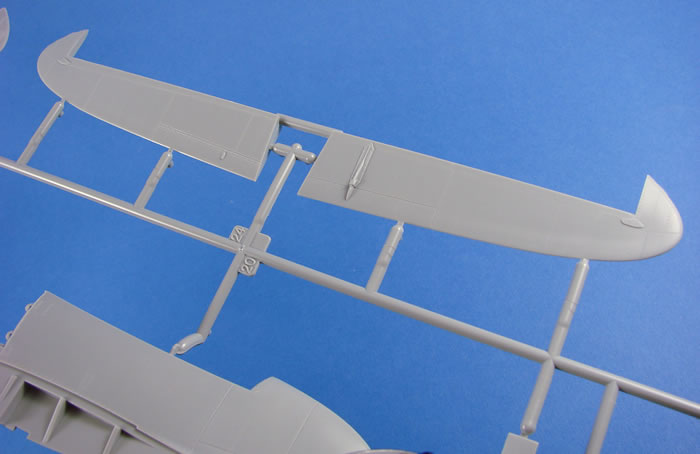
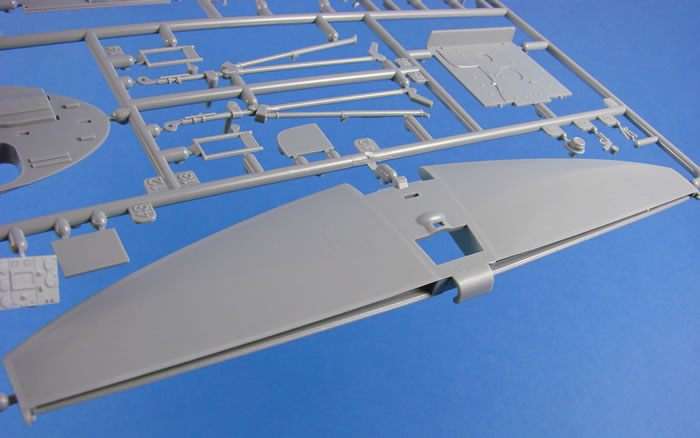
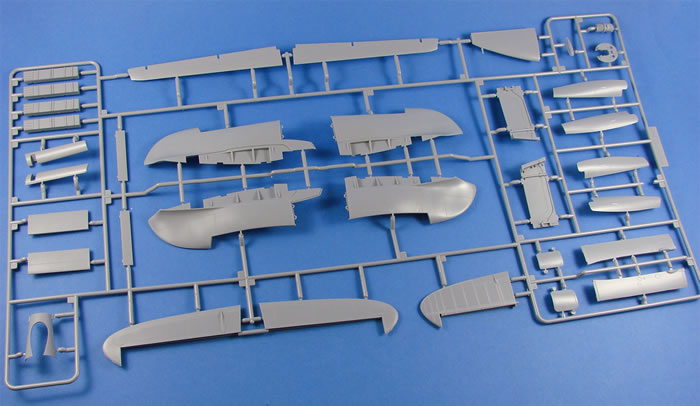
This is perhaps the first kit where I have seen slide moulding being used so widely, and for main parts. A full span wing is included again, and this incorporates both the upper and lower panels as a single piece.
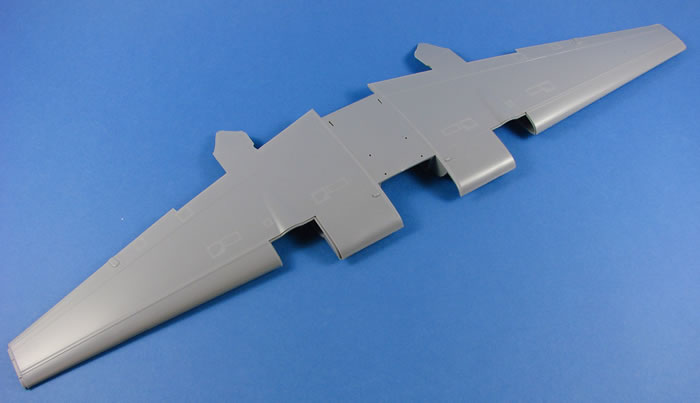
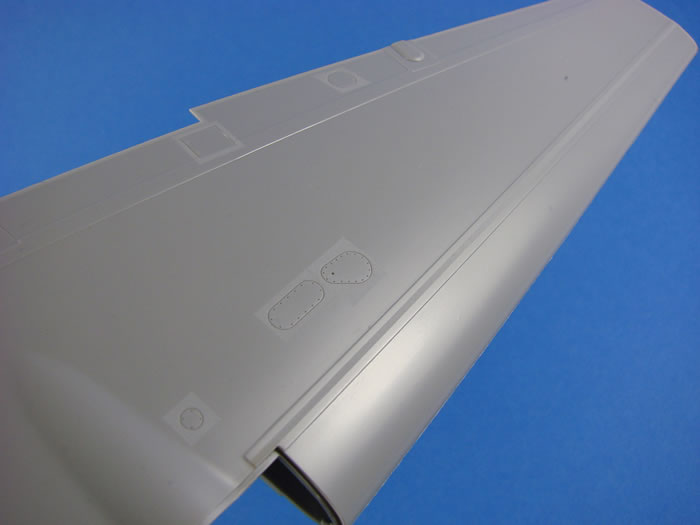
That’s certainly a very advanced way of using slide moulding, and definitely the most impressive. All there is to do to complete the basic wing structure is to add the trailing edge spars and wingtips. As far as clean-up goes, a faint moulding line exists around the leading edge, and that’s it. A few swipes with a sanding sponge, and its history. Wing detail is excellent, with not only the various filler and access panel details on the underside (remember that this was a wooden-skinned wing), but also the extremely fine laser-etched wing panel tapes. You’ll need to tread carefully with paint, or these will disappear.
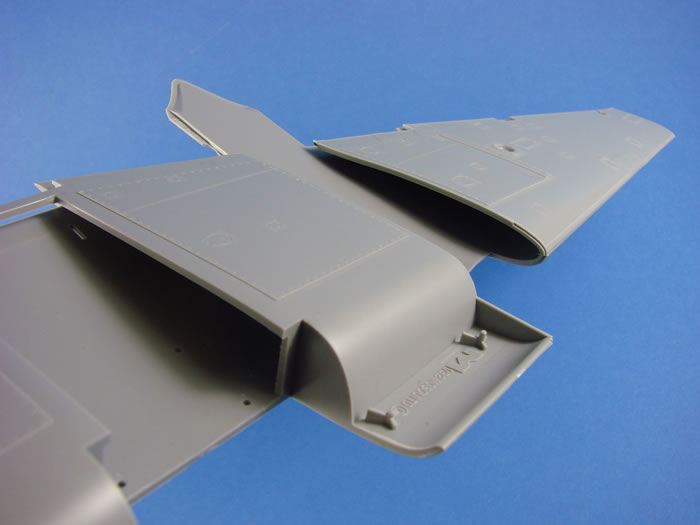
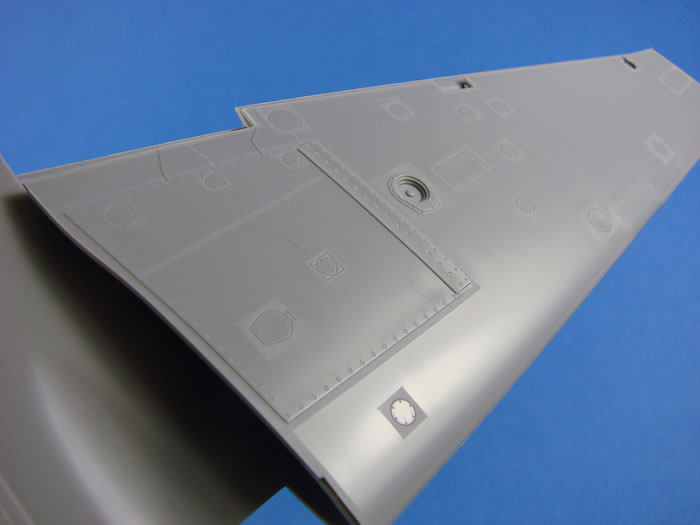
HK has also moulded the stabiliser as a full span part, with the same sort of trailing edge spar insert. In fact, all of the control surfaces and fin are also hollow and have a simple mould seam to remove only. I did say that slide-moulding was extensive.
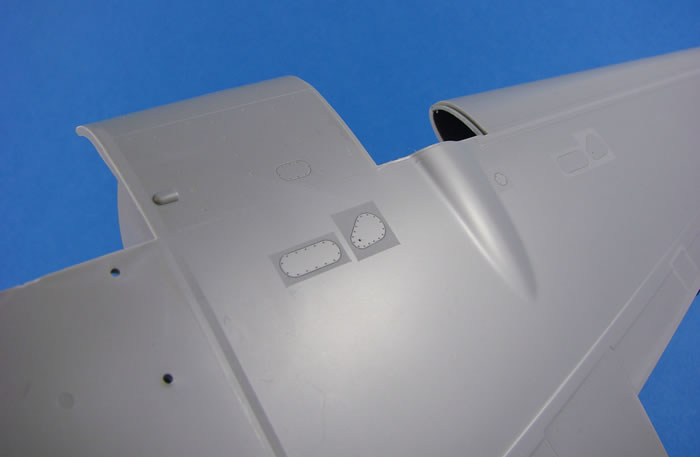
Surface detail on these parts is limited, by very nature, but what there is, is beautifully rendered. With the wing being a single part, if you wish to fit the underwing tanks, you will need to actually mark the locations yourself, and then drill holes. A plan is included to show you exactly how to do this.
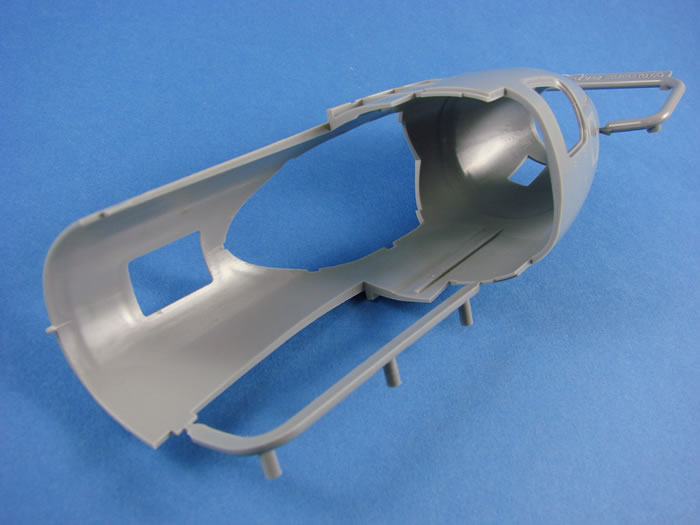
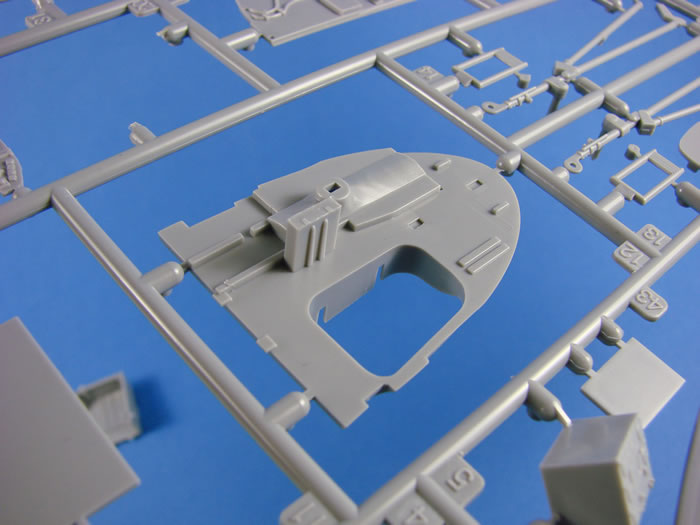
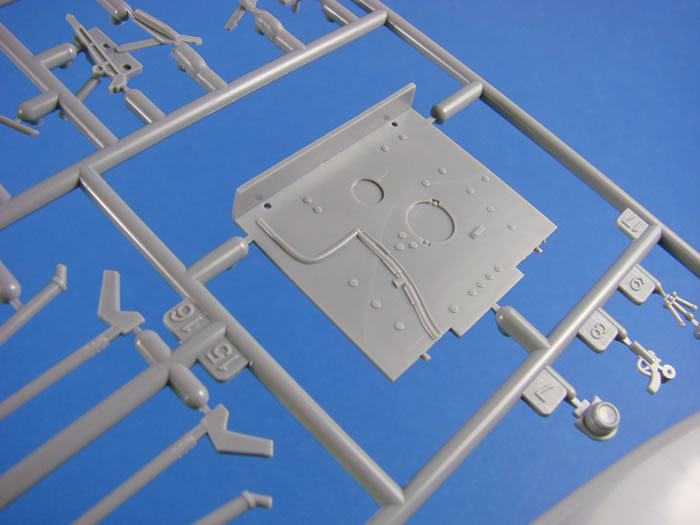
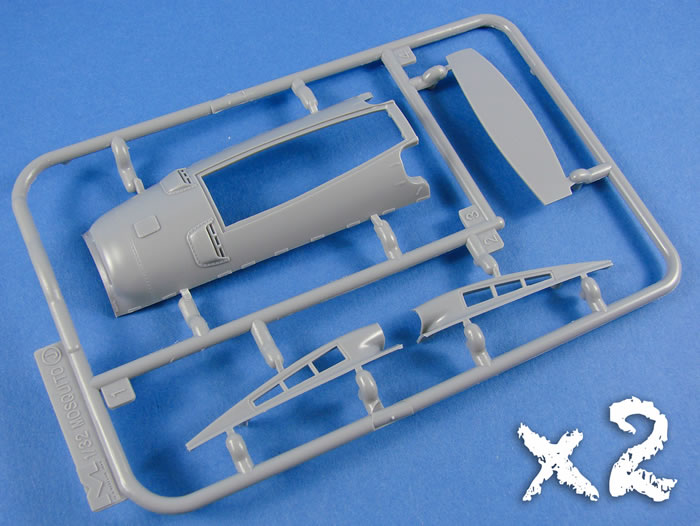
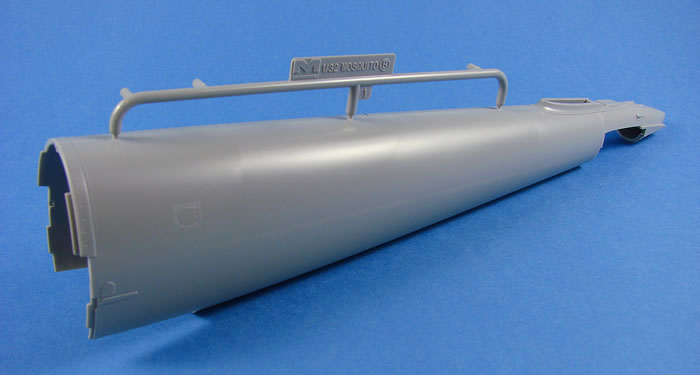
When you open the box, it’s hard to ignore the two fuselage sections, moulded as front and rear, and connected along the fuselage stiffening joint that runs circumferentially around this area. This perfectly hides any connection you will make.
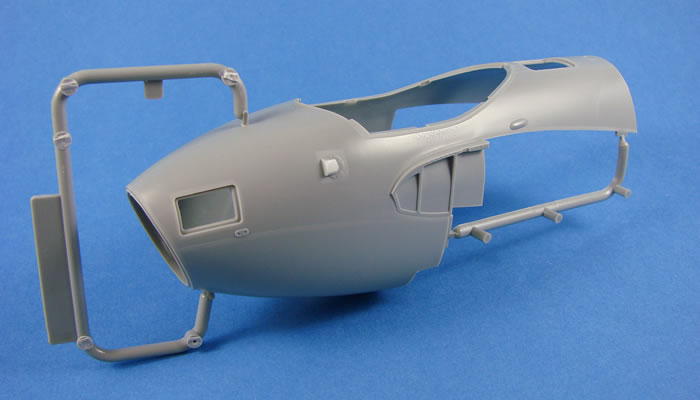
As with the wing, very faint moulding seams exist, and these will just need a few seconds to eradicate them with a sanding sponge. These parts are very impressive in their execution, with the minimal external details being nicely applied. The cockpit entry door and the equipment port in the lower rear fuse, are separate parts, and the side walls that sit underneath the wing, are also separate. This is to facilitate the fit of the wing to the fuselage, as per the real aircraft. Assembly at this point is not too dissimilar from that in the de Havilland factory!
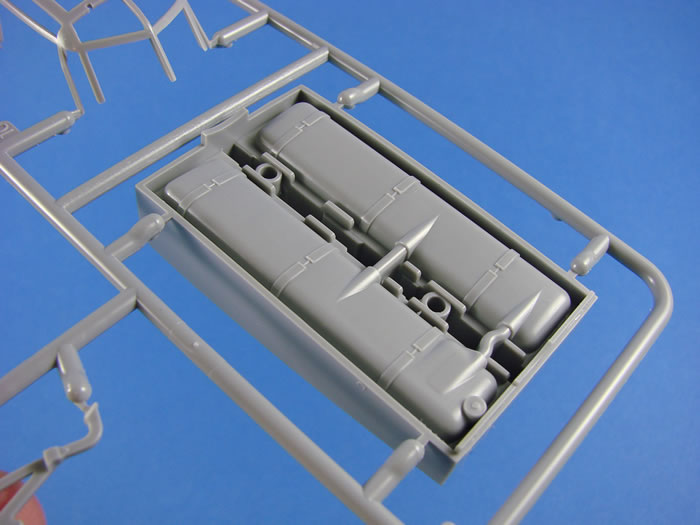
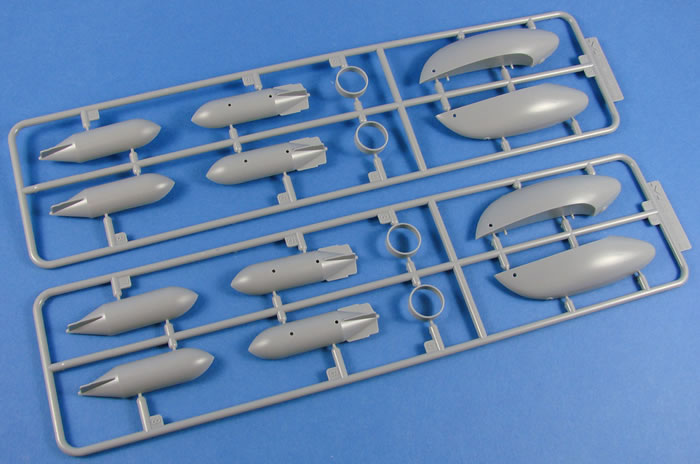
A detailed bomb bay is included, and two different styles of bomb door are available. These are the standard, straight doors, and the bulged doors for the cookie-carrying machine. Front and rear fairings are included for these, and these fit beautifully (speaking from previous experience).
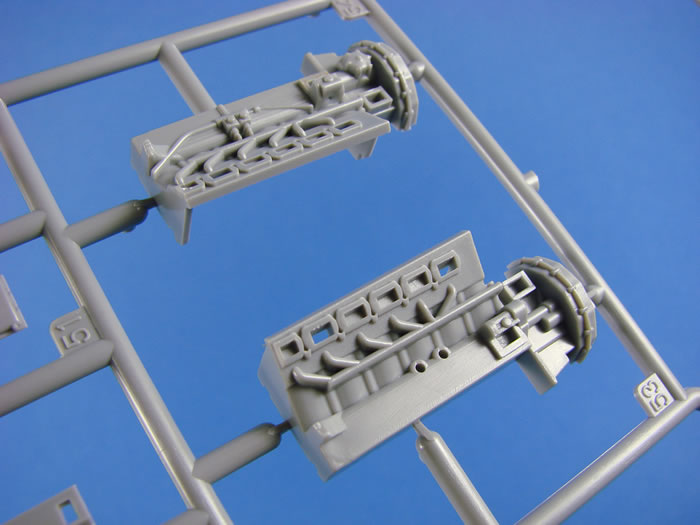
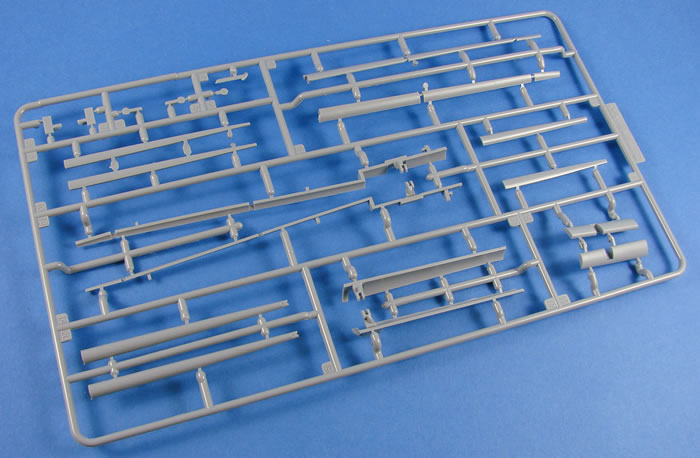
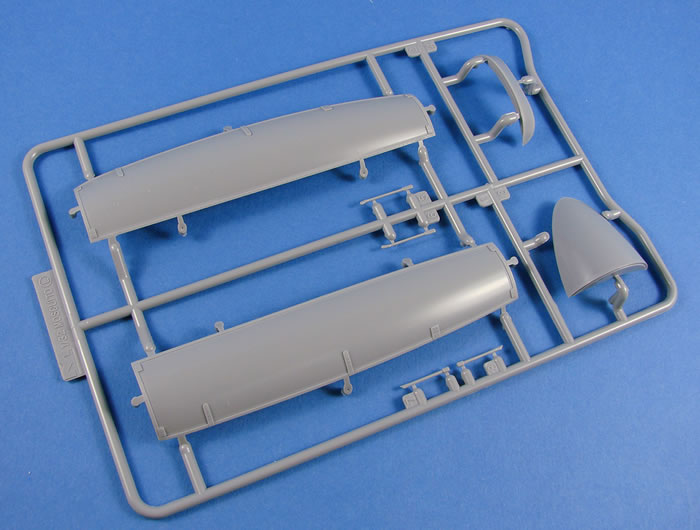
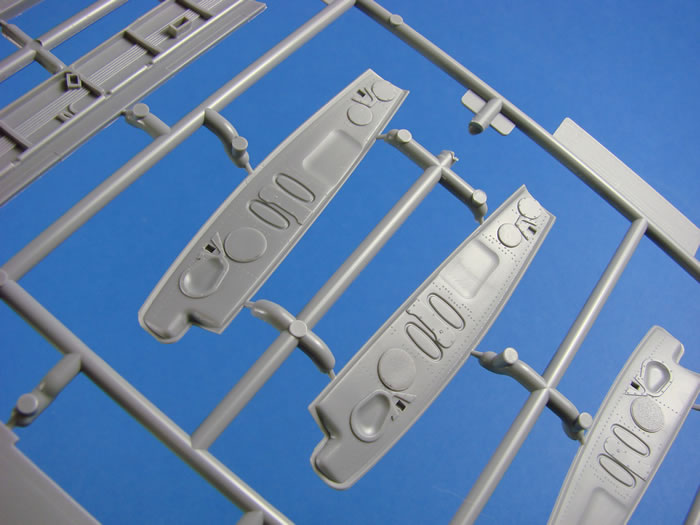
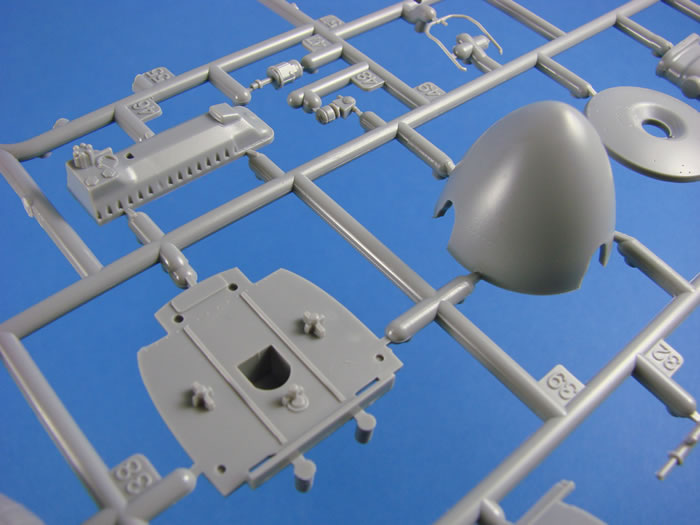
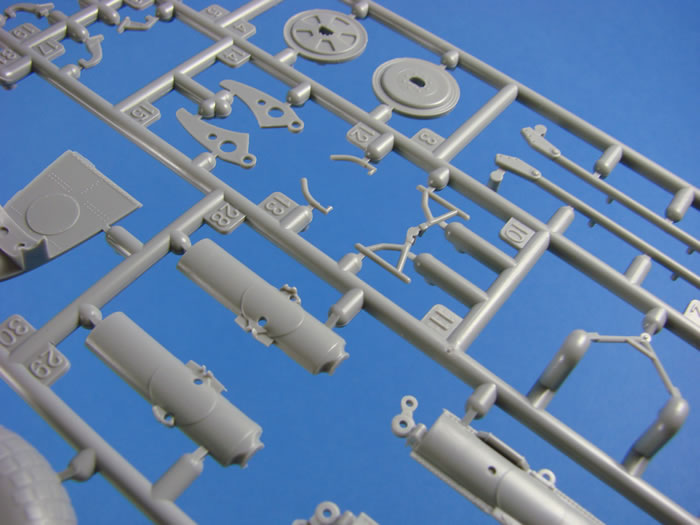
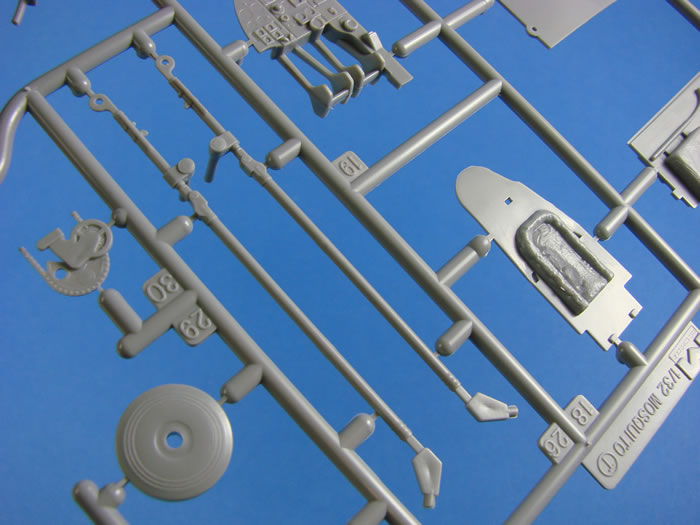
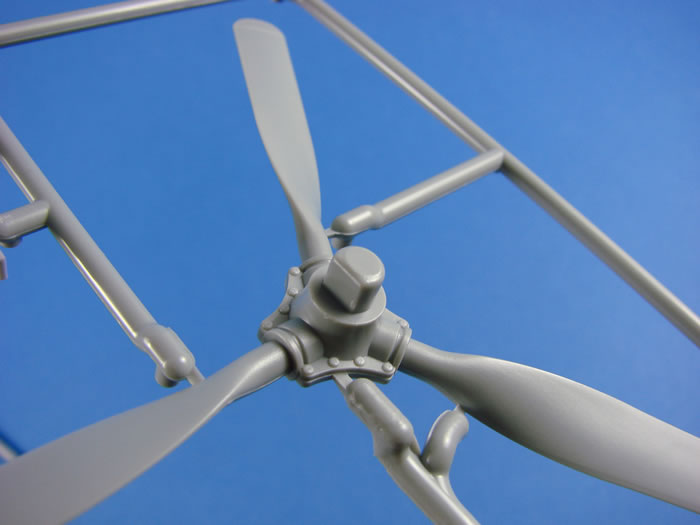
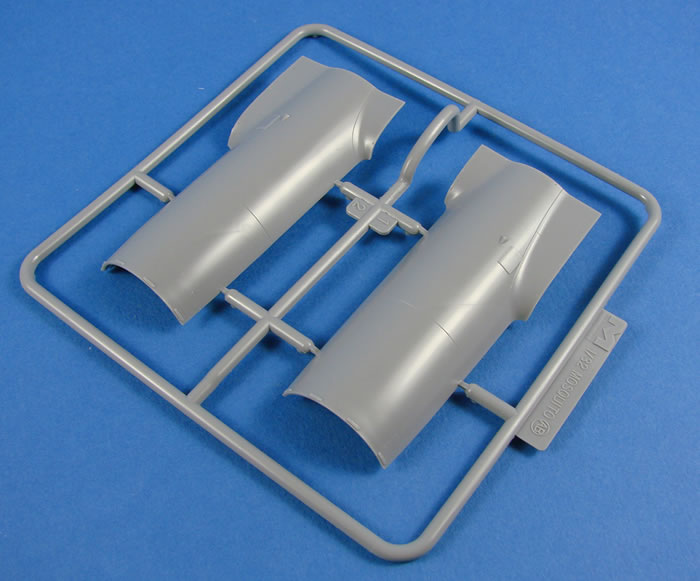
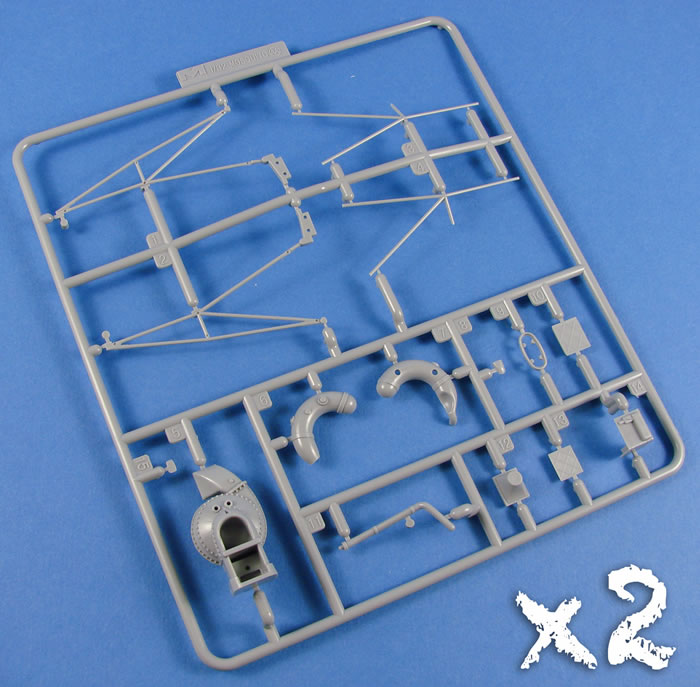
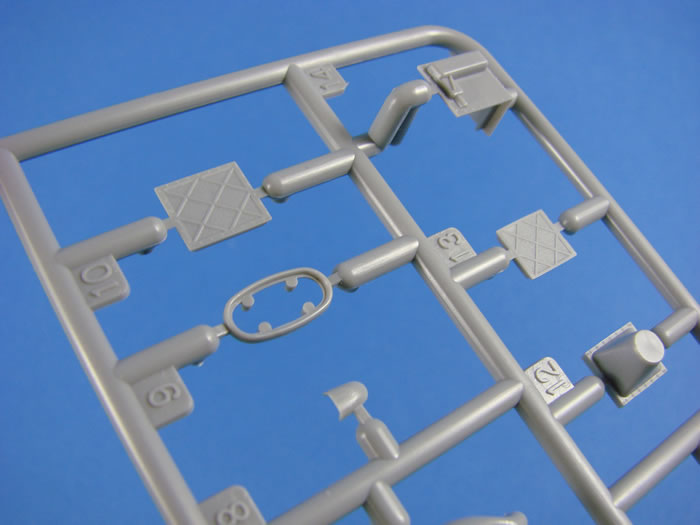
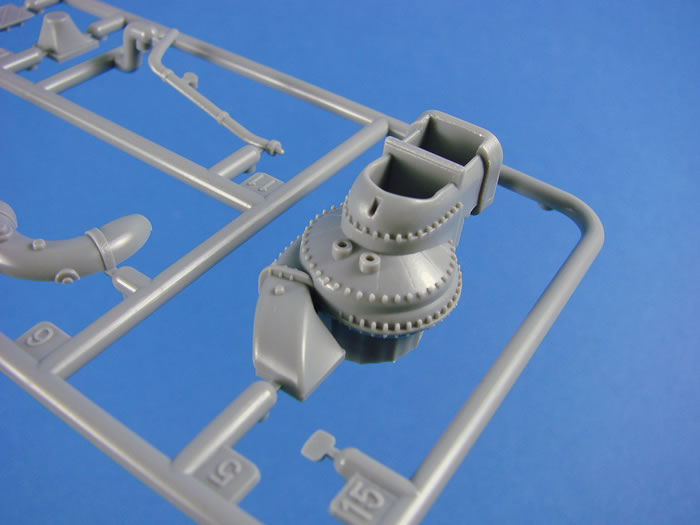
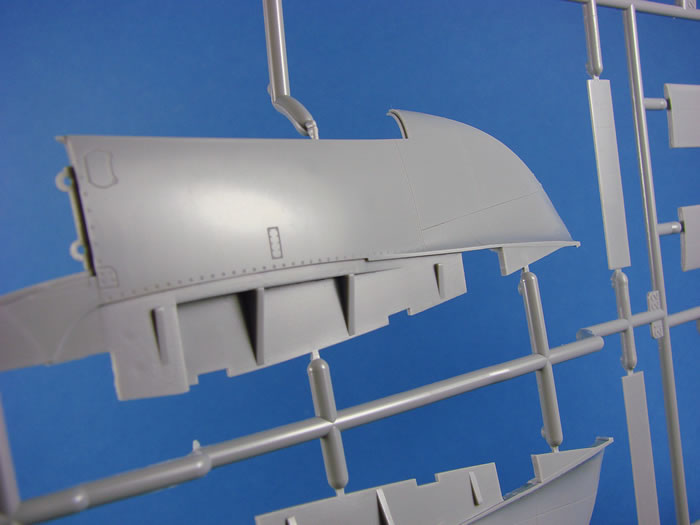
Of course, there is a major change in this kit, and that is inclusion of the two-stage Merlin engines. To accommodate these, longer nacelle panels have been included, as well as newly-tooled parts for the upper cowl, that plug into the upper wing. The new engine parts are moulded onto two identical sprues that also hold the longer engine bearers, glycol tank and supercharger etc. Detailed engines are supplied for both nacelles, as are two versions of the propeller. The exhaust sprue is the same as in the previous release, but this time, we build it as a 6 stub version, and not the 5 stub. All new sprues for this release concern the engine area. A total of six newly-tooled sprues account for this part of the build, and help to produce that recognisable nacelle profile. Photo-etch louvres are supplied for the side of the lower intake cowl.
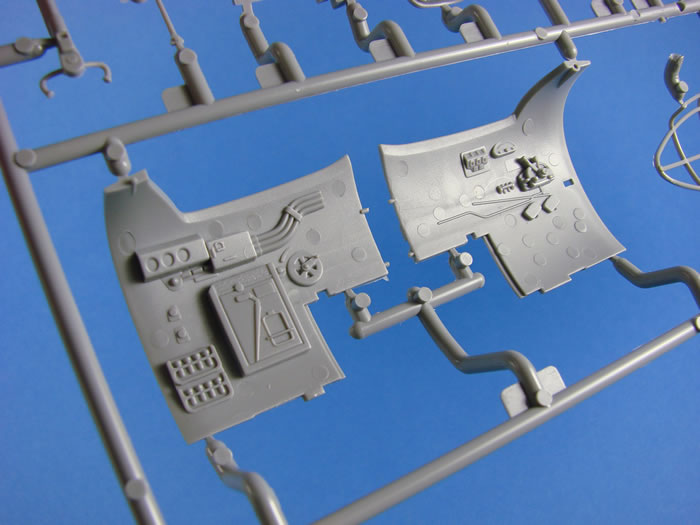
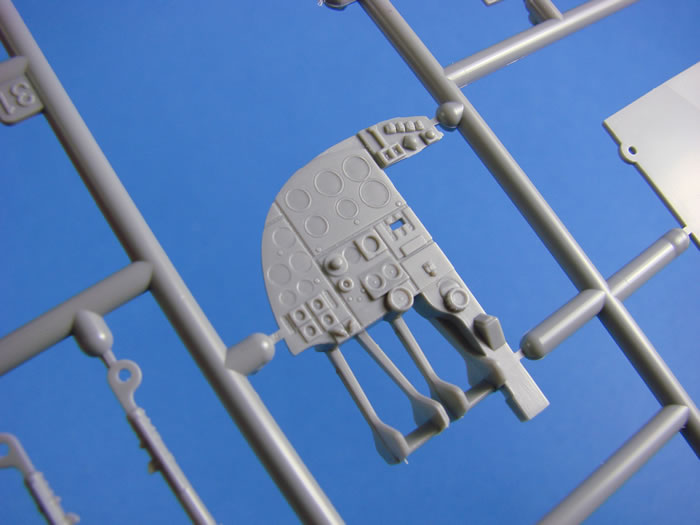
As far as I can tell, there are no cockpit changes in this release. Having built this one for the box art model on the previous release, I can say that the cockpit it very nice out of box, but would benefit from Eduard’s detail set, or the Profimodeller PE release.
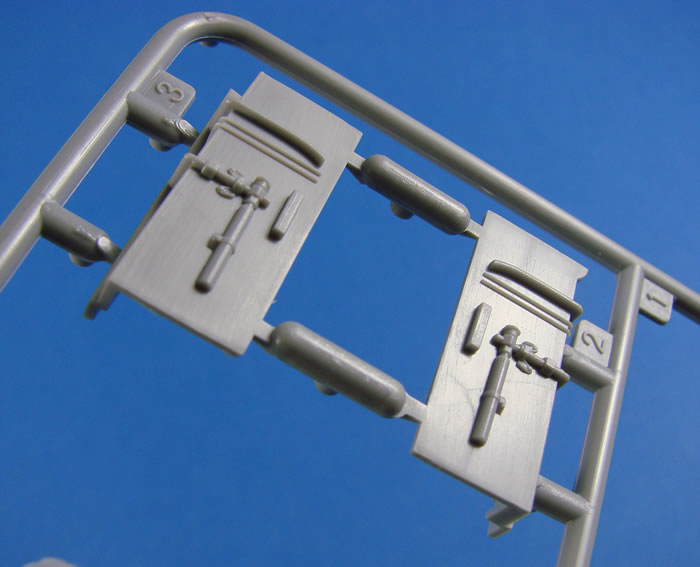
Some lead wire for wiring also wouldn’t go amiss. PE seatbelts are included too, but you might hanker after the textile ones from HGW. You’d have to go a long way to beat those for realism. Looking at the instructions, you are advised to install the bomb bay door actuators around the time you build the cockpit. My advice is NOT to do this, but to wait until the model is more or less complete, otherwise you will bend or snap them whilst handling the Mosquito. In fact, I would attach them after painting, at the same time you fit the bomb bay doors. If you want to see what can be done with the HKM kit, take a look at this link on The Modelling News. Probably one of the finest cockpits I’ve seen, albeit with a lot of dedication from the builder.
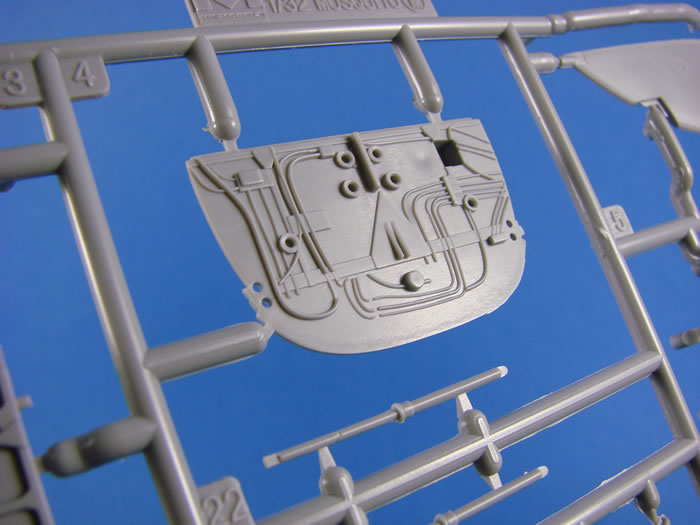
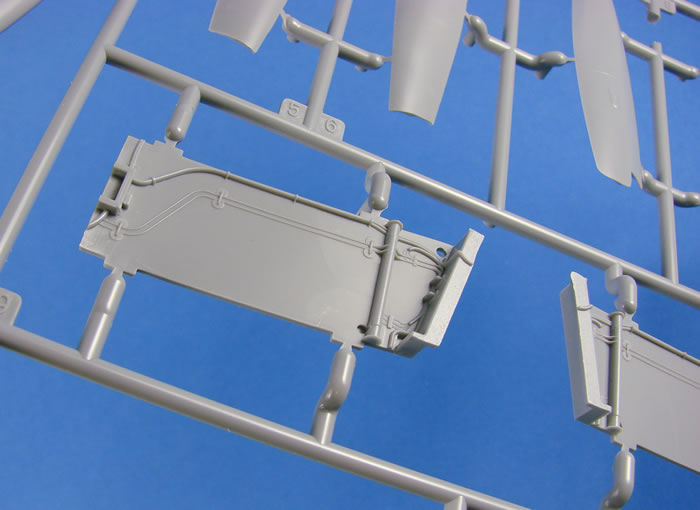
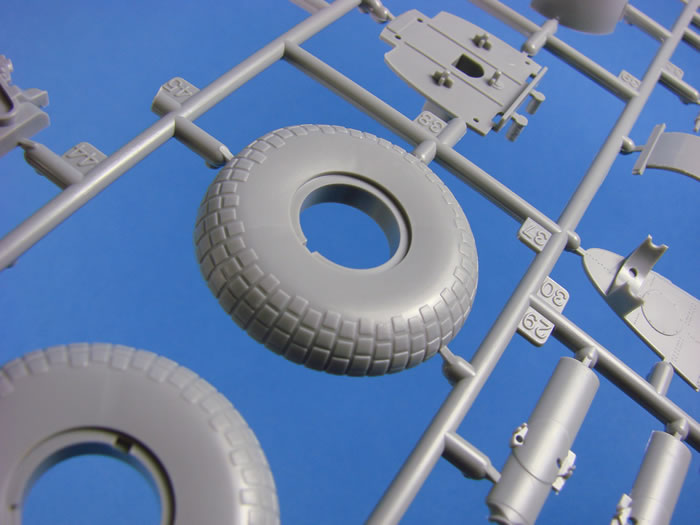
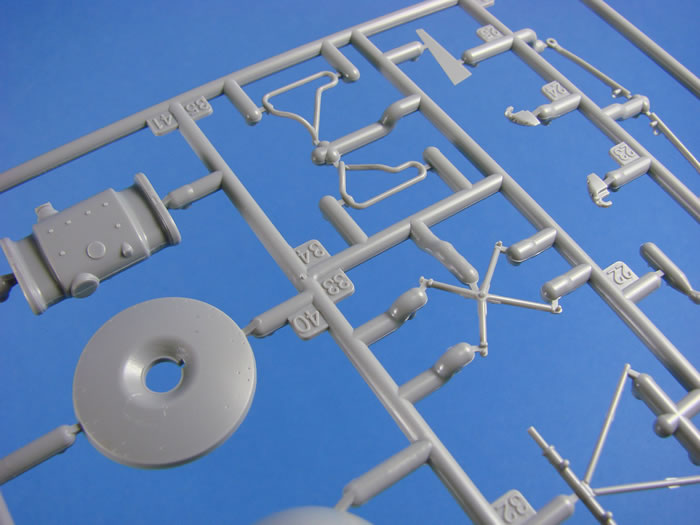
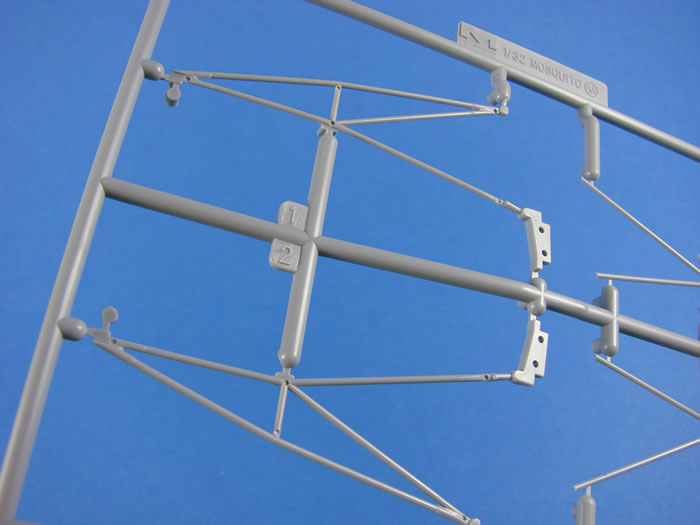
I quite like the undercarriage on this kit. Looking at the real thing, HK has produced a superb replica, and it does actually articulate when built…..right up until the point where you have to install it to the model. Removing the seams on the wheels is a little tedious, but isn’t it always, unless you fit a nice resin replacement, such as Eduard’s Brassin parts. The undercarriage bays are highly detailed, with nice constructional detail and some wiring/plumping. A little extra wiring would be good to add, but the bays are quite narrow, and vision will be limited. Gear bay doors have the correct internal detail representation.
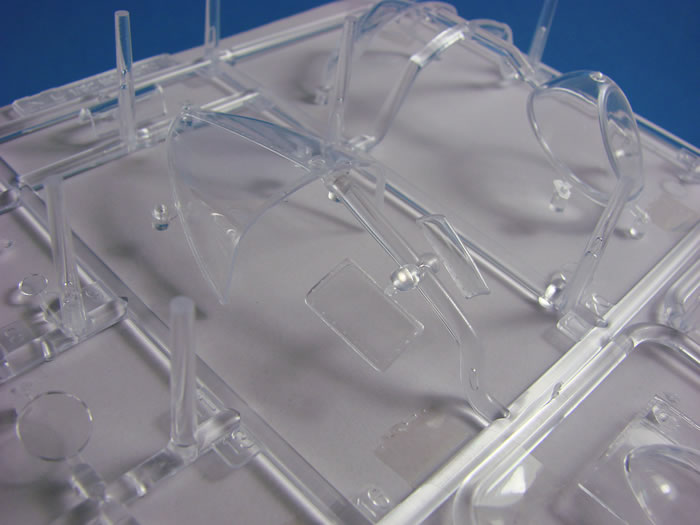
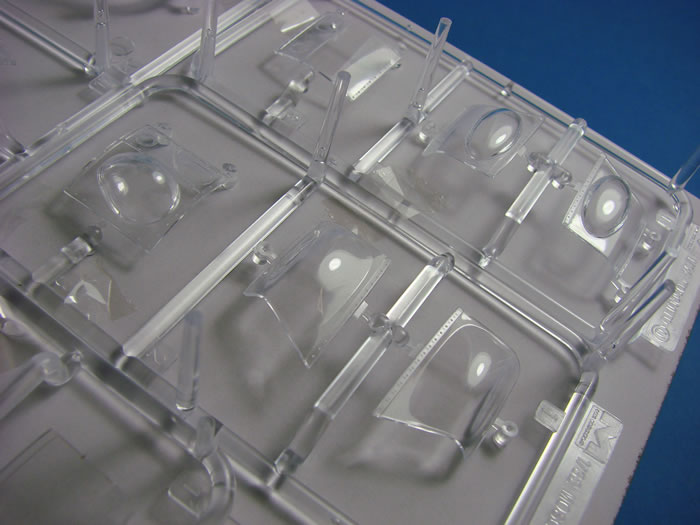
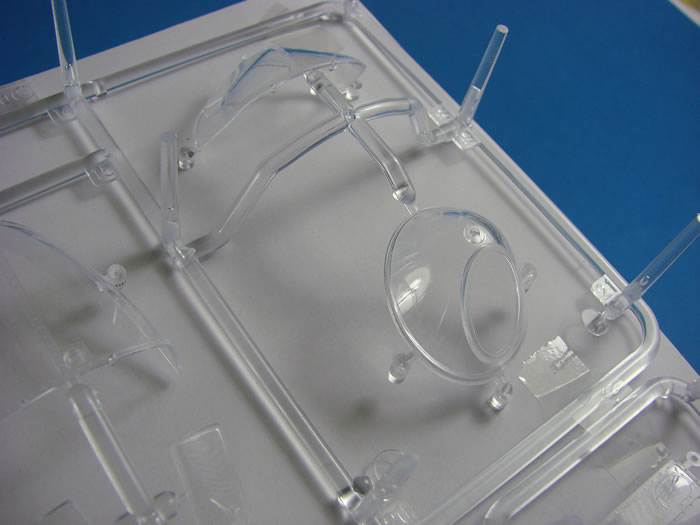
Clear Parts
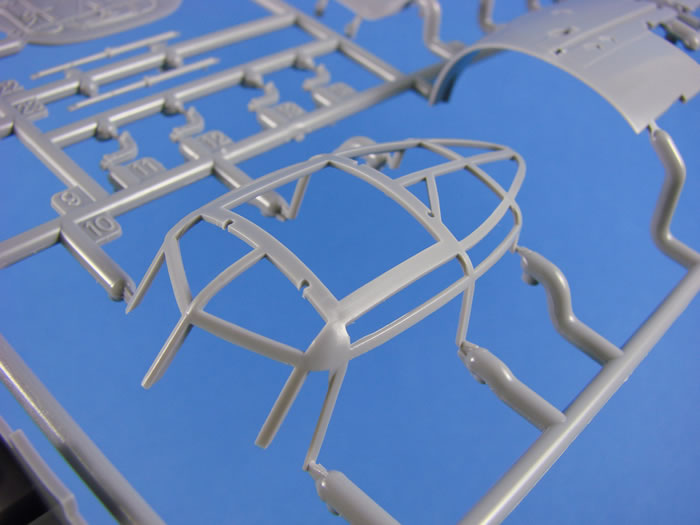
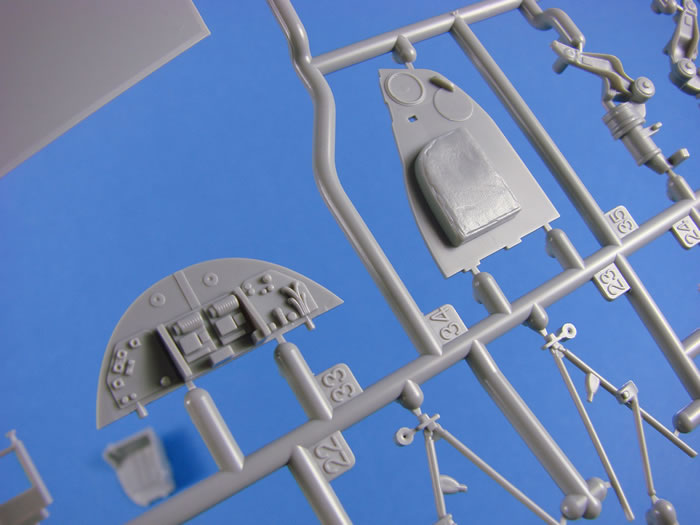
The last newly-tooled sprue in this release concerns the canopy. This sprue holds just two parts which are for the side panels. All clear parts fit around an internal framework, and they do fit just great.
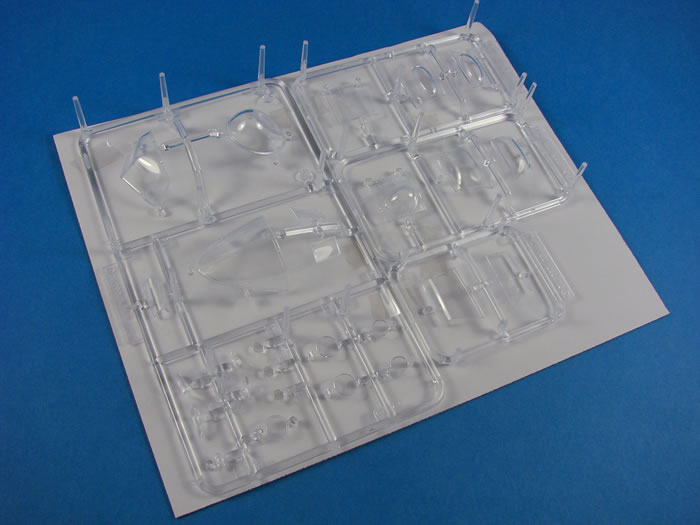
Clarity is superb, and the frame lines are nicely defined. I would use Eduard’s masks for this canopy though. When I originally built the prototype, I had no such luxury, and it took hours. There will be a small change in the masks to represent this kit, but nothing too different.
Photo-Etch
Two PE frets are included, with parts for the louvres, intake grilles and seatbelts. There isn’t anything to tax you too much here, and PE quality is very good.
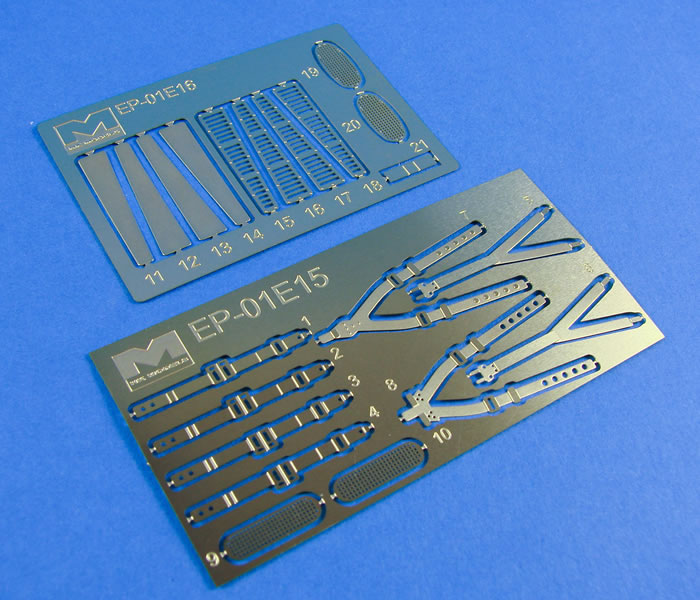
If you, like me, want to add some extra detail, then of course it would make sense to change the belts, as previously mentioned.
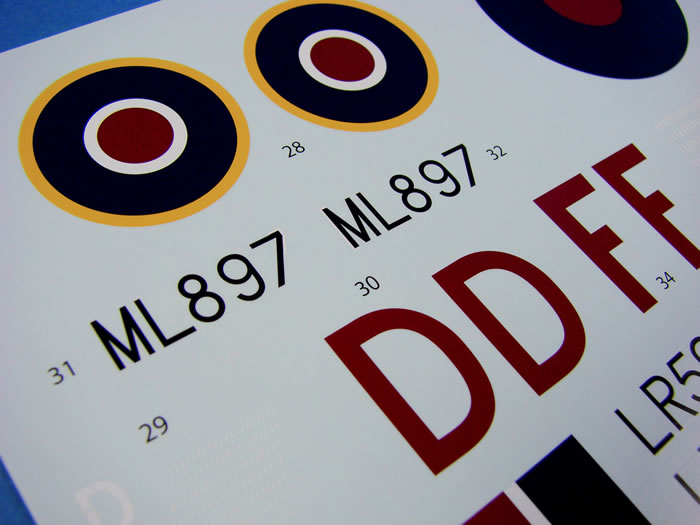
Marking Options and Decals
There are three schemes for this release. These are:
-
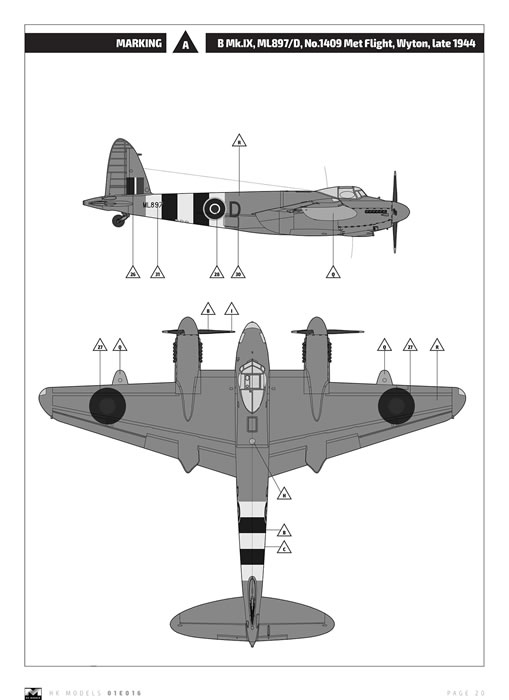
B Mk.IX, ML897/D, No.1409 Met Flight, Wyton, late 1944
-
B Mk.IX, LR503/F, No.105 Squadron, Calgary, May 1945
-
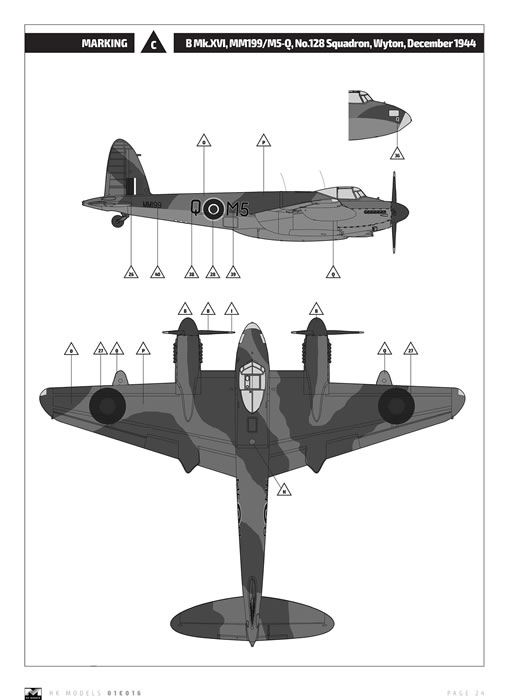
B Mk.XVI, MM199/M5-Q, No.128 Squadron, Wyton, December 1944
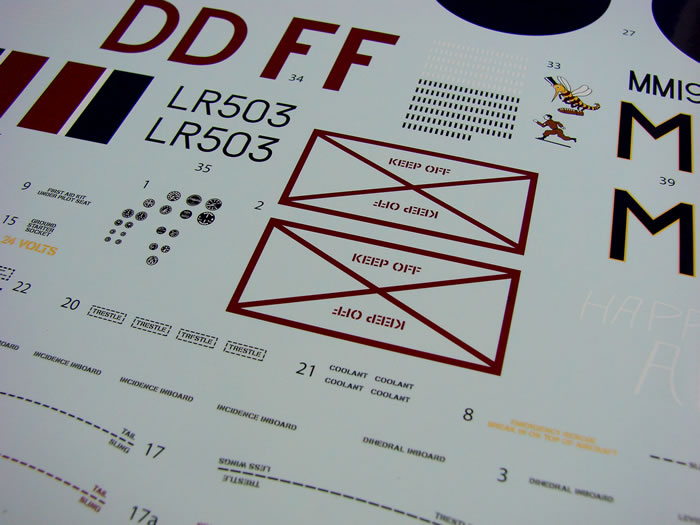
A single, large Cartograf-printed decal sheet is included. Printing is superb, with decals being nice and thin, with minimal carrier film, authentic colour, and perfect register.
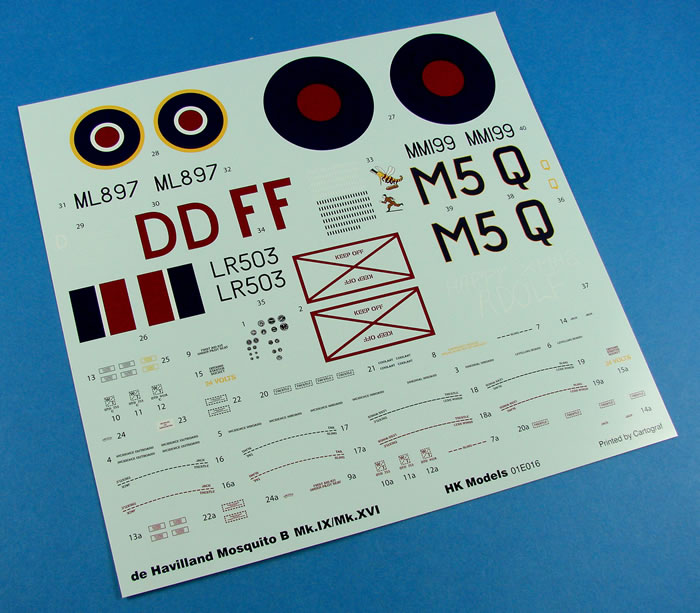
They are also glossy, which is preferable to matt, as I find they conform far more easily.
Instructions
The glossy A4 instruction manual is printed in greyscale, but it easier to follow that the early HK manuals, with shading being used on solid areas. Construction takes place over 44 easy to follow stages, with some sub-stages included. Parts options are clearly shown and paint call-outs are supplied in Gunze, Tamiya and AK codes. This kit is a partnership between AK, LSM and HKM. The latter pages of the manual have profiles for all three schemes, from multiple angles. These are printed greyscale too, and I admit that I would have liked to have seen these in colour. A profile is included for stencil placement too.
Whilst not a perfect kit (is there one?), I do profess a love for this one, ever since I saw it on the Pocketbond stall at Telford in 2014. That was when I was working with HKM, along with the other LSM team, and I took the prototype home to build for a magazine, and the box art.
There is a respectable parts count, some nice engineering, and a finely detailed kit to be had with this release, and no doubt we’ll see more sets released to coincide with this hitting the shelves. Being the B Mk. IX / B Mk.XVI variant, this of course opens up more neat options schemes. I wonder when we’ll see the PR version…
Thanks to Hong Kong Models for the sample
Review Text and Images Copyright © 2017 by James Hatch
Page Created 10 July, 2017
Last updated
12 July, 2017
Back to HyperScale Main Page
Back to Reviews Page |
 Home
| What's New |
Features |
Gallery |
Reviews |
Reference |
Forum |
Home
| What's New |
Features |
Gallery |
Reviews |
Reference |
Forum |