|
Messerschmitt Bf 109 G-6
Tamiya, 1/48 scale
S
u m m a r y |
| Catalogue Number: |
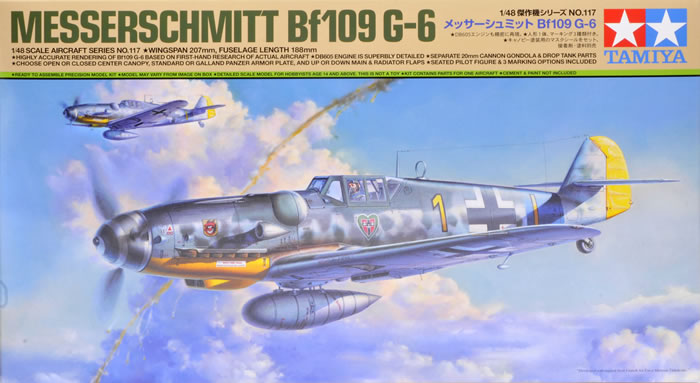
Tamiya Kit No. 61117 - Messerschmitt Bf 109 G-6 |
| Scale: |
1/48 |
| Contents and Media: |
187 parts in grey coloured plastic; eight parts in clear; self-adhesive canopy masks; polythene caps (two sizes); metal washers and magnets; markings for three aircraft. |
| Price: |
3,700 Yen |
| Review Type: |
FirstLook |
| Advantages: |
Ingenious method for switching between closed and open cowlings; superlative fit; high level of detail including engine and cowl guns; clever and modeller-friendly design (examples include the method of choosing flap position, the fuselage breakdown and more); useful options including two styles of drop tanks, Trop filter and umbrella pips; cannon gondolas, short or long aerail masts, DF loop, metal or Galland Panzer pilot's head armour, Morane mast with three styles of base (some of these are marked as not for use in this boxing, but I'm sure that many will find a use for them!); nice seated pilot figure; includes self-adhesive canopy masks. |
| Disadvantages: |
|
| Conclusion: |
With the excellent Eduard and Zvezda kits released quite recently, do we really need another 1/48 scale Messerschmitt Bf 109 G-6?
Short answer - yes.
Some of Tamiya's options and engineering - most obviously the swappable engine and cowl parts but several other notable areas too - are simply ingenious, and there are more than enough other differences between this kit and the existing Gustavs on the market to make it unique and desirable.
If you want to display the engine straight from the box, the Tamiya kit will be the logical choice. Some will also prefer the simpler surface detail of the Tamiya kit, with its recessed panel lines and minimal rivets.
But analysing the box contents only gives a sense of the nature of this model. Its real charm is the building experience. Fit is perfect, and you really start to appreciate the originality of the kit design and the excellence of its execution when you are fitting the parts together.
The model will continue to deliver entertainment even after it is built. Removing and replacing the engine cowlings is like a more grown-up version of buzzing your model around the room making aeroplane noises!
Having built the recent Tamiya 1/48 Tomcat and the F4U-1D Corsair, I wondered how Tamiya would be able to top themselves again.
This is how. |
Reviewed by Brett Green

Eduard's re-tooled 1/48 scale Messerschmitt Bf 109 G-6 will be available online from Squadron.com
Background
The Messerchmitt Bf 109 F represented a major transformation compared to the squared-off lines of the Emil. This sleek hunter now featured a new large aerodynamic spinner, streamlined cowling and rounded wingtips.
The installation of the Daimler-Benz DB 605 A engine in the Messerschmitt Bf 109 G increased power, but an upgrade in armament, armour and options resulted in a corresponding increase in weight. The once nimble fighter was becoming overloaded as more missions were demanded of it. Even so, the Gustav remained the workhorse of the Luftwaffe, with more than 12,000 of the G-6 variant alone being produced.
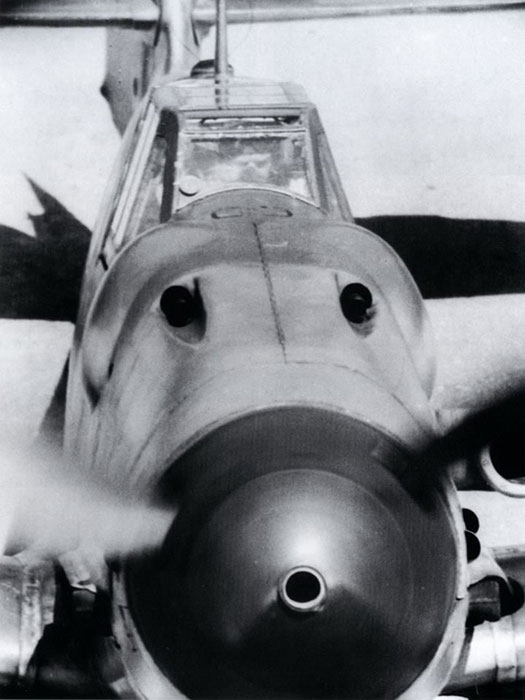
The Messerschmitt Bf 109 G-6 was immediately recognisable thanks to the two prominent bulges on the engine cowling. These were required to clear the ammunition feeds of the larger 13mm MG 131 machine guns with 300 rounds per gun.
During the course of production, a number of significant changes and improvements were made to the Bf 109 G-6. These included the fitting of a simplified clear-vision canopy, pilot’s head armour from armoured glass to improve rear vision, a new tall tail fitted with several styles of rudder, and more. Armament could vary widely too, with fighter-bomber versions, “gunboats” equipped with 20mm cannon gondolas under each wing and photo-reconnaissance aircraft just to name a few.
The Bf 109 G-6 in 1/48 scale
The Messerschmitt Bf 109 must be one of the most produced subjects in the history of scale modelling, and the G-6 is certainly the best represented variant.
Two great 1/48 scale Bf 109 G-6 have been released in recent years from Eduard and Zvezda, so do we really need another Gustav on the hobby shop shelves?
Let's find out.
Tamiya's brand new 1/48 scale Messerschmitt Bf 109 G-6 best represents an early to mid production aircraft from the Messerschmitt Regensburg factory. The model features the early framed canopy, the short tail and the standard stowage compartment behind the pilot's head. Tamiya's kit may be built as a Trop version or a gondola-equipped gunboat straight from the box too.
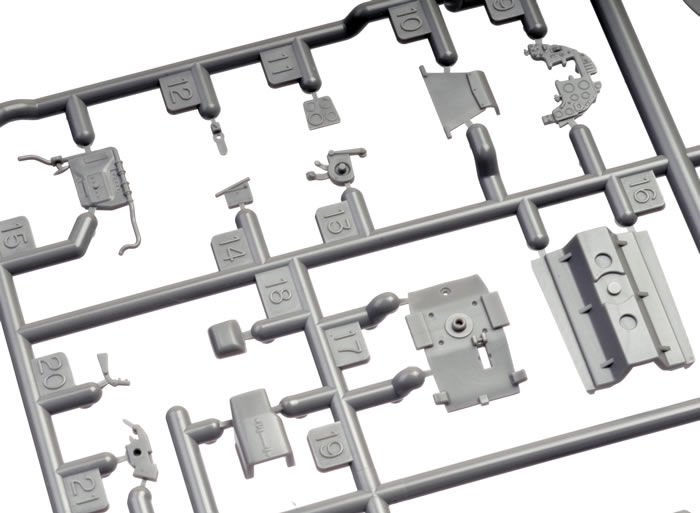
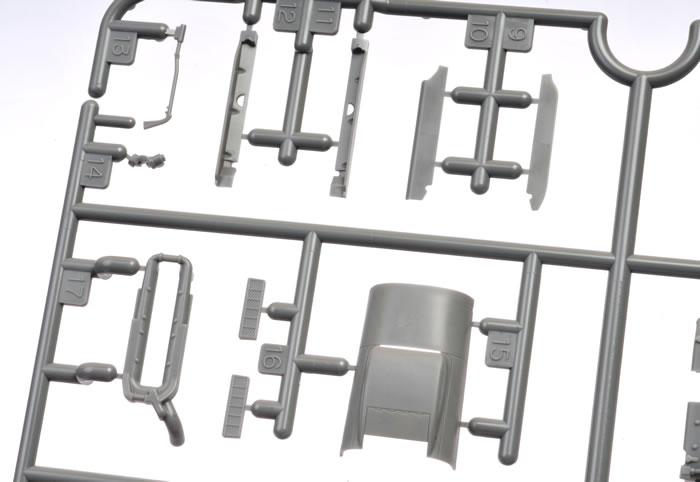
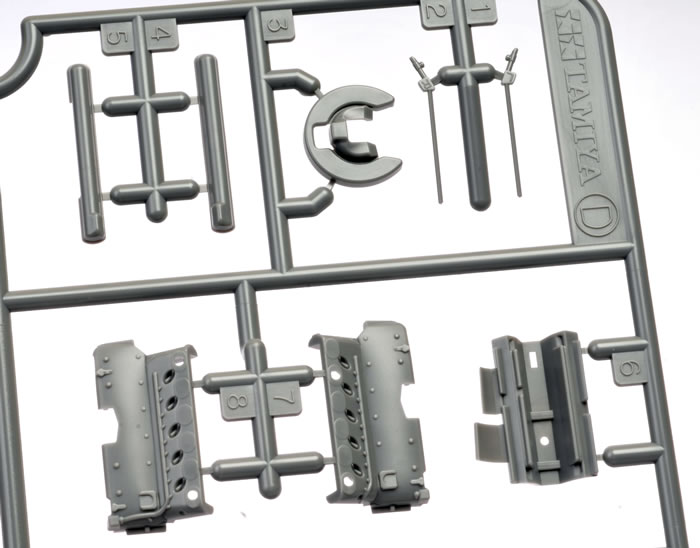
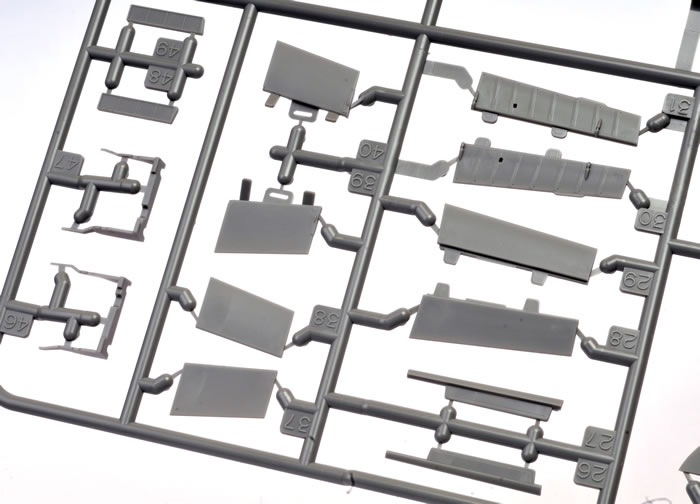
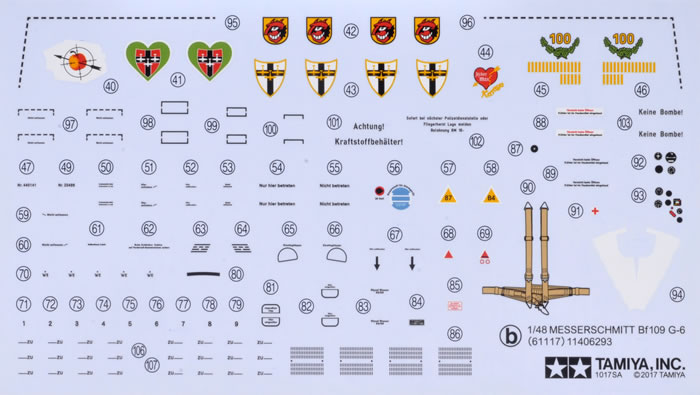
The kit comprises 187 parts in grey coloured plastic, eight parts in clear, self-adhesive canopy masks, polythene caps (two sizes), metal washers and magnets plus markings for three aircraft.
There are some hints about future releases of earlier and later variants moulded onto these sprues, including a Morane mast and filler points on the fuselage for MW50 (later versions) and the Bf 109 F. The instructions clearly advise which recessed hatches should be filled in. The breakdown of the fuselage means that the main fuselage halves could be used for any version of the Bf 109 from the F-2 to the G-10.
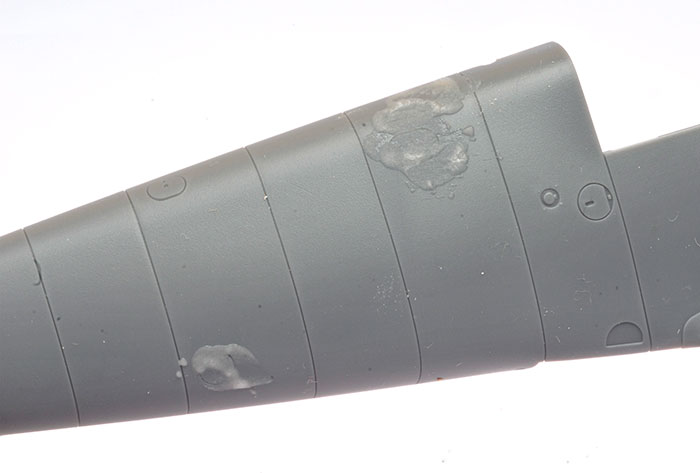
Here, I have filled the unwanted hatches on the starboard fuselage
with a mix of super glue and talcum powder.
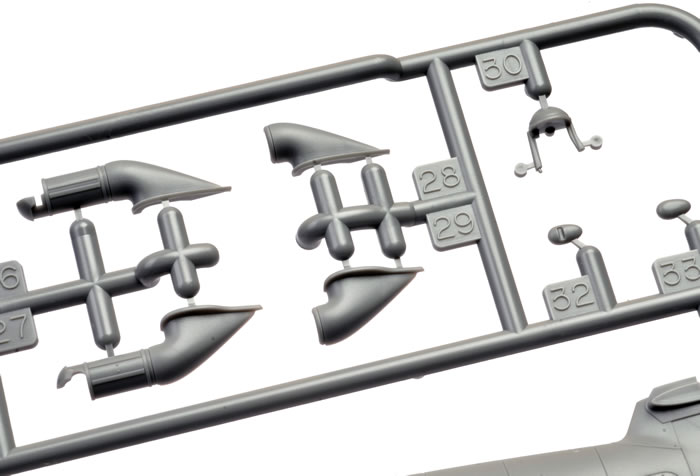
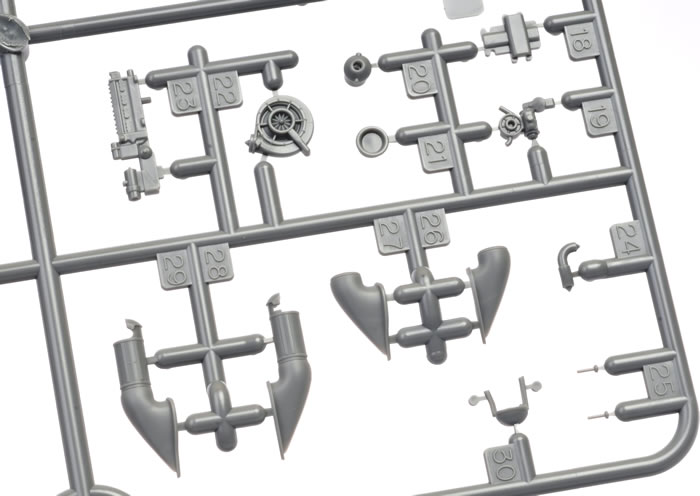
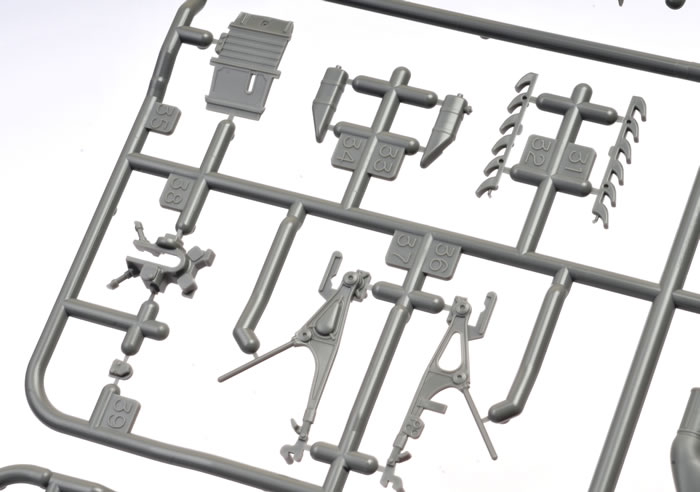
Options are many and varied. They include two styles of drop tanks, Trop filter and umbrella pips; cannon gondolas (gondolae??); short or long aerail masts, DF loop, metal or Galland Panzer pilot's head armour and a Morane mast with three styles of base. Some of these are marked as not for use in this boxing, but I'm sure that many will find a use for them!
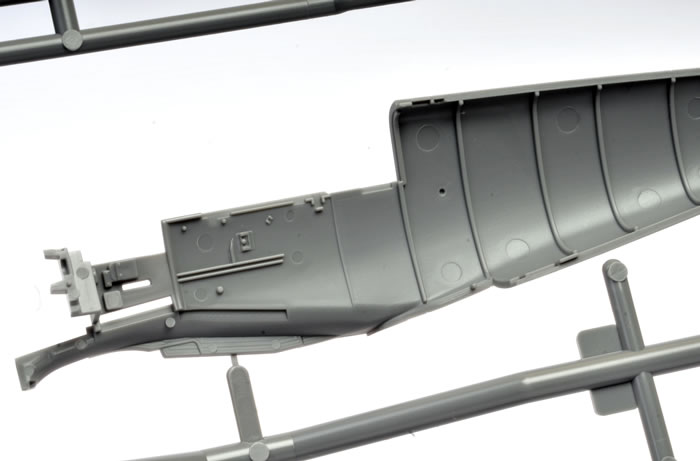
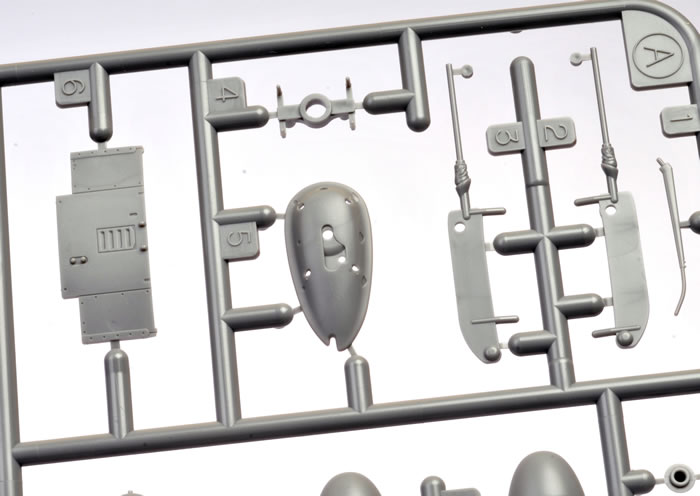
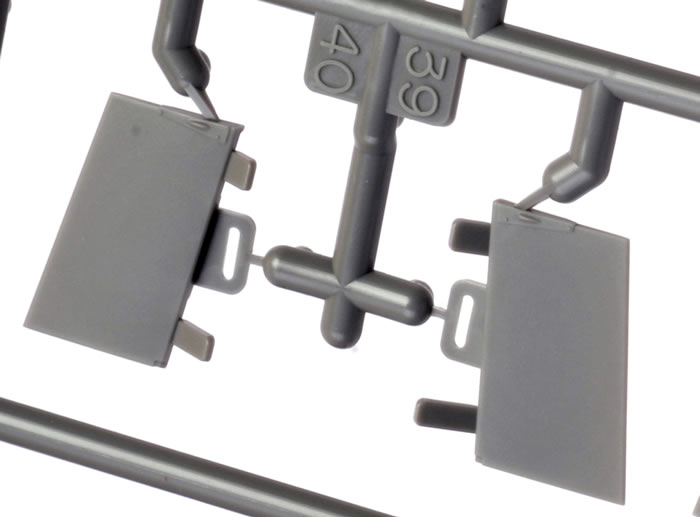
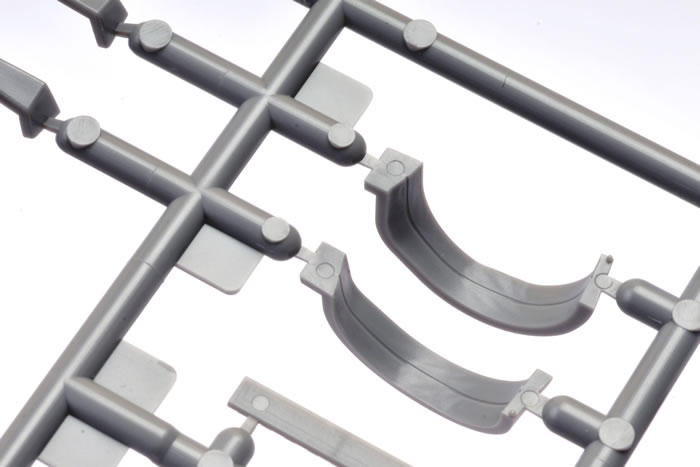
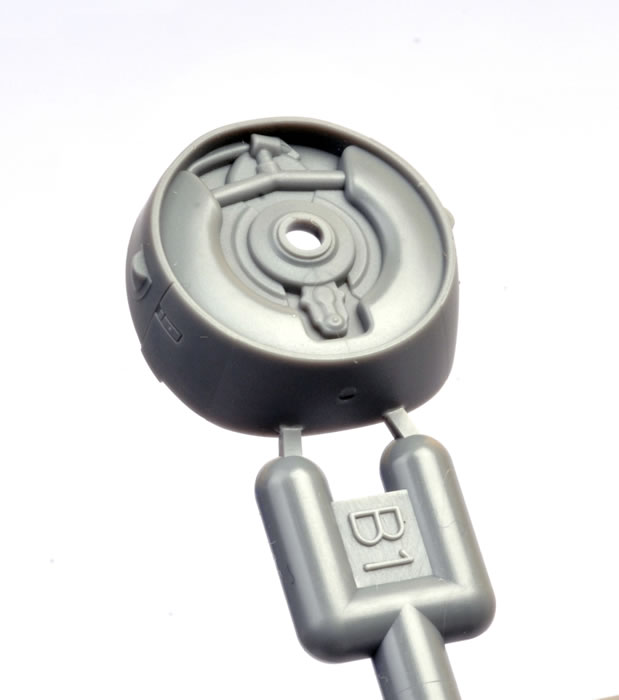
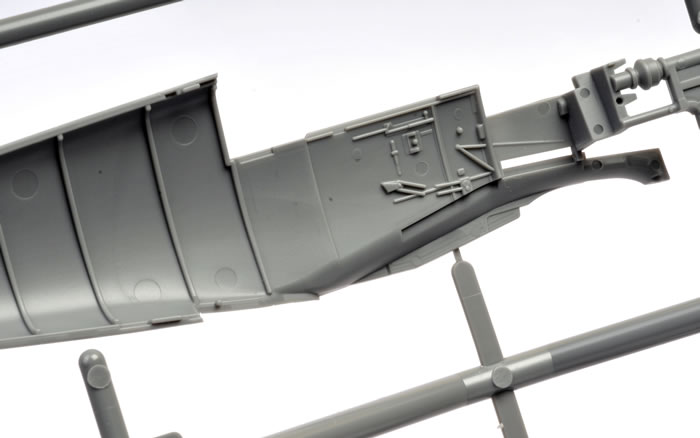
Parts breakdown is far from conventional. The main fuselage halves comprise the mid and rear sections, with the nose and the panels beneath the windscreen being presented as separate parts. The main fuselage halves have a stout mount for the engine block moulded in place. The two raised pips for the tropical umbrella on the port fuselage side are also moulded in place (you'll need to carve/sand these off if you are building a non-Trop variant).
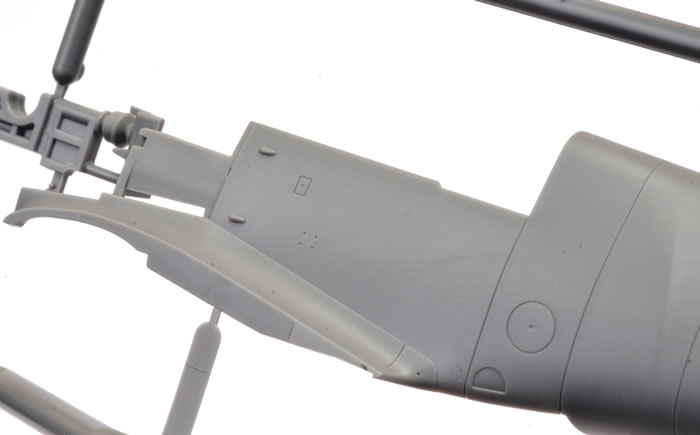
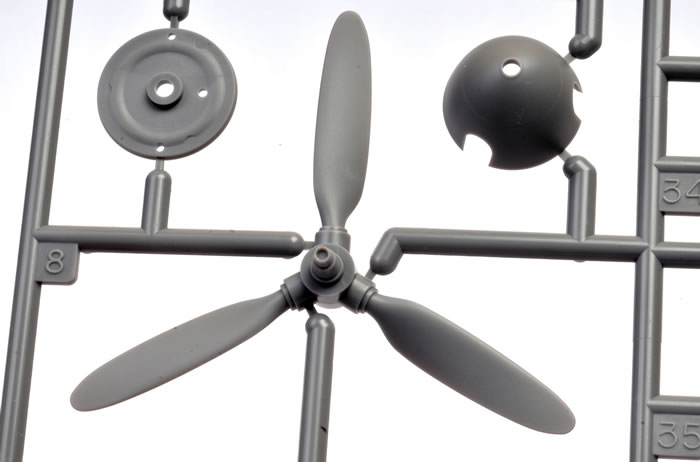
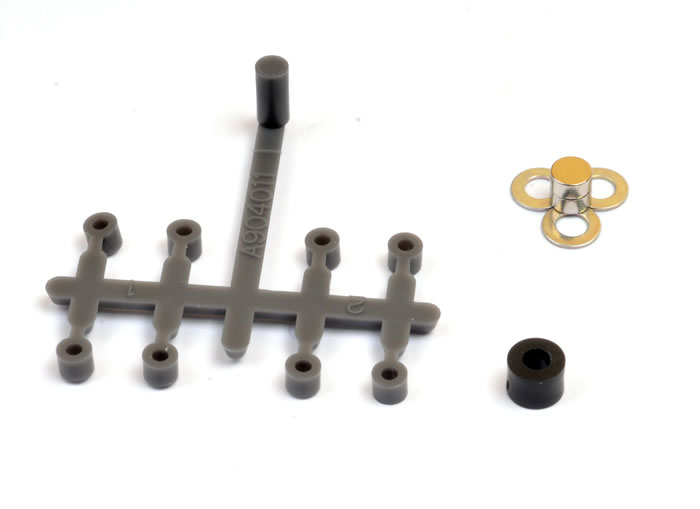
Two complete sets of engine cowlings are included - one for the closed option and one open. These are locked into place using a combination of thin metal washers, tiny magnets and polythene caps. The engine is broken down into a central engine block that is permanently attached to the fuselage plus separate sub-assemblies for the top of the engine, including the engine mounts, glycol tanks and cowl guns; and the bottom of the engine. These top and bottom engine sub-assemblies are fitted only when the cowls are displayed open. Engine detail is good straight from the box, and there is no compromise in size or accuracy thanks to Tamiya's clever parts breakdown.
It's a bit difficult to describe in words, but it makes perfect sense when you are building the model!
There is nothing preventing the modeller for gluing the cowls in place either open or closed, but the press-fit and magnet snap-fit of the cowls is so extraordinarily good that you honestly don't need cement.
I have seen it suggested that there is something wrong with the spacing of the cowl guns, but I have looked at a few photos of wartime aircraft and I think it is fine. The spacing looks odd on the sprue without the context of the bulges and the cowl sides, but it all looks proportionally correct on the built-up model (wartime reference photo below).
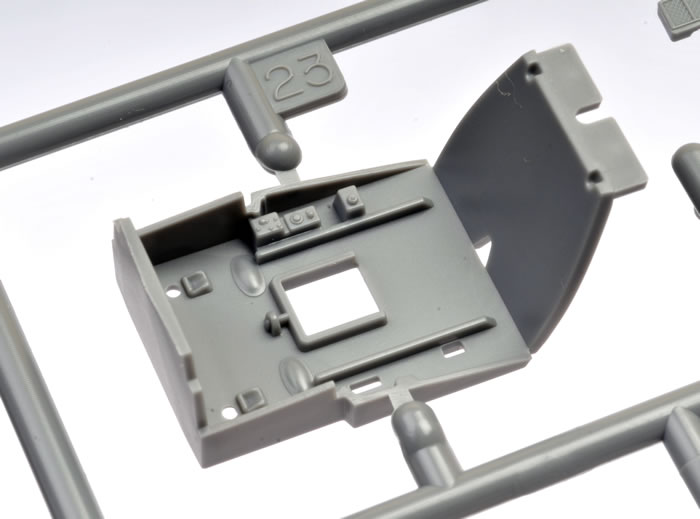
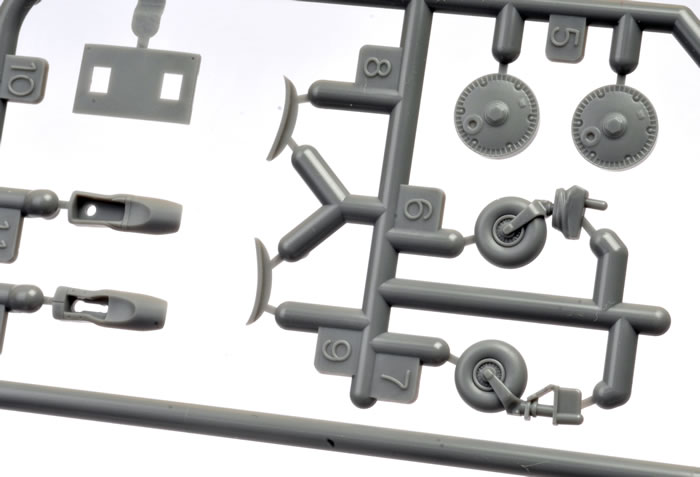
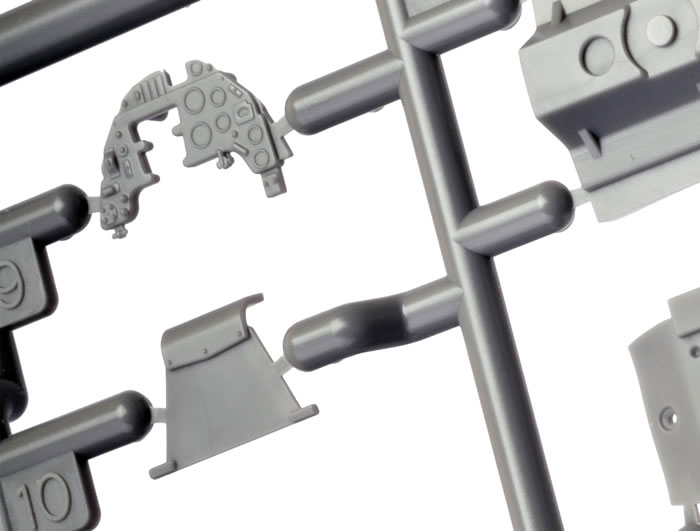
Cockpit detail is good. Some sidewall detail is moulded directly onto the fuselage sidewalls. There are a few alarming ejector pin circles here, but some are actually locating positions and they are all covered up when the cockpit parts are glued in place.
The instrument panel is supplied in two plastic pieces with decals for the dials. These look great in place - just make sure you line up the instrument decals with the raised plastic bezels.
Decals are also offered for the harness straps. These never really look right to me, so I replaced these with an Eduard STEEL harness - thin metal straps that are a nice compromise between authenticity and ease of use.
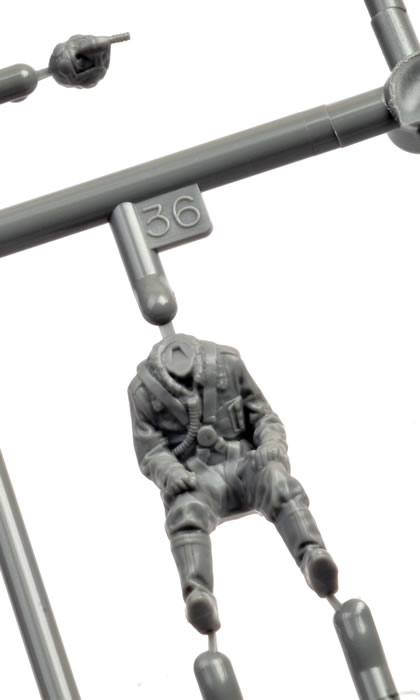
Tamiya also includes a nicely crafted seated pilot figure. He will help you avoid the problem of those pesky decal harness straps!
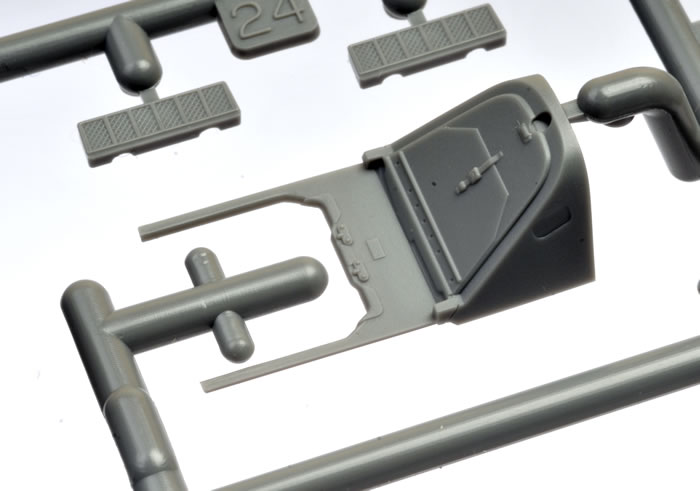
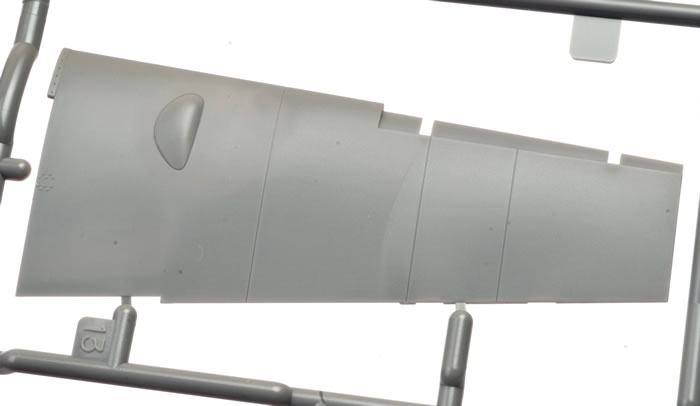
The windscreen is moulded with a small section of the fuselage and features a large mounting point for gluing to the gun cowl panels. Two styles of windscreen are offered.
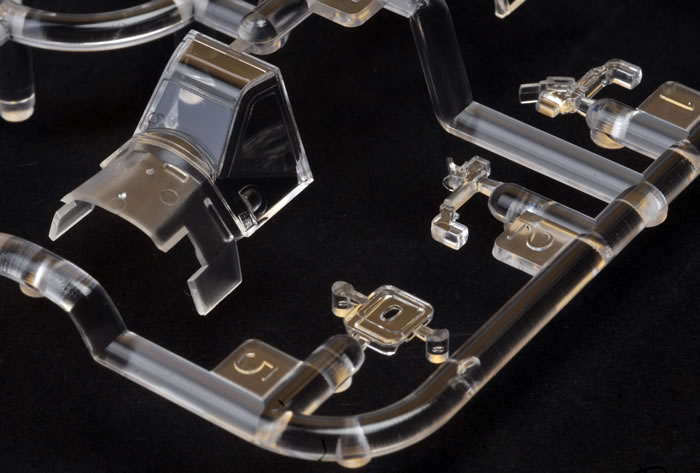
The main section of the canopy is moulded with two locating pins for a default "open" position. If you want to display the canopy closed, just slice off the pins.

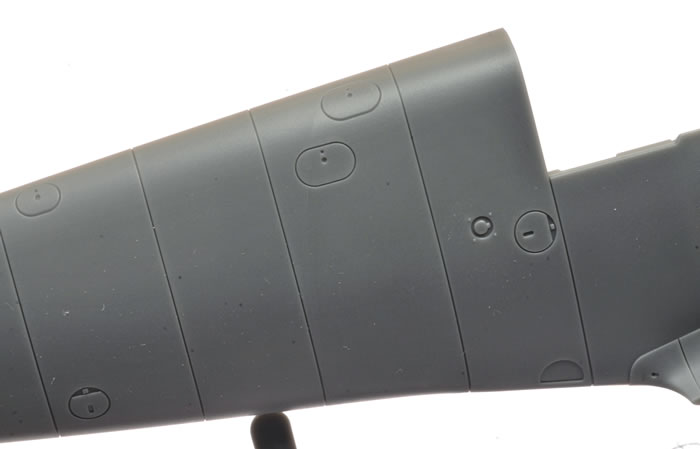
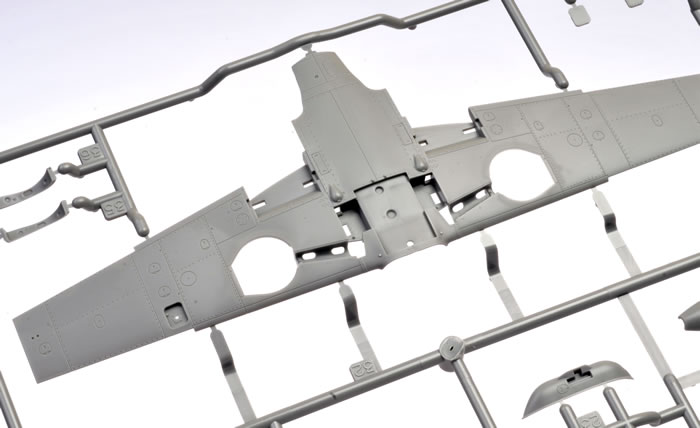
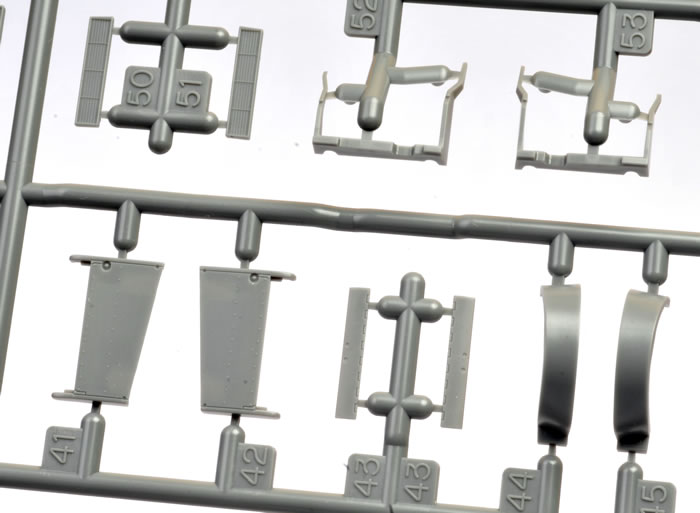
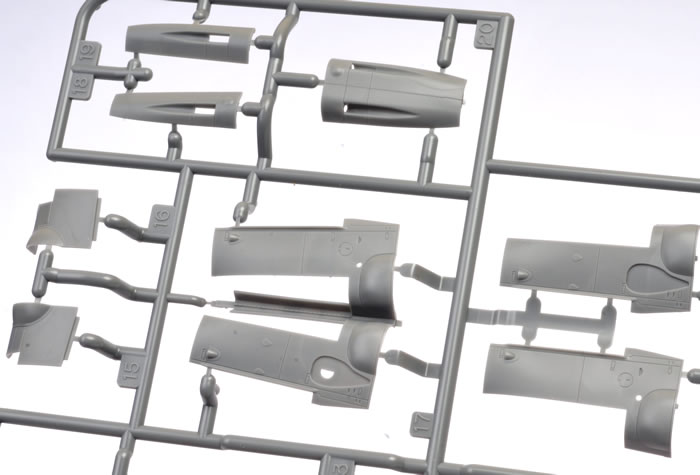
The wings comprise a full span lower section and separate upper halves with the wheel bulge accurately recessed into the ceiling. The main wheel bays represent zippered canvas covers at the rear and sides.
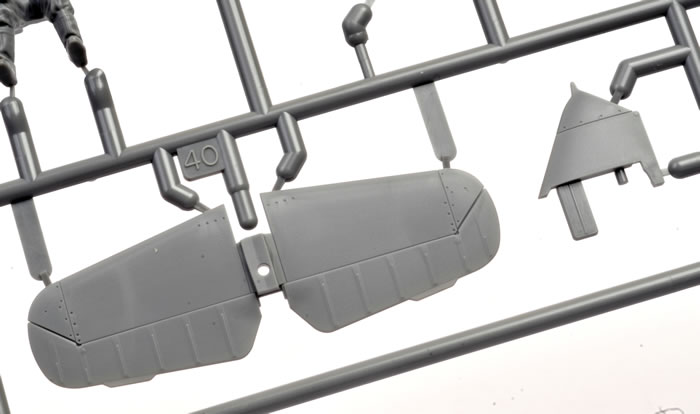
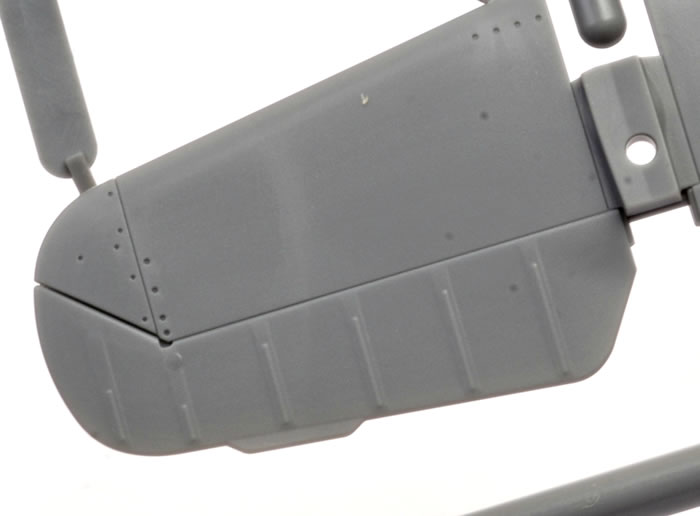
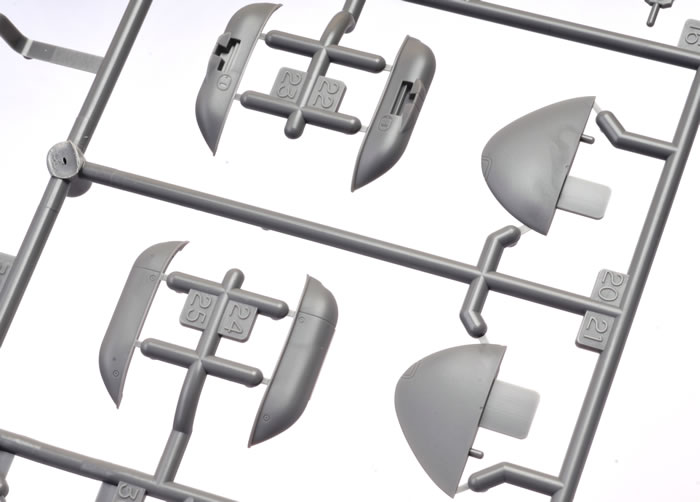
Outboard flaps, radiator flaps and the ailerons are all separate parts and may be posed to taste. The radiator flaps are cleverly designed with two sets of tabs moulded in place. One set of tabs is designed to be sliced off depending on whether the flaps are raised or dropped. The outboard flaps have a similar design feature.
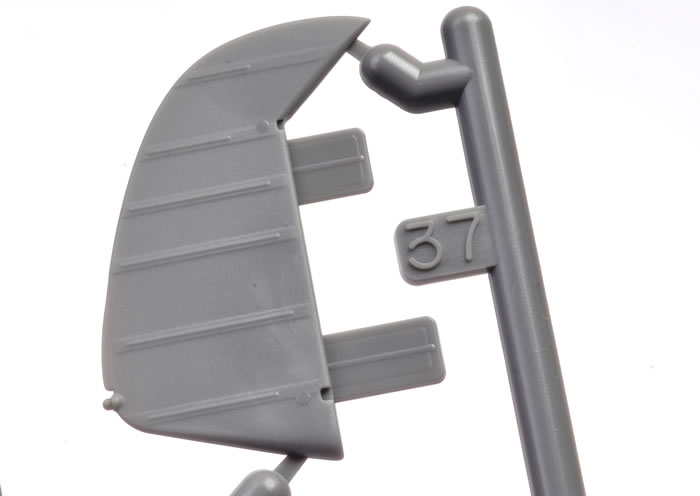
Leading edge slats are separate parts that may be posed open or closed. Wing tips are separate parts too.
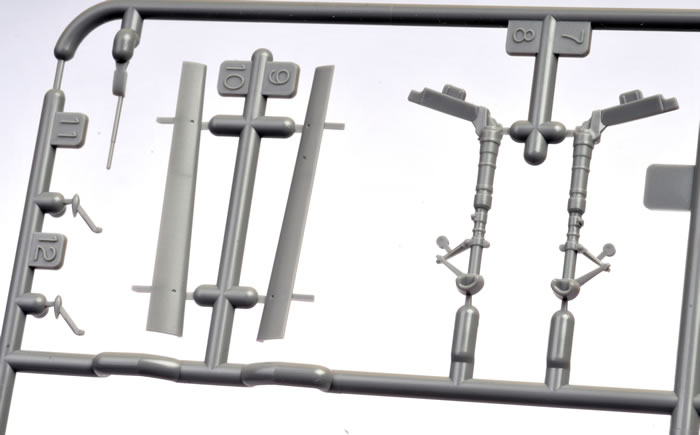
The horizontal tail planes are moulded as a single part, including the elevators. The fin is located via a long stout tab and pin, and the rudder is a separate part - also located with a positive tab.
Undercarriage legs are also unique. They are moulded with a long tab making an approximage "L" shape with the leg. This is glued into a recess in the lower wing, resulting in a robust join with perfect rake and splay. The recess is then covered by the lower wing centre panel, which doubles as a mount for the ETC rack. Of course, this means that you will have to paint the model before fitting the undercarriage legs, but fit is so good that this will not be a problem.
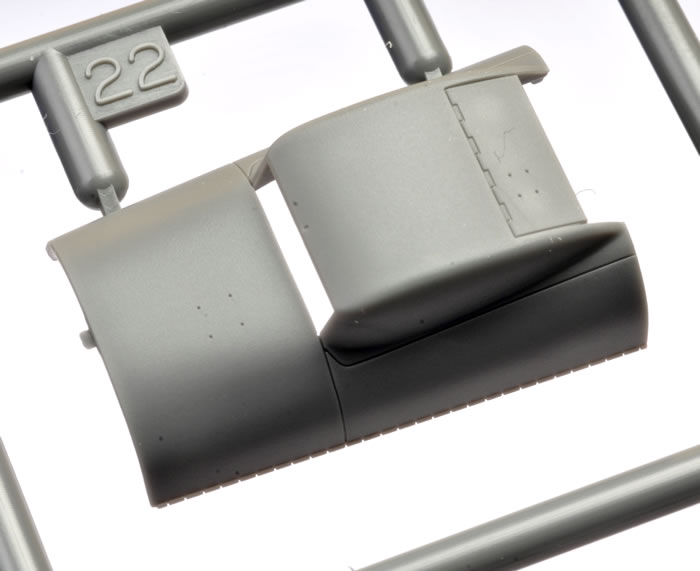
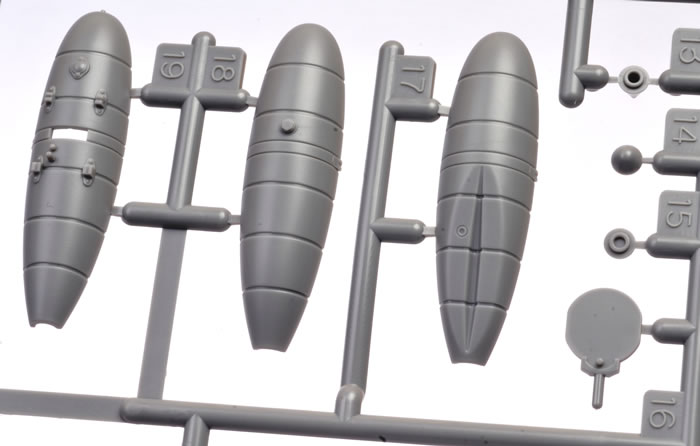
The 300 litre drop tank offers alternative lower halves. It is also a removaeble press-fit thanks to the use of a polythene cap.
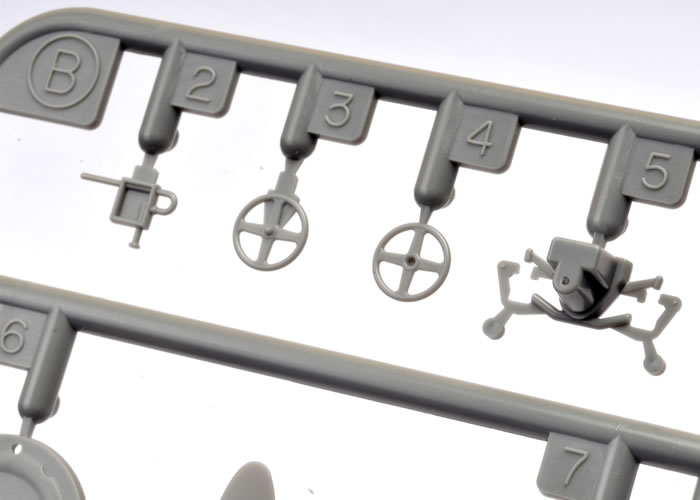
Multimedia parts round out the package - magnets, metal washers and two sizes of polythene caps.
Self adhesive masks are provided for the canopy.
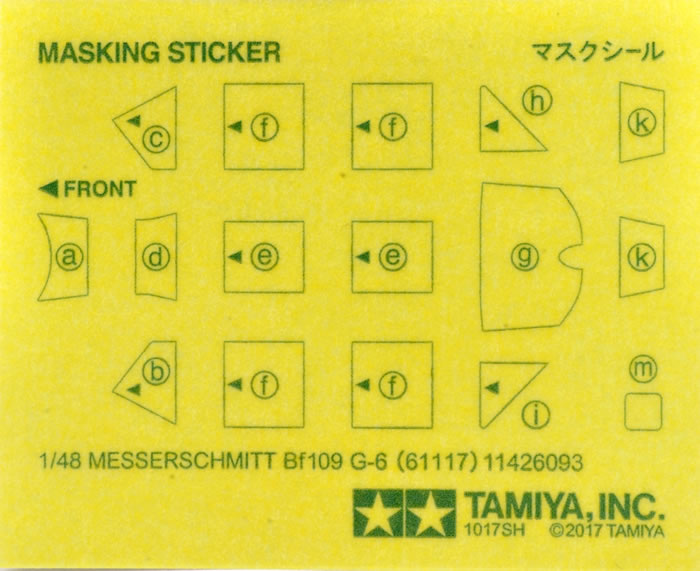
As is usual with Tamiya masks, the outlines are printed onto the Kabuki-tape masks and the modeller is required to cut out the shapes. I used a sharp hobby knife on mine and had no problems at all.
Markings
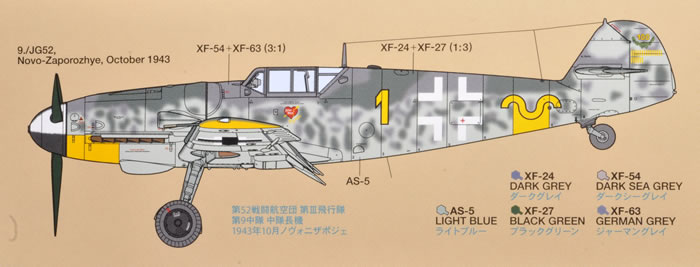
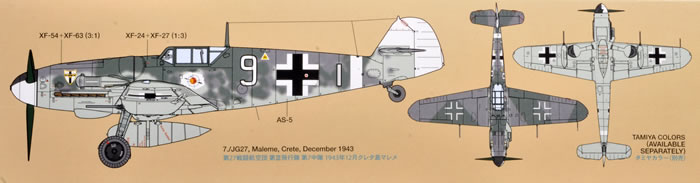
Markings are supplied for three early to mid-production Messerschmitt Bf 109 G-6s:
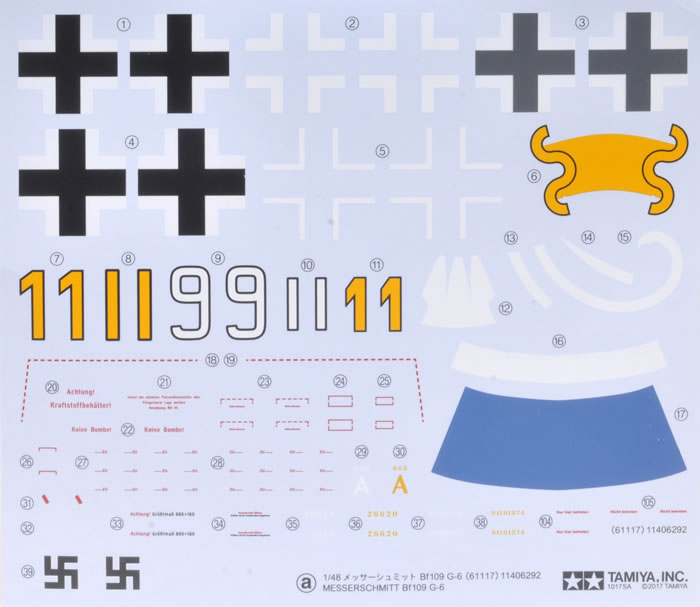
A second decal sheet includes comprehensive stencil markings.
Note that, due to the two separate cowl configurations, Tamiya has supplied two sets of nose markings where appropriate. You'll need to keep this in mind when choosing after market decals too.
Printing, colours and registration is perfect on my sample.
With the excellent Eduard and Zvezda kits released quite recently, do we really need another 1/48 scale Messerschmitt Bf 109 G-6?
Short answer - yes.
Some of Tamiya's options and engineering - most obviously the swappable engine and cowl parts but several other notable areas too - are simply ingenious, and there are more than enough other differences between this kit and the existing Gustavs on the market to make it unique and desirable.
If you want to display the engine straight from the box, the Tamiya kit will be the logical choice. Some will also prefer the simpler surface detail of the Tamiya kit, with its recessed panel lines and minimal riveting.
But analysing the box contents only gives a sense of the nature of this model. Its real charm is the building experience. Fit is perfect, and you really start to appreciate the originality of the kit design and the excellence of its execution when you are fitting the parts together.
The model will continue to deliver entertainment even after it is built. Removing and replacing the engine cowlings is like a more grown-up version of buzzing your model around the room making aeroplane noises!
Having built the recent Tamiya 1/48 Tomcat and the F4U-1D Corsair, I wondered how Tamiya would be able to top themselves again.
This is how.
Thanks to Tamiya for the sample
Review Text Copyright © 2017 by
Brett Green
Page Created 13 November, 2017
Last updated
14 November, 2017
Back to HyperScale Main Page
Back to Reviews Page |
 Home
| What's New |
Features |
Gallery |
Reviews |
Reference |
Forum |
Home
| What's New |
Features |
Gallery |
Reviews |
Reference |
Forum |