Hasegawa's 1/48 scale
Vought F4U-5 Corsair
by Jon Bryon
|
Vought F4U-5 Corsair|
US Navy, Glenview Naval Air Reserve, USA 1954
|

Hobby Boss's 1/48 F4U-7 Corsair is available online from Squadron.com
Summary
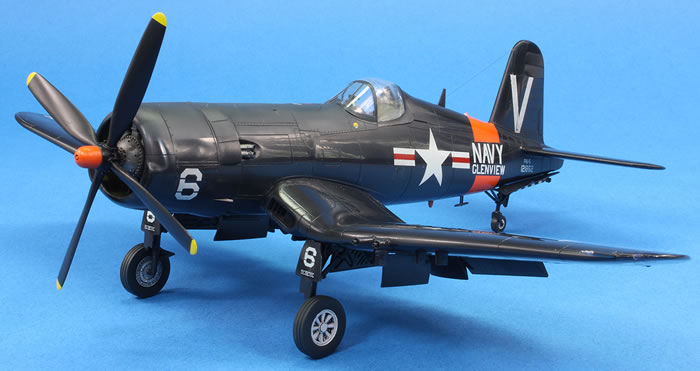
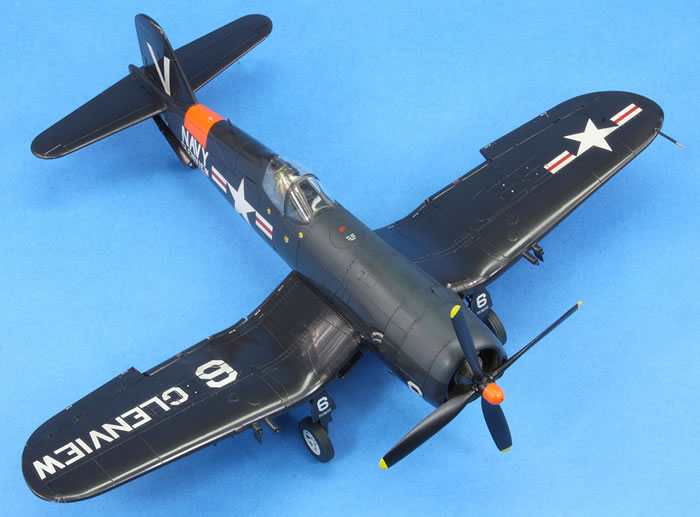
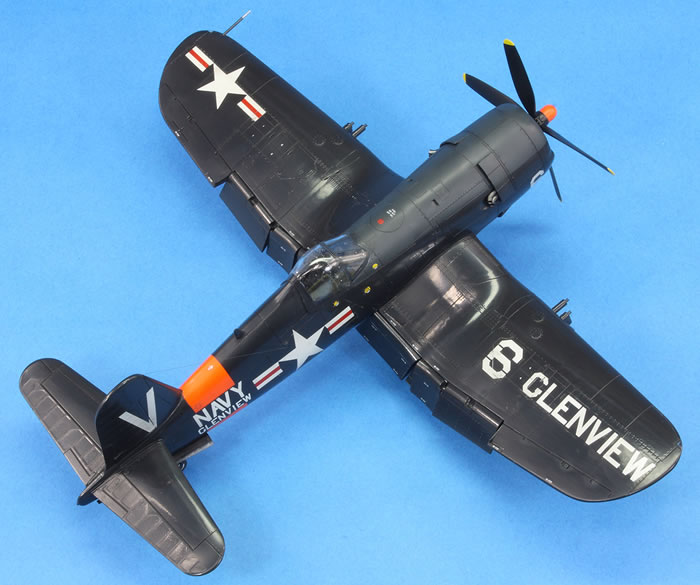
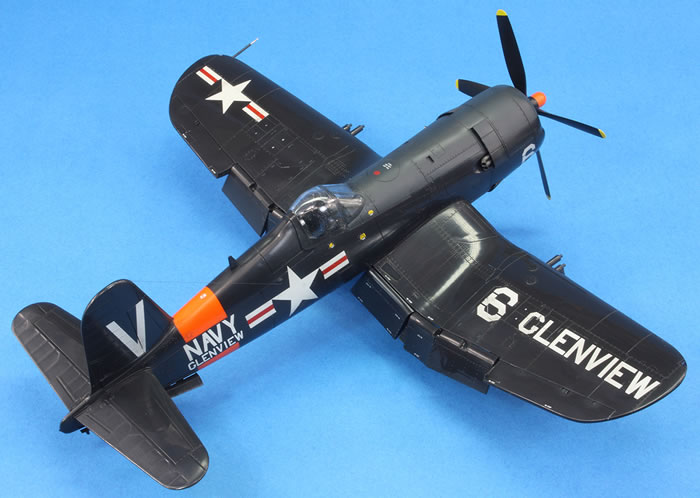
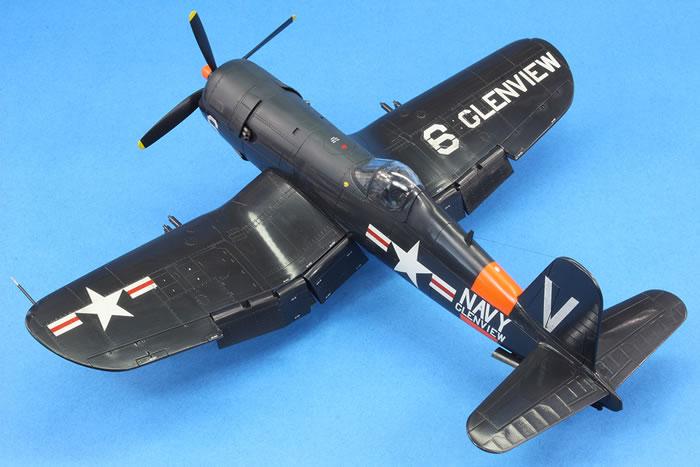
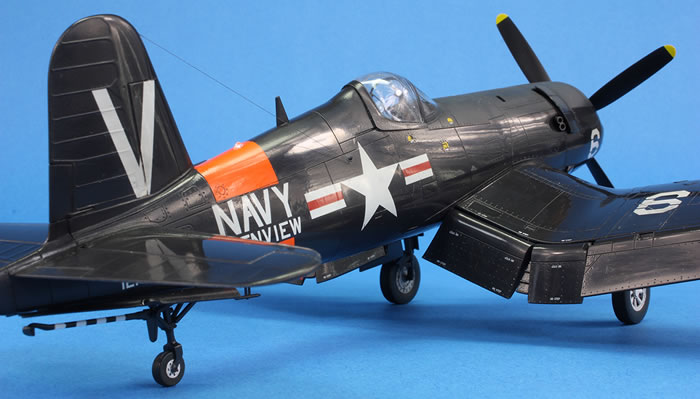
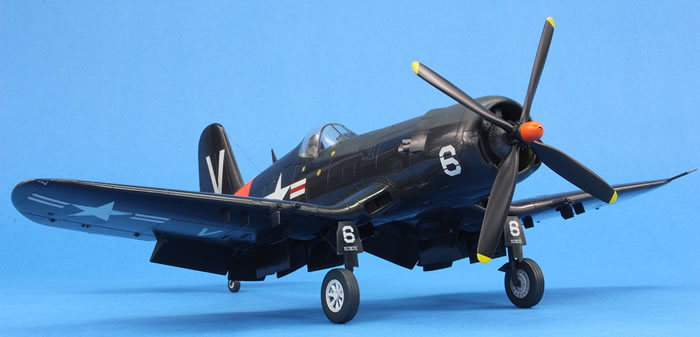
Hasegawa 1/48 Vought F4U-5 Corsair with CMK resin wheels
US Navy, Glenview Naval Air Reserve, USA 1954
Background
This completes my quartet of late-model Hasegawa Corsairs in 1/48, and most of what I have to say about this kit I have written elsewhere on my website.
Suffice to say, this boxing enjoys the same nice overall moulding quality as the rest, but suffers the same problems: the mould mismatch on the nose; the poor fitting cowl and radiator inserts in the wing roots, the missing T-shaped aerial under the fuselage, inaccurate instrument panel (I think) and incorrect wheels.
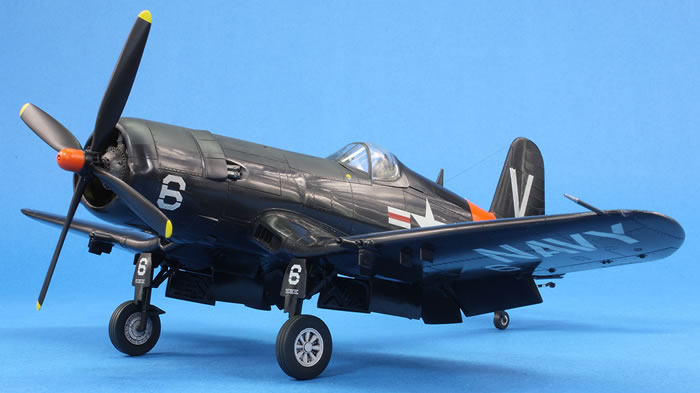
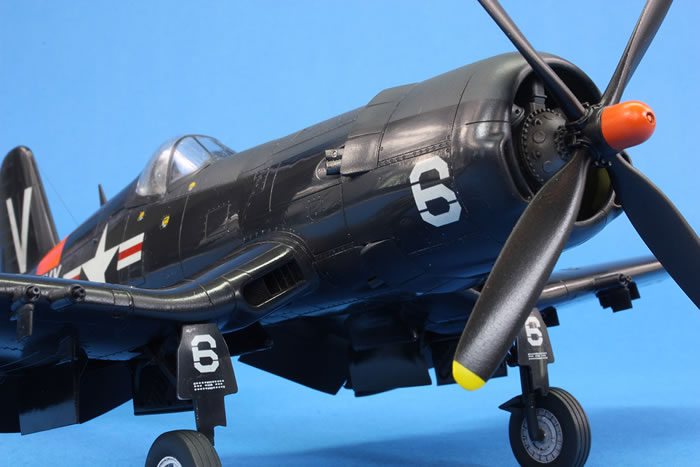
My modifications to this kit were limited to cutting out the wingtip lights and replacing them with clear sprue, replacing the spine-mounted light with a spare part from my spares box, fabricating a new pitot tube from Albion Alloys tubing, using a Quickboost aerial for the underside, and replacing the wheels with the later versions made in resin by CMK.
One mistake I repeated from my F4U-7 was to forget that the cockpit bulkhead should be black. Unfortunately I remembered this should be the case after I had welded the canopy shut with Tamiya Extra Thin!
Before I Start...
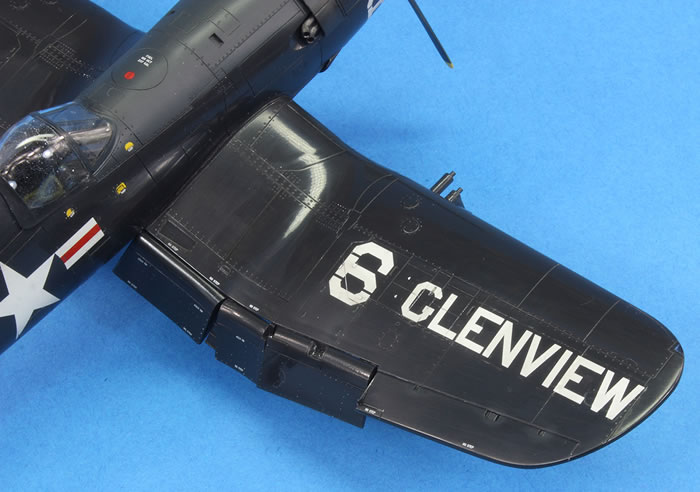
I was very happy with the decal options provided in the kit, and wanted to make the Glenview version. I found lots of nice photos of Naval Reserve Corsairs at https://www.asisbiz.com/il2/Corsair/NAS.html and then a superb picture of the actual airframe Hasegawa have provided markings for at https://www.pinterest.co.uk/pin/328692472788679175/ (I don’t know if this will open without a Pinterest account). Clearly this was the photo Hasegawa used for their profile.
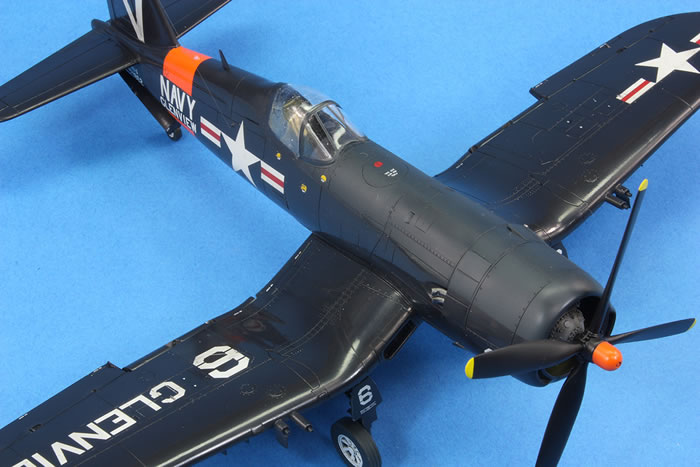
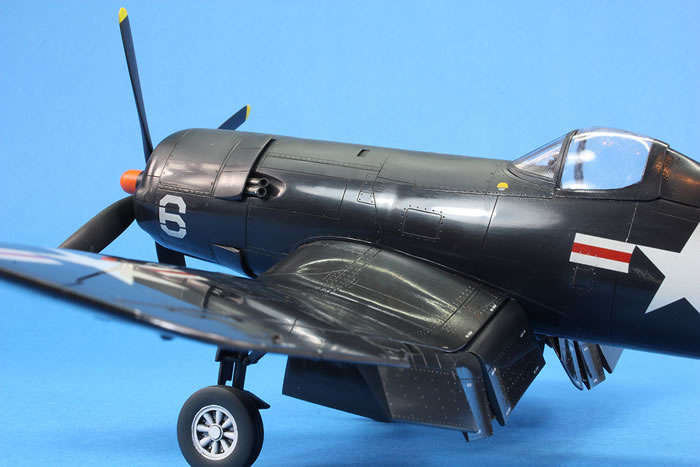
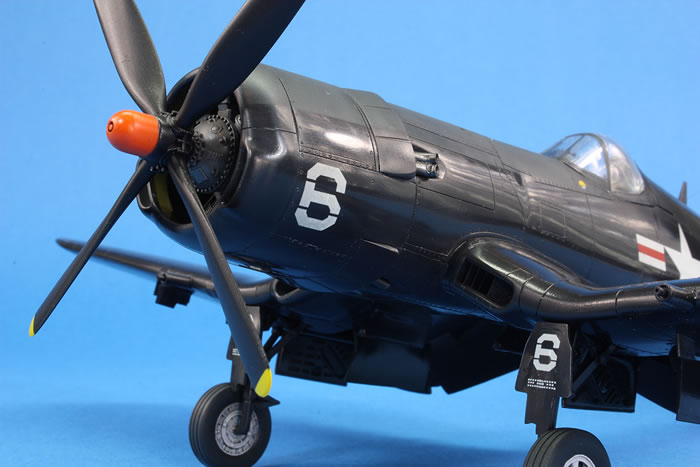
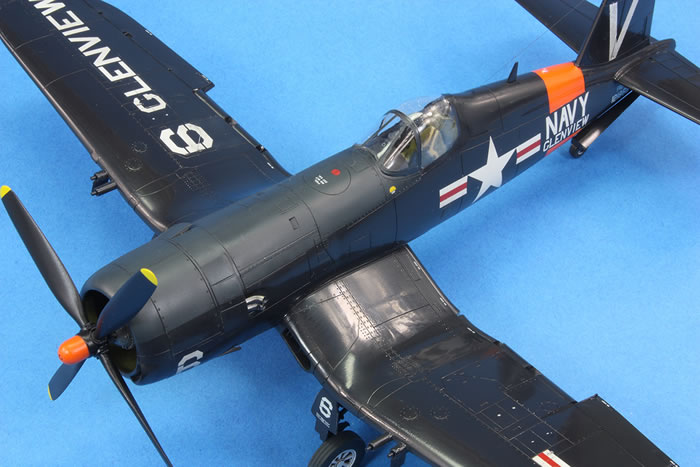
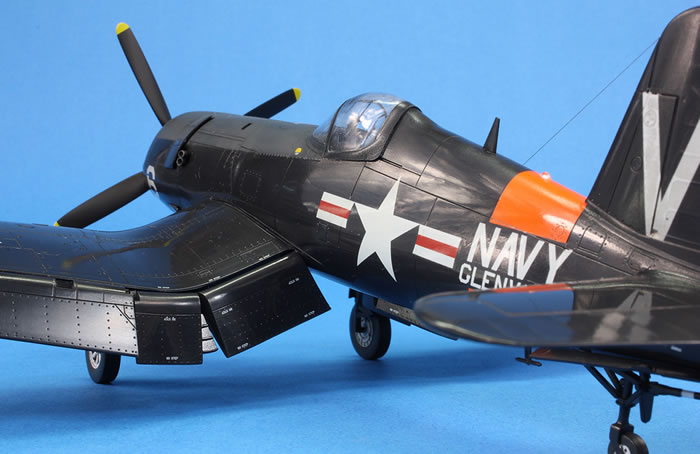
However, it also immediately revealed a few problems. First, Hasegawa suggest the anti-glare panel should be black. Clearly this is wrong, and I found out it should be non-specular Sea Blue. Second, the wheels in the kit are incorrect. Third, Hasegawa do not supply a number of white markings or stencils, such as those under the canopy. Fourth, the colour of the prop boss is ambiguous; Hasegawa suggest Orange. Fifth, this Corsair (and at least others at Glenview) had different exhaust pipes that bend outwards and down. On the other hand, the markings that are provided looked really well-designed, even if the decals were typical Hasegawa of the era: thick and translucent. It’s also worth noting that while many Glenview and other Reserve Corsairs had their tailhooks removed, this example still had it.

I created some replacement exhausts by gluing two spare rocket bodies together, heating them and bending them. It’s not completely accurate and has resulted in a little crease, but I was happy enough. These were then drilled out, along with the lower exhausts and the gun barrels.
Painting Underway
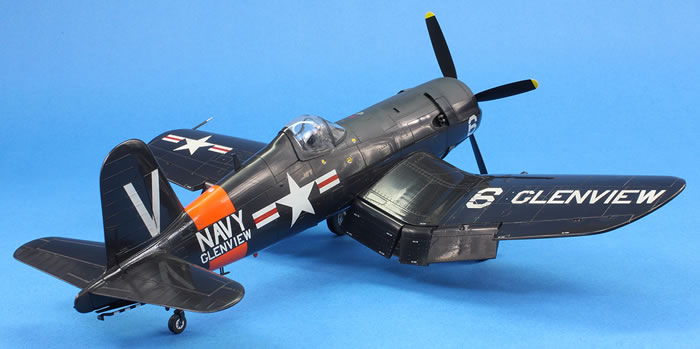
Having studied the scheme, I embarked on painting. The fuselage band was tackled first by spraying white followed by Mr Color 59 Orange. I then masked the entire band and primed the rest of the airframe in Mr Black Finishing Surfacer 1500, followed by well-thinned Mr Color 71 Midnight Blue. The orange band was then unmasked and the vertical space required for the ‘NAVY’ and ‘GLENVIEW’ decals measured from the decal sheet. I then laid some masking tape horizontally to mark out this block and airbrushed some more Mr Color 71. It was much easier to do it this way than to try and mask the complex shape of the band in one go. The anti-glare panel was masked off and I used Mr Color 14 Navy Blue to get a similar yet different shade for this area. For the prop boss I went with the orange, even though I suspect it was probably blue.
Decals and Finishing Touches
After a coat of Mr Color GX100 clear varnish, the decals were applied and a black oil wash run into the recessed detail. As mentioned above, the decals are not nice, but settled fairly well using my unconventional decalling method described here: https://jonbryon.com/2016/03/15/decals/. After they were applied I decided to try for a reasonable gloss finish. This was an unfortunate stage to decide this as many small parts, such as the aerials and pylons, had already been fitted and would impede polishing.
Nevertheless, I sprayed more GX100 over the whole airframe and then set to it with Micromesh 2400 followed by hand polishing with Tamiya Coarse and Fine compounds. This means I ended up only giving the larger, flatter areas a glossy finish, and other areas, such as the tailplane elevators and rudder, were not polished out. I also did not polish out the underside, since no one sees the underneath anyway.
I was pretty happy with the finish (I wasn’t trying to get a high shine polished appearance) and set to with my RG-3 blasting the polishing compound away with water at 50PSI. The anti-glare panel was remasked and airbrushed with Mr Color GX113 matt varnish and the painting was now complete. I removed the canopy masking and…disaster! As with my Hellcat, the inside was full of bits of rubbish and tide marks. Despite being very careful with the water-blasting, it must have made its way into the cockpit from the inside. There was no way of fixing this without major surgery and I just couldn’t be bothered. For my next GSB finish I will either need to seal the cockpit off internally or simply find a good way of attaching it later.
After this disappointment, the only thing remaining was to attach all the flaps, undercarriage and exhausts, and then as the last step add the aerial wire with Uschi van der Rosten fine rigging wire. I have always shied away from adding aerial wires because I think it is very difficult to do them well, but this thread is wonderful and attaches beautifully with super glue.
Despite the issue with the canopy, I love this model. The GSB scheme, with a reasonable shine, the orange reserve markings and the white wheels, is a revelation to my eyes. Even my wife commented on how striking the finish was. It’s certainly got me eyeing up the other GSB aircraft in my stash with anticipation!
For more articles like this, please visit my website www.jonbryon.com
Text and Images Copyright ©
2018 by Jon Bryon
Page Created 3 April, 2018
Last Updated
3 April, 2018
Back to
HyperScale Main Page

|
 Home
| What's New |
Features |
Gallery |
Reviews |
Reference |
Forum |
Search
Home
| What's New |
Features |
Gallery |
Reviews |
Reference |
Forum |
Search