Revell 1/24 scale
Routemaster Bus
by Leo Stevenson

‘A change is as good as a rest’ they say! I have a health problem (not Covid 19) that has largely stopped me working for a while so I thought I’d depart from my usual aircraft subjects and make something very different. This is the Revell 1/24 scale Routemaster bus model, so this is also a change of scale for me because normally I only make 1/32 models.
In addition to be one of the most successful designs in transport history, the Routemaster bus is of course an iconic symbol of London. This bus came into service in the late 1950’s, when I was born. To me these buses evoke strong and deep memories, not just of how they looked, but the feel and even the smell of them.
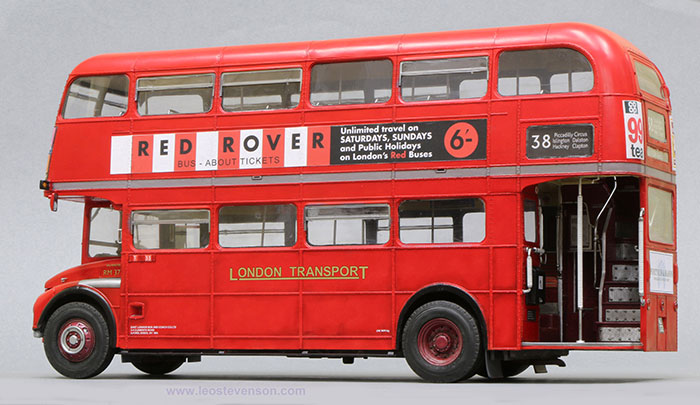
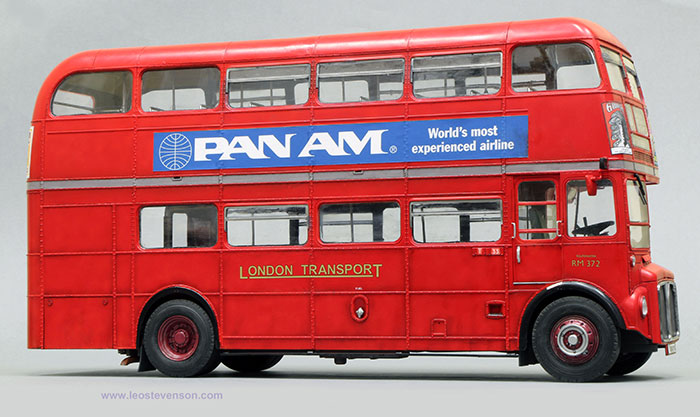
They were a part of my life for many years, so this is why I chose this model – pure nostalgia. I spent the first half of my life growing up in Leyton in the east end of London, so the bus that this model represents is a number 38, the main bus I used to and from the centre of London for many years. Specifically, I wanted this model to represent a particular bus in 1971, just pre-decimalisation.
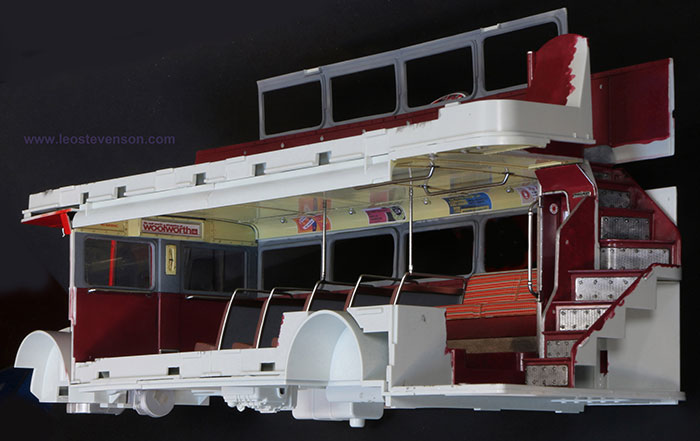
I had a big task in front of me because this kit represents a 1990’s RML version of the Routemaster bus which was a lengthened version of the standard RM type bus that had first appeared on London’s streets in the late 1950’s, so to be authentic for 1971 I had to convert the bus back to the RM version.
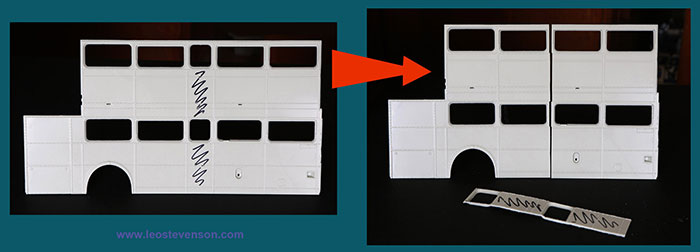
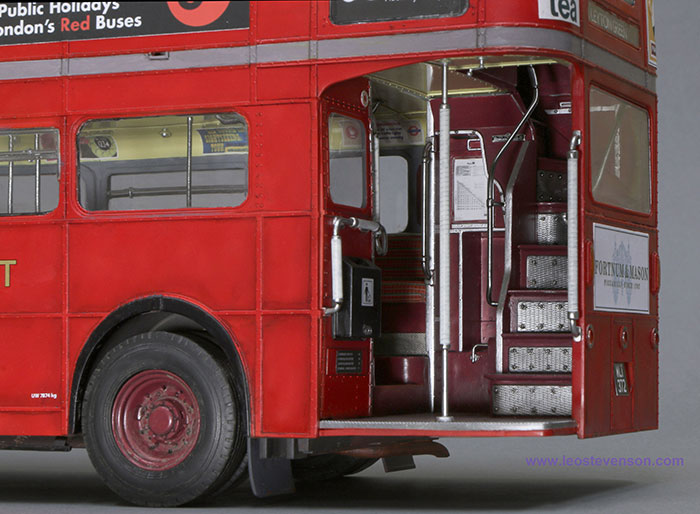
Coincidentally the kit offers the option of making a number 38 bus, ‘my’ bus, but this wasn’t too much help as the majority of my work on this project was spent on the drastic surgery needed to make it represent an RM bus. This was not just a matter of sawing the model down the middle – though I wish it was! The peculiar double-skinned construction of this model meant some quite complicated work was needed in a number of areas, in fact too many to describe in detail here. Suffice to say that this all took me far longer than I thought it would.
RM buses were also a bit different from RML’s on the front, so this area needed some careful re-sculptin.

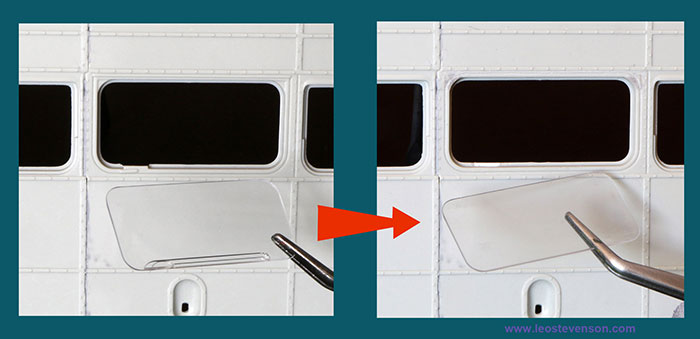
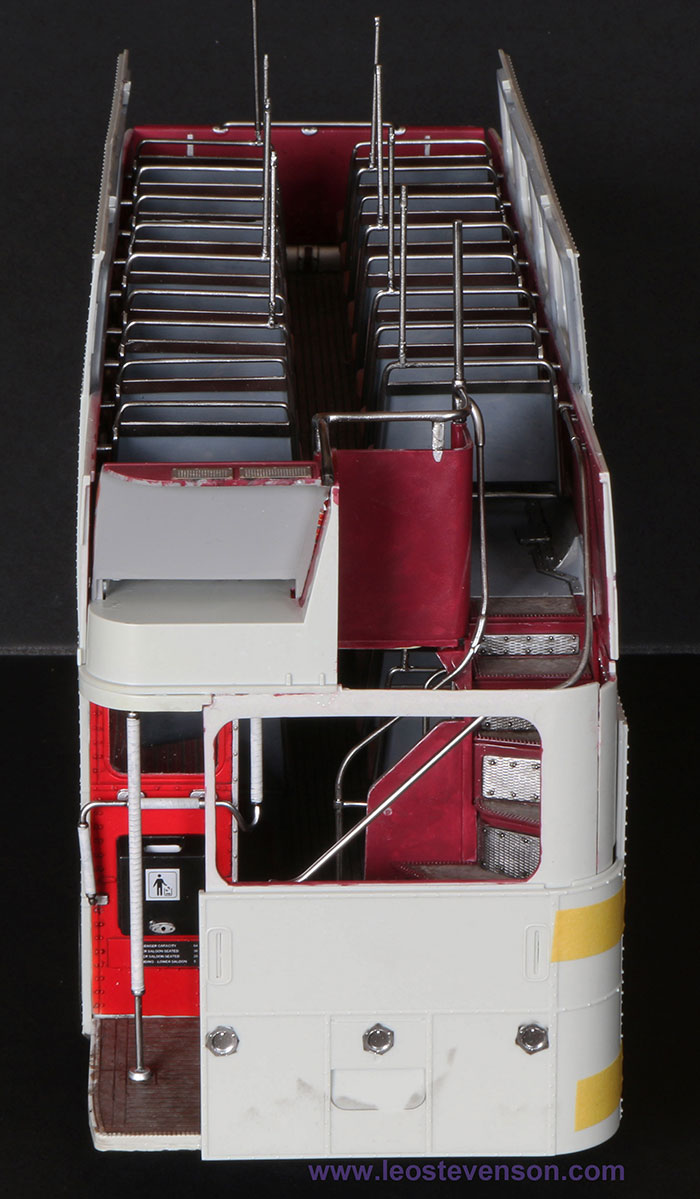
I didn’t mind that, but as this build progressed I began to feel resentful because apart from my voluntary changes to backdate the kit there are too many parts that are just crude or far too thick, for example the many steel grab bars.

Correcting or re-making so many parts doubled the time needed to make the model – all unnecessarily annoying.
On the good side the fit of the parts is generally good, and in terms of cost this kit is remarkably inexpensive considering its size, but I really wish Revell had spent more time on the kit’s development and quality control.
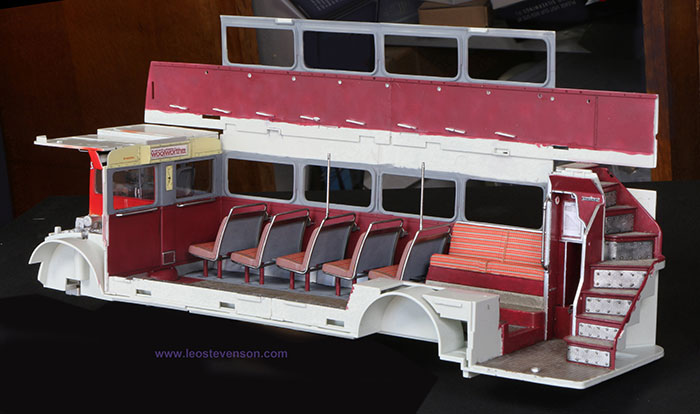
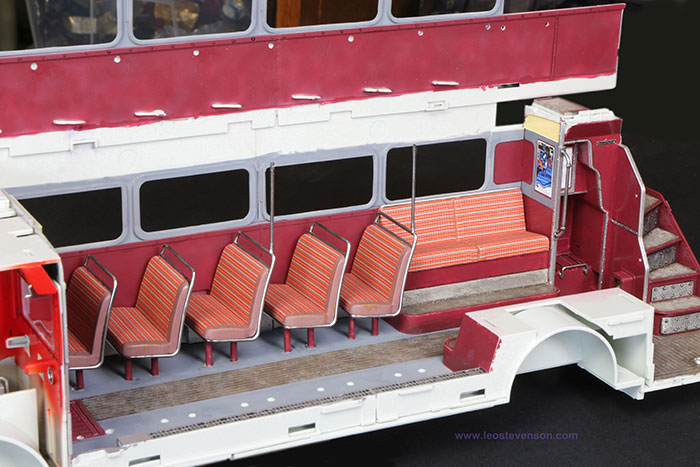
Even the decals supplied with the kit are very wrong in many respects, for example the seat fabric decals are far too narrow for the seats they’re made for so there’s not enough of them! It’s very strange that such an experienced kit manufacturer can make such a dumb mistake. If it wasn’t for the fact that I shortened the length of the bus and so had some decals spare that I could slice up and extend the decal’s width I don’t know what I would have done. This problem was also alleviated by making the seat upholstery have leather ends to them as they should have in 1971 (this was something that the later RML buses did not have, by the way) and so this allowed me to eke out the fabric decals further.
I bought the specially mixed red AEC Routemaster paint from Zero Paints, and all the metal areas were painted using Alclad II paints. I mixed all the other colours myself, such as the reddish purple and creamy yellow used in the interior etc., using Tamiya acrylics. There is also some subtle weathering on this bus, just enough to give it a realistic edge, but these buses rarely became very dirty so I had to be restrained on this.
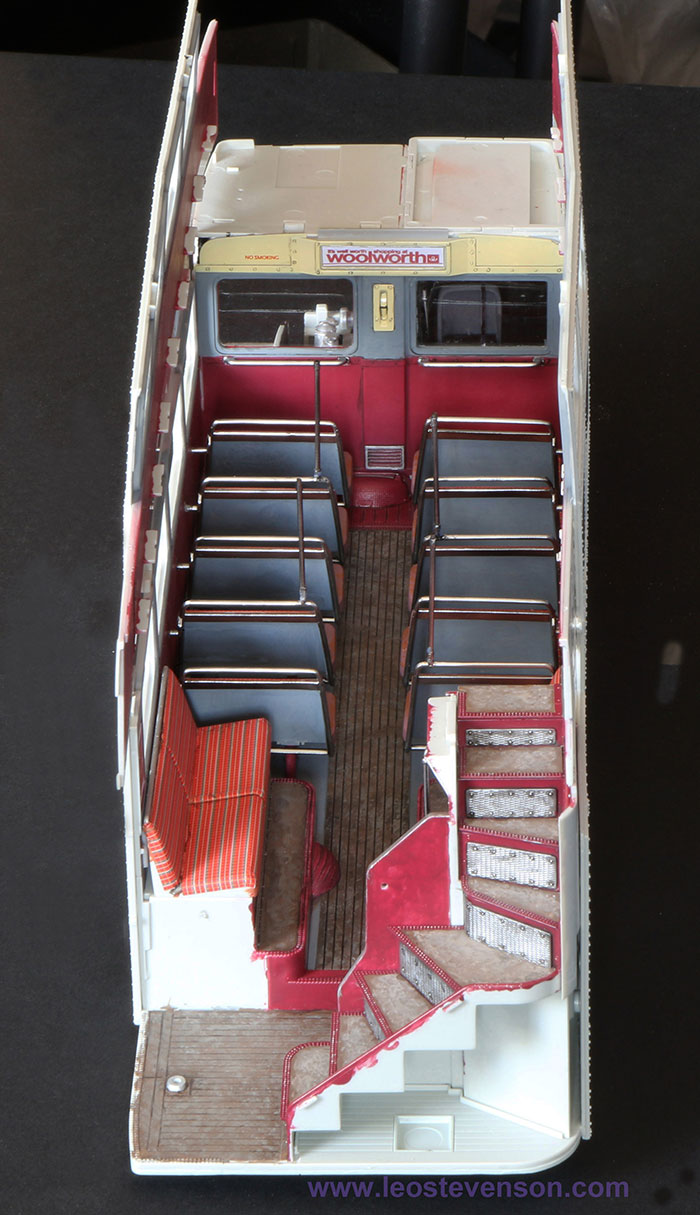
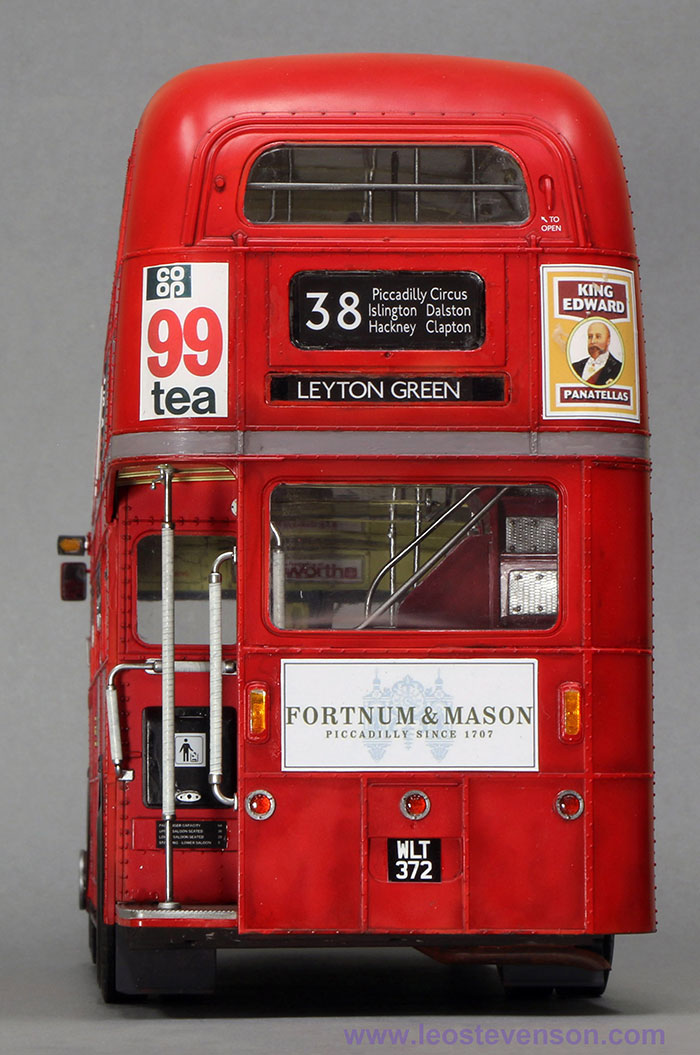
Some of the period bus adverts were supplied by Kingsway Models, who were also very helpful with historical advice. Luckily I was able to rearrange the kit’s own decals to give me the correct bus number, and for any of the other adverts or markings that I lacked such as the number plates I printed them myself using my Epson P600 printer.
A lot of research that became necessary because of my chosen date for the bus, for example to make sure that the advertisements were correct for 1971, and also to ensure that the bus codes, the number plate, and the ‘running number’ for this particular bus were all historically correct. Does it matter? It does to me; why?
This is not just because it’s generally nice to get things right, but because this model is a particularly personal journey back in time, back to when I was thirteen years old and used to regularly buy a ‘Red Rover’ ticket to take this bus into central London with Mike Scully, my best friend that I had known since we were toddlers. We had all sorts of adventures on this bus, all of which were made even more special if we could get two of the upstairs front seats, the very best seats for such a magic carpet ride through London’s east end towards the exciting centre of the city. Happy days.
Overall I am pleased with this model despite all the extra work, but my next session on the modelling bench will take me back to my ‘comfort zone’ of 1/32 aircraft. Watch this space!
This model is dedicated to the memory of Michael Scully (1958 – 1981).
Leo Stevenson
www.leostevenson.com www.leojubilee.co.uk
Model, Images and Text Copyright ©
2020 by Leo Stevenson
Page Created 21 October, 2020
Last Updated
21 October, 2020
Back to HyperScale Main Page

|
 Home
| What's New | Features | Gallery | Reviews | Reference | Resource Guides | Forum |
Home
| What's New | Features | Gallery | Reviews | Reference | Resource Guides | Forum | 