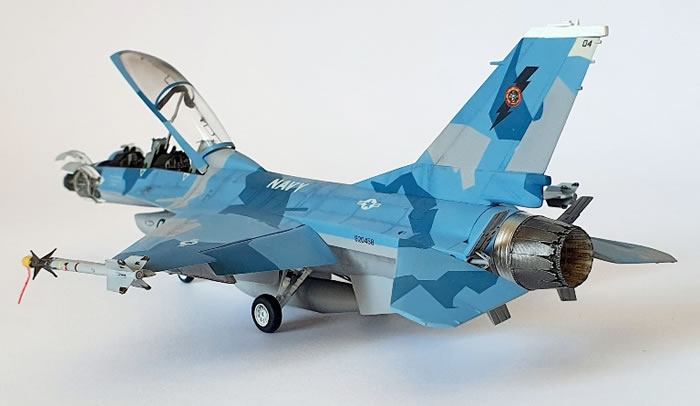
Hasegawa's 1/72 scale
F-16B NSAWC
by Goran Djordjevic

F-16 has really good coverage of documentation. Photos of almost all details are available in many publications as well as on the Internet. A lot of photos have been used for the scratch build of racks, in electronic bays, wiring, and radar detailing. It's all about shapes, colors and wire placement. For scratch building, modeler is always keen in searching for the necessary information - what is the shape, dimensions, color...
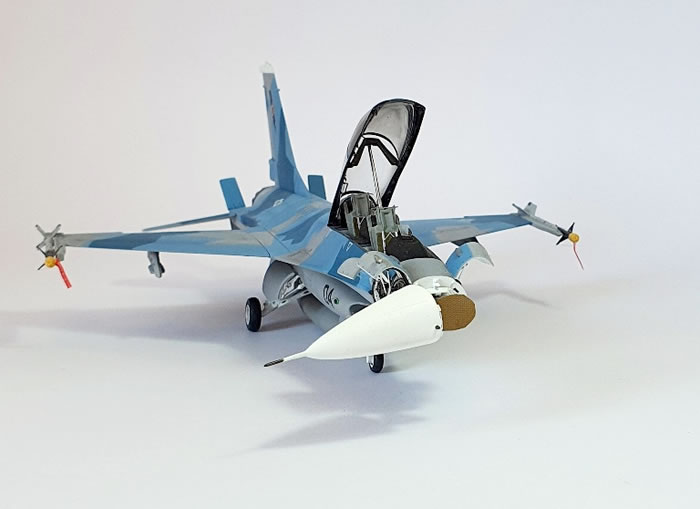
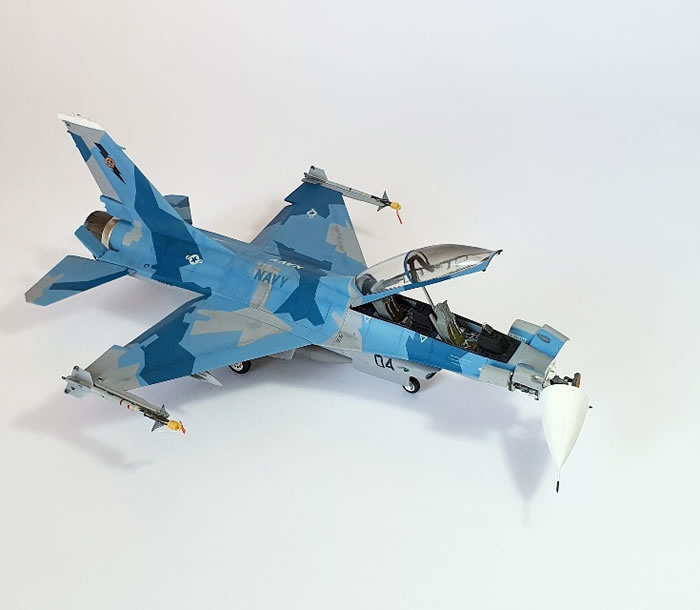
Having a lot of gray/gray models on my shelf, I was searching for something different and I believe this really looks good and attractive. This Navy F-16B is one of originally built for Pakistan. After withdrawal of the F-16N, the Navy managed to find this as solution for high performance aggressor aircraft. Fourteen airframes, ordered by Pakistan in the early nineties, but never delivered, due to a weapon embargo, were taken out of storage and delivered to the Navy. Those aircraft were stored at AMARC straight from the production line. They have a very low airframe life, making them ideal for the demanding aggressor task. It's about the last block 15s ever built. This particular plane is BuNo920458 and is in active service, as part of USNAVY NSAWC, since December 2002.
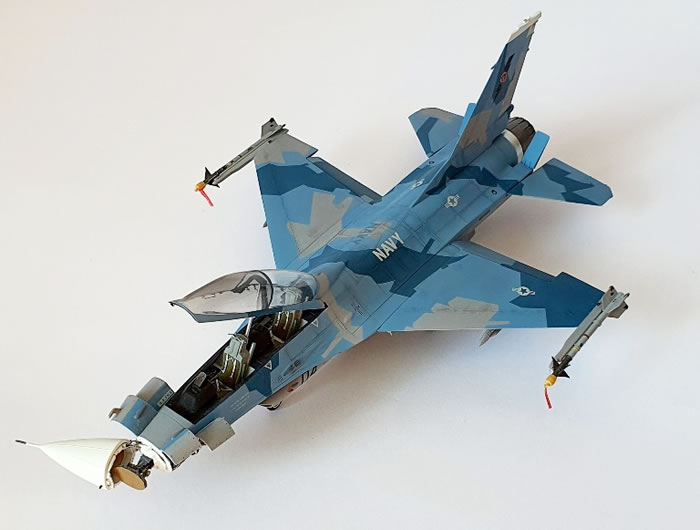
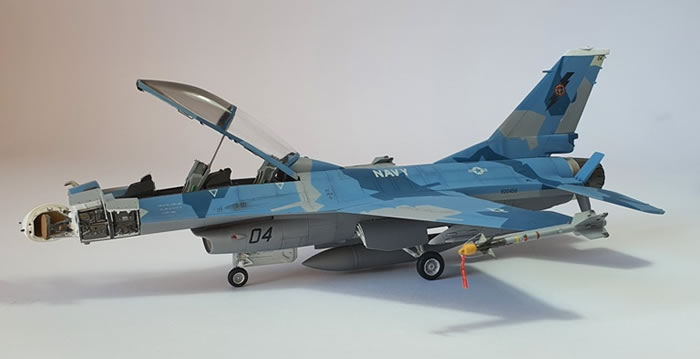
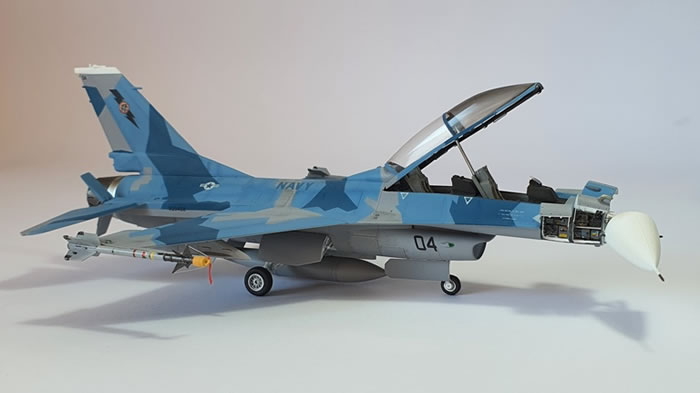
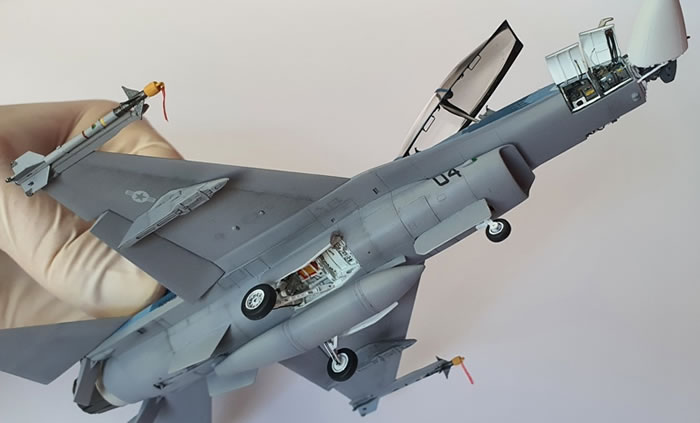
Regular build almost always starts from cockpit. More-less the same was here. However, while making the cockpit, I had to keep an eye on what should I do on fuselage prior to gluing. It's up to you how, let's say, important it is for you to do any extra work in cockpit details. Hasegawa kit does not have cockpit details on the level of today's standard. But, for a quick build, with canopy closed, it's quite enough. Here I decided to put all of my prime efforts on external detailing, so the cockpit is simply "reinforced" with an etched set. It looks good, and absolutely detailed enough. Area seems quite busy. Seats are enhanced with etched belts and several small details. Of course, there is always a resin cockpit which should be considered as an option but I decided that this is good enough. Generally, I consider etched cockpit detailing as not such a big effort, so it could be done simply and fast. You can, or you should, do it always just like you have it in the kit's box - and gain a great added value. For significant cockpit detailing improvement, resin is preferred.
Before building starts, a decision must be made - what kind of detailing to do, and how. My personal choice is always created in the way to make a plan - what can I do in detailing, where commercial improvement sets are not available. Yes, it is always a long shot and time consuming operation, but shouldn't we do modeling, in the way to add personal mark wherever possible?
Basically, if it's possible, I always prefer to make everything with styrene. But, thin wire can be used also. If you do this in 1/72 scale, you keep facing the "pressure" of "over sizing" details. And that is always more likely to be done in smaller, then in larger scales. Hope I managed to avoid this as much as possible. All avionics' racks were placed in, after the fuselage has been assembled. The set, used for radar detailing, is Aires, with a lot of trimming down in wall thickness, needed for accurate scale down dimension. The radar set has construction with intention to be plugged in the forward fuselage section. But, it is correct if nothing is open behind that. In my case, due to open electronic bays right behind, it was not possible to just plug it in.
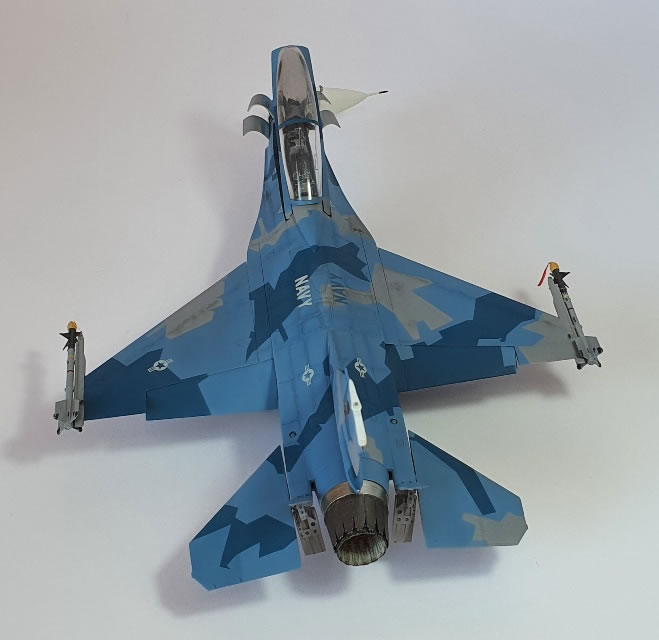
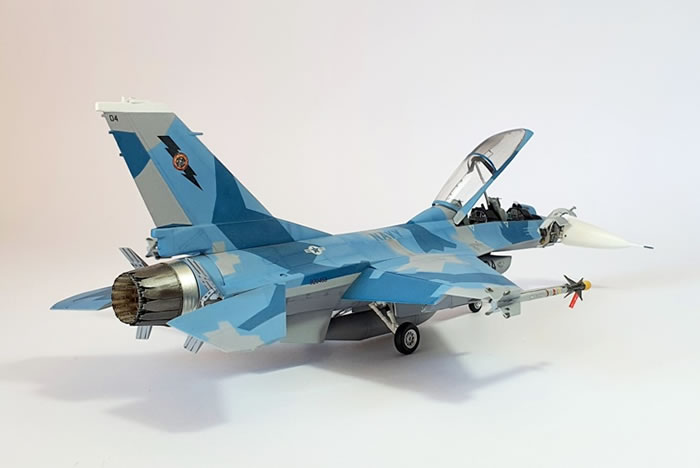
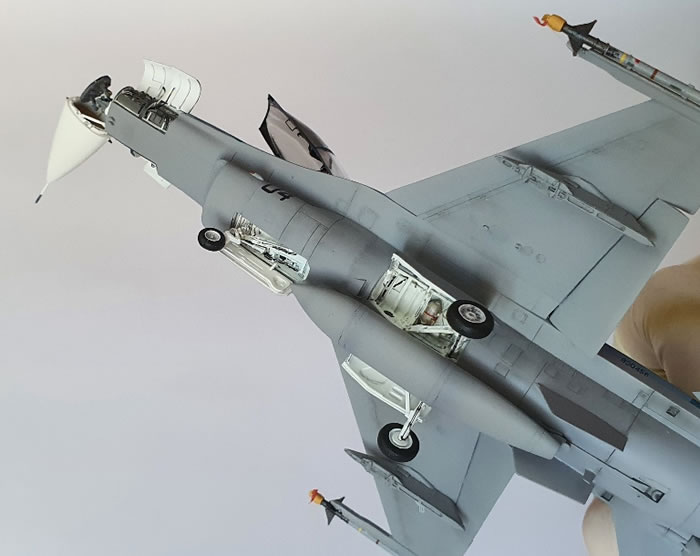
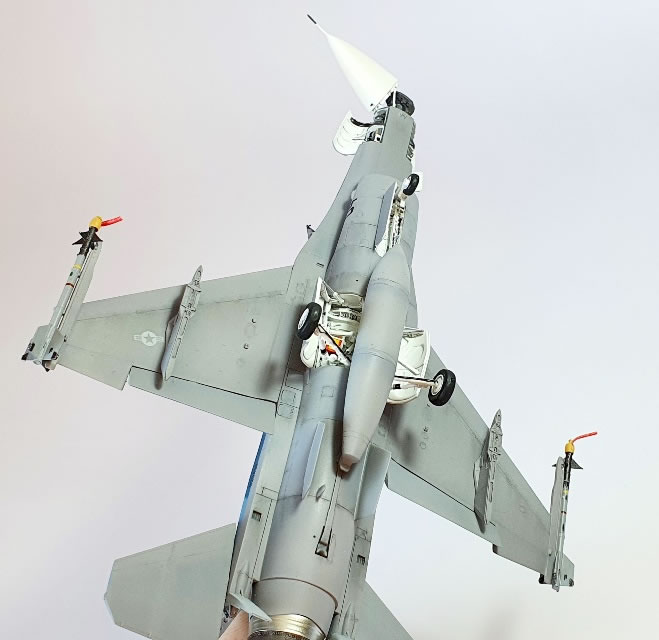
During the stage of fuselage assembly Wheel bays are also detailed. Hasegawa gives a quite basic structure, so Aires detailing set was used to suppress spartan appearance of the main wheel bay area, where actually millions of wires and pipes are present. Engine exhaust has been done with Aires set, and, with attention on painting metal exhaust appearance, it looks far better, comparing to the kit's plastic. To make more dynamic, or attractive, look of finished model, flaps were slotted down and air brakes opened.
The chosen painting cammo is really attractive but I have to admit - it was ultimately a time consuming job and rather tedious process. Paints used are Gunze, Testors and Vallejo, in respect to "FS" requirements. A lot of delicate masking is required to fulfill this task but eventually - I am so happy with non-grayish and, I would say - eye-catching appearance. For the weathering you have to choose what period of plane's usage time you want to show. From rather new to quite exhausted paint. Photos can be found on the Internet, to cover the whole timeline of weathering effects. Somehow, whatever you do in weathering, will catch some period of life time, for this subject. "Two Bobs" decal set No.72-069 "F-16A/B NSAWC Vipers" was used in this building. It is of high quality, perfectly printed, in register, and responding excellently on setting solutions used during application.
Model, Images and Text Copyright ©
2022 by Goran Djordjevic
Page Created 6 April, 2022
Last Updated
6 April, 2022
Back to HyperScale Main Page

|
 Home
| What's New | Features | Gallery | Reviews | Reference | Resource Guides | Forum |
Home
| What's New | Features | Gallery | Reviews | Reference | Resource Guides | Forum |