A Couple of Corsairs
Tamiya 1/48 scale
by Mat Mathis

Models, Text, and Pictures by Mat Mathis
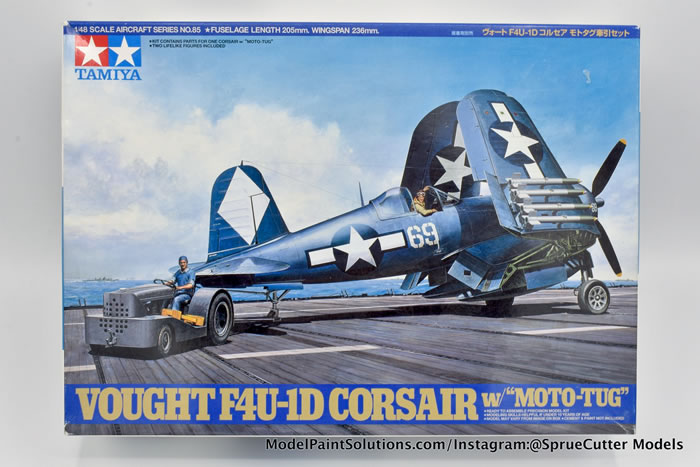
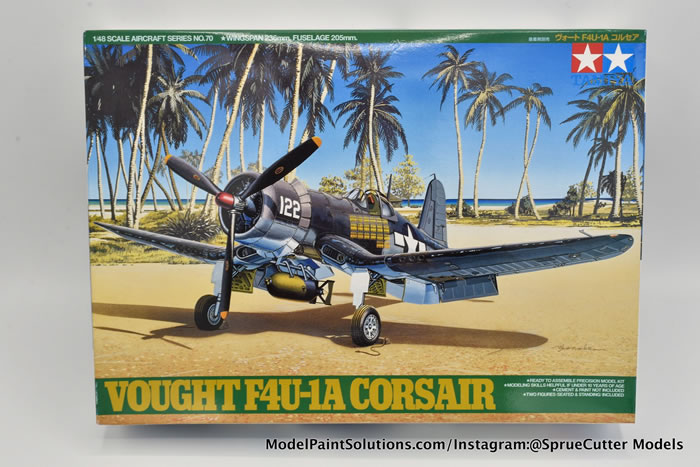
Kit#’s: Tamiya #610707 and #61085
Scale: 1/48
Review Type: Build x2
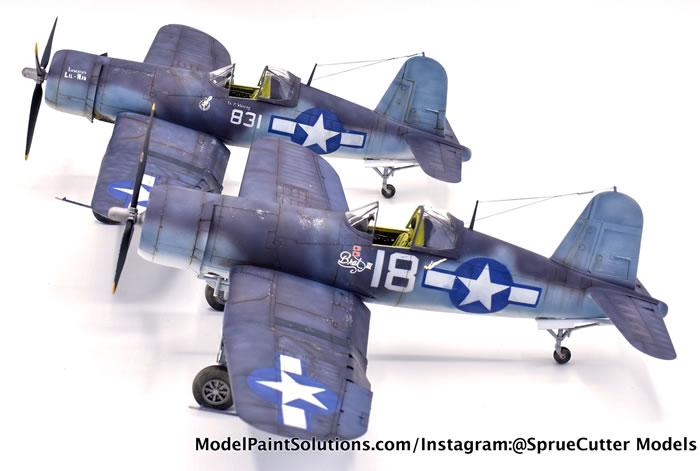
Well, it’s been a fair bit of time since my last article, but that doesn’t mean that things haven’t been churning their way off my bench top! It’s been a busy several months with work, life, and modeling but following my build article of the Ju-87D Stuka is my next project –not one, but TWO Tamiya F4U-1 Corsairs in 1/48.
Why two, you ask? I intended to build one as a gift and just happened to have two of them stashed away so, I decided that I’d build one for myself as well! Why not, since they are the same kit? It would be like my own little Vought assembly line!
Let’s get into it!
There’s really not much to say here in terms of technique, trials, or tribulations. They are Tamiya kits, albeit from nearly 30 years ago. They still hold up in terms of quality and ease of build when compared to newer tooled kits. Although one kit can be finished as an F4U-1D, both kits were finished as F4U-1A’s.

The only spot of semi-trouble was the join of the outer and inner wings. It took a bit careful placement of the fingers and thumbs to line everything up, ensure everything was level, and not create any finger prints in the plastic.
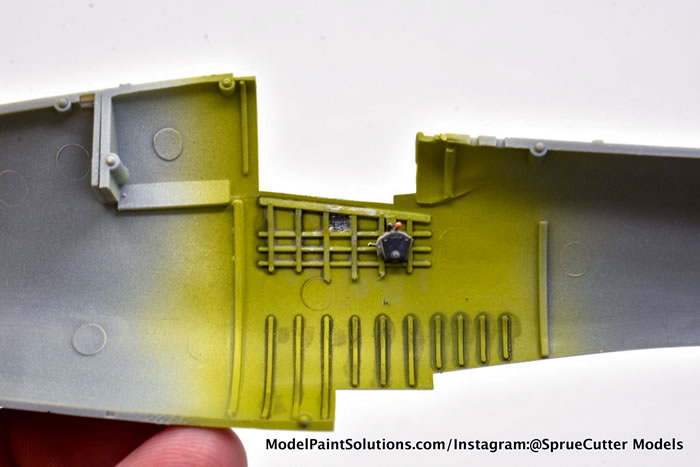
The majority of both kits were built straight out of the box, with the exception of adding Quinta Studios interior 3D decals. If you’ve not used these yet, I highly recommend them. If you know how to place decals and use CA glue without gluing your fingers together–you can use Quinta Studios decals. They’re incredibly easy to use and add an incredible amount of detail to the interior.
All-in-all, Tamiya provides a straight forward build process that could realistically be completed in just a couple of sittings. There are not really any subassemblies on these older kits as you might see on their newer tooled kits. With the build-out complete, there was minimal body work to clean-up in terms of gaps and seams – nothing out of the ordinary.
Let’s paint, shall we?
My normal process for painting is as follows: Alclad Black Primer and Microfiller, shading/marbling with white and different shades that are near the base color or that could add interest in terms of staining, etc. Then, blend everything together with the final color that is intended for the scheme. On this build I decided up front to abandon this process and try something new. After seeing two recently published videos on Youtube (courtesy of Plasmo and Scale-a-ton) I was destined to use some methods of theirs, and also make a pretty beat up looking bird. As such, I decided to go with white primer and no pre-shading/marbling, only utilizing post shading to “add some interest.”
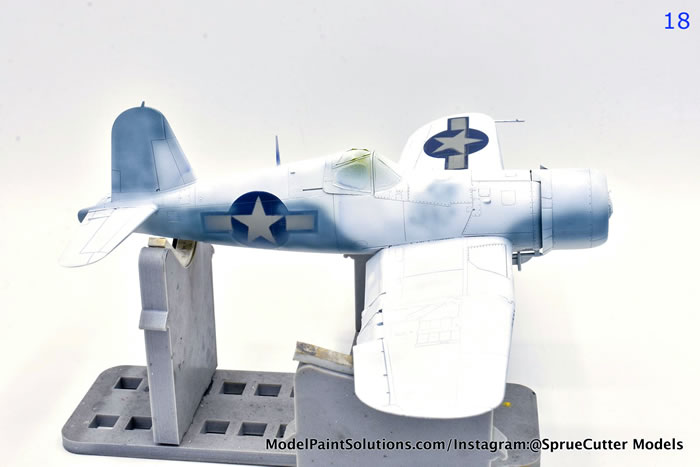
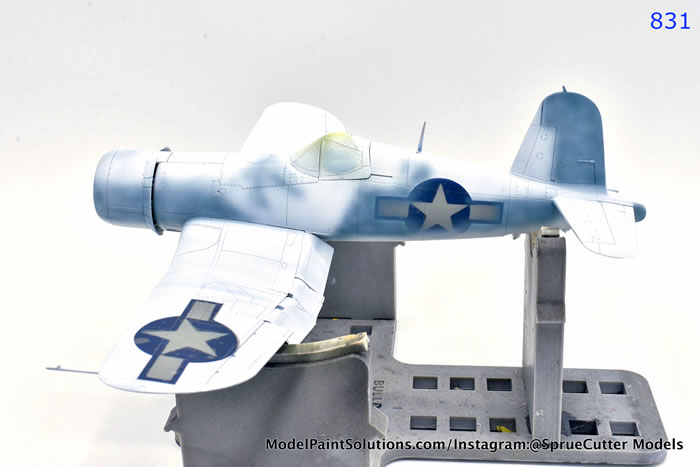
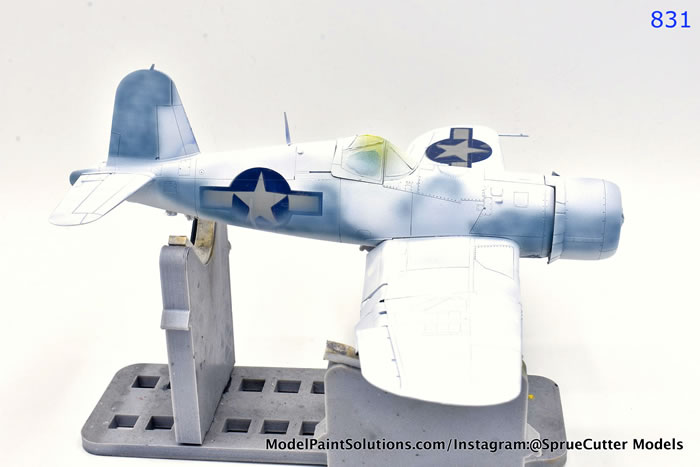
Time to whip out the Mission Models White Primer and the Harder and Steenbeck fitted with a 0.4mm tip/needle. Thinning was in accordance with the instructions on the bottle (as this was my first time using their primer). I sprayed a light, dry coat followed by a heavier, wet coat a few minutes later. Once I was satisfied with the primer coverage on both models, I let them sit for approx. 24 hours to let them set up and cure. After this it was time to start slinging colors! For the steps that follow, the majority of painting was done with Hataka Orange Line paints thinned with their proprietary thinner at about a 50/50 ratio.
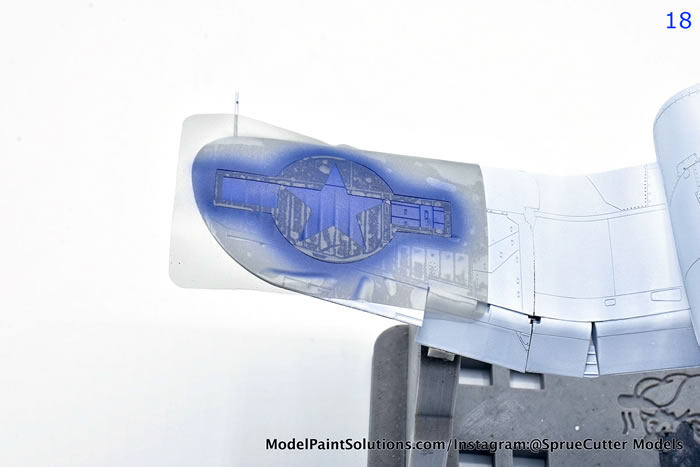
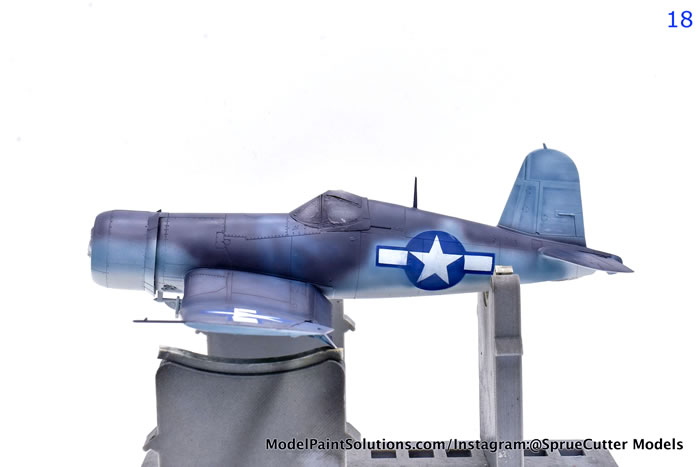
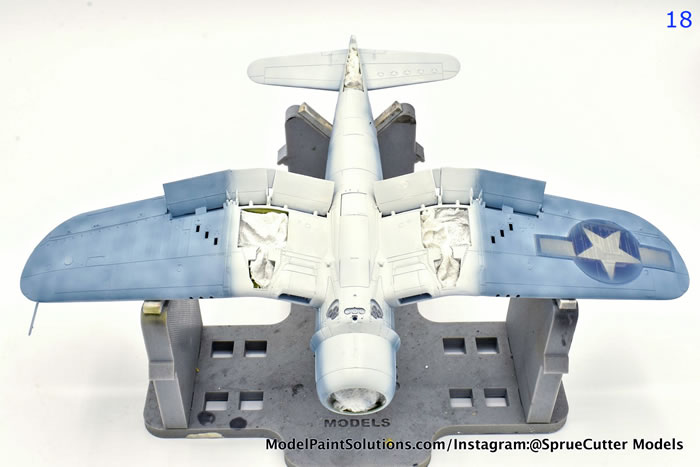
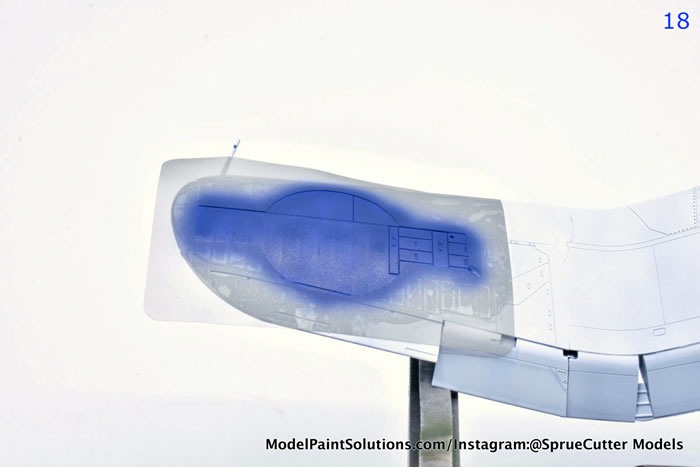
The first step I took – and this was another departure from my normal process – was to spray the national insignia. I broke out my computer, fired up the Cricut Design Space software, found suitable files online, and created a template for masks to paint on the markings. I did this not only for the national insignia, but also the plane ID markings as well. Next, I cut the masks on my Cricut machine on Oramask 810.
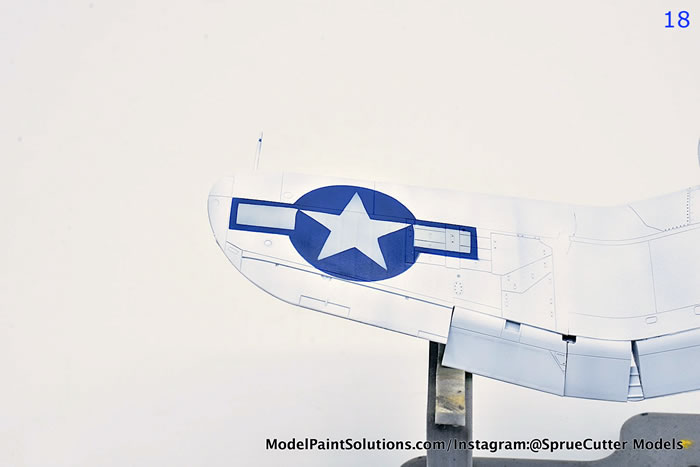
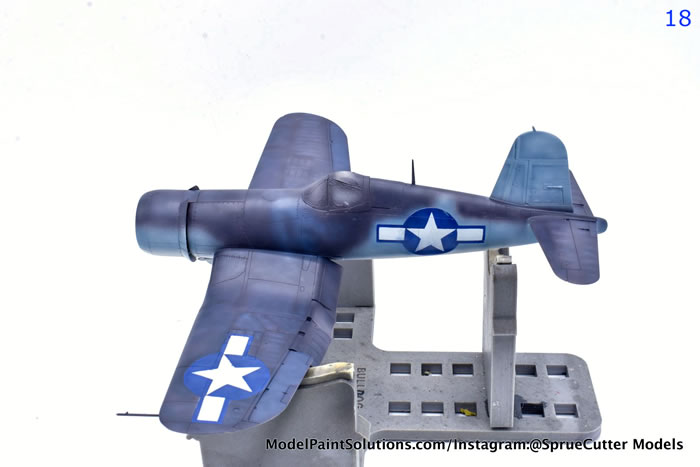
I then laid down the first layer of mask, sprayed the white, and then went back to cover the areas that would remain white to spray the blue. The trick here is to use thin paint and to slowly build up layers. It’s very easy to flood the masks with too much paint, so you want to work methodically here. Once that was complete, I covered the markings entirely for the subsequent painting.
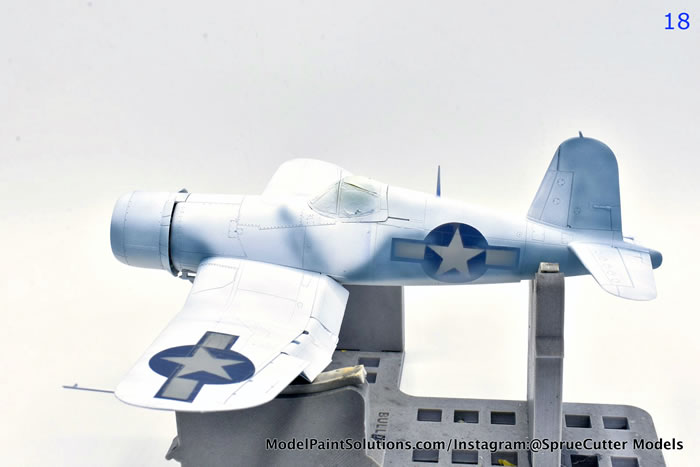
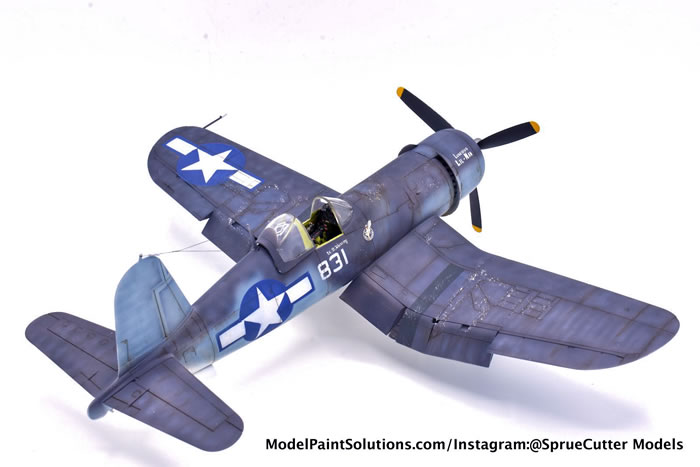
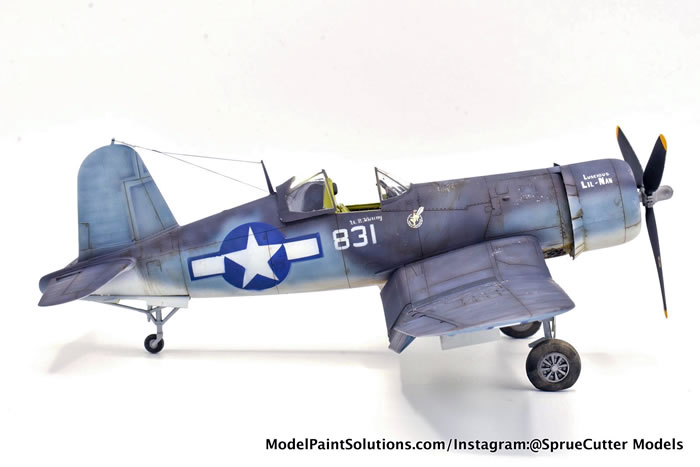
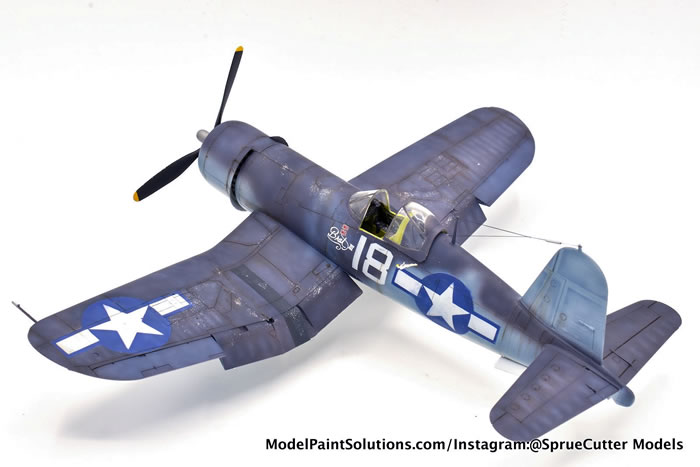
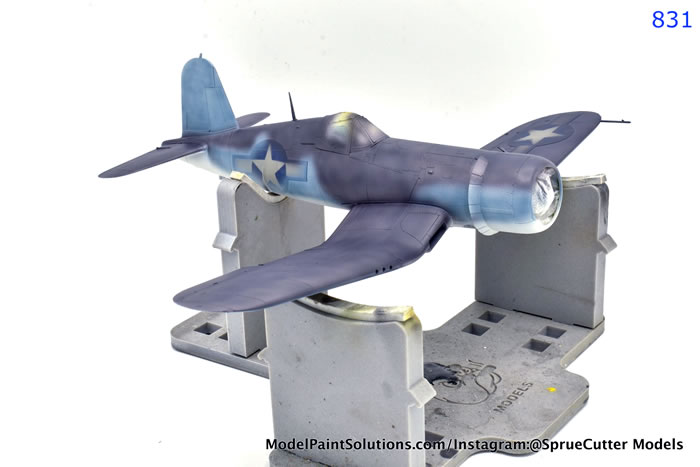
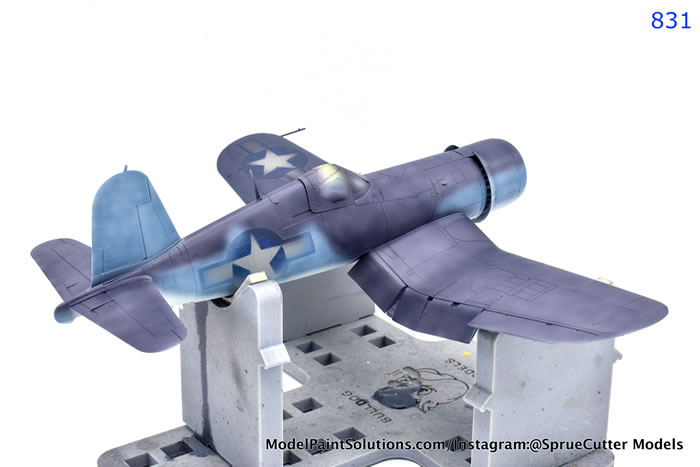
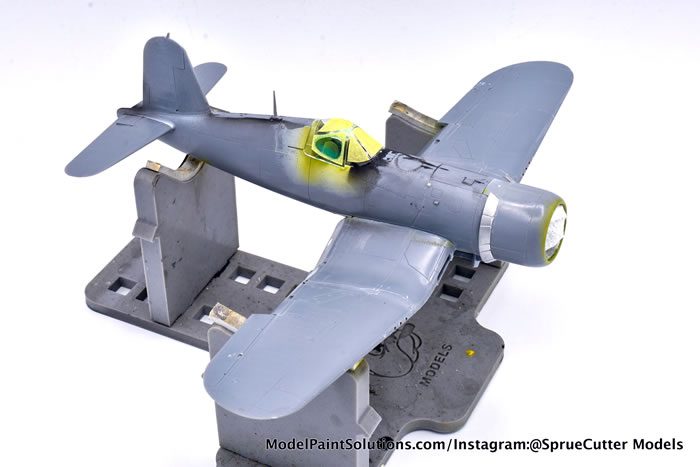
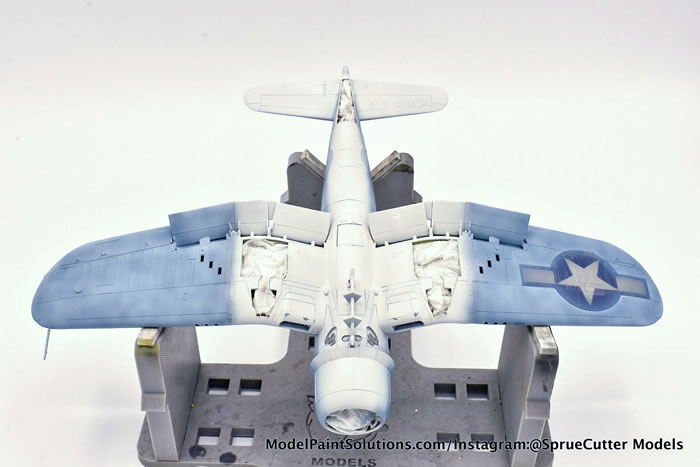
Next it was time to spray the overall scheme. First up, in the standard 3-tone Navy scheme was the Insignia White. I opted for more of an off-white to almost grey on the underside of the fuselage and inner half of the wings. From there it was time to experiment a little bit. Many readers will have seen the nice 3-tone Navy scheme with predictable and “standard” transitions between the insignia white, intermediate blue, and sea blue. Many readers will also have not seen some of the less standard schemes where there are irregular transitions between the colors – especially the Intermediate and Sea Blues. After purchasing a book by Michael Claringbould (see References Used below) on Corsair profiles from a show earlier this year I knew I wanted to utilize the more interesting transitions when building a Corsair.
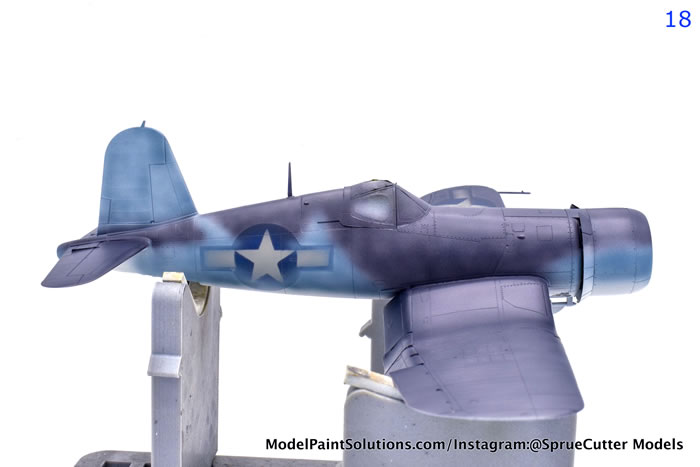
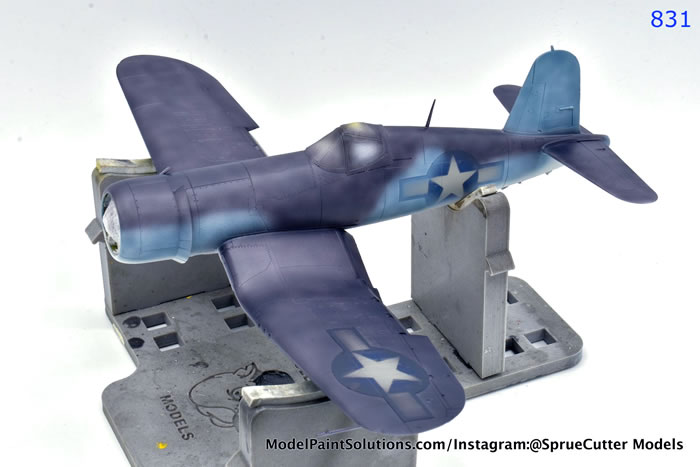
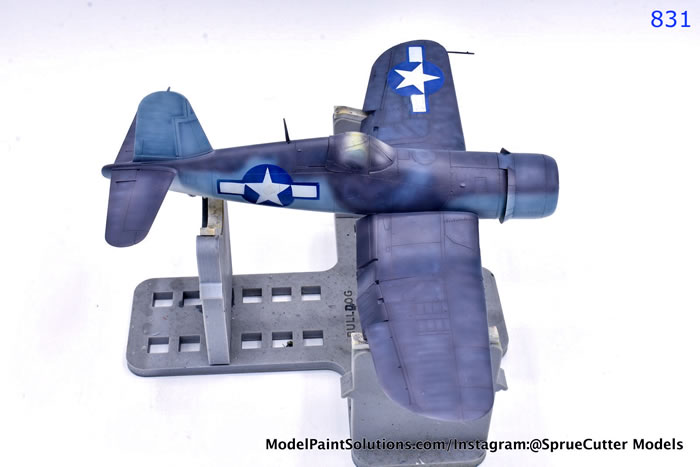
Next, it was time to put it to the test by shooting the intermediate blue. For the most part, the pattern was the same for #18 and #831 when it came to the engine cowling and outer half of the underside of the wing. Where the variation came in to play was the aft half of the fuselage. Using the profiles I found in the book as a template, I made some patterns with the intermediate blue that traveled above the insignia and made a few “waves,” as it were, that would then be met with the sea blue. Finally, I went back and filled in the rest of the areas with the sea blue.
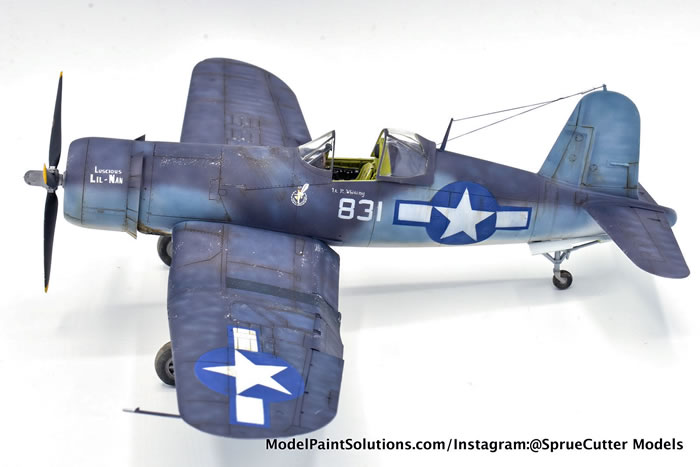
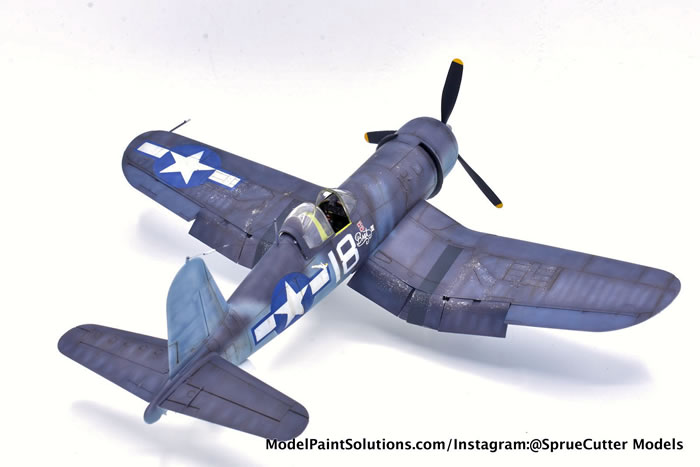
Once the main colors were down, it was time for some post shading. Over the entirety of the model, I used highly thinned paint and did some light shading with an almost buff color to simulate sun fading. In addition to this, I did some areas in a lighter blue to give some overall interest and variation to break up the sea blue but to also simulate staining/fading where maintenance fluids would typically be. Also applied were some “transport” tape markings that were common on planes shipped, especially to the Pacific theater of operations.
Once the painting was done, I removed the Oramask and disaster struck! Despite the fact that I de-tacked the masks before placing them on the model, when they were peeled off, there was an adhesive residue left behind on the model. I’ve used Oramask on every one of my builds where I’ve painted markings, thus far, and have not seen this issue before. I think there were two factors that contributed to this. First, when I’ve used it in the past, I would place the mask, spray, and remove it, all within the same hour. In this instance, I placed the mask and then it sat on the model for several days while the rest of the painting was one. Second, I think the conditions of the room where the model was in could’ve been a contributing factor as it was quite warm and muggy.
Whatever, the reason, it happened. I did the best I could to remove the adhesive using mechanical means and was able to remove the majority. I didn’t want to resort to chemical means and risk affecting my just completed paint work.
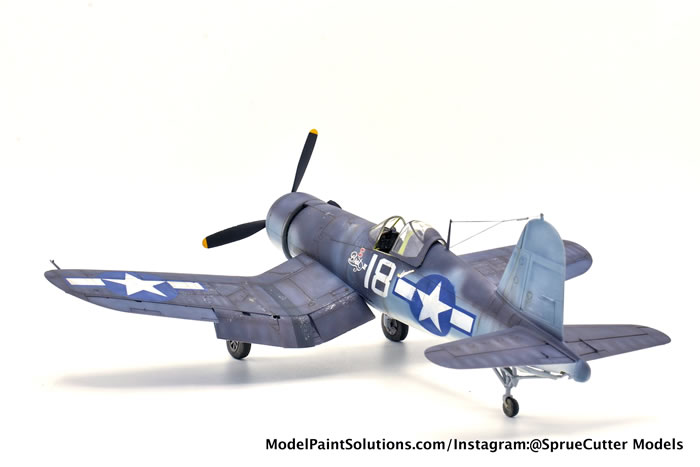
Moving right into decals, I applied the remaining few decals needed to complete the build from an excellent EagleCals set. I applied the decals directly over my paint work without sealing the paint/spraying a gloss layer. Hot take: I don’t feel this is a necessary step. I’ve forgone it for the last several builds and have had great success. With that completed, then is when I did a varnish for weathering purposes.
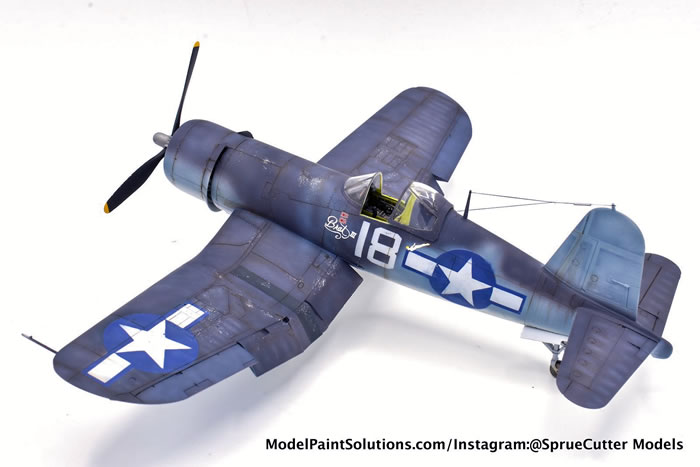
For the varnish, I used VMS Matte varnish. This is an acrylic based varnish so it is a good base for further weathering if you’re going to use oils and odorless thinners.
As the reader will certainly remember, I stated earlier that I had visions of grandeur for weathering these aircraft. Well, I started out weathering the underside using Oil Paint Rendering and then didn’t like how it was looking.
I tried a few different things between streaking some maintenance fluids/oil, gun staining, etc. but ended up leaving these techniques on the underside and reverting to older methods where I’ve honed the skills a bit more. For the rest of the weathering, I did some panel line work with thinned oils, along with a bit of additional streaking around hatches, etc. And with that – they were done!
All-in-all, I’m quite happy with how these builds turned out. They were a departure from my normal process, which at the end of the day will make me a better modeler. I think I’ll be reverting back to my normal painting process but I did like the addition of post shading, which I’ve not done much of in the past. The Tamiya kits offer a simple but relatively painless build. In the next article, we’ll describe a more than painless build…stay tuned! In the meantime, you can get a sneak peek by checking out my Instagram page @spruecuttermodels
--Mat
References Used:
Pacific Profiles Volume 4: Allied Fighters: Vought F4U Corsair Series: Solomons Theatre 1943-1944 by Michael Claringbould (ISBN 13: 9780648926238)
Available from Amazon.
For more on this build, visit ModelPaintSolutions.com
Text and Images Copyright © 2023 by Model Paint Solutions
Page Created 3 March, 2023
Last updated
3 March, 2023
Back to HyperScale Main Page
Back to Reviews Page

|
 Home
| What's New |
Features |
Gallery |
Reviews |
Reference |
Forum |
Search
Home
| What's New |
Features |
Gallery |
Reviews |
Reference |
Forum |
Search