Home
| What's New |
Features |
Gallery |
Reviews |
Reference |
Forum |
Search
Home
| What's New |
Features |
Gallery |
Reviews |
Reference |
Forum |
Search
|
|
|
A-37 Dragonfly by Rick Ellis
The A-37 was Cessna's answer to a USAF requirement for a light strike close support aircraft for use in limited warfare operations, i.e. Vietnam in country. It was derived from there very successful and robust trainer the T-37 which is still in service today with the USAF. The A-37 had up rated and larger engines, strengthened wings with hard points, wingtip tanks for greater range (and thirstier engines), thrust attenuators for short field operations, better avionics, advanced communication suite, and a 7.62 mm mini-gun in the nose.
Nicknamed the "Dragonfly" but universally referred to as the "tweet", 8000 lb dog whistle, or the "Converter", converting JP-4 to noise. The aircraft had the capability to carry medium and light weapons, even two AIM-9B Sidewinders. The majority of production went to the USAF and South Vietnamese AF. An almost equally large number went to many South American countries for use as "coin" aircraft but were slightly modified and were the A-37C model. At one time Cessna had a plan for a 4 place version to be used as a VIP transport and possible high speed biz jet. A highly modified and substantially larger single seat version was considered by Cessna for the A-10 competition but never made it past the preliminary sketch stage.
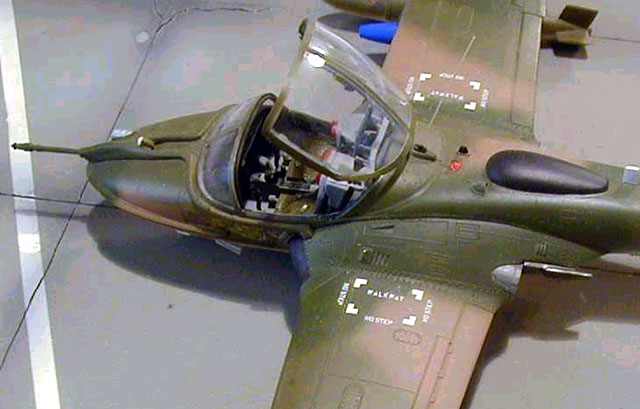
This is Monogram's old offering of this bantam weight fighter that has been around for 15+ years but still is a very nice kit. It was released twice by Monogram but the only changes were in the box art. The kit was molded in OD plastic and comprised, surprisingly a large amount of parts, mostly small.
The rest of the construction was very straight forward after that. The only other real problem was a large gap in the starboard wing root where the top of the engine nacelle joins the fuselage. This was solved by 2 applications of Testors Clear Parts Cement and a damp Q tip. This saved the raised panel lines and when dry does not produce a hot spot under the paint.
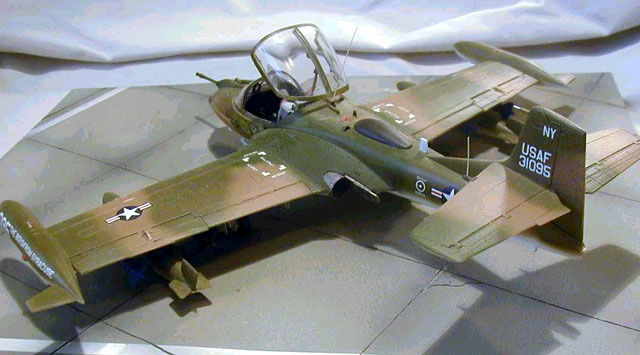
The entire aircraft was painted gloss white with a few drops of Model Master Grey 36622 to tone down the starkness. This is what I use for the underside color of all my Vietnam era camouflaged aircraft. Straight 36622 I feel is way to dark for 1/48th scale aircraft. The upper surfaces were then painted using Model Master enamels. The intake edges, avionics hump, antennas, etc. were painted Tire (scale) black. The entire aircraft was then sprayed with with two coats of Future in prep for decal application.
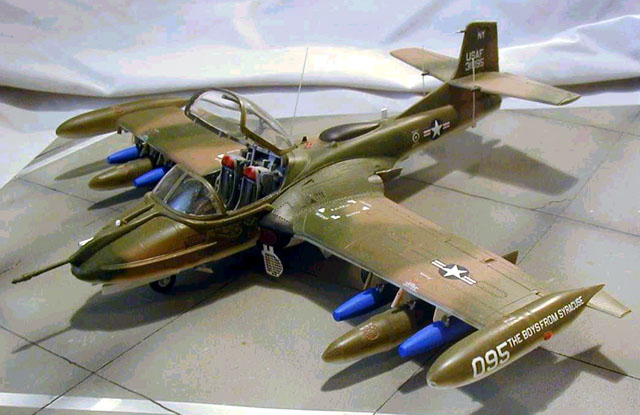
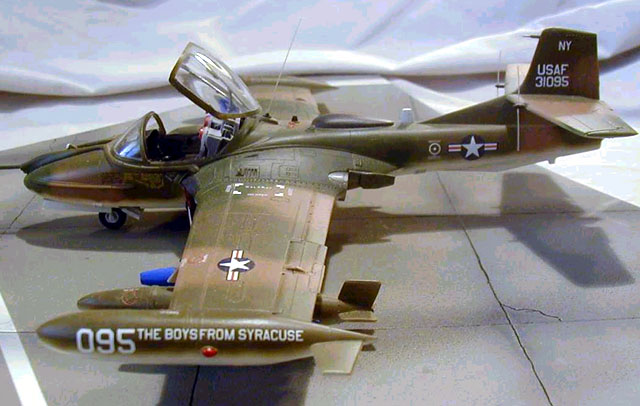
I chose Scalemasters sheet for the NY Air Guards' "The Boys from Syracuse". This simple scheme has always appealed to me ever since I saw it at an airshow in 1977. The aircraft was then sprayed with a mixture of flat and gloss 80 / 20 for the final finish.
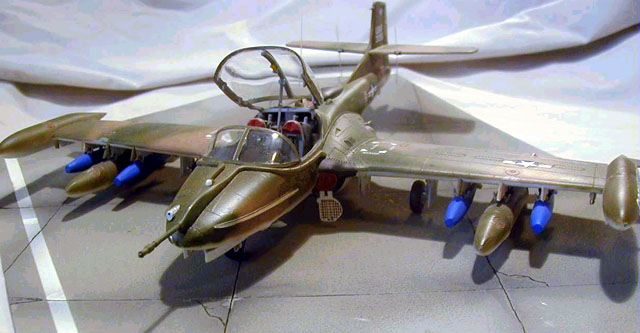
After that all the antennae were applied, approx 12 of them (these guys could talk to everybody). The red anti-collision lights were made by taking the kit clear pieces, drilling out the underside and adding a dab of red paint to make a convincing light. I used Eduards brass set for the instrument panel, seat harness, and fod screens. the instrument panel, combing and HUD were then glued into place.
For the under wing stores I chose to mount practice (concrete) bombs. Not often modeled on aircraft but commonly carried especially by Guard aircraft. The bombs were painted Cobalt blue after removing the nose fuses from the Hasegawa bomb set Mk-82's. Before painting the bombs were painted with Tenax 7 to give them the rough concrete texture and several flat spots were sanded into the sides as every one I've ever seen was not symmetrical like the iron ones were. The whip antenna and the 4 antenna on the tail were made from stretched sprue and attached with CA glue.
All in all a fun build, not exactly OOB but not much is really needed to be added to make a good looking model. As far as the raised panel lines are concerned, I feel that the model in no way is detracted by them. It's a fine older kit of great and often over looked airplane. Model, Description and Images Copyright ©
2000 by Rick Ellis
|