|
Fairey
Battle
by
Graham Green
|
|
|
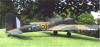
Fairey Battle |
The Fairey Battle first flew on March 10, 1936. By the time of WWII it was
already obsolete but was nevertheless pressed into service by the RAF with the
Allied Advanced Strike Force in the Battle of France during 1940.
It suffered quite heavy losses but did gain a few distinctions during its
front-line service. The first VC's of the war for the RAF was gained
(posthumously) by Flying Officer D.E. Garland and Sgt. T. Gray of 12 Sqn when
they attacked the bridges over the Albert Canal in an attempt to halt the German
advance, all five of the aircraft being lost.
The Battle went on to serve in the training role after being withdrawn from
front line service.
 This is
Classic Airframes' initial Battle release in 1/48 scale. Being a mixed media kit
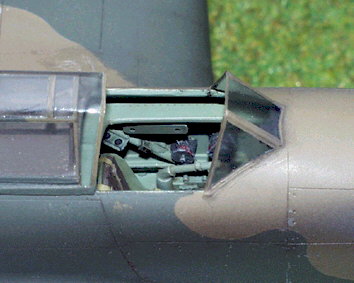
with injection moulded parts for the airframe and resin detail for the cockpit.
Two vacformed canopies are supplied, just in case! The panel lines are finely
engraved and the detail in the resin cockpit is good. The decals are for two
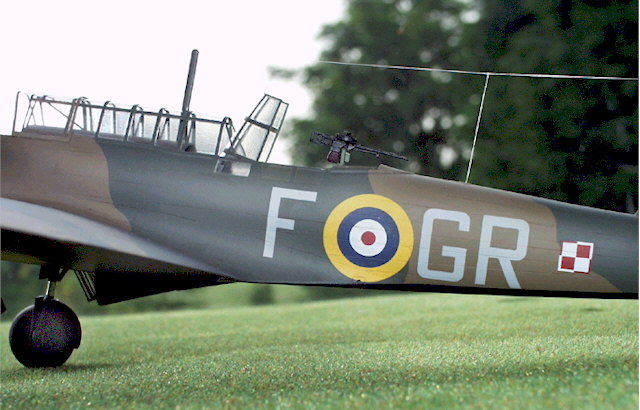
aircraft of the RAF, 12 Squadron and 301 (Polish)Sqn and one serving with the
Greek air force. This is
Classic Airframes' initial Battle release in 1/48 scale. Being a mixed media kit
with injection moulded parts for the airframe and resin detail for the cockpit.
Two vacformed canopies are supplied, just in case! The panel lines are finely
engraved and the detail in the resin cockpit is good. The decals are for two
aircraft of the RAF, 12 Squadron and 301 (Polish)Sqn and one serving with the
Greek air force.
Corrections
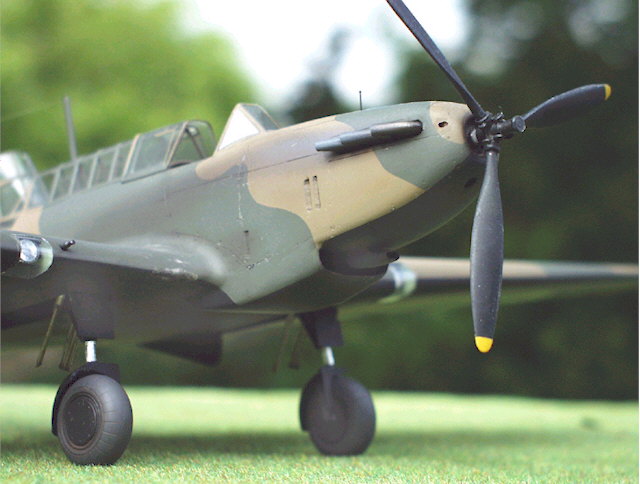
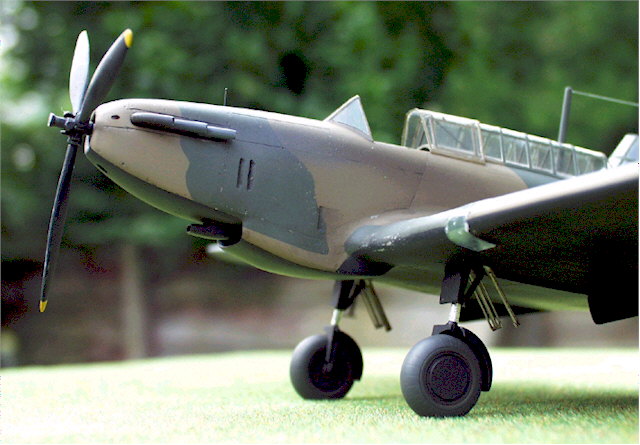
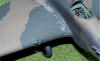
There are unfortunately some flaws in the kit. The main problem is the shape
of the engine cowling. The other is that the fin is on the upper fuselage
centreline, and not offset as per the real aircraft.
See www.hotel.wineasy.se/ipms/stuff_eng_detail_battle.htm
for pictures of the Battle in the Museum at Hendon (London).
The nose is too narrow at the front to house a Merlin engine and the fin is
not offset to the right at the rear but, a correction set for both the nose and
tail can be obtained from: NOBLEKRAFT, 336 Guildford Road SOUTHPORT, PR8 3EA,
ENGLAND and costs Ł9.50p including P&P
| Due
to the fact that this is a 'Limited Run' kit the you can expect to put in
much more effort than with the Tamiya/Hasegawa type and some preparation
is necessary before starting building proper.
 Little things, such as the butt fit of the stabilisers to the fuselage
benefit from the addition of a piece of wire through the fuselage to give
the joint more strength. Care will be needed when assembling the five
pieces that form the wing, especially the wing roots. Care with dry
fitting and careful trimming will make the final assembly easier. Little things, such as the butt fit of the stabilisers to the fuselage
benefit from the addition of a piece of wire through the fuselage to give
the joint more strength. Care will be needed when assembling the five
pieces that form the wing, especially the wing roots. Care with dry
fitting and careful trimming will make the final assembly easier.
Be sure to smooth the fuselage interior so that there are no
protrusions which will prevent the cockpit assemblies fitting. To correct
the fin I removed the kit fin, glued the fuselage halves together and then
filled the hole where the fin had been with Milliput. This was then filed
it to shape following the contours of the fuselage top decking.
The replacement fin's base is curved (concave) to match this reshaped
fuselage which helps to align the unit correctly and it can then be
super-glued in place. |
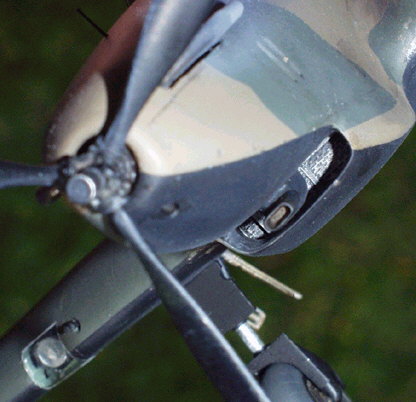
The nose replacement also helps to reshape the underside radiator intake
cowling correctly and some of the plastic will have to be filed and sanded to
make it match the resin part.
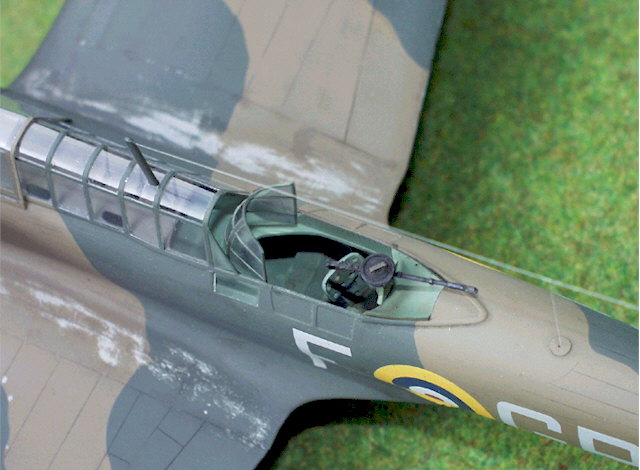
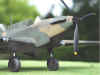
As can be seen from the pictures I elected to open up the canopies and have
the gun in the 'operational' position. Before cutting the canopy I suggest that
the glazing be masked off first, so that it does not get scratched. It is also
much easier than when it is fixed to the model.
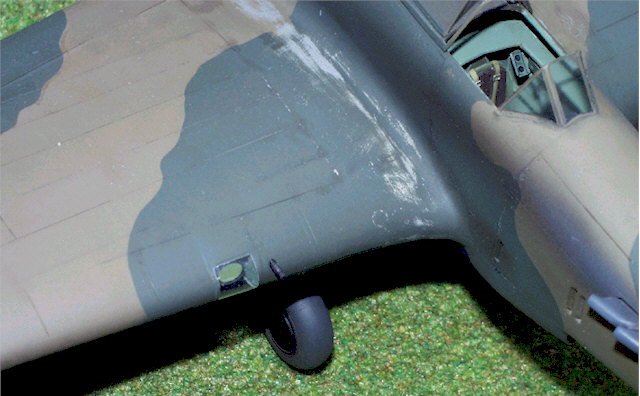
Wing Assembly
The wing fit is complicated, as mentioned previously, and care must be taken
to get the fit right. Resin parts are provided to have 'proper' landing lights,
as opposed to the other suggestion in the instructions of just painting them in.
Naturally I took the harder option! The reflector was made from model car mirror
stock and adds that little extra realism.
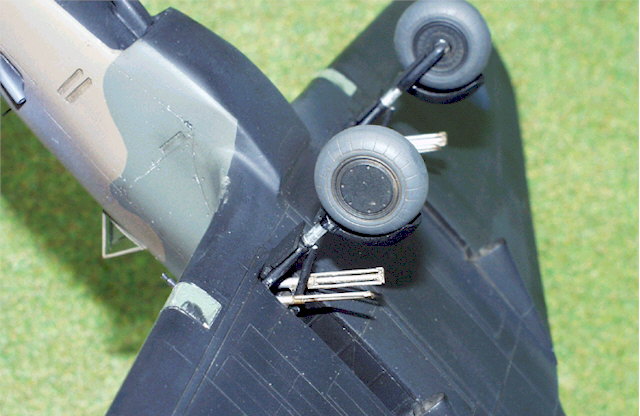
The undercarriage requires the 'scratch building' of the undercarriage jacks
from thin plastic rod or stretched sprue to the drawings on the instruction
sheet. If you don't fancy making them yourself, Aeroclub of Nottingham, England,
produce them in Pewter along with the later 3-stack exhausts and a replacement
propeller. These are what were used on this model, naturally!
The wing tip navigation lights can be painted on, or replaced by cutting the
glazed area out and replacing it, with either clear plastic or Perspex, suitably
contoured and finally polished to a lustre.
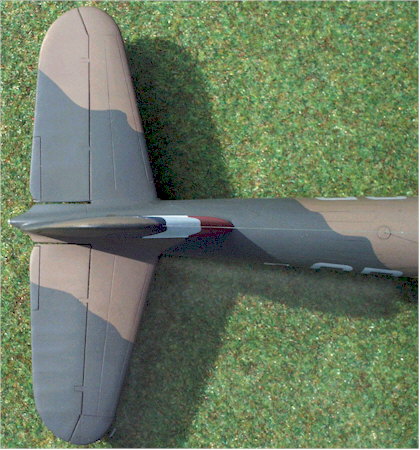
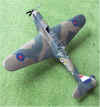
I used Tamiya Matt Black for the undersides, and Xtracolor for the topside
Brown and Green.
The excellent kit decals were then added. They settled down well with the aid
of Micro Sol and Set solutions. The only additional decals to those with the kit
were the underwing roundels. I found a picture of this aircraft in a
Squadron/Signal publication on the Polish Air Force which clearly showed these
roundels in place.
I wouldn't recommend this kit to the novice nor the faint hearted, but if you
fancy a challenge then this is for you! It certainly fills a part of history on
the display shelf.
Click the thumbnail to view the
image full size.
Use the "Back" arrow on your browser to return to this page.


Model, Text and Images Copyright © 2000 by Graham
Green
Page Created 08 August, 2000
Last Updated 26 July, 2007
Back to HyperScale
Main Page
Back to Features Index
|
 Home
| What's New |
Features |
Gallery |
Reviews |
Reference |
Forum |
Search
Home
| What's New |
Features |
Gallery |
Reviews |
Reference |
Forum |
Search