Home
| What's New |
Features |
Gallery |
Reviews |
Reference |
Forum |
Search
Home
| What's New |
Features |
Gallery |
Reviews |
Reference |
Forum |
Search
|
|
|
Bell 47 Helicopter by David W. Aungst
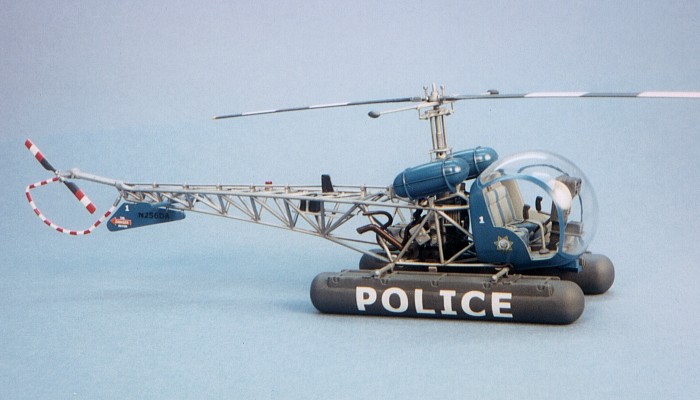
The Bell 47 helicopter is one of the first efficient helicopters. First built in the early 1950s, versions of this versatile helicopter have flown (or still fly) in many air arms, military and civil, all over the world.
As far as helicopters go, the Bell 47 was my first love. The large, rounded bubble cockpit and framework tail boom have a purposeful and somewhat elegant look to me. Additionally, the Bell 47 is the very first aircraft in which I ever flew. I was all of fourteen years old at the time. It was a fifteen-dollar, five-minute ride from a parking lot near to my house, but what a ride!
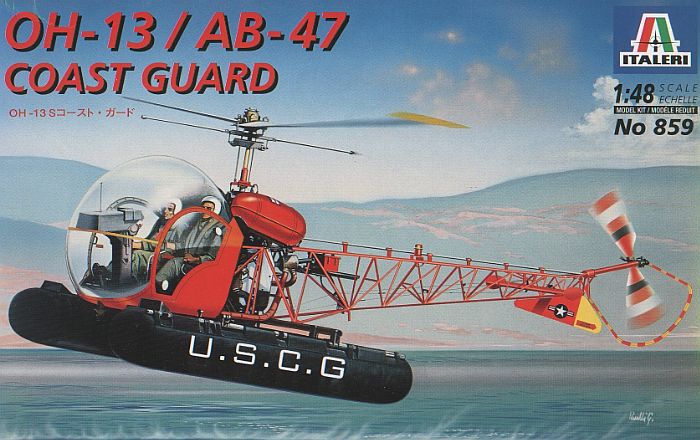
I had wanted for some time to have a model manufacture create a model of this helicopter. When DML released a 1/35th scale model some years ago, I was happy but not satisfied. I really wanted a 1/48th scale model to match the rest of my model collection. Finally, Italeri has come to my rescue with the release of this Bell 47 (OH-13S) model. Based on the moldings and the instructions, expect more releases of this kit in different versions. Their first release, though, was exactly the aircraft I wanted -- the classic Bell 47 on floats.
Like most kits, the kit has both good and bad points. On the good side:
On the bad side:
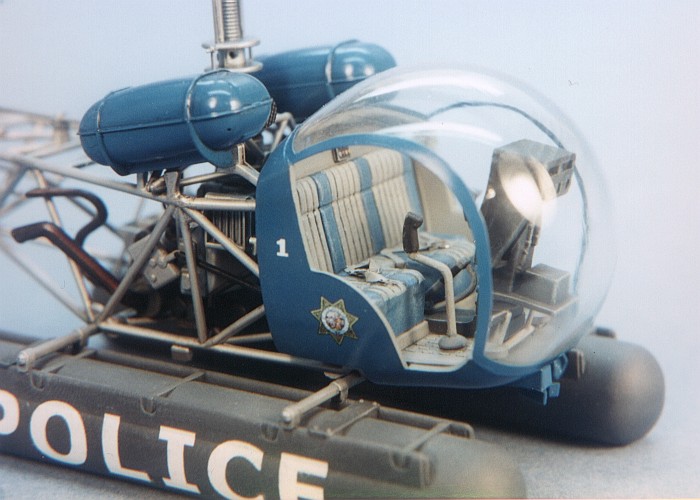
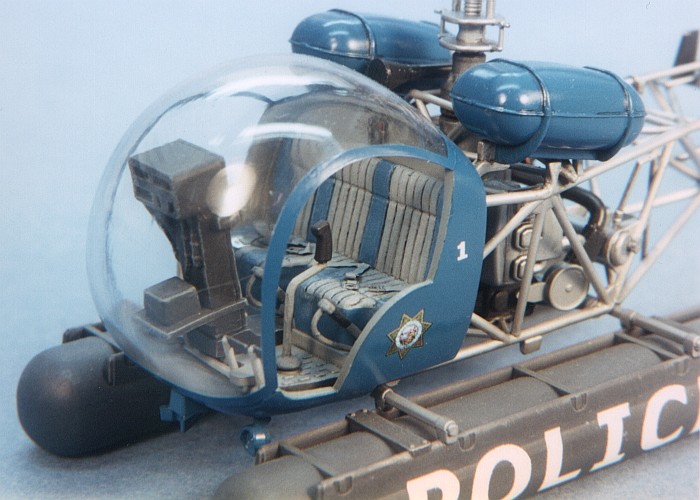
Don't get me wrong. I actually do like the kit. None of the bad points is really a problem for building a basic Bell 47 helicopter. It is just that these items annoyed me, and I thought it would help any other modelers to hear what I ran into. I kept the construction of the model mostly out-of-the-box. After considering putting seat belts in the cockpit for a while, I decided it looked too bare without them. So, I added them using lead foil and etched metal buckles. I also considered changing/updating the antenna fit of the aircraft, but then I decided to just leave the kit as Italeri provided it. All I did is leave off the antennas that I thought were not appropriate for a non-military aircraft.
I do have some caution note concerning the construction of the model. The assembly of the tail boom (left and right sides) is in a different construction step than the attachment of the top piece. So, I felt safe gluing the sides together one night and then going to bed. Two nights later I went to attach the top piece and found the side pieces assembled with insufficient room to fit the top piece. I needed to do some trimming of the top piece and widening of the tail boom assembly to get the top piece to settle into place where it belongs. The moral of the story -- do better dry fitting and assemble the tail boom all in one night. While the glue joints are not fully set up on the side pieces, you can maneuver the top piece into place and glue it.
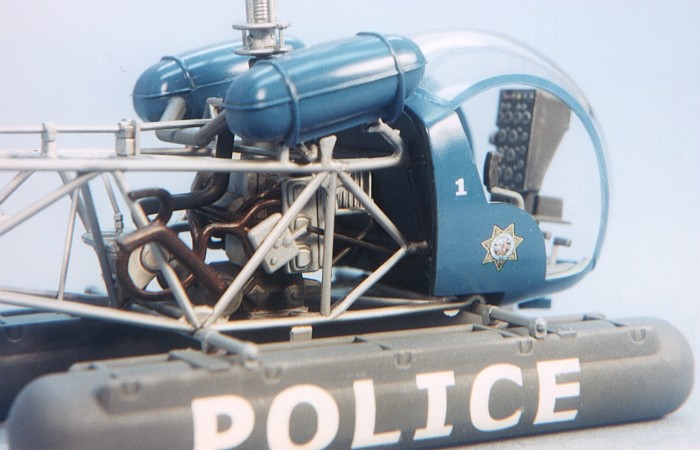
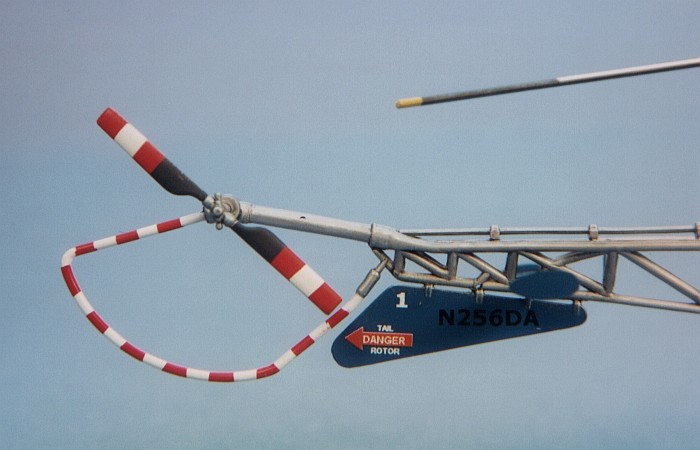
Painting this model is a bit of a challenge. It is mostly all thin rods running in every direction. Italeri complicates this by using red styrene to mold the model. Thus any missed areas during painting turn out to be red. I complicated this further by deciding that I wanted the tail boom done in natural aluminum. Out came the metalizers. I used all Testors Model Master enamel paints and metalizers. To do the buffing of the tail boom, I used pipe cleaners to get inside the structure.
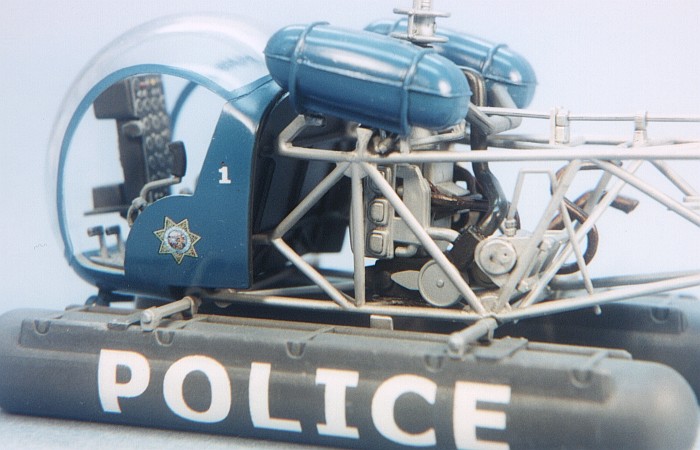
One of the reasons I dislike building model cars is because I dislike building engines. Guess what? This thing has a fully displayed, open, exposed engine with no convenient hood to glue shut and hide it. I painted the engine using various shades of metalizers with a medium gray crank case. I gloss coated all this and did washes in black and brown with dry brushing in silver to highlight the details. The end result was not too shabby, even though I did not really enjoy doing it. I was not really interested in any of the kit markings options. Therefore, I
went off and created a different version from the memory of a Bell 47 that I saw
as a kid. That Bell 47 was a US Police Department aircraft with big lettering on
the floats. As a pseudo-civilian aircraft, I decided to stay away from the olive
and light green interior the instructions called for. Instead, I opted for a
gray interior trimmed in blue to match the exterior color of the aircraft. The decals are custom decals I created on my PC and printed on my ALPS printer. To the right is an image of the artwork that I used to create the decals. For space reasons, the artwork is reduced in size from the size I used to create the decals. Also, to make the white markings show up here, I changed the background color to blue in this image. I printed the Highway Patrol badge in metallic gold foil and the POLICE is printed in white. Being able to print metallic foil colors and the color white are some of the best features of the ALPS printer. For weathering, I kept it light. After all, this is not a beat up military machine. I would expect that Police Department aircraft do not see the kind of use and abuse the military tends to put their aircraft through. I lightly black washed the aluminum framing members and followed that with a light dry brushing of bright silver. For the floats, I gave them a heavier washing of black and a light dry brushing of medium blue-gray. For a more complete discussion of what I do to weather my models, see my posting on "Weathering Aircraft".
This is a nice little kit, but it does have some minor problems. I do recommend this kit to anyone wanting to build a model of this important little helicopter. Having some documentation on hand will greatly reduce some of the uncertainties that the kit instruction sheet leaves open.
Click the thumbnails below to
view images full-sized.
Models, Description and Images Copyright ©
2000 by David Aungst
| |||||||||||||||||||||||||||||