Home
| What's New |
Features |
Gallery |
Reviews |
Reference |
Forum |
Search
Home
| What's New |
Features |
Gallery |
Reviews |
Reference |
Forum |
Search
|
|
|
Bristol Blenheim Mk. I/IF by John C. Valo
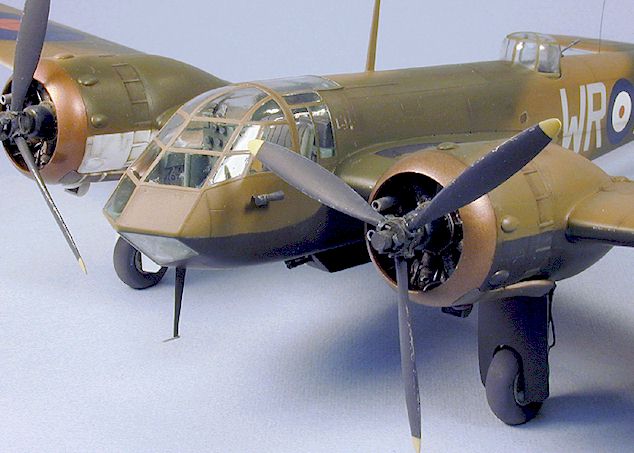
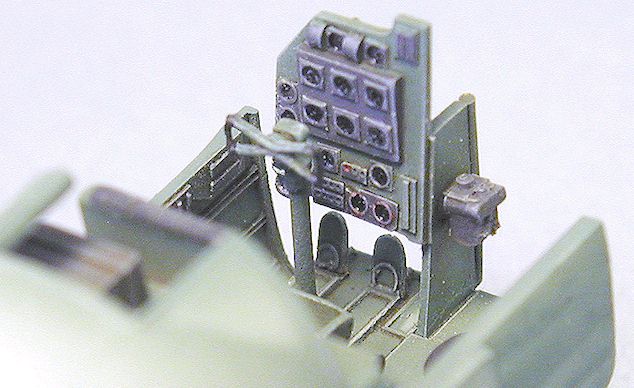
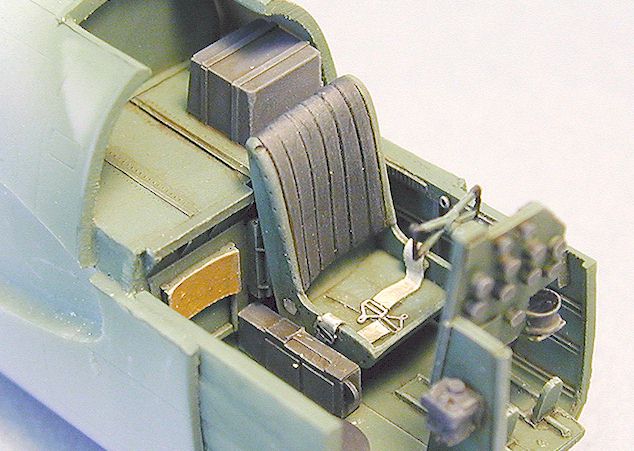
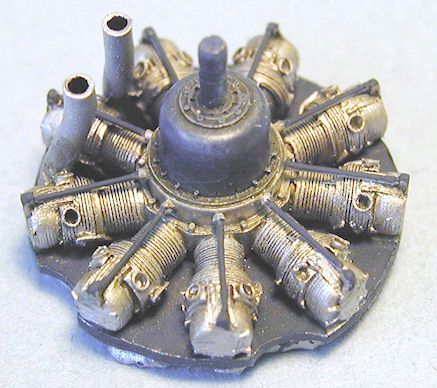
Classic Airframes strikes again, thankfully filling another hole in the collections of British bomber enthusiasts with the release of their 1/48 scale Blenheim Mk.I/IF. I was lucky enough to procure one of the first kits 'off the line' and built it up for the CA booth at the IPMS/USA Nationals in Dallas. The kit was assembled basically out of the box, with a few additions as noted below. It is molded in the standard CA light grey, soft plastic we are all used to, with delicate scribed panel lines. This kit is the first CA kit to feature injection-molded clear parts, and they are very well done. Resin parts are provided for the cockpit, turret, engines and wheel wells. Decals are provided for two versions, one Mk.1 bomber and one Mk.1F fighter. Overall, this is a nice fitting kit, with only a couple of areas of concern. The resin cockpit parts are very nicely done, and look quite convincing when painted.
I attached the cockpit walls to the fuselage sides, and used the assembled halves of the nose glazing to keep them in alignment as the glue set up.
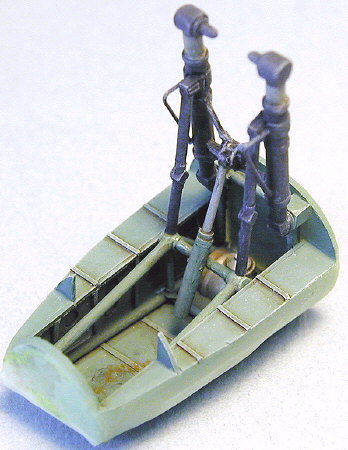
The nose glazing fits nicely, but once again, take your time and fit the parts carefully. I needed to sand the upper glazing/hatch just a bit to fit the contours of the fuselage tightly. The turret assembly is a quick build, and drops into the fuselage with its decking part.
I decided to assemble my gear strut/wheel well assemblies before installing them in the lower wing. The struts gave me a reference to align the wells perpendicular to the wing. After the wings were assembled, I used toothbrush handles to make the leading edge landing light and navigation lights. The wings fit into recesses in the fuselage, and this provides a strong, clean joint. The only other areas of concern were the fuselage-mating edges of the horizontal stabilizers. As molded, the stabilizers sweep back enough to look odd. The quick correction is to sand the mating edge angle slightly, so that when the stabilizers are attached to the fuselage fillets the elevator hinge line is perpendicular to the line of flight.
The balance of assembly goes quickly and easily.
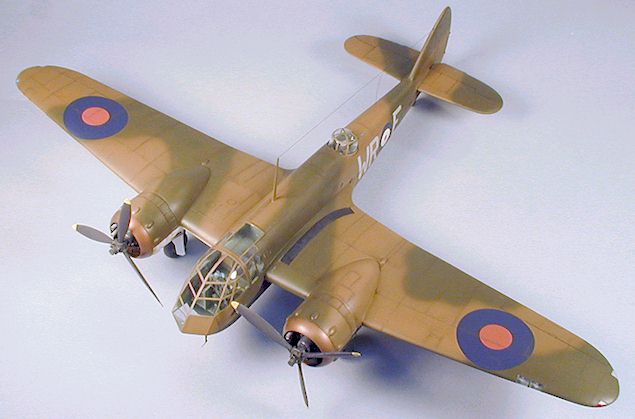
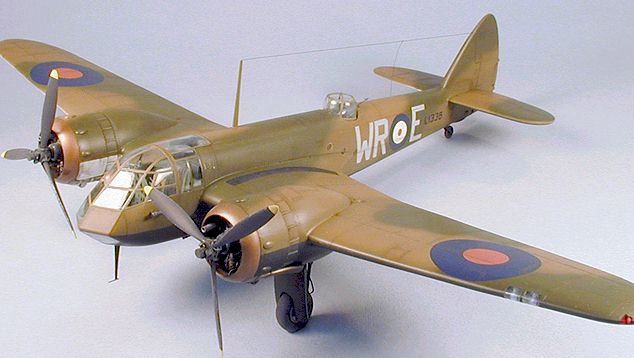
I painted the Blenheim with Polly-Scale paints. The kit decals went on flawlessly. Overall I give this kit high marks. Highly recommended to anyone who isn't afraid to sand and fit a part or two!
Click the thumbnail to view the
image full size.
Model, Text and Images Copyright © 2000 by John
C. Valo
|