Home
| What's New |
Features |
Gallery |
Reviews |
Reference |
Forum |
Search
Home
| What's New |
Features |
Gallery |
Reviews |
Reference |
Forum |
Search
|
|
|
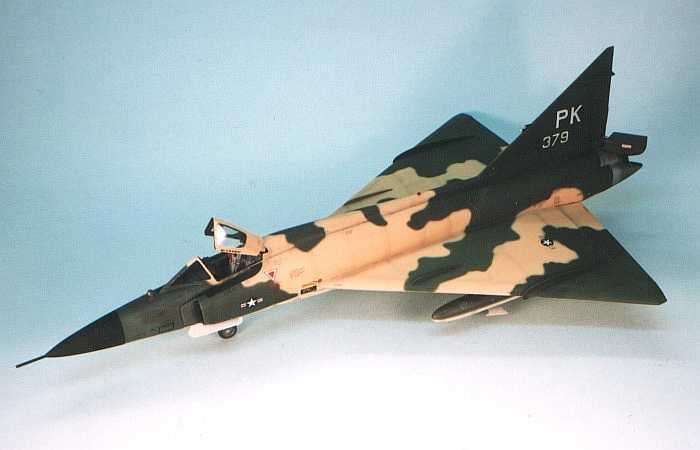
F-102A Delta Dagger by David W. Aungst
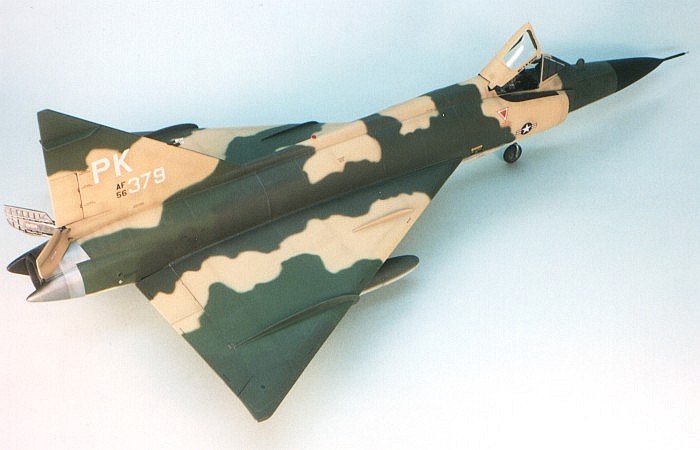
The Deuce didn't have a particularly illustrious career. In spite of its deployment to South East Asia, it never got a chance to fire a shot in anger. Introduced in the middle 1950s, it never lived up to the potential the US Air Force was looking for. It served into the 1970s before being relegated to the indignity of target drone duty. This is the original release of the Monogram kit with the "Case XX" wing, not the later ProModeler release with the "Case X" wing. It is built nearly straight from the box. The only thing I did extra (besides fixing some horrible fit) was replace the nose pitot boom with brass tubing and wire.
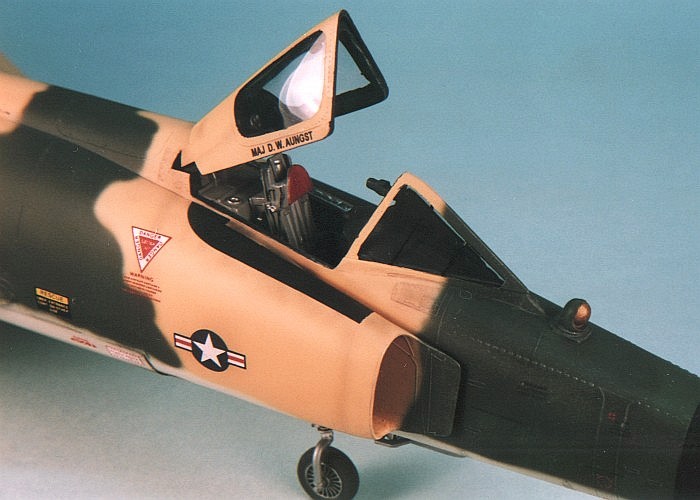
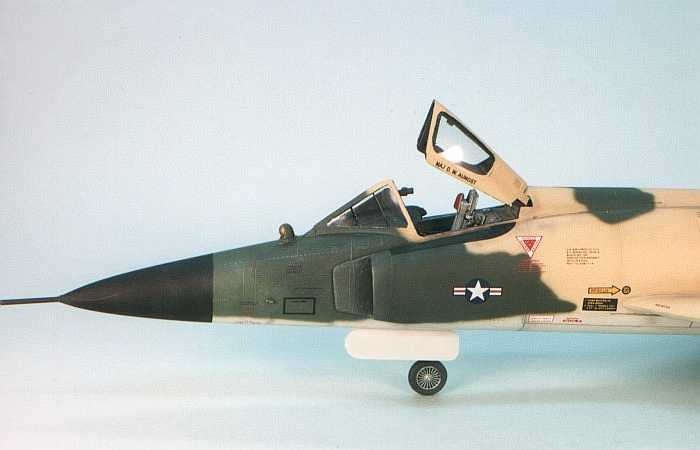
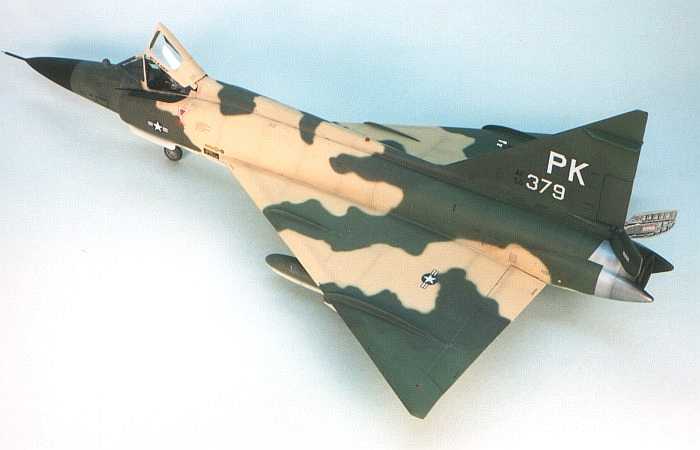
The main reason I built this model was to paint the camouflage. According to the official specifications, the S.E.Asian camouflage for the F-102 uses Butterscotch (F.S.20400) in place of the Tan (F.S.30219) found on every other aircraft that wore the S.E.Asian camouflage. I wanted to see this camouflage in three dimensions and compare it to other S.E.Asian painted models already on my model display shelves. In the end, the difference was not as great as I thought it would be. The Butterscotch color is a bit lighter and more orange than the Tan color.
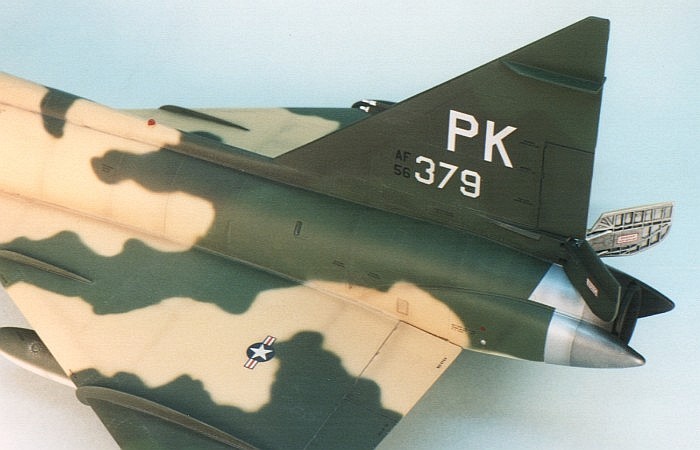
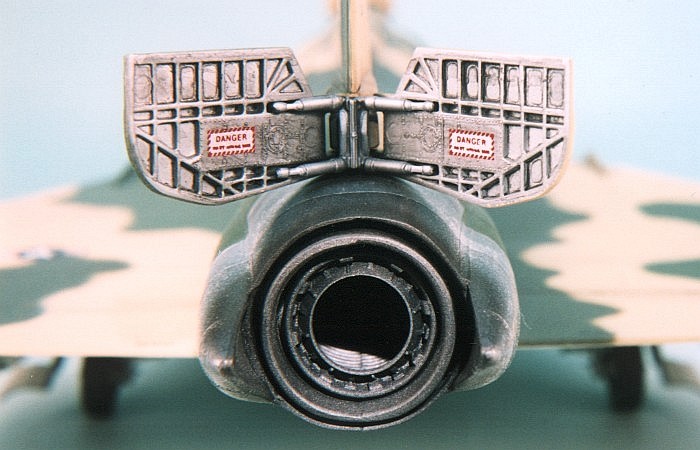
The other colors in the camouflage are Dark Green (F.S.34079) and Medium Green (F.S.34102) with Camouflage Gray (F.S.36622) on the lower surfaces. I used all Testors Model Master enamels. The natural metal areas are painted with Testors Metalizers (Aluminum and Steel). While the aircraft is a little fictitious (I fudged the serial number to be accurate as a "Case XX" wing aircraft and have no information whether this aircraft ever served with the 509th Fighter Intercept Squadron), the markings are representative of those on the aircraft of the 509th Fighter Intercept Squadron (FIS) based at Clark AB in the Philippines, circa 1967. Weathering was done with thinned down enamel paint. I applied these in washes and by air brushing to highlight the panel lines and show general wear and tear on the airframe. A final pass with silver dry brushing rounded out the weathering.
Click the thumbnails below to
view images full-sized.
Models, Description and Images Copyright © 1999 by
David Aungst
| |||||||||||||||||||||