Home
| What's New |
Features |
Gallery |
Reviews |
Reference |
Forum |
Search
Home
| What's New |
Features |
Gallery |
Reviews |
Reference |
Forum |
Search
|
|
|
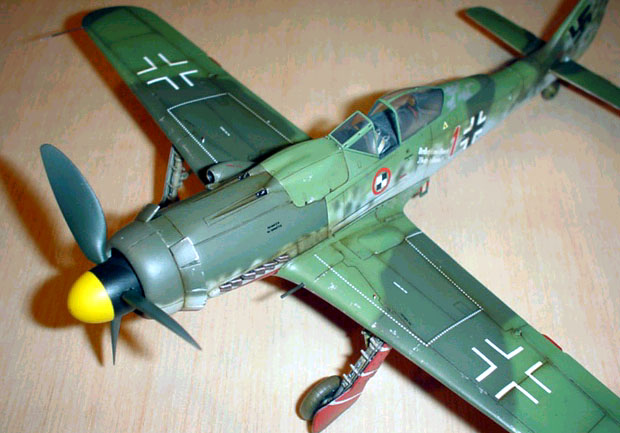
Focke-Wulf Fw 190D-9 by Jordi Farre
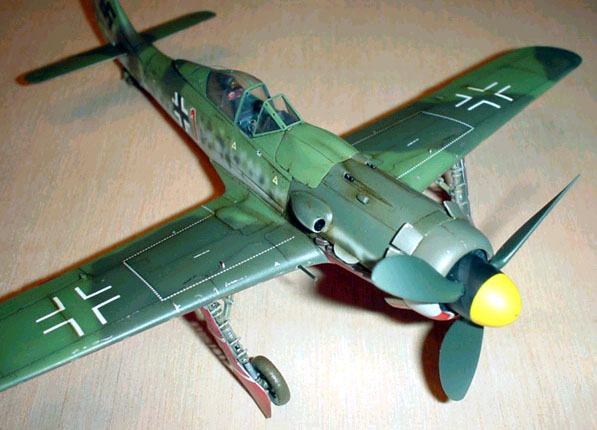
This is Italeri's re-boxing of Dragon/DML's Focke-Wulf Fw 190D-9 in 1/48 scale. Some parts were slightly warped and the plastic surface had many little cracks. I guess this was due to a dirty and old mold. I sanded all the wings and fuselage surfaces smooth, and once clean I payed attention to the cockpit. I used the kit's cockpit as a base to add some extra detail. This included some extra buttons and knobs here and there, wires were also added. The harness is photoetched and came from Reheat Models German Aircraft Accessories set, as was the rudder pedals. As a final touch a map case was added.
I painted the cockpit in Tamiya's dark grey, creating some depth by applying a black wash and drybrushing with any enamel dark grey mixed with an oil white. Now came the hardest part of the building process - detailing the wheel wells. I cut the original plastic part and installed Tauro's DB605 engine from an old Veltro kit. Oh yeah, it is the wrong engine and it has the compressor intake on the wrong side but since it's a separate part I simply glued it on the other side. Apart from that, once all the wiring has been added it's impossible to see it thru the wheel wells. I simply pursued the idea of a good overall look of the whole unit and once painted and weathered it looks very convincing (at least to me!).
The fit was horrible after I joined both fuselage halves and attached the wings. The use of putty was unavoidable. I even needed some extra plastic to help filling the gap between fuselage and wings. The model was ready to be painted after this surgery.
The canopy was masked as usual and I sprayed Humbrol's Metalcote Matt Aluminium. After sealing the metallic finish with Tamiya clear I simulated paint chipping by adding a few touches of Maskol liquid mask here and there. After letting it dry for a few minutes the canopy was ready to be painted together with all remaining parts.
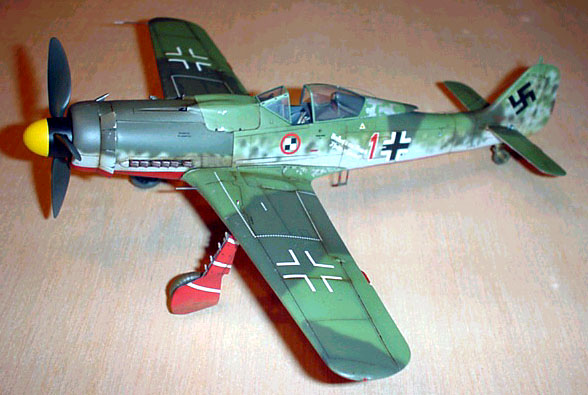
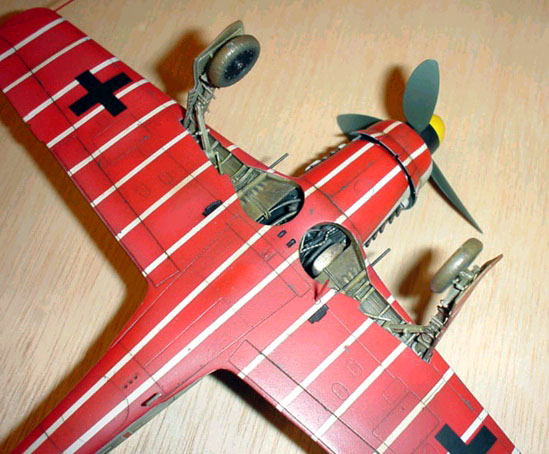
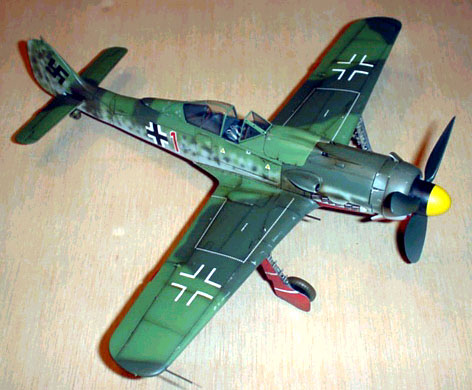
The striking undersurface scheme was obtained by painting it completely satin white and masking it with narrow stripes previously cut to size from Tamiya masking tape. I then sprayed flat red from Tamiya but I wasn't happy with that pinkish tone so I decided to respray it with another red from Humbrol's enamel line. A decent-looking matt red tone was achieved and after letting it dry overnight I masked the undersurfaces in order to separate them from the uppersurface colors. All colors (RLM76/82/83) came from Gunze Sangyo's acrylic range and properly thinned with any windscreen cleaning fluid, in a 50/50 ratio, a nice camouflage can be obtained. The surface was once again sealed with Tamiya Clear. After applying the excellent Galland Circus decals from Eagle Editions another coat of clear was sprayed on in order to protect them from the weathering process.
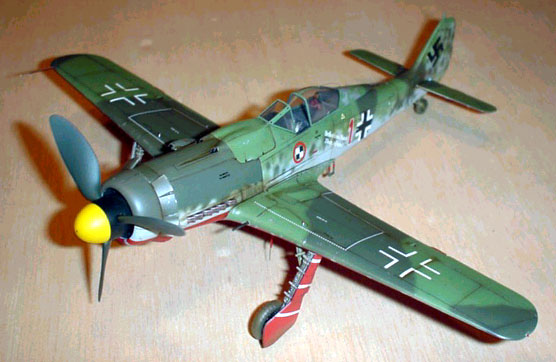
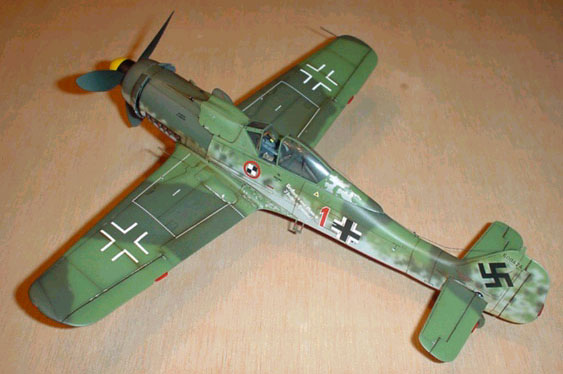
Raw umber oil paint was used to enhance panel lines. The paint is used straight from the tube. Thanks to the glossy surface this kind of paint can be easily removed with an old cloth and leaves a nice residue all over the model, giving it a realistic dirty appearance. Exhaust stains were also done with oil paints but this time with an extra touch of black. A little paint chipping was done with Humbrol's Metalcote Matt Aluminium. After removing the Maskol from the canopy, everything was finally sealed with Golden Satin Varnish. Once dry, the landing gear, clear parts and aerial were installed and the mighty Dora was ready to be displayed on the showcase. The excellent "Doras of the Galland Circus" book, also from Eagle Editions, has been of great help when looking for info on this particular aircraft.
Click the thumbnail to view the
image full size.
Model, Text and Images Copyright © 2000 by
Jordi Farre
|