Home
| What's New |
Features |
Gallery |
Reviews |
Reference |
Forum |
Search
Home
| What's New |
Features |
Gallery |
Reviews |
Reference |
Forum |
Search
|
|
|
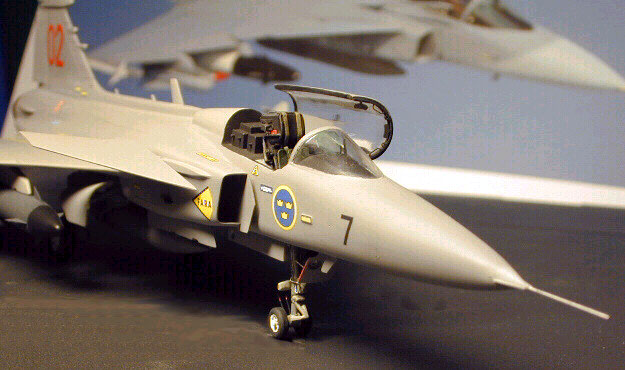
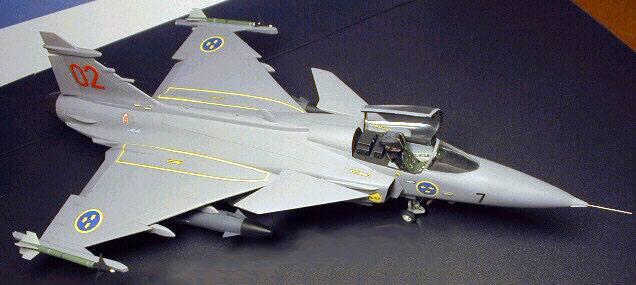
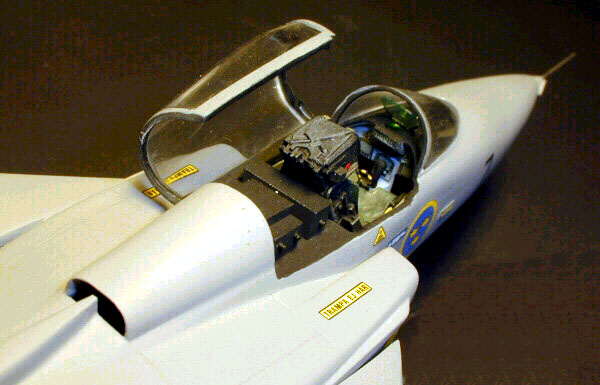
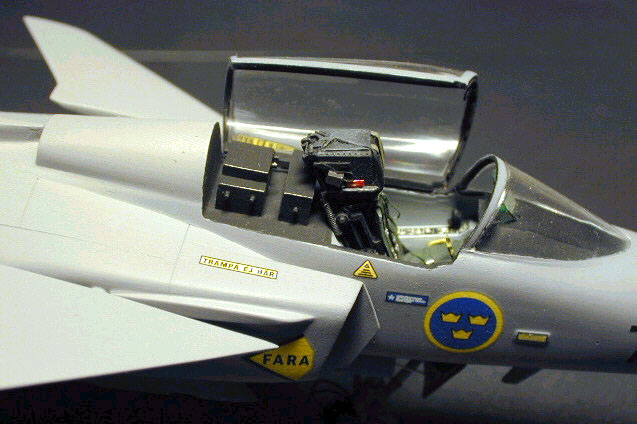
SAAB JAS 39 Gripen by Julien Haccoun
The JAS 39 Gripen was designed after a request for proposal from the Swedish Air Force, the Swenska Flygvapnet, to replace the Draken and Viggen.
The aircraft can fulfil missions as varied as air superiority, strike and reconnaissance
This is Italeri's 1/72 model. This model is fine for beginners who do not need to make a very accurate model, or who are satisfied with basic models out of the box. This is very much the way I felt with Matchbox kits when I was a kid. On the other hand, if you want to build a state of the art Gripen with all the tiny details that make the difference it is a different story. To cut a long story short: it was a pain! I had to rebuild or detail almost every area of the aircraft.
The seat was replaced with an Aires resin MB Mk 10. I rebuilt the instrument panel, replaced the black boxes behind the seat, the HUD, the stick and throttle, using references indicated by fellow HyperScalers (thanks Laurens and Mike!). One of the biggest problem was the windshield and the shape of the fuselage right in front of it. I glued the windshield, masked it and reshaped the nose contour with several applications of Mr Surfacer (thank you Filippo!).
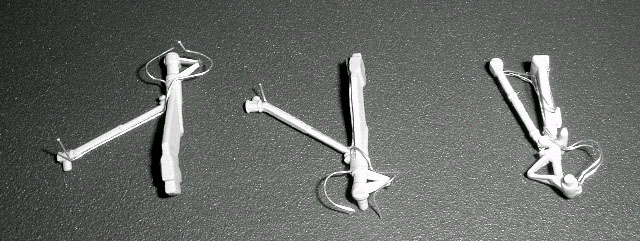
The landing gear was detailed as per photos shown on IPMS Sweden site, with copper or silver wire, plastic strips and rod.
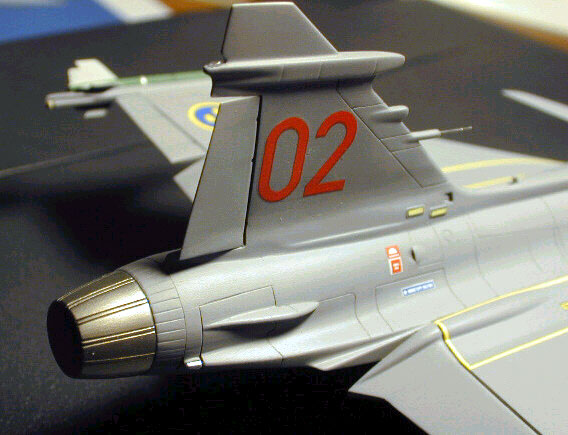
The other serious problem was to fit the airbrakes into their pits properly. I eventually had to glue them, fill the huge seam around with surfacer and rescribe their contour. The exhaust nozzle comes from an Hasegawa F-18. The flaps and rudder were cut to give a more dynamic look. I also built the exhaust of the APU from lead foil.
The air intakes also needed a good amount of work (plastic strips and Surfacer) to be integrated to the fuselage. As with many aircraft models by Italeri, the panel lines are too deep and wide. I therefore rescribed them before sanding all the model to obtain finer surface detail.
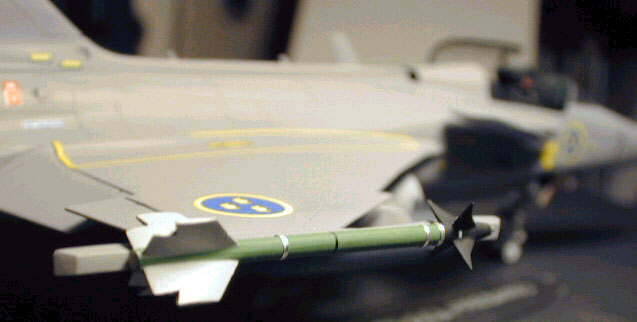
The missiles also had their fins thinned.
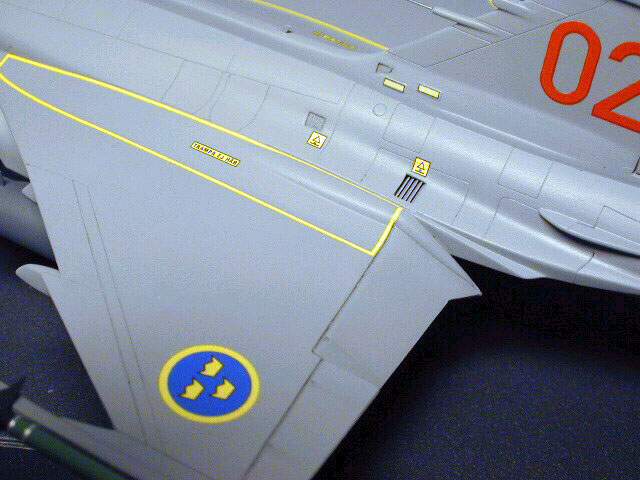
The model was painted with Gunze acrylics (H334 & H308), and received a gloss coat before before the decals were applied. Finally, the model was varnished with Aeromaster flat. Given the amount of work and time involved in this project, I would have dropped it before the end if it hadn't been for an article. Overall it is clearly not my best model but it was a deep satisfaction to see this little aircraft published in a modeling magazine!
Click the thumbnail to view the
image full size.
Text and Images Copyright © 2000 by Julien
Haccoun
|