Home
| What's New |
Features |
Gallery |
Reviews |
Reference |
Forum |
Search
Home
| What's New |
Features |
Gallery |
Reviews |
Reference |
Forum |
Search
|
|
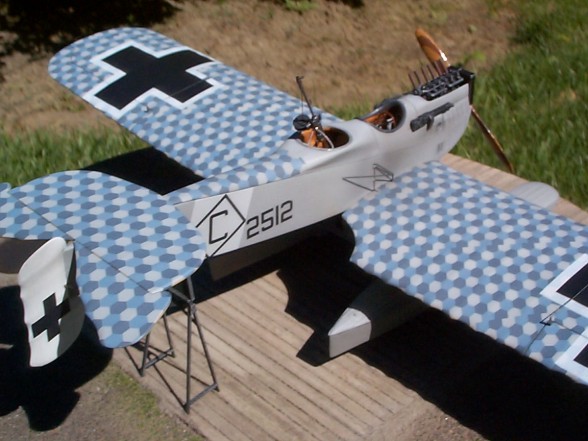
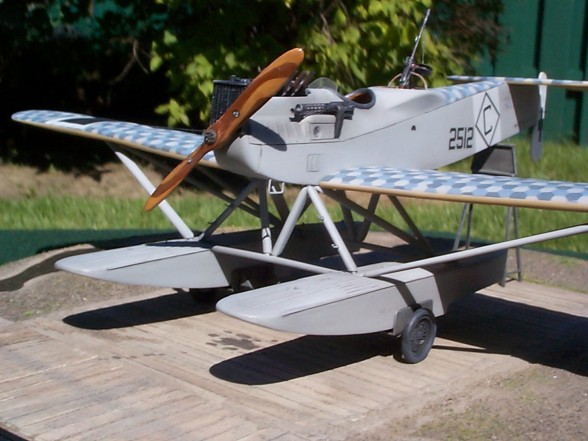
Hansa Brandenburg W.29 by Jimmy Cancino
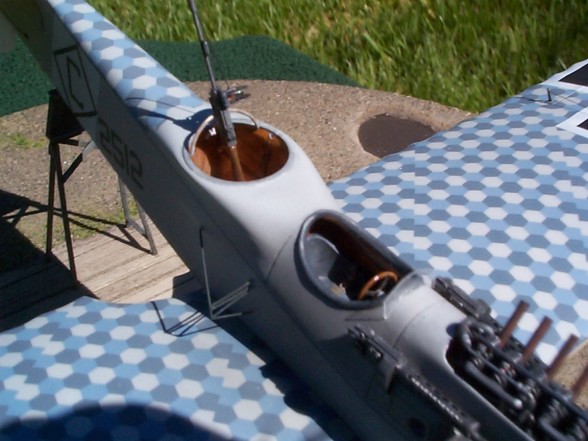
The project started a " shelf flash" for the 1/48th Flashback kit. The cockpit floor, bulkheads , gunner's seat and basic instrument panel were fabricated from 1/64th in. thick plywood to provide that "real wood" look and feel.
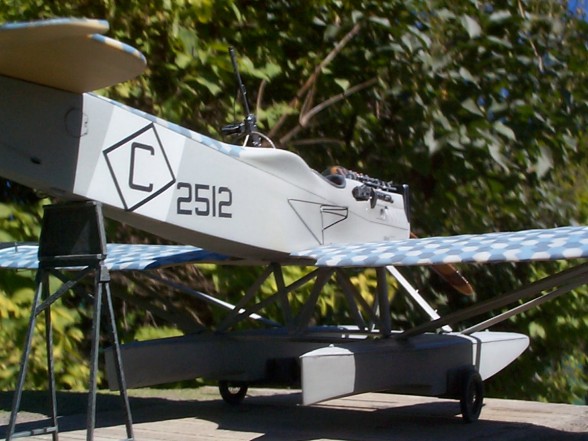
The fuselage inside faces a the cockpit area were painted gloss white and then streaked longitudinally with Red Ochre and Burnt Sienna artists oil paints to simulate wood grain as the fuselage on the actual aircraft was of all wood construction.
The rudder pedal mechanism was then constructed using some of the kit's photo etched parts and other scratch built components. The rudder pulleys under the instrument panel were assembled using different sizes of photo etched disks and the control cables made with a hair from a theatrical wig. The control column and input bell crank and rods were rebuilt using styrene rod and the kit supplied photo etched control wheel was thickened at the rim with epoxy and painted to simulate wood. Assorted details were added to complete the cockpit and the excellent kit supplied P.E. seatbelts. Next the warped fuselage halves were straightened using very hot water and a lot of persuasive twisting. Mating surfaces were sanded on a glass plate to provide a solid and gap free joint. The faint engraved panel lines on the engine cowl panels were deepened using a Squadron scribing tool. This being a typical short run kit, the fit was approximate at best so I proceeded to fabricate an assembly jig out of ABS plastic, which would allow me to positively align the main components together. The wing to fuselage fit was the first to get attention.
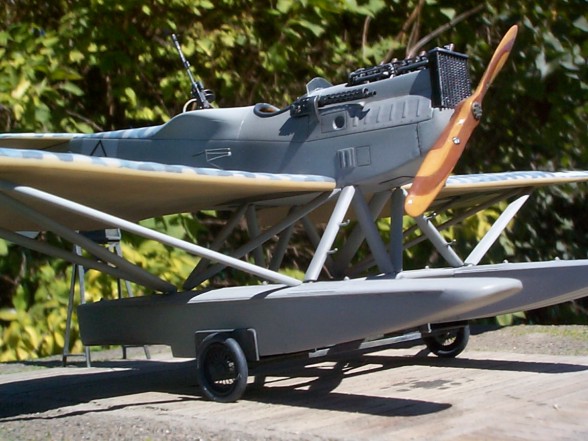
Fore/aft location of the wings was established and marked on the fuselage with a fine draftsman pencil according to drawings in "The Complete Book of Fighters" (Smithmark books). The inboard ends of the wings were sanded to ensure proper dihedral angle again according to drawing. The fuselage was drilled at the wing location and pair of 0.063" dia. stainless steel pins were installed running under the cockpit floor from side to side. Matching holes were then drilled at the wing inboard ends ensuring positive wing location and mounting. The wing trailing edges were then sanded down to reduce thickness while preserving the fabric effect using #1500 sandpaper wrapped around a wood dowel. Next up was the float strut work. The kit struts were discarded in favor of homemade units from Contrail profile strut stock and Evergreen styrene rod. The aircraft was set on the assembly jig ensuring proper positioning relative to the floats and the struts were trimmed and fitted individually.
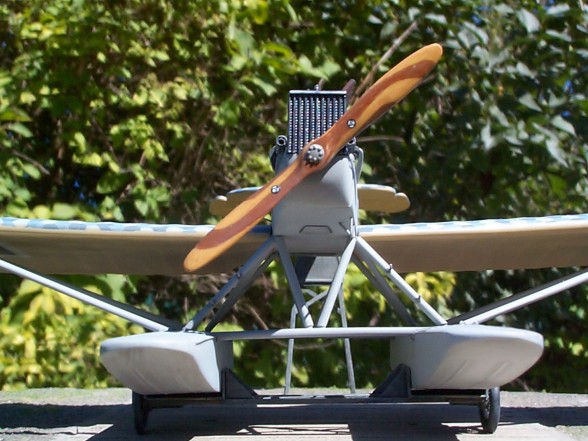
The tail surfaces were re-shaped to represent an early production machine by rounding off the rudder lower end and tapering the elevator tips towards the front. The surfaces then went on relatively trouble free necessitating just minor cleaning up and trailing edge thinning. Now came time to tackle the Mercedes BzIII engine. Only the basic engine block was kept from the kit. The valve train, fuel unit, intake and exhaust systems and propeller hub were scratch built from styrene brass and piano wire. References did not point out actual engine colors so I settled various shades of metallic colors using Model Master Metalizer paints. Recessed exit holes for the aileron and rudder control cables were made using a profiled brass rod heated and pushed into the plastic surface topped off with stretched sprue cables. The excellent kit supplied LMG 08/15 machine guns were used. However the rear gun received a new barrel without cooling jacket.
I chose to finish the aircraft to match the box top artwork as closely as possible as this is what inspired me to build this aircraft in the first place. It's one of those "fell in love on the spot" affairs. The aircraft is that of German ace Erich Christiansen who shot down three Felixtowes on July 4th,1918.
The aircraft was painted with variety of Testors Modelmaster and Humbrol enamels mixed and matched to the box art. The kit's excellent Propagteam decals went on beautifully and Aeromaster clear flat acrylic sealed the deal. The beaching dolly was fabricated from 1/64th in. plywood and photo etched wire wheels topped with rubber o-rings of appropriate size. The base was made from an aluminum stove burner cover covered with Sculptamold. The deck, made from balsa strips was then embedded in the wet surface and left to dry 24 hrs. The Sculptamold was then painted dirt brown and covered with ground foam from Woodland Scenics. Water puddles were then added using thick clear acrylic varnish.
Overall, the lukewarm impression left from the first contact with the kit parts finally led to a rewarding project and I am looking forward to building more World War 1 subjects. Gotta find a Gotha !
Click the thumbnail to view the
image full size.
Model, Images
and Article Copyright © 2000 by Jimmy
Cancino
|