Home
| What's New |
Features |
Gallery |
Reviews |
Reference |
Forum |
Search
Home
| What's New |
Features |
Gallery |
Reviews |
Reference |
Forum |
Search
|
|
|
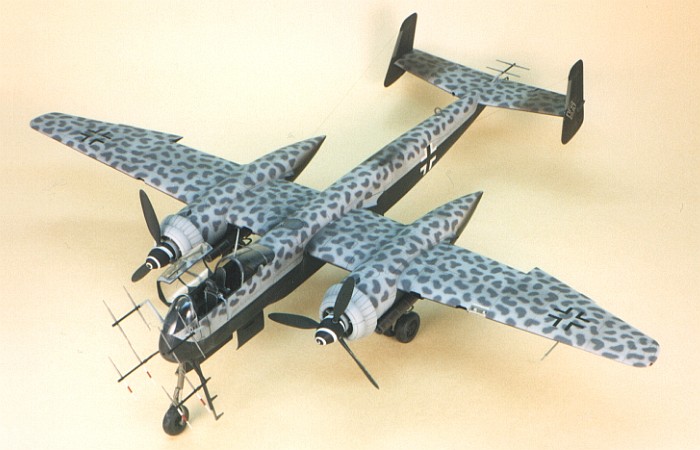
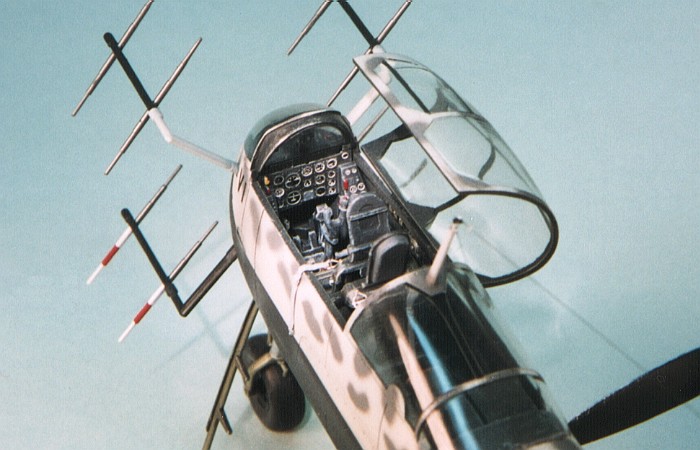
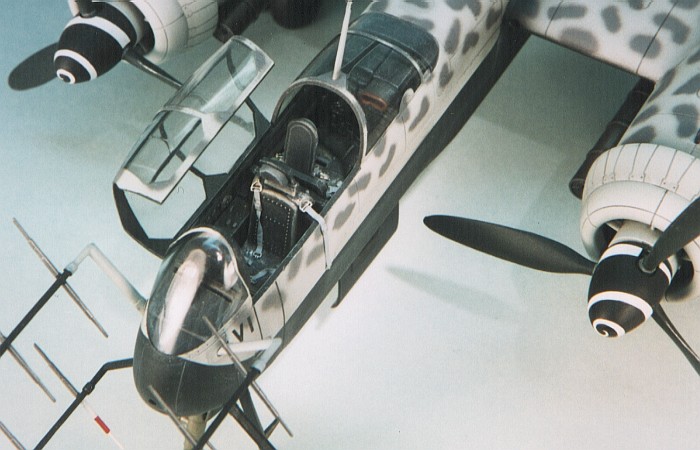
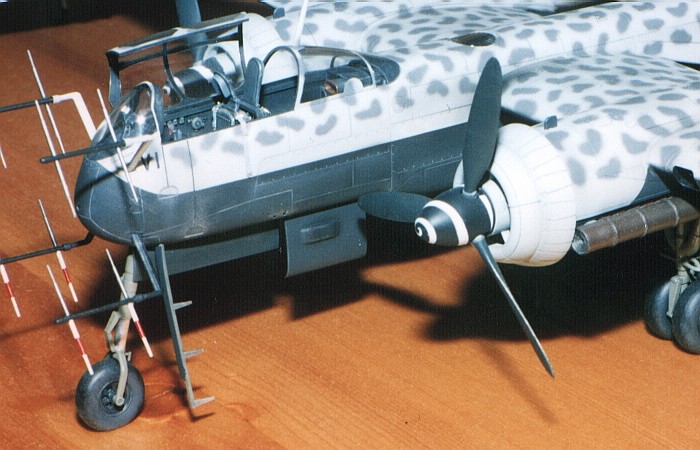
Heinkel He 219A by David W. Aungst
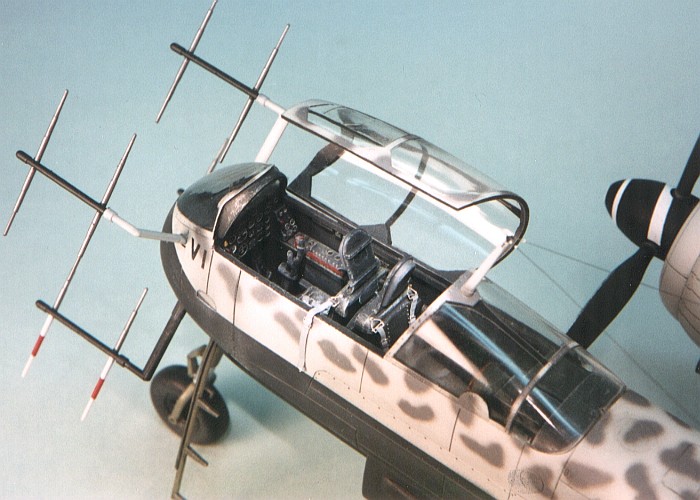
To say that I was waiting impatiently for someone (anyone) to create a 1/48th scale kit of an He 219 "Owl" is an understatement. After the disbelief wore off that Tamiya was going to finally do it, I could just not wait to get one in my grubby hands. I made certain that I was on the list to get one of the first arrivals at my local hobby shop and was completed building the kit within three weeks after I got it. I did not get too elaborate, but I could not just build the kit out-of-the-box. I did the following to the basic kit:
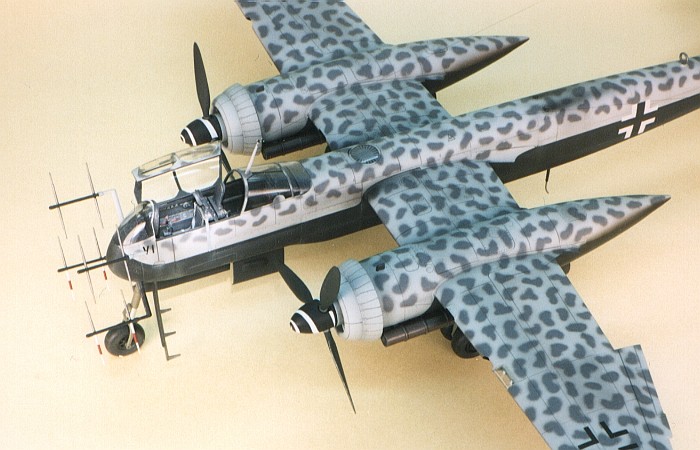
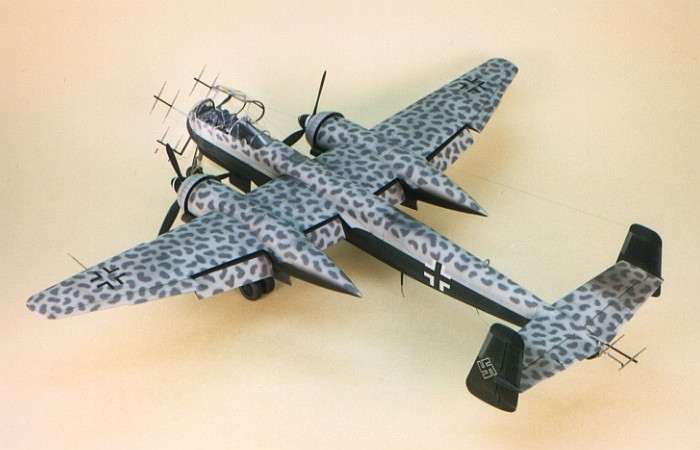
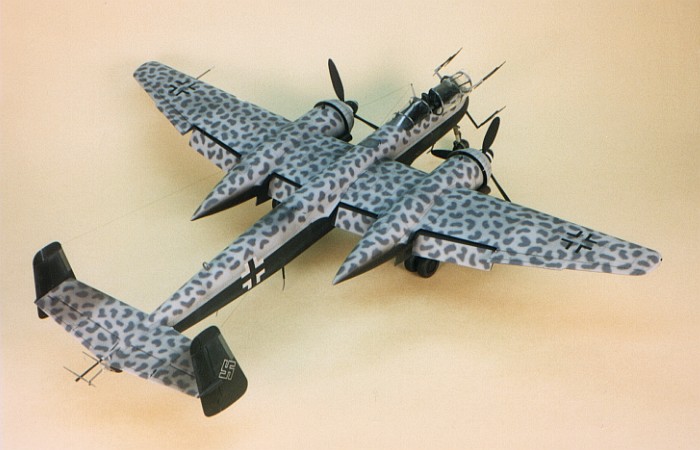
The camouflage on the model is painted using Floquil Military enamel paints. The camouflage is the "standard" Gray-Violet (RLM 75) splotches over Light Blue (RLM 76) on the top surfaces. I've recently been convinced that the camouflage may actually be RLM 75 with RLM 76 squiggles painted over it on some machines, but that is not what I did on this model. The bottom is painted black. I actually used Floquil's Black-Gray (RLM 66) for the bottom color. It made a good "scale black". Most of the rest of the colors are Model Master enamel paints. The decals come from various sources, including the Tamiya kit decals and SuperScale. I did not like any of the Tamiya decal options, so I built a nondescript aircraft from 1/NJG 1 that I found a camouflage / markings diagram for in an old Koku-Fan magazine. Also, since W.W.II is not my real passion, I had no proper sized white crosses for the fuselage sides. Since the Tamiya ones allowed the black / gray color demarcation to be seen (through the decal), I opted to mask and paint the white crosses on the fuselage sides.
I used a combination of thinned down enamel paint washes and airbrush shading to weather the airframe. A final dry brushing of silver to pop out the surface details completed the weathering.
Click the thumbnails below to
view images full-sized.
Models, Description and Images Copyright ©
2000 by David Aungst
| ||||||||||||||||||||||