Home
| What's New |
Features |
Gallery |
Reviews |
Reference |
Forum |
Search
Home
| What's New |
Features |
Gallery |
Reviews |
Reference |
Forum |
Search
|
|
|
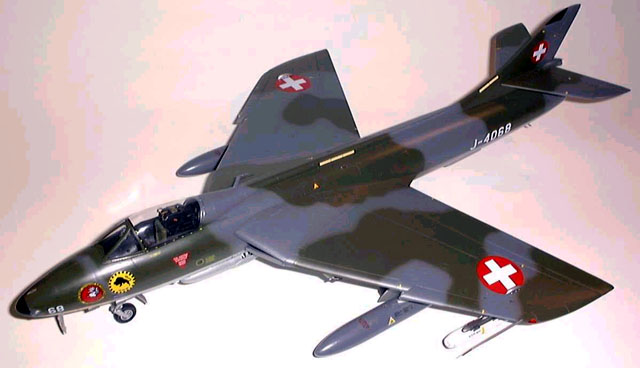
Hawker Hunter Mk. 58 by Franck Oudin
This aircraft was delivered to the Swiss air Force on the 16th February, 1959 and served until 1994. It was then scrapped, like many Hunter after almost 40 years of service. The aircraft was based in Molis. The kit is the only way to build an accurate Mk. 58 Hunter as used by the Swiss Air Force. A colleague asked me to build one for him, because he served as a mechanic in the Swiss Air Force. I agreed, although I am not really into jets and even less in the 1/32 scale!
In common with most models, construction started with the interior. The components were painted black. I assembled all the parts together following the interior painting. The general fit of the kit is very good.
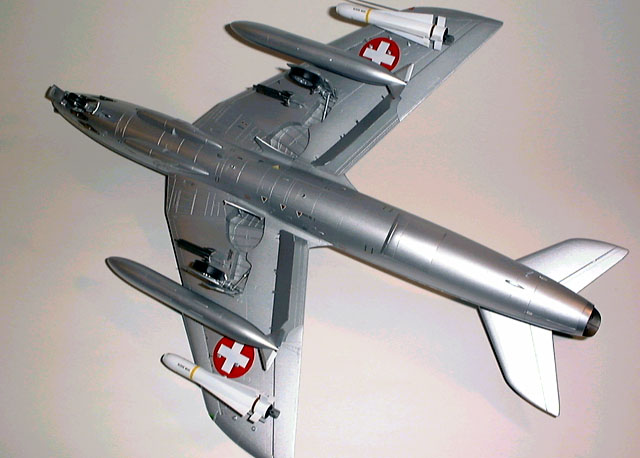
The next operation was to insert 40-50 grams of lead into the nose of this jet. I used skinny lead balls and glued them with with super glue. Next was the two air intakes. This looked like it might be a bit tricky, but I simply glued them together and put a piece a tape around it until it dry. In the meantime, I glued the wings together. When they were dry, they were secured to the fuselage. This is the most difficult part of assembly because the wings are only inserted into the fuselage at a depth of around 1-2 mm. Make sure that when you glue the wings to hold them in place with your hands for a few minutes.
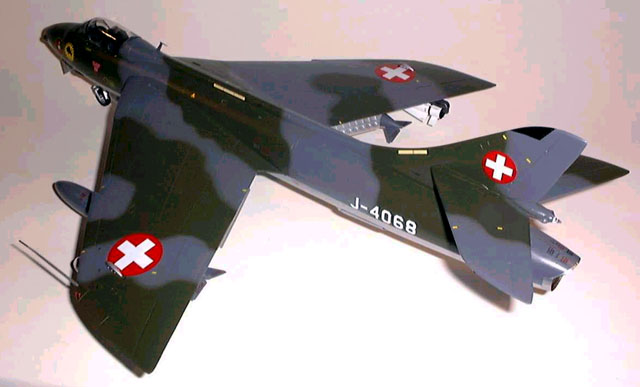
When the model was ready for painting I started the with the bottom wings and fuselage. Tamiya X-11 Chrome Silver was used for this task.
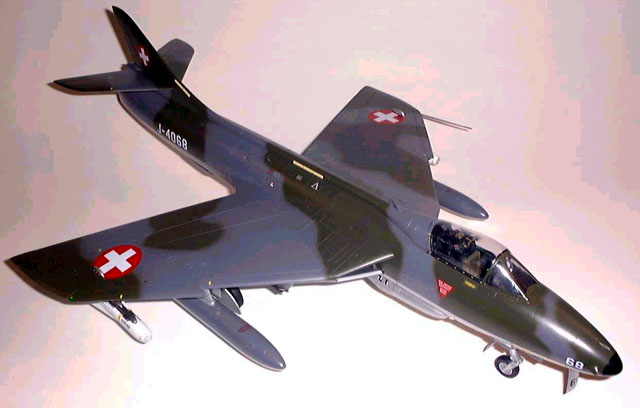
When the silver paint was dry I buffed it with a soft cloth and masked for the uppersurface colors. These were Gunze H331 for the Gray and H335 for the Green. I first painted the grey - I used an entire bottle! The green was then sprayed freehand followed by a coat of "Klir" (the European version of Future). The model was now set aside in preparation for decals. Decaling took place over 3 sessions. There were over 164 decals on this aircraft! Fortunately the decals are nice and thin, and they went on with no problems. I used a little Aeromaster solution to help them settle down. Following this laborious task, all the small final details were attached.
With a minimum effort, you can achieve a nice kit of this very nice early jet. As a reference I used the book "Hunter Fascination". This is a very good book if you want to do a Swiss Hunter. Now back to normal with a WWII aircraft in 1/48 scale!
All the best to you all, and a special thanks to my frined Albert Rorhbach for the loan of this great book. Text and Images Copyright © 2000 by
Franck Oudin
|