Home
| What's New |
Features |
Gallery |
Reviews |
Reference |
Forum |
Search
Home
| What's New |
Features |
Gallery |
Reviews |
Reference |
Forum |
Search
|
|
|
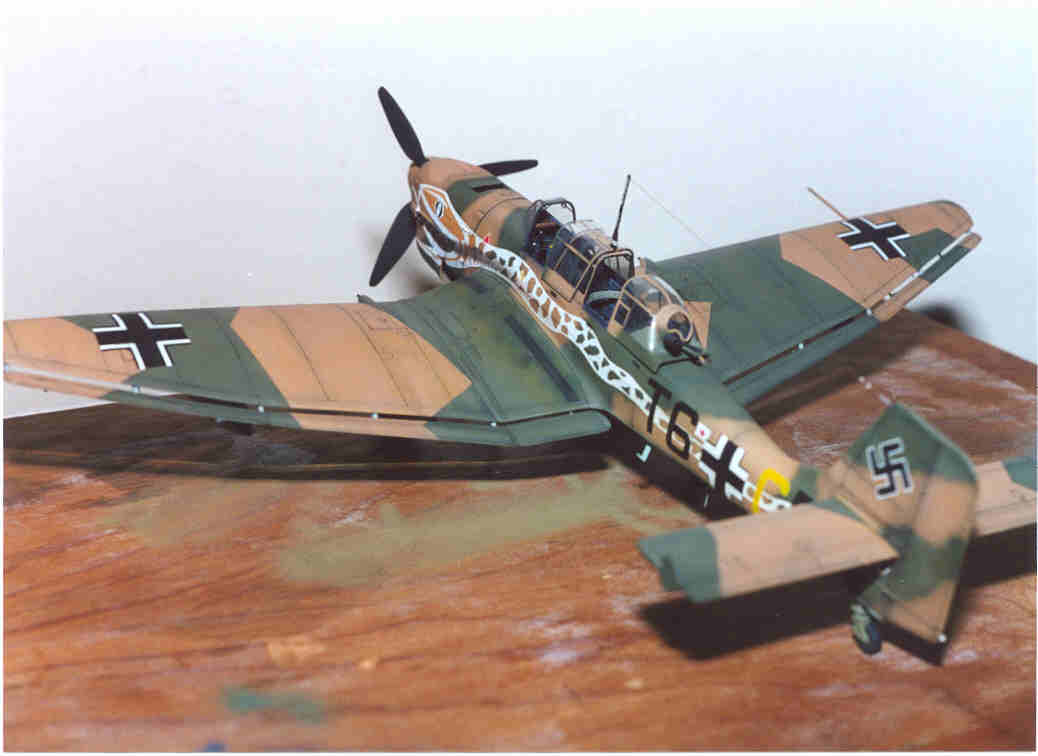
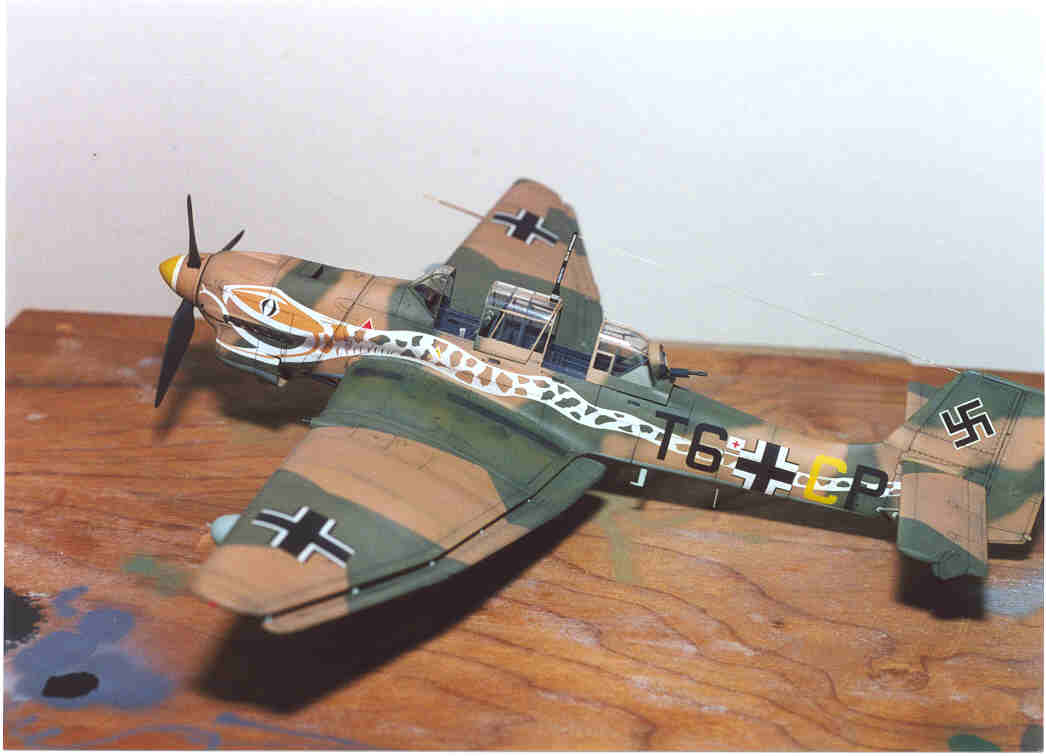
Junkers Ju 87R-2 Stuka by Roy Long
This model started as Hasegawa's 1/48 scale Junkers Ju 87B-2 Stuka. Parts from Hasegawa's R-2 and B-2trop kits were used in its construction.
Interior and Canopy The interior was detailed with an Airwaves photoetched set. The armor plates around the rear gunner's position and the sunshield for the MG sight were cut from lead foil using patterns found in the MBI/Sagitta Ju 87 book. The interior was painted with Extracolor RLM 66, given a dark wash and drybrushed.
The canopy comes in four part, the windscreen, pilot's cover, a center portion and the gunner's cover. There is a small rectangle that must be removed from the pilot's cover to allow it to be opened fully. The small rectangle fits around the antenna mast on the center section. Hasegawa provides dark gray decal strips to replicate the frames visible from the interior. The canopy parts were masked and sprayed RLM 66 on the outsides and the decals were added to the inside. Once the camouflage colors were painted and the masking was removed they looked quite convincing.
Fuselage When this kit was released it was readily apparent that Hasegawa was going to release further marks of the Ju87 as the decking behind the gunners station and the nose area are engineered to accept different pieces. This is also evident at the wing tips.
The fuselage went together with a minimal amount of filling. A blister for the Piel G IV was shaped from a chunk of clear styrene and painted black on the inside and superglued at the appropriate place, just even with the trailing edge of the wing.
Wings Hasegawa made this kit with the ailerons and flaps attached to the wing and the molded mechanisms are somewhat "chunky". The area screamed for some improvement, so I cut the ailerons and dive flaps from the under-wing parts. The wings, flaps and ailerons were cleaned up and new mechanisms were made from card stock and brass wire bent to shape to simulate the operating mechanisms. The wings minus the ailerons and flap were glued to the fuselage and needed very little in the way of filler. The main gear legs were assembled and mounted at this time too. The vertical stabilizers were also added and I found the struts didn't quite line up with the mounting holes. Removing the locating pins solved this small problem.
There is some controversy about the snake being painted in either in white with red or "clear" spots. There seems to be a 50-50 split in the references I have seen concerning this Stuka. Based on a rear quarter, port side photo in "The Luftwaffe in the North African Campaign 1941-1943" by Werner Held and Ernst Obermaier, I went with the white snake with "clear" spots as there seemed to me to be no real difference between the spots and the adjacent camouflage colors. Combinations of Aeromaster and XtraColor RLM 65, 70, 71, 78, 79 and 80 paints were used. I wanted to depict a rather scruffy well-used finish and show the underlying 70/71 splinter pattern in some areas.
I began by reverse highlighting the panel lines in black and painting the underside in RLM 65 with blotches of RLM 78. I then sprayed the wing root areas of the upper surfaces in the RLM 70/71 splinter. These areas were then sprayed with Testors Glosscote to protect them and left to dry. The sand and green scheme of RLM 79 and 80 was then sprayed. While this was still fresh, I used a piece of T-shirt dampened with alcohol to rub through to the underlying 70/71 patches. I used Three Guys Decals for all the markings. The decals were thin, well printed and opaque and presented no problems. However, the snake's head needed some slicing around the cowl and I cut it into some smaller more manageable pieces.
The dive flaps were reattached to finish the model. The bomb and trapeze as well as the drop tanks and their plumbing were also added. I sprayed the model with PollyS flat clear and let it dry for a day. Then it was time for the last few items.
The rear firing MG was added to the rear canopy and both canopy pieces were glued in place with a few small drops of super glue. Weathering was done with pastels, thinned artist's ink and a few scratches applied with a silver-colored pencil. To finish it off, the last addition was the invisible thread antenna.
This was an enjoyable build. I can heartily recommend Hasegawa's Ju 87B. There are plenty of interesting schemes and aftermarket parts for this excellent kit. Even though I didn't measure it out, it looks like a Stuka and I think Hasegawa well portrays the predatory, sinister stance of the Stuka. Text and Images Copyright © 2000 by
Roy Long
|