Home
| What's New |
Features |
Gallery |
Reviews |
Reference |
Forum |
Search
Home
| What's New |
Features |
Gallery |
Reviews |
Reference |
Forum |
Search
|
|
|
La-7 by Stan Pearce
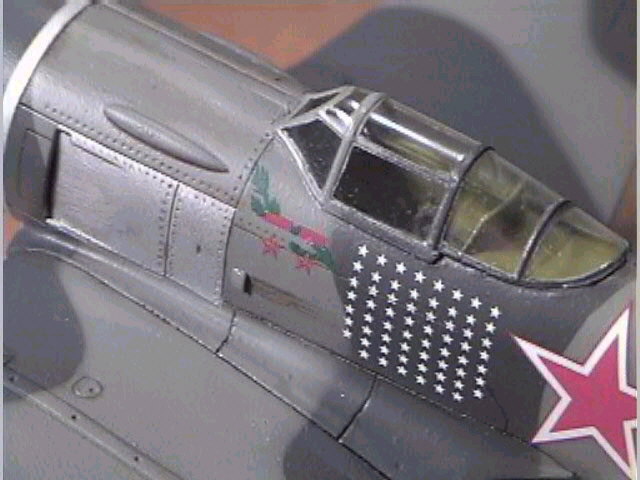
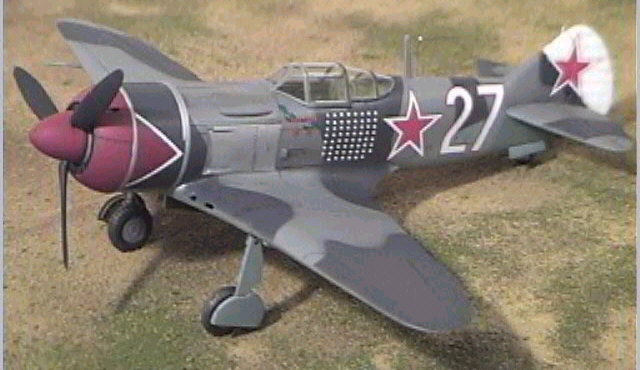
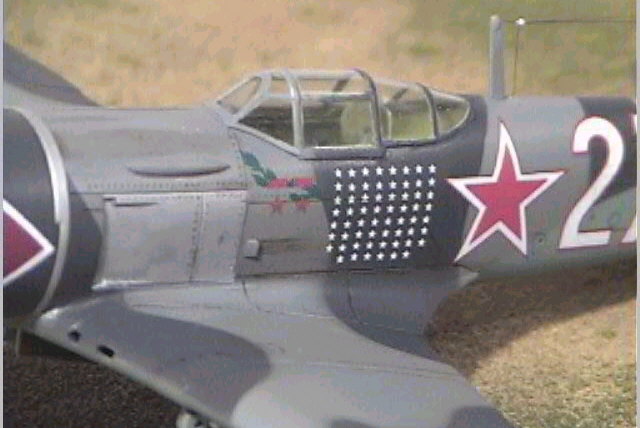
Ivan Kozhedub was born in 1920 in the Ukraine and became the leading Soviet and Allied Ace of WWII. His first combat mission was on 26 March 1943 flying a LaGG-5. During early May 1944, he flew the La-5N and July 1944, he was assigned his famous 'white 27', La-7. Kozhedub scored a victory against a Me 262 on 19 February 1945 in this aircraft. Kozhedub was awarded the Hero of the Soviet Union medal twice during the war with the third on 18 August 1945.
Almost 8,000 of the Lavochkin La-7 were built during WWII. It was an excellent low-altitude fighters. The fuselage, wings and tail section were covered with a molded plywood, the front fuselage was metal and the control surfaces were metal frame work covered with fabric. The twin row 14 cylinder Shvetson M-82FV radial engine produced 1850 h.p. at take-off. Two 20mm cannon give the La-7 its firepower. Its top speed is reported to be about 375 m.p.h. at sea level. (Credit given to Artist Jerry Crandall's web site where a beautiful print signed by Air Marshal Kozhedub is available.) Ivan's "White 27" is modeled here as it appeared in the summer of 1945.
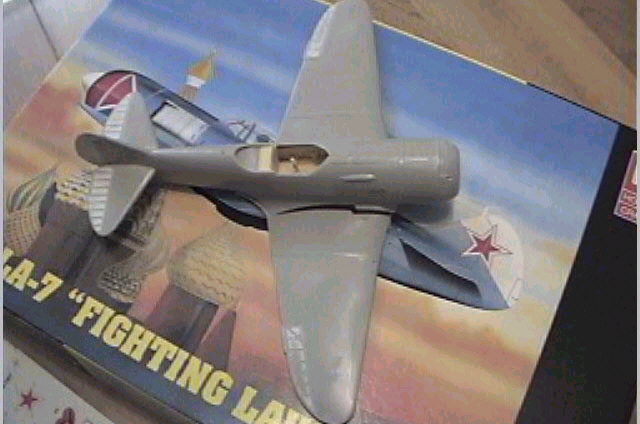
The Hobbycraft La7 is definitely an unusual subject, and while the kit is basically sound it is not for a beginner. It features a poor wing-fuselage joint, extremely heavy fabric detail on all control surfaces, and a canopy that is opaque and thick enough to withstand scale 88mm antiaircraft fire. All this aside, it is possible to build a fairly nice kit if you are willing to invest the time to dress up this hidden beauty.
The kit's cockpit and canopy were discarded before construction started. They were replaced by items from True Details and Squadron. The resin cockpit was assembled and fitted well, though I threw away the resin rudder pedals and replaced them with some brass from the spares box. (not a lot of time spent here as I planned to build the canopy shut). Most of the huge overscale fabric detail was filed and sanded off of the rudder, elevators and ailerons. A skim coat of Squadron's White Putty brought the rib work into a more proper perspective. The model was then assembled according to the instructions with one major exception - the wing doesn't fit worth a darn. There is about a 1/8-inch gap at the wing root that needs to be filled and poor fit aft of the wing on the bottom of the fuselage.
Glue and clamps, styrene stiffeners, and about a pound of Squadrons White Putty prepared the wing roots to be shaped and rescribed. I went slow and careful, masking off the panel lines to preserve as much detail as possible. This was major surgery more characteristic of a vacuform kit. After several hours sanding and refilling, I was rewarded with the beautiful curved wing root of the La7. (I wonder if forming the plywood on the real A/C was this hard?). The vacformed Squadrons canopy was attached at this point with careful application of liquid styrene cement. I was sparing and let capillary action do the bonding work.
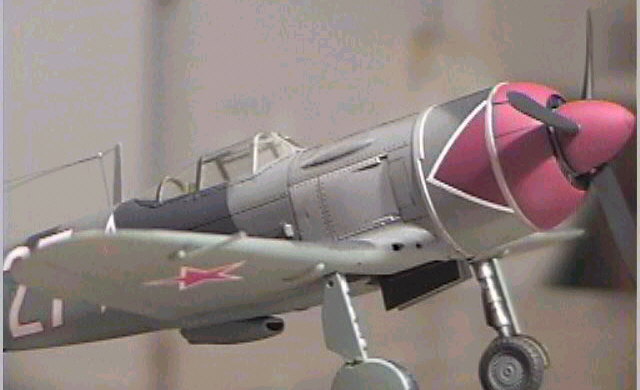
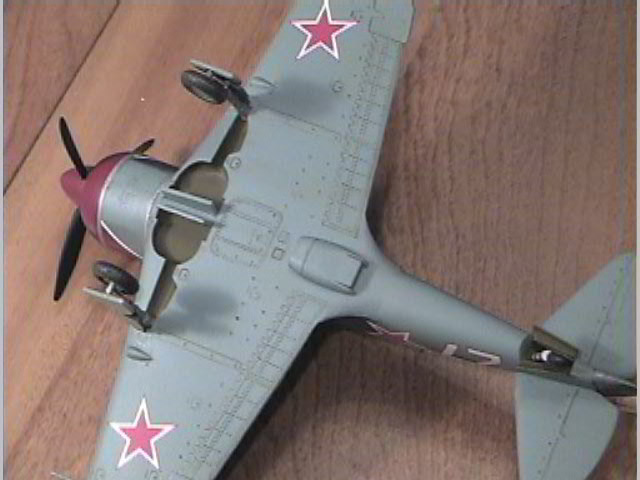
After masking the canopy with Scotch Magic transparent tape the canopy was spayed with an interior gray to represent the interior canopy framing. The rudder and vertical stab was then painted white for a reverse mask process.(I used the kit's Red Star to align the mask) The entire aircraft was then sprayed Medium Grey (fs36270) and Dark Grey (fs36176). Since I used Testors model master paint I approximated the dark grey with a Panzergrau (Looked good to my eye,) and Russian Underside blue for the ventral surfaces. Paper masks lifted lightly from the surface provided the demarcation lines. The cowl was masked and sprayed, and the red chevron on the nose was used to mask and paint, as the reds don't match. Then the cowl rings and exhaust panels were sprayed aluminum. A quick shot of gloss clear and the A/C was ready for the decals.
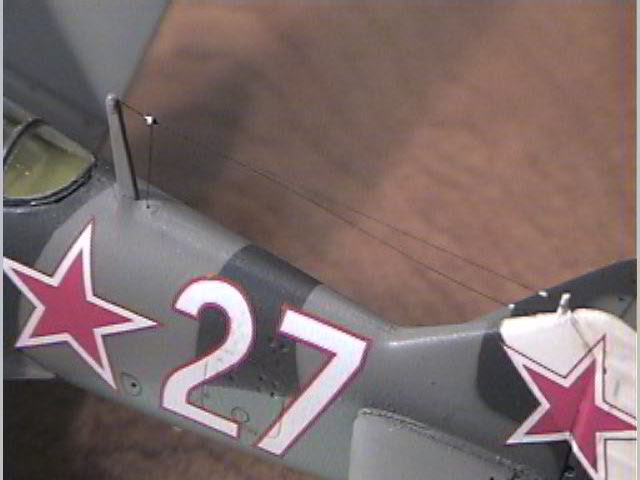
What can be said about Aeromaster's decals that hasn't already been said. After applying a little Micro-Sol to settle into the panel lines, let dry then gloss coat for protection. Weathering consists of a light wash of burnt umber oils on the ventral surfaces and a dark grey oil wash for the dorsal. Glue on the undercarriage and antennas with CYA glue.
Two hairs from the wife's' brush makes up the aerial with a drop of white glue for the insulators. (Learned that trick from shipbuilders) A light drybrush on the surface details and tire treads and a coat of Testors Dullcoat just about finish the kit. For a final touch N scale model railroad lenses are added for identification lights on the wing and rudder. This kit is definitely not a Tamiya or Hasegawa, but with a little patience and a pound of putty you too can have an interesting aircraft of "The Great Patriotic War To Stop Fascism."
Click the
thumbnails below to view images full-sized.
Model, Text and Images Copyright © 2000 by Stan
Pearce
|