Modelling
on the Run
M113A1
by
Shane Abdoo
|
|
|
M113A1 |
 As
a soldier in the Australian Army I was deployed on the first day of the
INTERFET operation in East Timor. As
a soldier in the Australian Army I was deployed on the first day of the
INTERFET operation in East Timor.
The pace of operations was demanding throughout this period and allowed
for little rest and recreation.
After approximately three months, things started to slow down. I wished
that I had a kit to build!
So the request went out to 'The Blackwell Gang' a notorious bunch of
reprobates in the Newcastle area, who responded in fantastic form with an
Academy M113A1 Vietnam kit and all the necessary tools. |
The model was attacked feverishly between the operational tasks that
dominated too much of my precious modeling time.
Whilst quickly assembling the interior I made the following observations,
which have no doubt been noted before and were not rectified due to my lack of
local facilities:
-
The fuel cell is approx. 8mm too long.
-
Passenger seating is approx. 2mm too high; legs
need to be trimmed.
-
The alignment of the drivers seat and the
laterals (AKA: sticks) is incorrect.
-
The seat is too far to the right. The steering
laterals should be at least 5mm longer.
-
Inside the engine bay, the cooling fan and
radiator are on the opposite sides. The radiator should be under the exhaust
outlet.
 The
interior was painted using Tamiya XF-1 Flat White mixed with Tamiya XF-5
Flat Green, to obtain the correct shade of light green. The
interior was painted using Tamiya XF-1 Flat White mixed with Tamiya XF-5
Flat Green, to obtain the correct shade of light green.
With minimal detail painting, the interior was weathered using a light
Grey wash and set aside to dry for 24hrs. Prior to sealing the lid on, I
highlighted the floor and various crew areas with a 2B pencil.
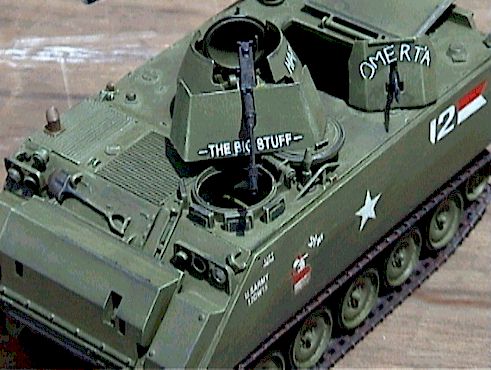
With this completed, I finished assembling the outside. Construction of
the exterior was straightforward with no difficulties experienced. I can't
pick any faults with this aspect of this kit. It is streets ahead of the
now decrepit Tamiya effort.
The only improvements to the Vietnam era kit would be the deletion of
the M113A2 modifications, namely; the shock absorber on the second support
arm and the second heater exhaust behind the engine deck. Once again, as
this was a sanity saver, these were not removed! |
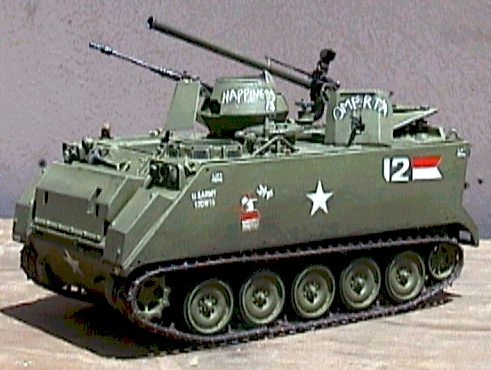
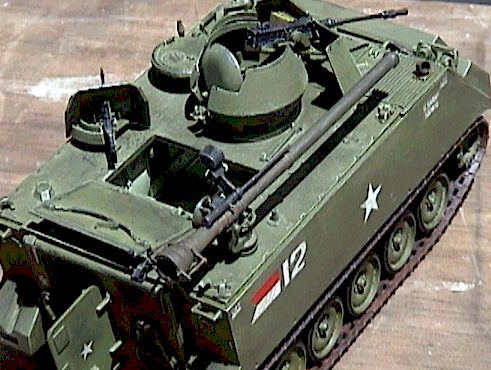 The
exterior was given two coats of Humbrol 150 by finger(!) The
exterior was given two coats of Humbrol 150 by finger(!)
A very thin Grey wash was applied and left to dry for 24hrs. Three
lightened base colours were used for drybrushing.
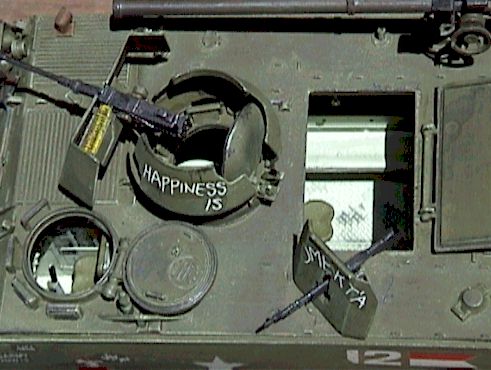
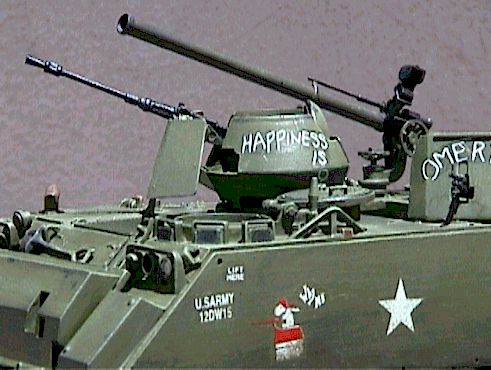
Weapons were painted Flat Black and hit with a heavy dose of 2B pencil.
I was very happy with the effect, as it closely replicates the
"bluing" of the real item.
A map-marking China-Graph pencil was used to create the grimy hullside
effect. This was also used all over to generally make it look 'manky'!
Once again the 2B pencil was used to good effect all over the exterior. |
 Although
the overall finish is what I would regard as novice-ish, I was happy to
just get the feel of plastic in my hands and the mind-altering smell of
glue in my nostrils. Although
the overall finish is what I would regard as novice-ish, I was happy to
just get the feel of plastic in my hands and the mind-altering smell of
glue in my nostrils.
Just completing the model is a reminder of the normal life back in
Australia, which is indeed a sanity saver over here at the moment! But as
with every kit finished, it only makes you lust for your next!
A massive thanks must go to James Blackwell for the effort taken to put
the "Modeller's Care Package" together. Maybe he's not so bad
after all… |
Click on thumbnails to view images
full size.
Use the back arrow on your browser to return to this page.


Model, Images and Article Copyright
© 2000 by Shane Abdoo
Page Created 29 January 2000
Last updated 26 July 2007
Back to HyperScale Main Page
Back to Features Page
|
 Home
| What's New |
Features |
Gallery |
Reviews |
Reference |
Forum |
Search
Home
| What's New |
Features |
Gallery |
Reviews |
Reference |
Forum |
Search