Home
| What's New |
Features |
Gallery |
Reviews |
Reference |
Forum |
Search
Home
| What's New |
Features |
Gallery |
Reviews |
Reference |
Forum |
Search
|
|
|
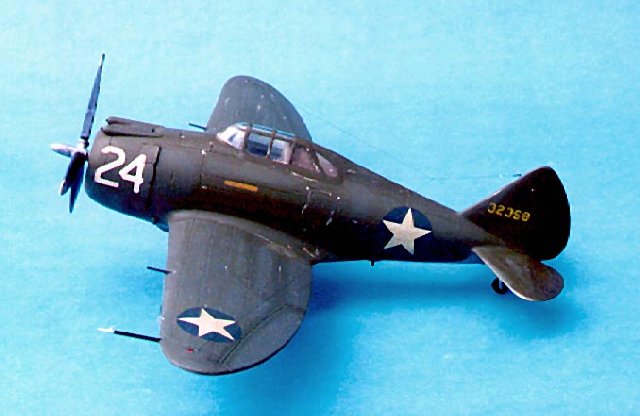
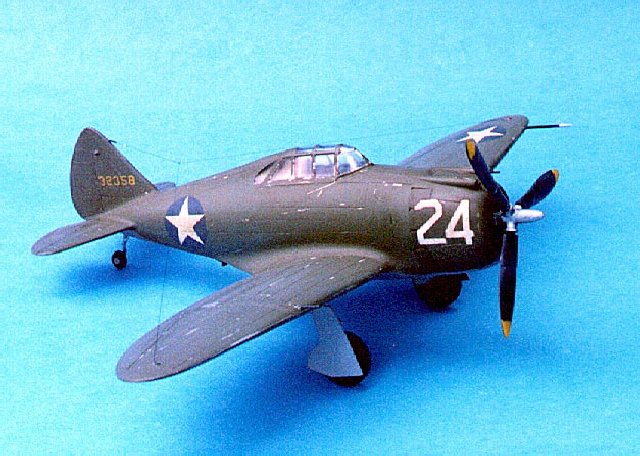
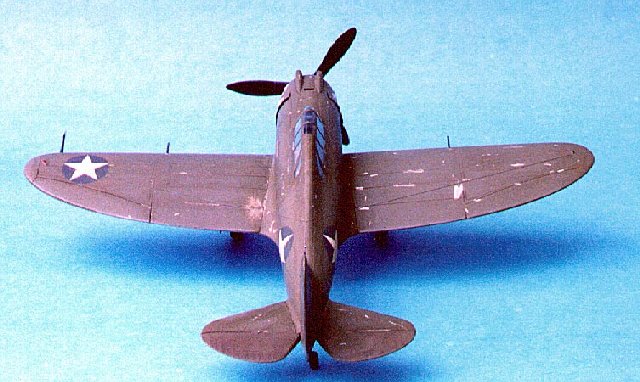
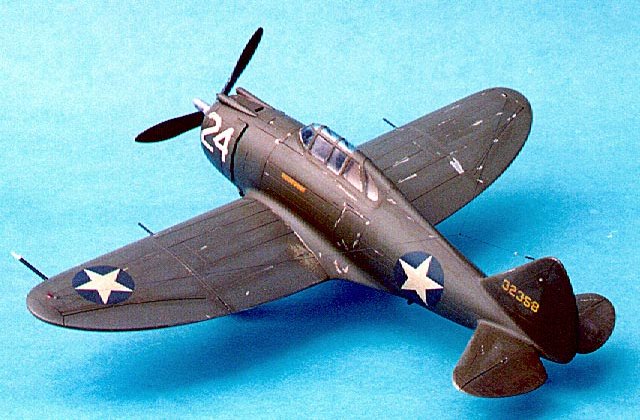
Republic P-43A Lancer by Todd Henry
This is the Classic Airframes kit of the Republic P-43 Lancer in 1/48 Scale. Like most Classic Airframes kits, this model requires a little more TLC than the average Accurate Miniatures kit. Nevertheless, the results are pleasing and if you really want a 1/48 scale, injection-molded P-43, this is the only game in town! I finished my Lancer in the markings of a bird attached to the 77thPS/20thPG on TDY in my hometown of Spartanburg, SC during July of 1942. I was actually able to get my hands on some pictures of these birds based in my hometown through a source referred to me by the US Air Force Museum at Wright Patterson. Contact me if anyone is interested, as this fellow claims to have tens of thousands of negatives, all evidently cataloged as he was able to confirm these over the phone. This picture shows some of the P-43's and a BT-14 on the flightline in Spartanburg.

Classic Airframes' P-43A Lancer kit includes a resin cockpit that looks nice when completed. I opened the cowl flaps on the model and added ignition wiring to the radial engine. Note that the engine on this model requires a lot of dry fitting, as does the rest of the kit. Specifically, when you assemble the individual cylinders to the engine crankcase, the engine is too large in diameter to fit within the cowl. I addressed this by a combination of thinning the cowl and filing down the rocker arm covers.
Assembly of the kit is fairly straightforward, with some filler required at the wing roots and a good bit at the attachment of the underside of the wing. Fit of the vacuformed canopy was very good, probably the best I have ever seen, although I may have simply done a good job of fitting it this time.
I wanted to display my Lancer as a fairly weathered specimen, so I pre-sprayed the entire aircraft after priming with MM Metalizer non-buffing Aluminum. I then sprayed the OD over Neutral Gray with MM paints, after which I nicked the paint in different places with a toothpick and my fingernail until I got the effect I wanted. I also rubbed the wingroot area with a fine sanding pad to scuff the area where pilots would climb onto the wing. I applied the decals and then oversprayed them with a very thin mix of the base color to tone them down. An aerial made of .004 tippet line was added to complete the model.
I greatly enjoyed building the P-43, and it's nice to have a hometown bird in the display case. Classic Airframes kits aren't for everyone, but I like them and I love the subjects. Text and Images Copyright © 2000 by Todd
Henry
|