Home
| What's New |
Features |
Gallery |
Reviews |
Reference |
Forum |
Search
Home
| What's New |
Features |
Gallery |
Reviews |
Reference |
Forum |
Search
|
|
|
F-4F
Phantom II
by David W.
Aungst
Eight images covering this model.
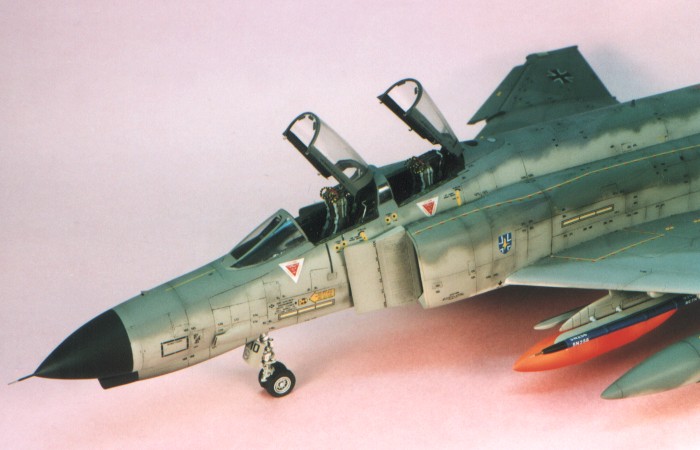
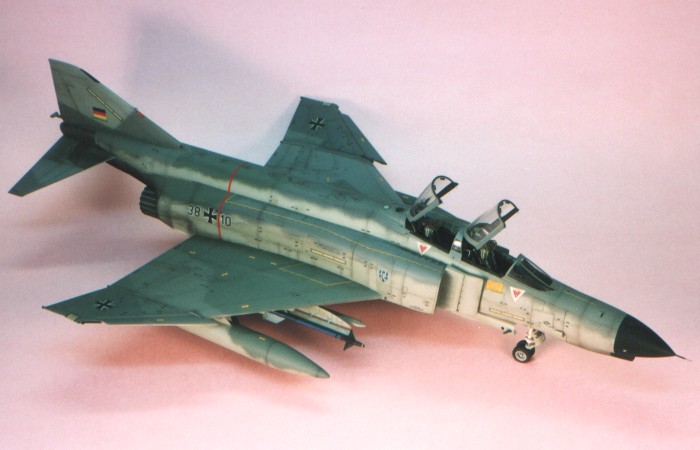
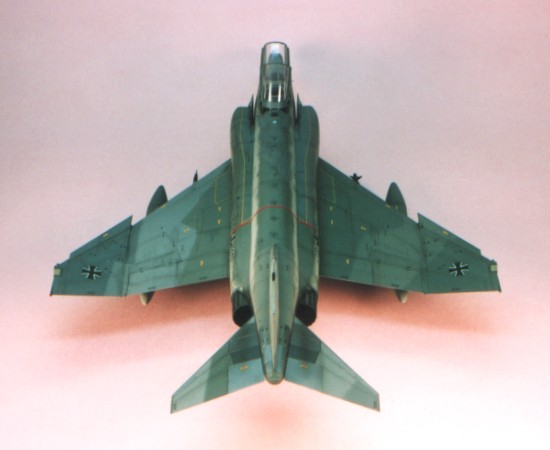
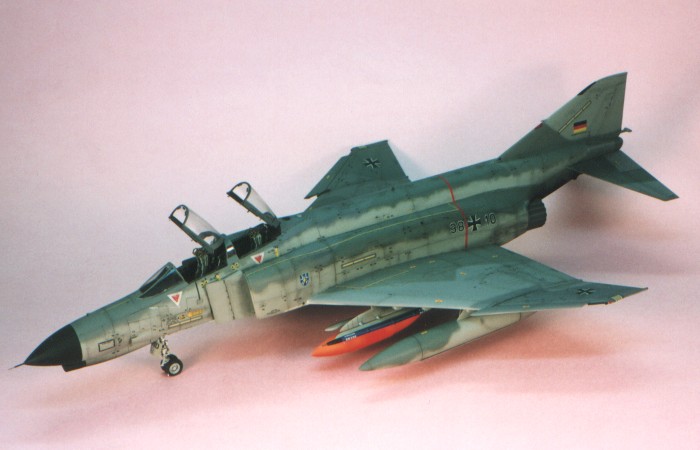
The kit is Hasegawa's 1/48th scale F-4F Phantom II (Stock # P007). It is far from a stock kit, with the following additional work undertaken:
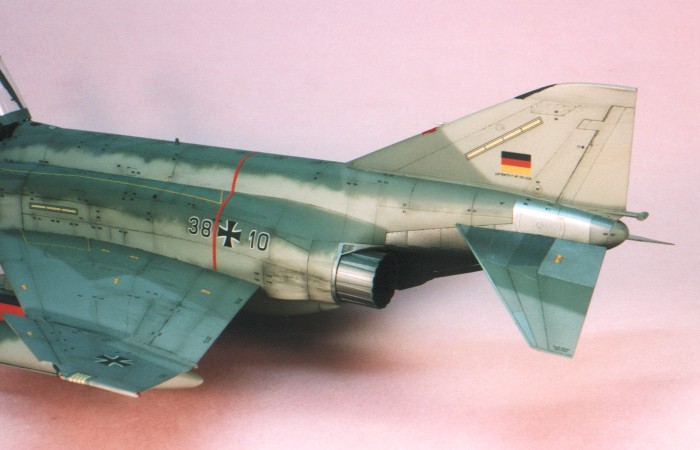
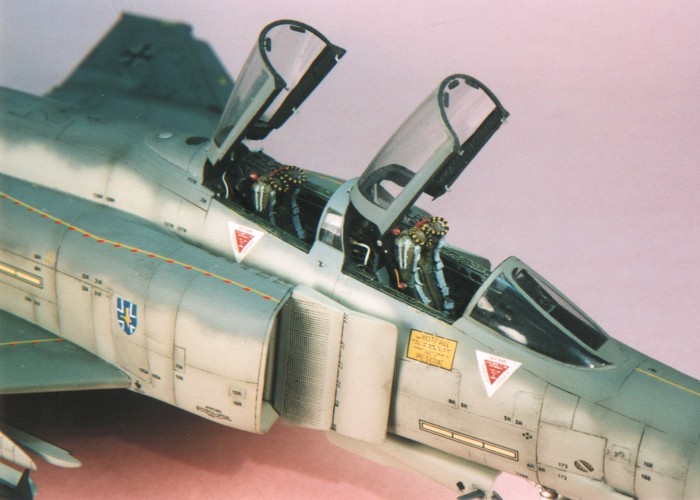
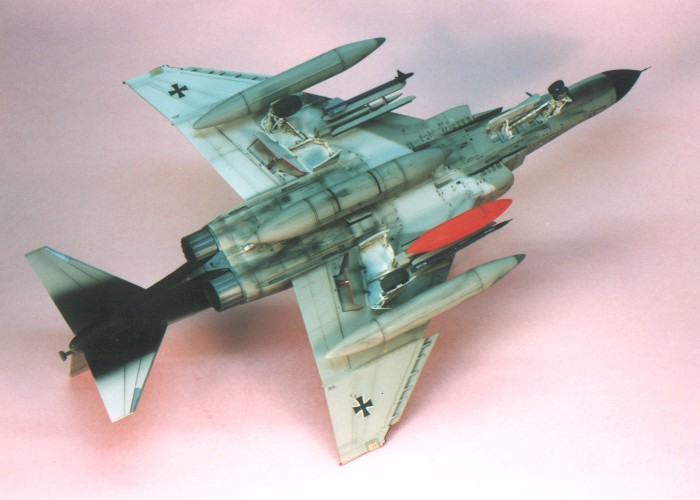
I used all X-tra Color enamel paints for the camouflage. After painting the airframe once without "scale-effecting" the colors, I found it to look way too "rich". So, I toned down the paints with 20% white. This provided colors more in standing with the pictures I was seeing in books and magazines. The natural metal tail surfaces are done with various name brands of Metalizer paints (five shades, interspersed to give the effect of separate panels). The aircraft is from JBG 35 of the (then) West German Luftwaffe as seen when it visited Deci AB for an exercise in 1990. The main decal markings are out of the Hasegawa kit, except the German Serial Numbering and the JBG 35 unit badge on the intake sides. These came from various SuperScale decal sheets. Because I live for data markings on aircraft models, I could not resist applying the 207 decals needed to put all the access panel numbering all over the airframe. I printed these on my PC laser printer. I used the SuperScale decal instructions and various photographic sources to get all the numbers mapped out. I could not just use the SuperScale decals because they are printed in two tone (black and gray). I needed them all in black. Weathering was achieved with thinned down enamel paint washes and air brushing to highlight the panel lines and demonstrate general wear and tear on the airframe. A final silver dry-brush rounded out the weathering.
I spent 88.1 hours on this project, broken down as follows: - 5.5 hours of Research (trying to decide which German camouflage I liked better) - 14.0 hours of Construction - 42.1 hours of Painting - 10.4 hours of Decaling (includes creating my own panel numbering decals) - 16.1 hours of Extra Detailing / Conversion Work
Click the thumbnails below to view
images full-sized.
Models, Description and Images Copyright © 1999 by
David Aungst
|