Home
| What's New |
Features |
Gallery |
Reviews |
Reference |
Forum |
Search
Home
| What's New |
Features |
Gallery |
Reviews |
Reference |
Forum |
Search
|
|
|
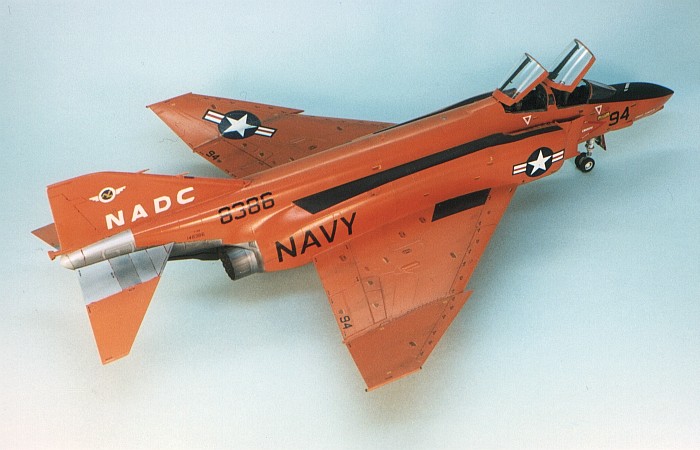
QF-4B
Target Drone by David W. Aungst
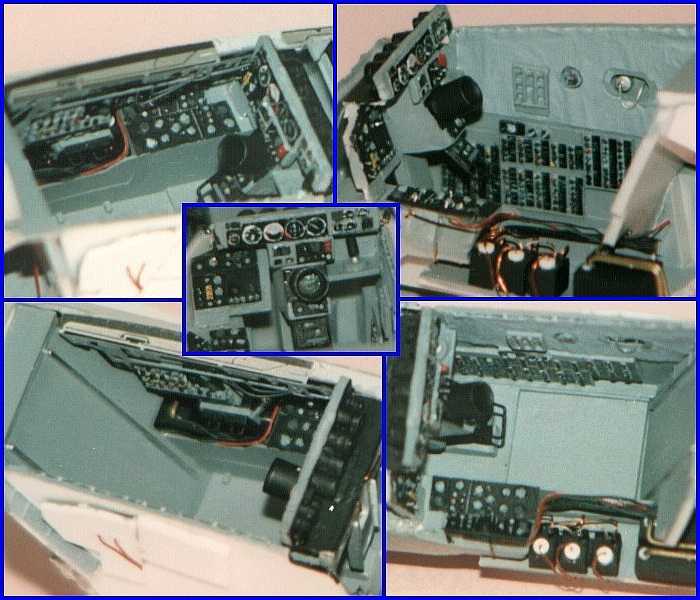
I started working on this Phantom kit back in the middle 1980's when I was scratch-building an accurate cockpit for a US Navy F-4 Phantom. I recognized that there was plenty of room for improvement inside the cockpits of the Hasegawa F-4 Phantom kits long before Kendall Model Company starting releasing their F-4 Phantom II resin cockpit sets. After two years of on-and-off working on the model, I had pretty well finished the cockpit interior. It amazed me when Kendall released their F-4J cockpit in late 1996 to see how similar it was to my twelve year old scratch-built cockpit. The extra work was not limited to the cockpits. I was also working on other items like the intakes and engine exhausts. The trouble was that with all the work I was investing in the model, I wanted to build just the "right" markings on the kit. My inability to decide on which markings eventually led to the kit returning to its box where it remained for a decade.
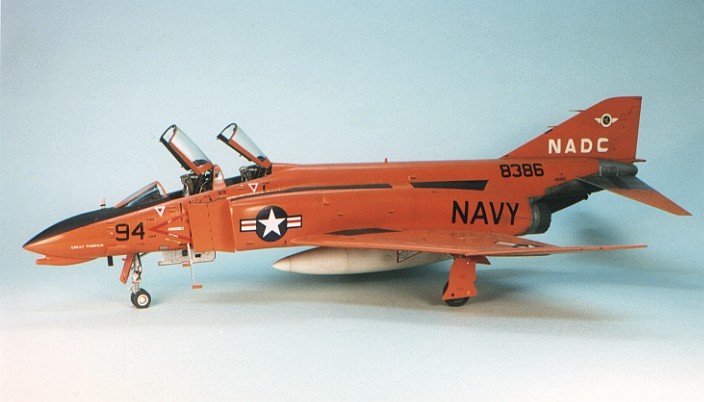
What sparked me back to working on the model was a request from one of the members of my model club for the club to build aircraft that had flown from the Naval Air Development Center (NADC) near where the club met. The long-serving NADC base (NAS Johnsville in Warminster, PA) was closing and they wanted to hold a party for the remaining employees. The models were to make a display at this party. Since "Great Pumpkin" had always been a model I wanted to build, and this club member had lots of photographic coverage of "Great Pumpkin", I decided to dig out the kit and complete it in those markings for this display. The "Great Pumpkin" was actually one of the markings options I had considered ten years prior. The full list of things I did to the kit during construction is as follows.
For the paint scheme, I used Testors Model Master and Humbrol enamel paints. As the model predates the release of International Orange (F.S.12197) in the Model Master line, I needed to mix my own color. I mixed want turned out to be a very convincing International Orange using the following mixture.
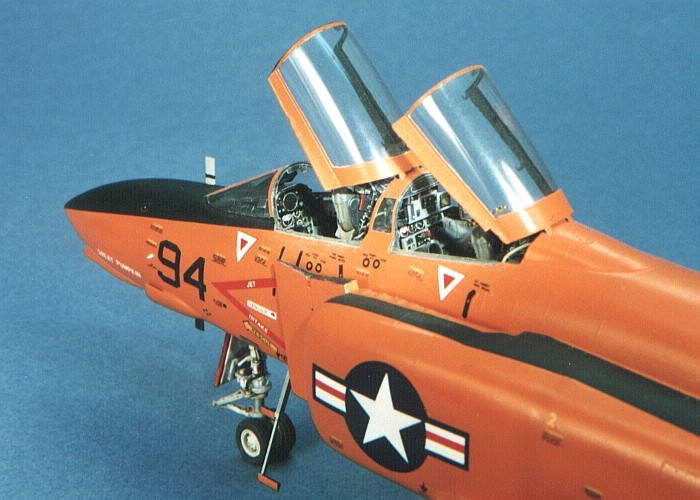
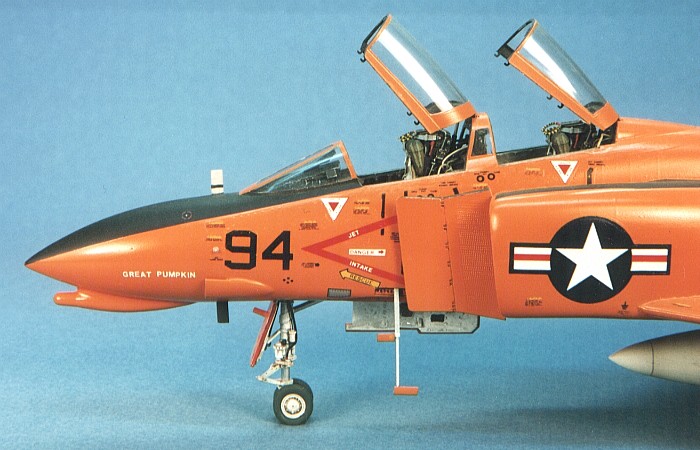
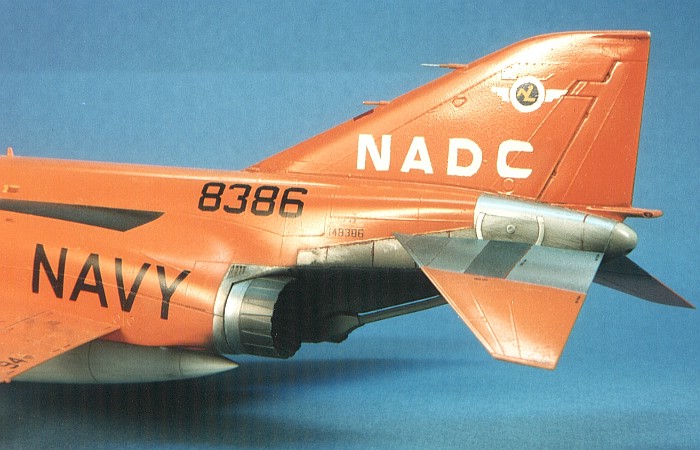
The unit markings, as stated above, are specific to NADC. The "Great Pumpkin" is a real aircraft and not just one of my imaginary named models. I cut scotch tape masks and painted the tail markings as I could find no lettering decals to match the exact style of the writing. I also masked and painted the NADC badge on the tail. The "Great Pumpkin" writing on the nose is done with "N" scale railroad decals and applied one letter at a time. All the rest of the markings are standard Phantom data markings taken from Hasegawa's kit decals and various SuperScale decal sheets.
Weathering was done with thinned down enamel paint. I applied these in washes and by air brushing to highlight the panel lines and show general wear and tear on the airframe. The exhaust staining on the tail was slowly built up using the tined down paint mixture so that it would not look like it was painted on after I was done. A final pass with silver dry brushing rounded out the weathering.
Click the thumbnails below to
view images full-sized.
Models, Description and Images Copyright ©
2000 by David Aungst
| |||||||||||||||||||||||||