Home
| What's New |
Features |
Gallery |
Reviews |
Reference |
Forum |
Search
Home
| What's New |
Features |
Gallery |
Reviews |
Reference |
Forum |
Search
|
|
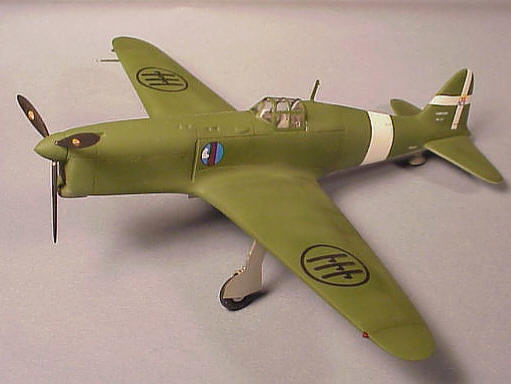
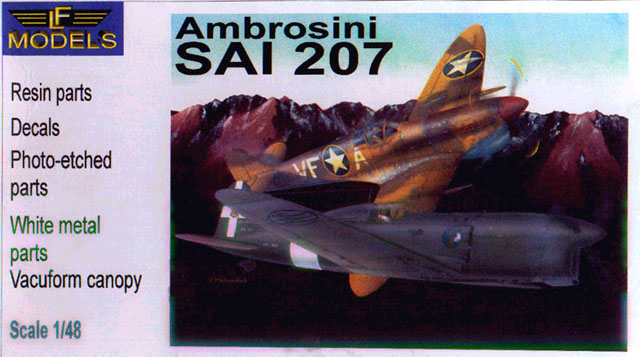
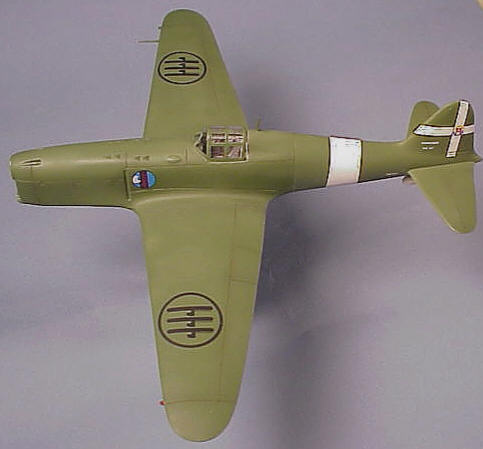
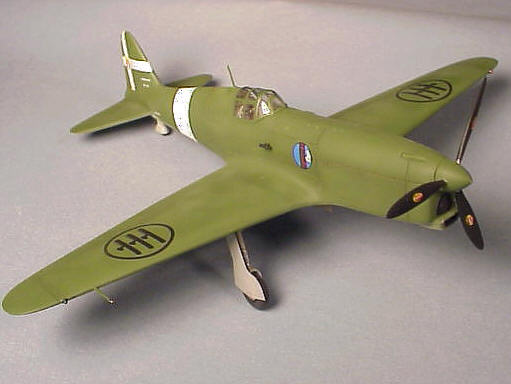
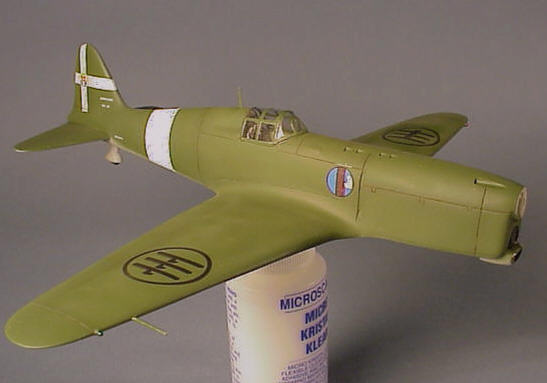
Ambrosini SAI 207 by Allan Wanta
LF Models is not exactly a household name here in the U.S. It is one of a hand full of Czech Republic cottage resin companies to spring up in the last 8 years or so. LF has so far produced a mixture of obscure Luftwaffe, Pre-WW 2, and other lesser know aircraft kits. Amongst them was this little known light defensive point fighter. I could not find much information on this version, although what I did find seems to agree with the kit's interpretation.
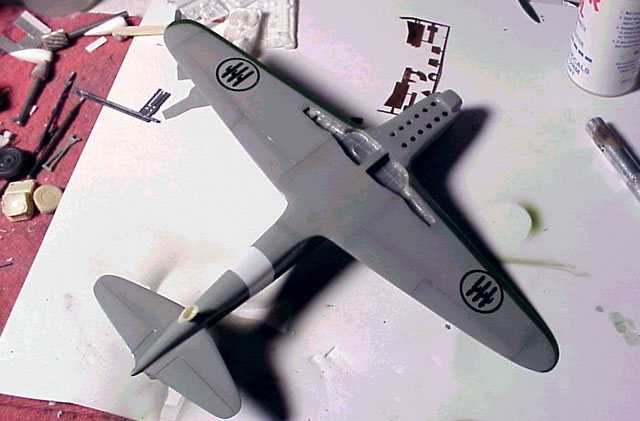
The LF Models 1/48 scale resin kit of the Ambrosini SAI 207 is well molded in a light tan colored resin that appears to be free of surface bubbles and pin holes. Upon closer inspection I found some tiny holes and a bit more excess resin on the parts than you might find on some other resin kits. This however was only a minor annoyance and they were easily removed.
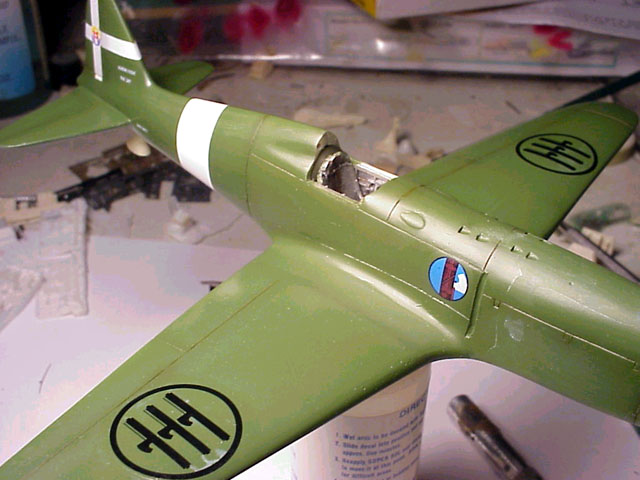
As with most resin kits, the hardest part of assembly is the cleanup and preparation of the parts. You will, as I did, need some body filler to repair surface imperfections and fill the customary gaps in fitting the pieces. The largest gap was between the one-piece wing and the fuselage. The fact that the gap is 5 or some millimeters away from the actual fuselage on the upper surfaces makes it easy to clean up. The ailerons are butt joined to the rear of the fuselage. Slots and tabs were made to fix the pieces together but they ended up being filled in with big nasty air bubbles. It really wasn't worthwhile to fix. The kit contains a photo etched fret which can best be described "why did they do this?" Very little on the fret would improve the kit's overall appearance, and those parts that would matter are most difficult to even work with. For example, the venturi tube mounted on the right fuselage under the canop, was two pieces of photo etched hell. Imagine bending two spring steel brass strips into a cone shaped venturi and you see what I mean. Believe it or not, I actually tried to form one into a cone, you guessed it, circular bin filing time. Simpler ways of making that part do exist. Try stretching plastic tube stock and cutting it to size - looks pretty good. Now the kit was actually looking like a plane, but the engraving was a bit too delicate when it comes to the movable surfaces. They needed some help from an engraving tool. There wasn't a whole lot of surface detail on the original thank goodness, but what there was is not well represented in the kit. Be prepared to add a few bumps and hinges on the under sides of the flying surfaces, and air cooler intakes on the upper surface of the cowling.
Canopy time! Do you sweat and shudder when it comes time to affix the dreaded Vacuform canopy? Especially when only one is supplied? Well I do. Luck always runs with the foolish and that's all I need to say about that. Coat the thing with Future floor wax, mask with Bare Metal foil, and run. Otherwise it wasn't too difficult. Be patient with fitting it to the fuselage opening. No gun-sight was supplied and I doubt this small aircraft was equipped with a proper one so I added an exterior bead and crosshair type typically found on Italian fighters as a backup to the normal gun-sight.
The painting was pretty simple - late war green over late war light gray. Although it was not a terribly exciting scheme, I tried to make the best of it by adding the customary white fuselage band and tail cross using Mr. Color primary white.
The decal sheet looked pretty hopeless when first viewing the kit, but after I got them applied I was pretty impressed. Colors and opacity looked very nice.
Seeing that the whole upper surface was little more than a green field, I decided to shade areas with lighter and darker shades of the original color to break up the monotony.
The assembly of this kit was challenging, but not overly so. It is suitable for modelers with some experience with scratch-building and resin kits. This model is a definite departure from the usual Macchi and Fiats typically found in the Italian section of most display shelves. Keep up the good work LF Models!
Click the thumbnail to view the
image full size.
Model, Text and Images Copyright © 2000 by Allan
Wanta
|