![]()
TIE
Interceptor
by
Floyd S. Werner, Jr.
|
TIE Interceptor |
I n t r o d u c t i o n |
People have asked if I have stopped building 109s. Not a chance, but Star Wars seems to remove me from Bosnia. If only for a moment I’m transported off this rock so these models suit me while I'm deployed.
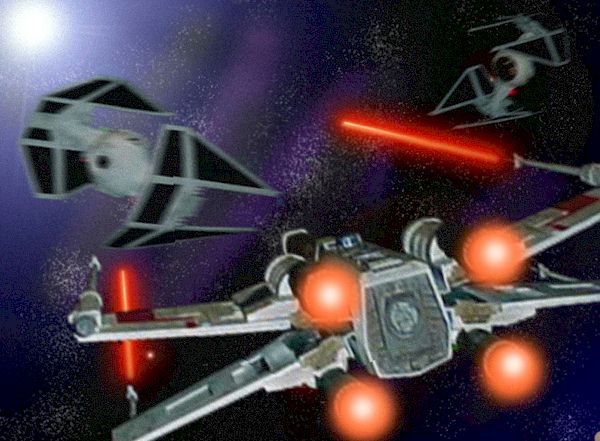
The TIE fighter was the ultimate in bad guy fighter craft when the Star Wars movies were released. The Messerschmitt Bf-109 of the bunch! As the war with the Alliance progressed, the TIE evolved to counter the speed of the A-wing. This resulted in the TIE Interceptor. That would make it the Focke Wulf Fw-190 of the bunch (notice how the German angle came in awful early in this review. I thought I’d get that out of my system so we can get right to the model!)
Originally released to coincide with the "Return of the Jedi" movie as a Snap-Tite kit, this little model consists of two wing panels, two fuselage halves, some interior detail plus some tinted clear parts and not much else. Nobody said it would be a difficult build. It is designed for children and once you get over that fact it is what models are supposed to be, FUN. It represents the fighter fairly well. Some things are not "correct". For example, the gun pods under the cockpit are missing and there are no engines on the backside of the fuselage, but so what? When it is built this machine of fantasy looks every bit like an interceptor.
C o n s t r u c t i o n |
The cockpit is very basic because most is hidden inside the tinted glass. I painted the interior (another German reference) RLM 66 Dark Gray. A quick word on why RLM 66. I am deployed to Bosnia and it is the only color I had on hand in sufficient quantities that fit the bill as close enough. Very exacting science this fantasy building. I know there are Color Nazis (another German moment) especially for Star Wars stuff, but who really cares. These kits were kits of fantasy, bottom line. FUN is the word to keep in mind when building them.
Sandwich the cockpit between the upper and lower fuselage. There is a slight gap at the front and back but this is easily filled with putty or CA. I used CA to give the fuselage strength for shipping it back to the USA. Don’t forget to attach the front canopy. The back access hatch can be attached after the fuselage is done. This aft hatch leaves a large gap because it is hinged. I filled it with styrene and sanded it to shape. There is a top hatch that has a clear part, so don’t forget it. That is it, the fuselage is done.
The wings are solid. Just clean up the mold lines and marks. These are ready for paint. I didn’t do it now. I attached the wing panels to the fuselage. This is easily accomplished by sliding the parts together and installing the wing end plate to hold them in place. Now comes for some filling the wing root is poor fitting and required styrene and putty. They look good to me.
Landing gear is included but I had to ask the question, why? Leave it off and put a circle plug over the mounting holes. I used my Waldron punch set. This is a quick and easy fix. It also emphasizes the point that George Lucas never depicted these things on the ground because the landing gear would never have fit inside the machine. The model can be mounted to a base at any angle because it has a ball mount that will stay in place due to friction. Nice touch.
P a i n t i n g |
Now that the TIE is ready for painting, which color to paint? Mask the clear parts with a masking agent of your choice. I painted the canopy frame RLM 66 (there I go again). When dry, mask this off and get ready for the overall color. Right or wrong I painted mine Neutral Gray. It has a slight blue tint to it, which looks good to me. The colors are different between movies so just check the source. After the gray had dried I masked the wing panels and sprayed them Model Master Titanium. It gave them a metallic finish. Black would have been lifeless. There are no decals so remove the mask and prepare to weather.
Weathering was accomplished with dry brushing the entire spaceship with Model Master Magnesium. I know the directions say for airbrush only but who reads the instructions? Model Masters are great for dry brushing. Some pastels to add subtle highlights and I was done.
C o n c l u s i o n |
This model doesn’t look as good as the X-wing because of the lack of color and weathering. But you must remember that the Empire doesn’t have to worry about moving at a moment’s notice and can wash their aircraft. It was a fun build, so this model did everything it was designed to do. If you have been working really hard on that super detailed DB605 (sorry last time this article) and want to recapture why you got into modeling try a Snap-Tite kit of a fantasy model. These Star Wars models are a lot of fun. Remember, modeling is supposed to be FUN!
Floyd S. Werner, Jr.
IPMS #26266
Back to HyperScale Main Page
Back to Features Page
