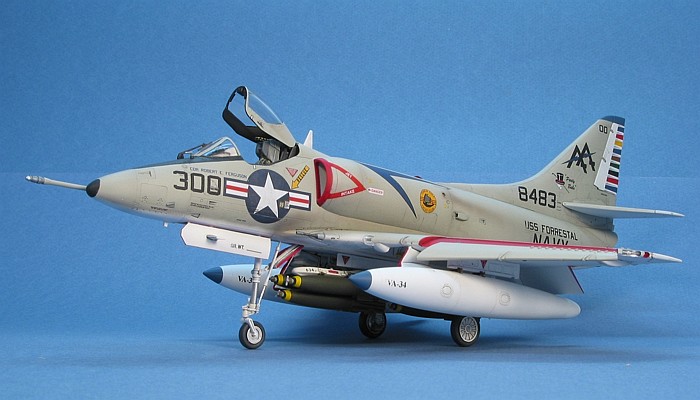
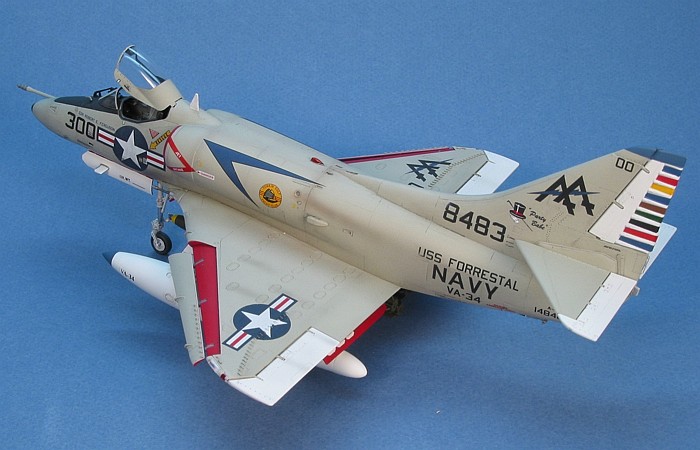
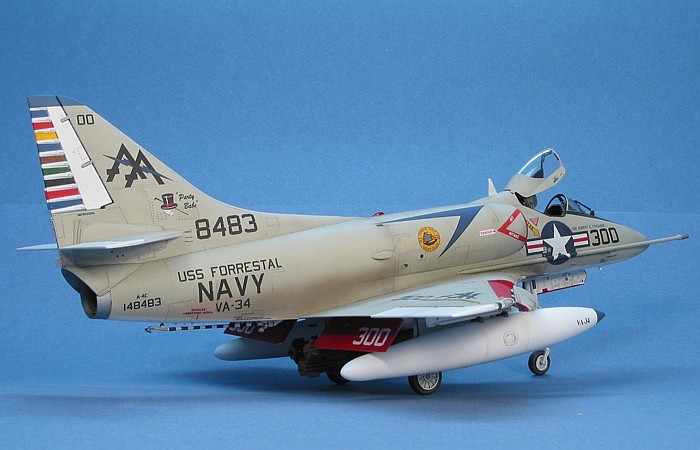
The camouflage on the model is the old standard of L.Gull Gray
(F.S.36440) over a white bottom with the tops of the flight control
surfaces also being white. I painted the white first and masked off the
flight controls, then I painted the Light.Gull Gray. I free-handed the
line between the gray and white along the fuselage sides.
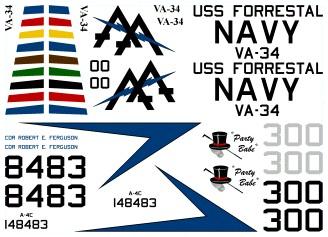 The
markings on the model are those of VA-34, the "Blue Blasters". As no
after-market company makes these, I needed to create them for myself and
print them on my ALPS printer.
The
markings on the model are those of VA-34, the "Blue Blasters". As no
after-market company makes these, I needed to create them for myself and
print them on my ALPS printer.
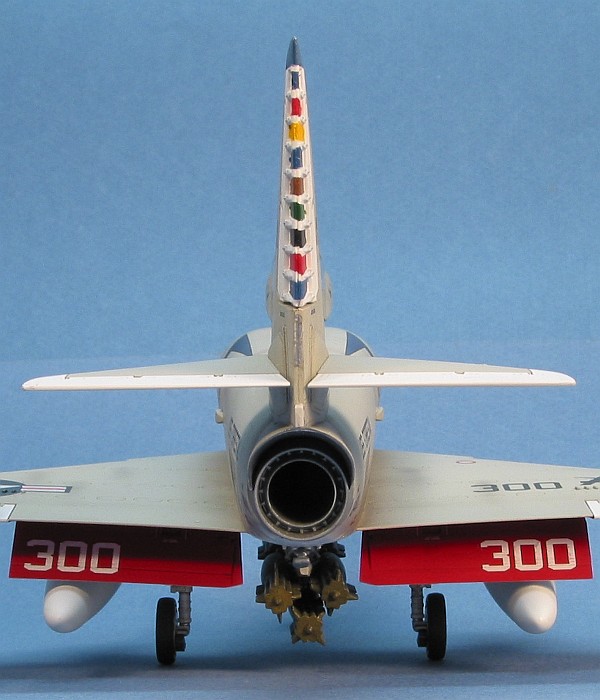
The image to the right shows my original artwork for the decals
(reduced in size to save space). The "top hat" markings proved to be be
the toughest. The one picture I have of the aircraft does not clearly
show this marking. I had to guess a bit to come up with the finer
details and the words in the writing.
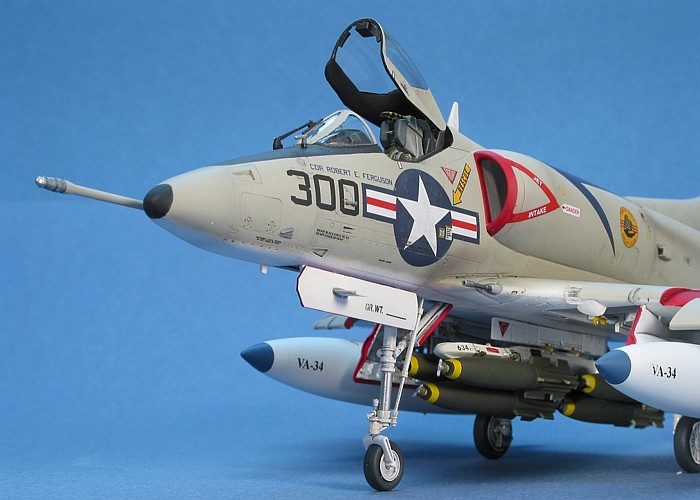
All the aircraft data stencils and the "Gulf of Tonkin Yacht Club"
emblem on the fuselage sides come from the kit decals.
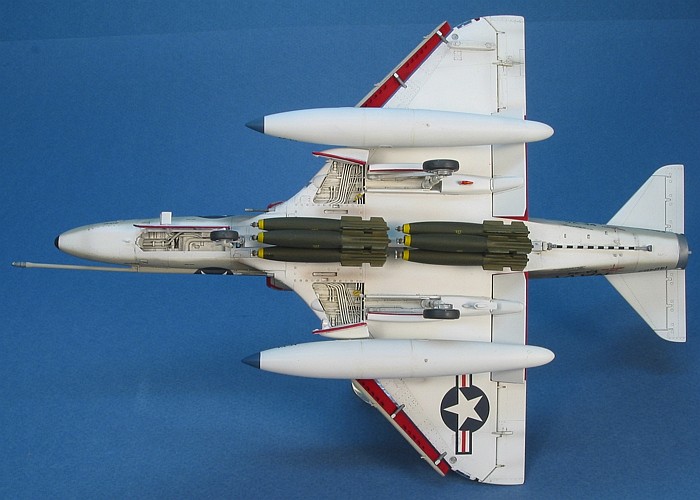
For weathering, I used my typical style of thinned down enamel paint
washes and air brush shading. I finished the weathering with some dry
brushing to pop out the surface details. For a more complete discussion
of what I do to weather my models,
see my
article on "Weathering Aircraft".
So my list of Skyhawk projects goes on... While the F-4 Phantom II is
still my favorite aircraft, the A-4 Skyhawk definitely rates in my Top
Five list.
With such an easy kit to build (and relatively small size when
finished), it is no wonder that I have been building so many of these
kits.
This model was one of four Skyhawks I built together at the same
time, so you can definitely expect to see more of them posted in the
future.
|
Additional
Images and Project Summary
|
Click the
thumbnails below to view images full-sized.
Click the "Back" arrow on your browser to return to this page.
|
|
|
Project
Statistics
|
|
Completion
Date:
|
13 December 2001 |
|
Total Building
Time:
|
43.9 |
|
Research:
|
0.2 |
|
Construction:
|
10.9 |
|
Painting
(includes creation and printing of custom decals):
|
16.7 |
|
Decals /
Markings:
|
14.6 |
|
Extra Detailing /
Conversion:
|
1.5 |
|
Model, Description and Images Copyright ©
2001 by David Aungst
Page Created 28 December, 2001 Home
| What's New |
Features |
Gallery |
Reviews |
Reference |
Forum |
Search
Home
| What's New |
Features |
Gallery |
Reviews |
Reference |
Forum |
Search