Home
| What's New |
Features |
Gallery |
Reviews |
Reference |
Forum |
Search
Home
| What's New |
Features |
Gallery |
Reviews |
Reference |
Forum |
Search
|
|
|
Messerschmitt Bf 109E-4 by William Marshall
HyperScale is proudly sponsored by online at Squadron.com
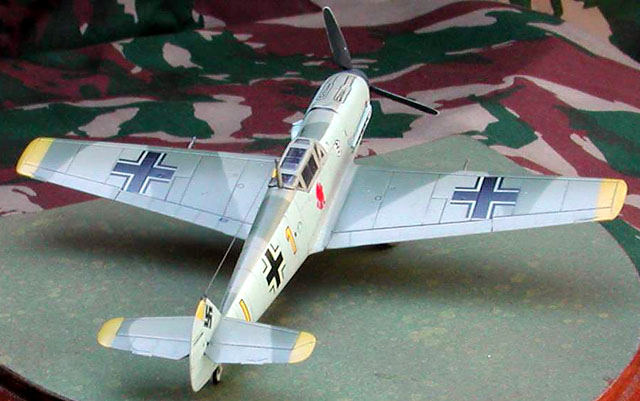
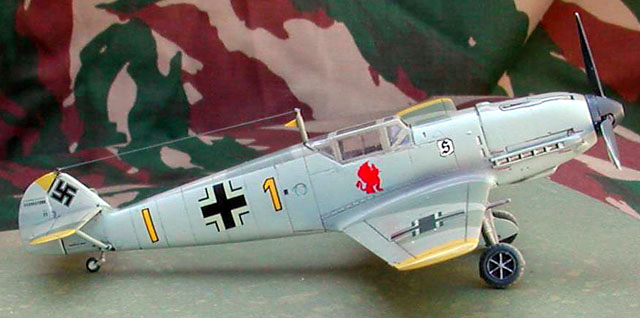
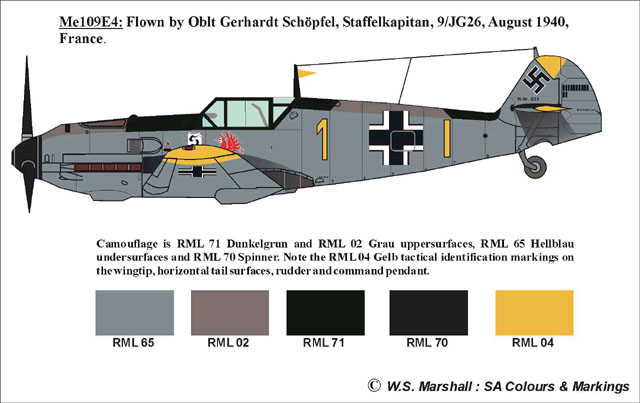
I have always liked the early Me109 camouflage of 02/71/65. The aircraft I had my eye on, was one used by 9/JG 26 in France in 1940. It had a red winged hound emblem and yellow tactical identification markings. This seemed to give a splash of colour to this otherwise drab colour scheme. I like the unusual in a model and this seemed to be that something out of the ordinary. Two good photo's can be found in the Squadron/Signal book "Messerschmitt Bf 109 in Action", Part 1, page 40.
We are also going to have a Battle of Britain theme at the local model club and I thought this would be the ideal opportunity to add to my collection of Bf 109s, with this early scheme.
The 1/72 scale kit I used was the Hobbykits of China version of the Bf 109E-3. Kit no 15006. This is quite a good kit with plenty of detail. All finely moulded with crisp engraved detail. The only scratchbuilt additions were the command pendant and antenna.
The kit went together with the minimum of effort, only a little filler at the wing roots and on the engine cowl. I did experience some fit problems with the main undercarriage and the horizontal stabilisers supports. As I have experienced this problem with other kits before I constructed a jig to help with the correct undercarriage alignment. I expect to experience more problems in the future with other kits, so this was the best opportunity to construct a jig for future use. The Bf109s alignment seems to be most kit manufacturers downfall.
The canopy was dipped in Future and masked with foil then attached with white glue. I used Model Master paints after undercoating with Humbrol 129. Once the paint had dried, I coated the model with Future.
Decals come from the spares box. I made use of decal solution for all my decals.
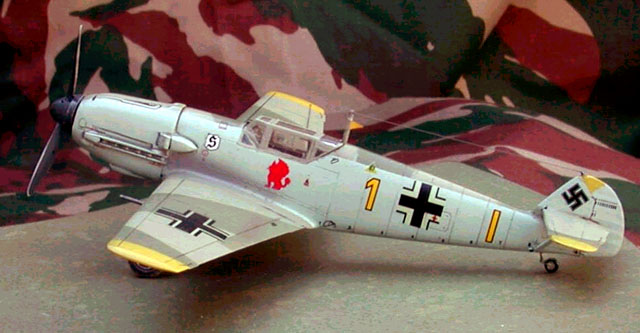
Once the decals were on, I applied a wash of thinned black poster paint and wiped off the excess. This black wash filled all the engraved panel lines and gives a nice three dimensional look Once the wash was dry I gave the model a sealing coat of Future and a final coat of Matt varnish. I airbrushed some grey paint to represent the exhaust stain. O yes ! My personal gripe, I drybrushed the wheels with some light grey/brown paint.
Model, Text and Images Copyright © 2000 by William
Marshall
|

 :
: