|
F/A-18D Hornet
by Douglas K.L. Chan
 |
|
F/A-18D Hornet |

Hasegawa's 1/48 scale "Night Attack" Hornet is
available online from Squadron.com
The kit is Hasegawa’s 1/48 F/A-18D Hornet “Night Attack”. I
bought it for HK$190 = US$24 in a local model shop. There was another kit of the
C-model, but it was priced HK$380 = US$49. Both kits were supplied with
Hasegawa’s photo etched parts and metal die cast undercarriage. Only the decal
was different. I choose the D-model because I am always a fan of two-seater
fighters.
Opening the box you will see a 15-page instruction book, a large decal sheet and
painting guide for markings of VMFA(AW)-242 Bats, VMFA(AW)-121 Green Knights and
VFA-106 Gladiators, nine pieces of injection part, a small sheet of photo etched
part, and three metal die cast undercarriage. What disappointed me is the lack
of weapons. Only the external fuel tanks, navigation pod and the targeting pod
are supplied.
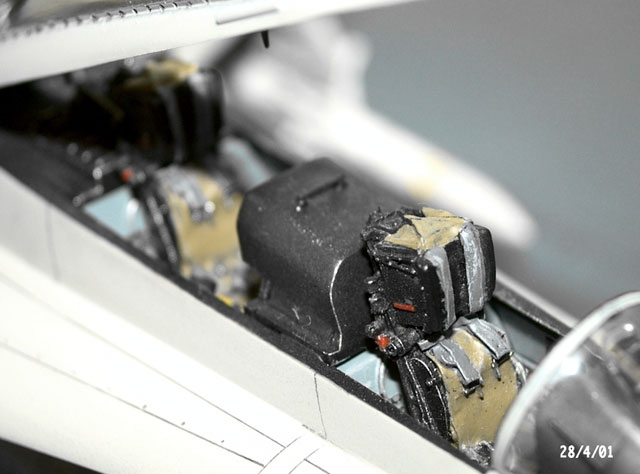
Construction began with the cockpit. Here I replaced most of the
Hasegawa’s kit parts with add-on parts. I bought in a local store two resin
SJU-5A ejection seats. Compared with adding photo etched parts to the original
ejection seats, the use of resin ejection seats saved me a lot of effort. All
you need to do is to remove the flash and then paint all the details according
to photos of the actual ejection seat. I highly recommend this method to finish
the seats. First I sprayed the seats all over with flat black. Then I painted
the cushion with khaki, the safety belts with grey, buckle with titanium silver,
and safety latches with yellow and black strips. The ejection handle at the
lower center of the seats were replaced with photo etched part and painted in
black and yellow strips too. Finally a dry brush of light grey and silver was
applied to highlight the details.
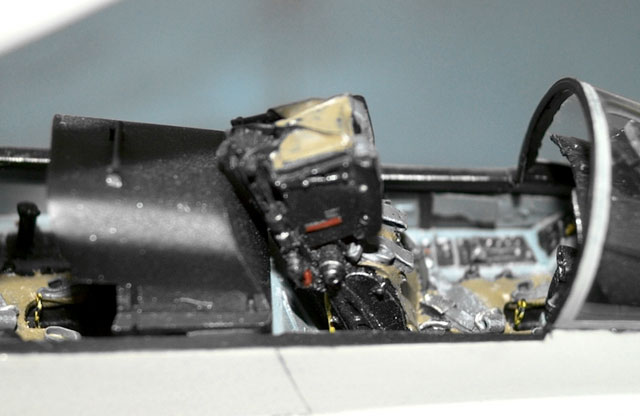
The instrument panel for both the front and back seats were
replaced with Eduard photo etched parts. There are no photo etched parts
specifically designed for the D-model. So I bought two sets of Eduard FE131
(1/48 scale detail set for Italeri kit F-18A Hornet) and one set of Eduard 48221
(1/48 scale detail set for Hasegawa kit F/A-18A Hornet) for this task. The
instrument panels were replaced with parts of the Eduard FE131. This is a new
product. The gauge and MFD (multi function display) detail is no longer a black
and transparent film as in the old Eduard 48221. The detail is now printed in
color on a white photo quality paper. I cut out the gauges and MFDs, put them on
the proper positions, mounted the gauges and MFD frames, and then finished by
painting the frames with black and button/switches with grey/red and silver. The
result was good.
Click on the thumbnails below to
view larger images:
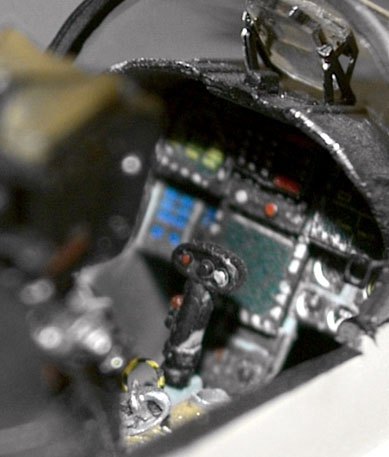
The D-model cannot be flown in the back seat, so there should be
no control stick and throttle lever in the back seat. However, there should be
control sticks, one on each side of the back seat office for operating the
targeting pod and other instruments. So I modified it.
Before the fuselage was assembled, the air grills near the wing joints (leading
edge) were replaced with photo etched part No. 33 (Eduard 48221). The fuselage
halves fitted well, but the parts near the air inlet (both side) couldn’t fit.
Here I needed to put on putty and finished with abrasive paper. All the panel
lines were later inscribed.
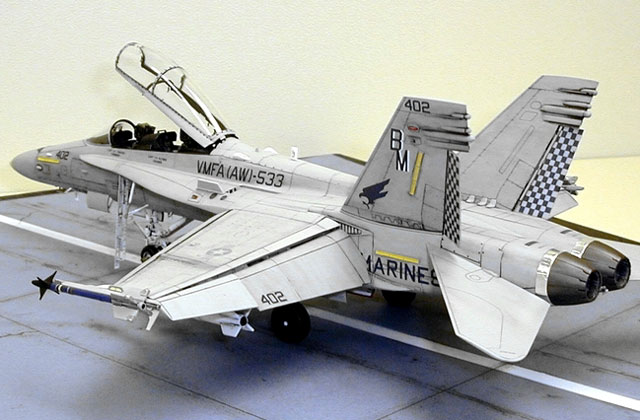
I wanted to make the Hornet as it was on the ground with engine stop, so all the
flaps, tailerons, and rudder would be in down position. All these were prepared
and painted before assemble.
The canopy was of normal injection part, with a seam line right
at the center of it. The seam line was removed (remove the seam with #11 knife,
finish with #2000 abrasive paper, then rub with #3000 abrasive paste) and then
photo etched parts (Eduard 48221 and FE131) such as mirrors, canopy lock, etc.
were added and ready for painting.
Click on the thumbnails below to
view larger images
The retractable ladder was replaced with etched parts from
Eduard 48221.
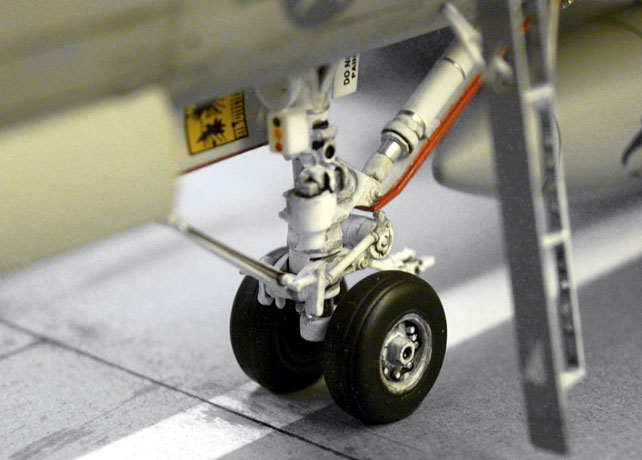
I never used a metal die cast undercarriage before, so I really couldn’t figure
out the advantage of using such a material at the moment. I removed the seam
line and then sprayed all of them flat black. Then I sprayed white on them until
a little black was left and looked like dirt. Then I removed with a #11 knife
the color on the hydraulic cylinders and cable clips. A shiny surface appeared.
Then I understood the advantage of using metal die cast undercarriage.
It is stated in every instruction books and painting guides that
the upper surfaces of the Hornet is of FS36320 grey and that the under surfaces
of the Hornet is of FS36375 grey. FS36320 and FS36375 are only slightly
different in color. With a little dirt and weathering effect, they are almost of
the same color. So I decided to use one single grey FS36375 for the whole
aircraft. This would make life simple and easy.
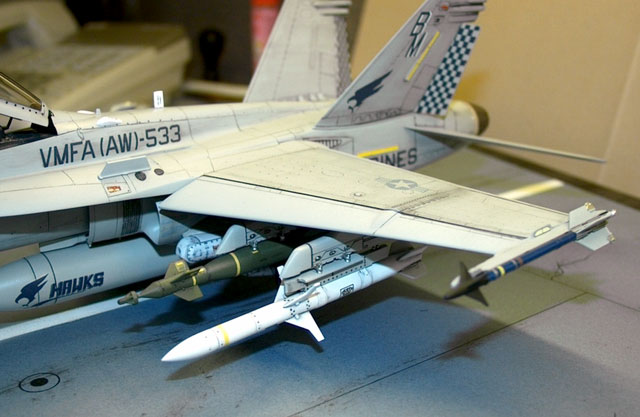
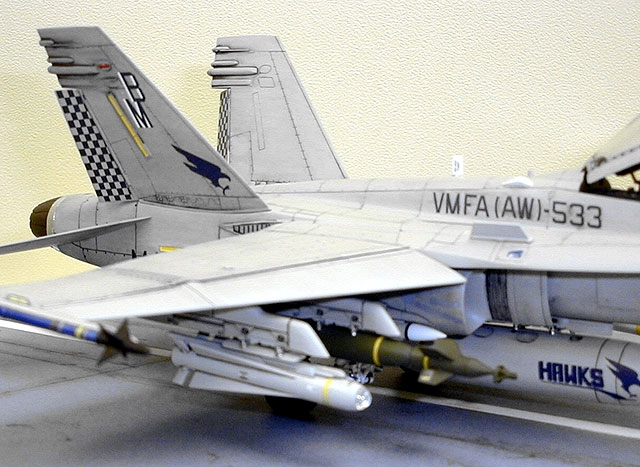
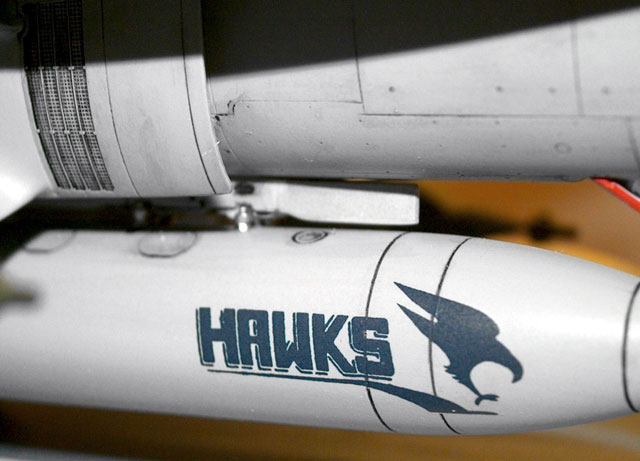
The original decal supplied by Hasegawa looked good, but I would like to use a
different marking. AeroMaster’s decal (48-485 Stinging Hornets Pt. VI) was used
instead. The decal is for VMFA(AW)-533 Hawks which flown missions in Bosnia
during Operation Allied Force. AeroMaster’s instruction was clear and there was
no problem to put the decal onto the correct positions. A minor problem with the
decal was that they wouldn’t stick very well onto the surface, great care must
be taken to avoid damaging the decal before semi-gloss clear was applied.
 The
tail marking in the AeroMaster’s instruction is “ED”. But photos of the VMFA(AW)-533
aircraft flown in Bosnia shown a marking of “BM”. Fortunately, there are “BM” on
the AeroMaster’s decal sheet. So I just switched them. The
tail marking in the AeroMaster’s instruction is “ED”. But photos of the VMFA(AW)-533
aircraft flown in Bosnia shown a marking of “BM”. Fortunately, there are “BM” on
the AeroMaster’s decal sheet. So I just switched them.
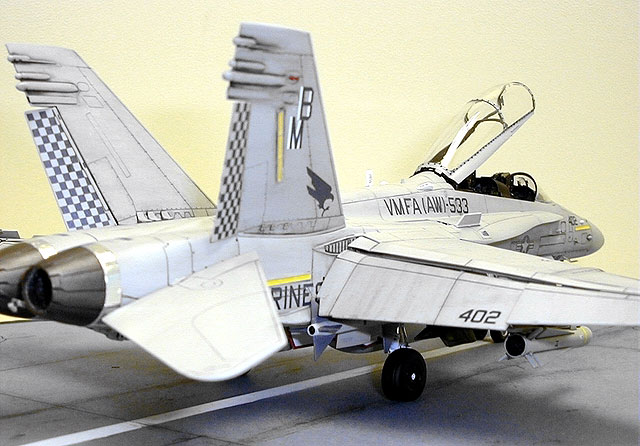
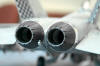
Bare Metal Foil was used for the section near the jet nozzles.
The result was good.
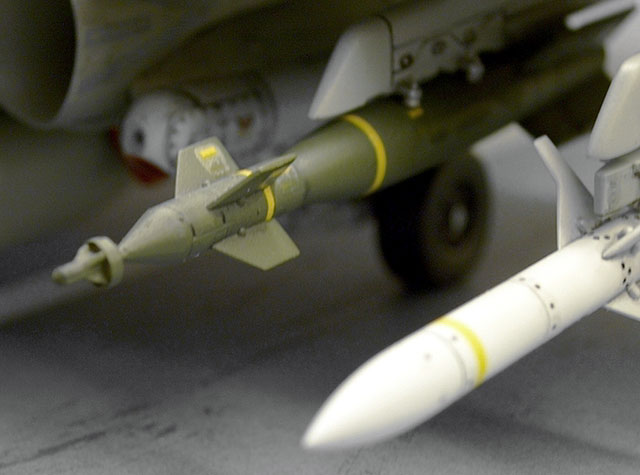
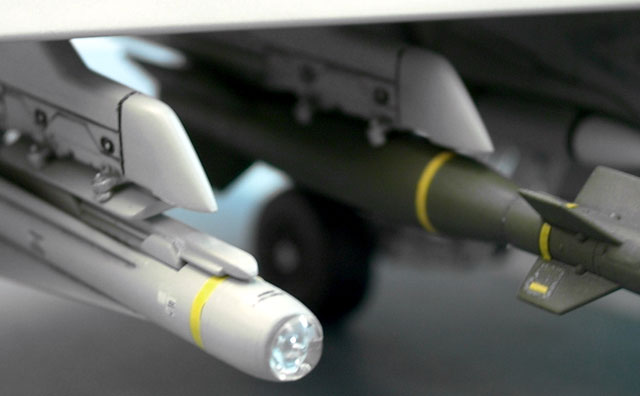
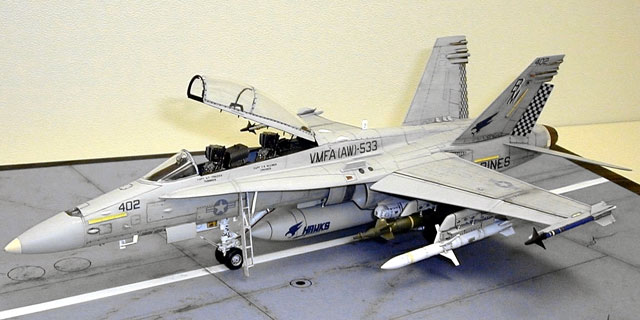
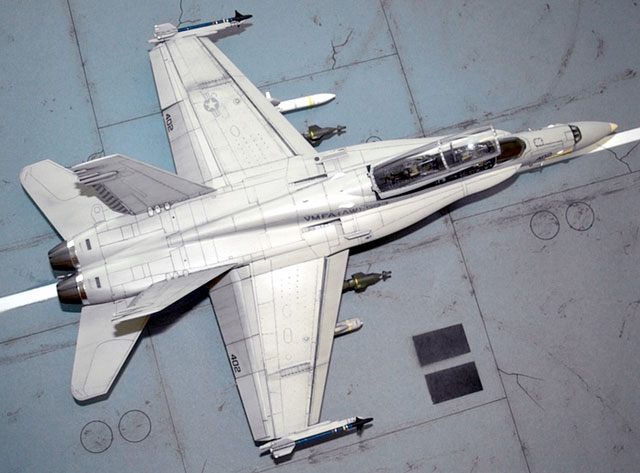
F/A-18Ds were usually assigned for “swing role” in Bosnia. They
carried a mix of weapons which usually used for different missions. I guess they
didn’t really know the threat so they carried different kinds of weapon and they
were ready to deal with all these different threat should one of the threat
really appeared. My D-model carried (from port to starboard) AIM-9M, HARM, 1000
lb LGB, AN-AAS-38 Nite Hawk FLIR (Forward Looikng Infra Red) Targeting Pod,
Center Fuel Tank, AIM-7F, 1000 lb LGB, Maverick, and AIM-9M. All these weapons,
except the center fuel tank, were from Hasegawa’s separate kits 1/48 Aircraft
Weapons C and Aircraft Weapons D. There two kits were of high quality.
Click on the thumbnails below to
view larger images:
With all things assembled, color painted and decals on, I
applied the final wash. Only a subtle wash applied and I felt that was enough. A
little heavier wash was applied at the wing folding positions. The result was
quite satisfactory. Finally, semi-gloss clear was sprayed all over the aircraft.
And the last step was to install the canopy with special adhesive.
Note: Error in Hasegawa’s Instruction
In step 16 of the instruction, kit part J5 should be a little forward of the
said position.
-
Hornet’s Nest Marine Air Group 31
by Randy Jolly, Concord Publications Co. ISBN 962-361-732-1
-
U.S. Navy Photo Gallery at ww.navy.mil
by U.S.Navy
-
21 Minutes to Belgrade
by Lt. Col. Philip C. Tissue, USMC
USNI Proceedings, Sep 1999
-
Air Operations Over Bosnia
Ny DR. Dean Simmons, Dr. Philip Grould, Dr. Verena Vomastic, and Col. Phlilip
Walsh USMC(Ret.) USNI Proceedings, May 1997
Model, Images and
Article Copyright © 2002 by Douglas
K.L. Chan
Page Created 23 Januray 2002
Last updated 04 June 2007
Back to HyperScale Main Page
Back to Features Page |
 Home
| What's New |
Features |
Gallery |
Reviews |
Reference |
Forum |
Search
Home
| What's New |
Features |
Gallery |
Reviews |
Reference |
Forum |
Search