|
Ilyushin Il-2M3
by Jimmy Cancino
|
|
|
Ilyushin Il-2M3 |

Accurate Miniatures' 1/48 scale Il-2M3 is available online at Squadron.com
In WWII the Ilyushin IL2-3M struck fear in German invasion columns.
However, in 1999 it struck anticipation in the modeler that I am and I
was excited at the prospect of building one. Accurate Miniatures’
release of the Stormovik really took my fancy. I purchased the kit,
opened it, sniffed it (you know the feeling) and sifted through it with
awe. Wow! Is this kit cool or what!
I parked the box on the shelf and started planning and preparation. A
resin Mikulin AM-38 engine from Engines & Things (thanks for the prompt
shipping), proper reference photographs and the just released (at the
time) photoetched details fret from the ever-prolific Eduard were all I
needed to get going.
 Test fitting of all major components is critical when building this kit
as it helps to understand the rather novel and complex parts breakdown
and the relationship between the principal sub-assemblies. Test fitting of all major components is critical when building this kit
as it helps to understand the rather novel and complex parts breakdown
and the relationship between the principal sub-assemblies.
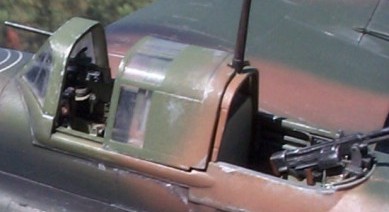
The cockpit was the first area to tackle. Most molded –on detail from
the sidewalls was shaved off and replaced by photoetched parts or
scratchbuilt , namely the pilot seat rails and rudder pedals pulleys and
cables.
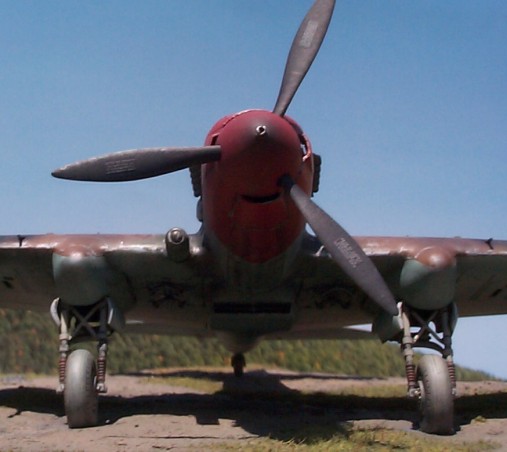
Next was the engine. Planning and pre-fitting were the key elements in
installing and dressing-up the engine. The engine comes as a bare block
which has to be dressed –up with scratchbuilt items such as engine
mounts, oil tank & pump, oil and fuel lines and electrical harnesses.
The fit is very tight between the valve covers and the nose top air
duct, slight reshaping is required here. The kit’s exhaust stacks were
used after hollowing them out with a dental grinding bit.
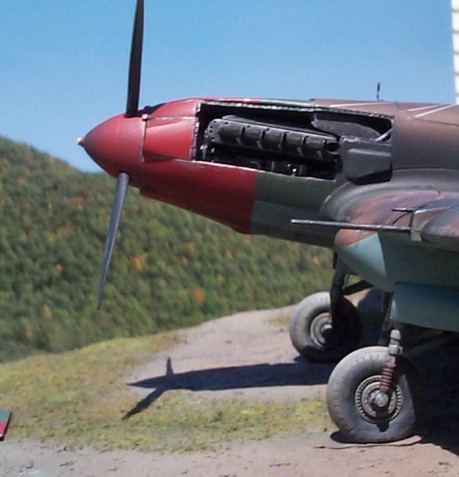
Note: the real Stormovik’s exhaust pipes were welded from two halves and
the kits molding seam reproduces that quite nicely so it is just fine to
leave the mold seam in place.
The rest of the aircraft was then assembled in preparation for paint.
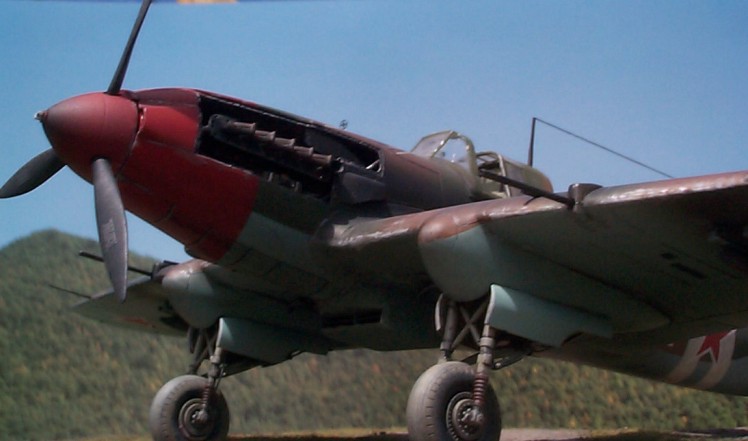
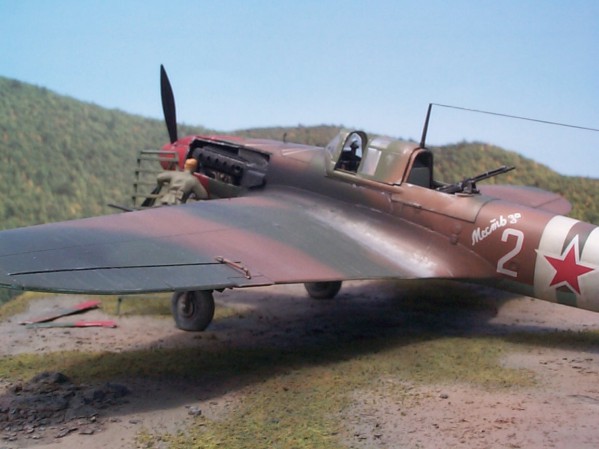
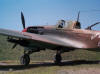
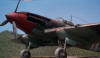
The color scheme that struck my fancy was found on Aeromaster’s
Stormovik sheet 2 … the red nose was just too hard to resist. It
replicates the aircraft of G.Beregovoi who was later to become a
cosmonaut with the Soviet space program.
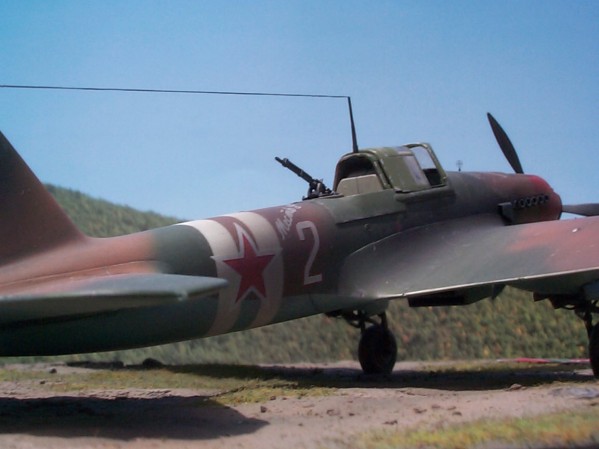
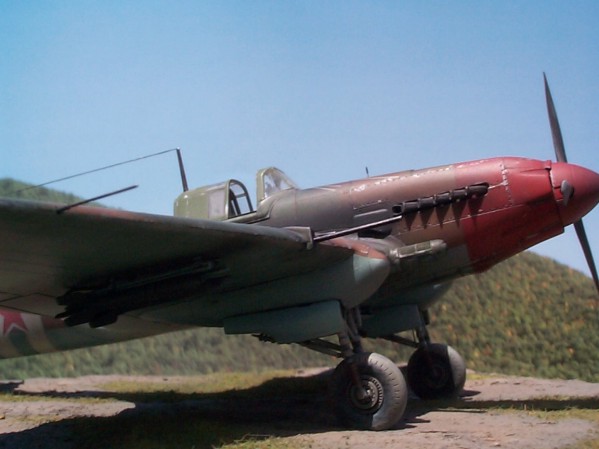
Paints are the good old and trustworthy Modelmaster enamels custom mixed
to suit. The decals went on flawlessly as they are the usual high
quality we come to expect from Aeromaster. Then came a black wash of
artists’ oil paint followed by paint chips simulated using Tamiya flat
aluminum enamel. Exhaust stains were then airbrushed with a thin wash of
Tamiya flat black acrylic mixed 8 to 1 with Isopropyl alcohol.
All this was then sealed using Aeromaster flat clear acrylic.
Last but not least, the wheel wells were dressed-up with gear door
actuator rods and bellcranks. The molded on drag brace lock cylinders
were carved off and replaced with scratchbuilt units along with the
associated hydraulic plumbing and brake lines from brass wire.
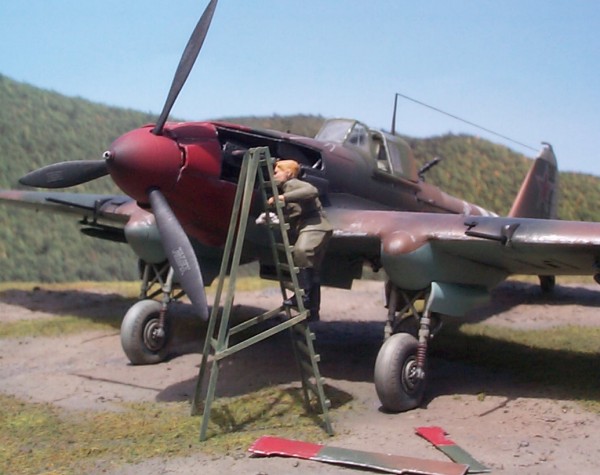
The base is basically a 10in. by 10in. piece of fiber board covered with
a crust of Amaco’s Sculptamold.
Some scale rocks and Noch static grass over Tamiya acrylic paints dress
it up to simulate the typical terrain which hosted Stormovik squadrons
during the Russian front’s late summer period.
All in all, a very rewarding project, which came out just like, I had
envisioned. Fun.
Now let’s see what’s up next…
Click the thumbnails below to view the images full-sized.
Use the "Back" arrow of your browser to return to this page.

Model, Text and Images Copyright © 2001 by
Jimmy Cancino
Page Created 17 August, 2001
Last Updated 04 June, 2007
Back to HyperScale
Main Page
Back to Features Index |
 Home
| What's New |
Features |
Gallery |
Reviews |
Reference |
Forum |
Search
Home
| What's New |
Features |
Gallery |
Reviews |
Reference |
Forum |
Search