|
Mustang III
by Dave Kovach
|
North American Mustang III |

Tamiya's
1/48 scale P-51B Mustang is available online from Squadron.com
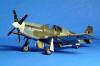
When Tamiya’s P-51B was
released, I thought that it had the best surface detail of any Mustang kit
available, and it quickly became one of my all time favorite kits.
Although it is a fabulous kit, I couldn’t resist adding a few improvements to
Tamiya’s Mustang III.
|
Improving
Tamiya's Mustang III |
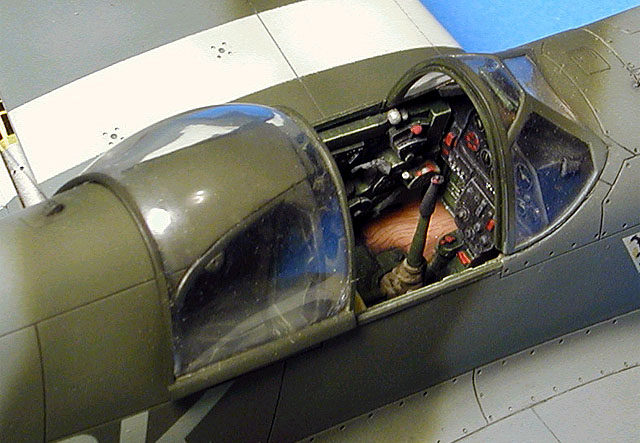
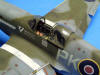
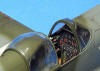
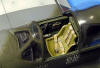
Tamiya’s cockpit is OK, but
it suffers from an inaccurate floor. True Details makes a nice resin
replacement, but it suffers from an inaccurate seat and rollover pylon. By
combining Tamiya’s seat and rollover pylon with True Details’ sidewalls, floor
and instrument panel, I came up with a satisfactory assembly. Teknics
belts finish the seat. The radio was detailed with fine wire, and a new
whip aerial was swapped for the kit’s antenna post.
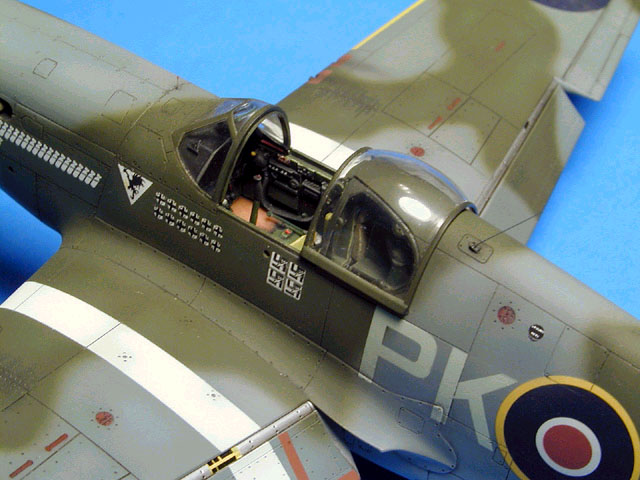
The Mustang III kit
includes an optional blown Malcolm hood molded in the closed position, integral
with the windscreen. Obviously this would not do, so I tried to swap one
from either the Accurate Miniatures or Monogram kits. Of the three, I
liked the look of the Tamiya kit’s canopy better, so I used a razor saw to
separate it from the windscreen. I thinned out the inside of the Malcom
hood so that it would fit over the aircraft’s spine, and then restored the shine
with Blue Magic metal polish. I was able to use the kit’s standard
windscreen as well.
All of the air intakes
received attention. The chin scoop was given a new duct, and the radiator
scoop was detailed front and rear with new splitters and door actuators.
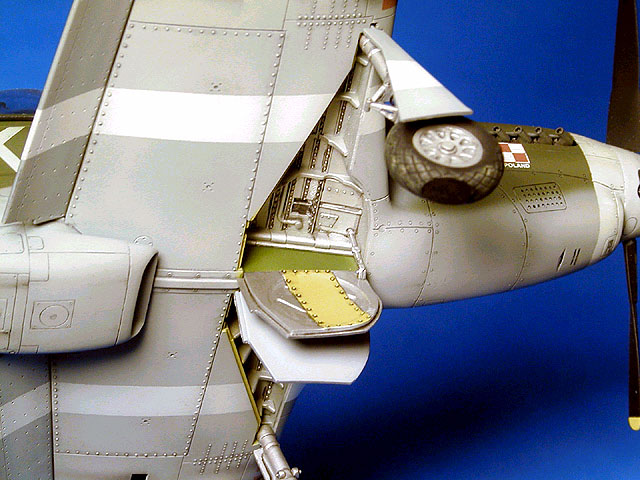
I added brake lines and
other details to the gear legs. The wheel hubs were thinned from the
inside in order to open-up the spokes. The tail wheel doors were detailed
with retraction struts.
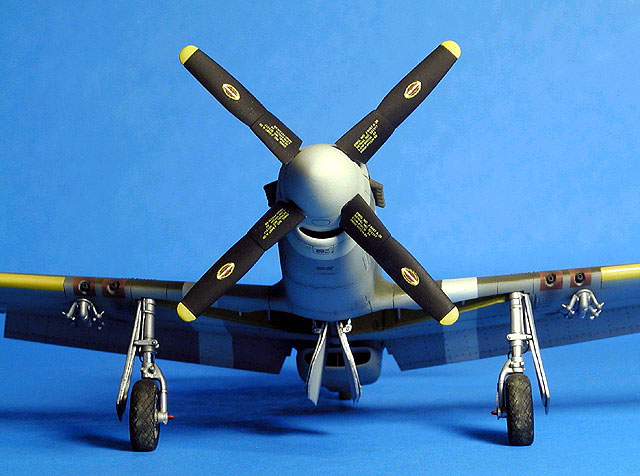
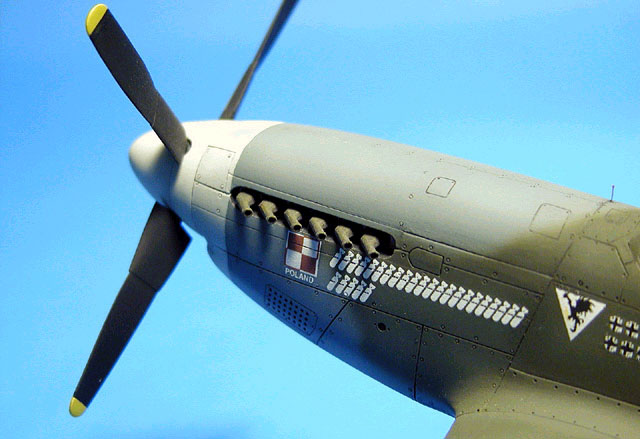
In the front, I swapped out
the kit exhaust stacks for Ultracast’s excellent replacements. The spinner
needs some care when aligning the propeller holes. It fits best on only
one of the holes. Also, the contour of the forward part of the spinner is
not quite the same as the backing plate. Fixing this requires some careful
sanding and putty work.
The airframe went together
extremely well. The wing to fuselage joint is particularly nice.
I used gun barrels from
Ultracast’s Mustang I conversion, and dark red decals for the doped patches.
The kit decals were used, and they were a real hassle.
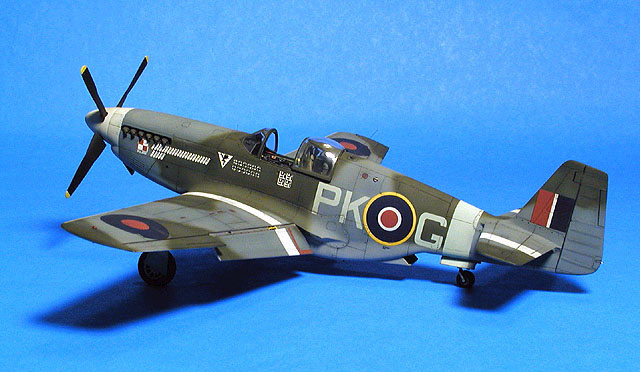
Tamiya paints were used
throughout, mixed to match authentic RAF paint chips. The early version of
this kit had a bad batch of decals that wanted to self-destruct. I fought
them, and finally made them work after using two sets.

There are several more Mustangs that I
want to build, and Tamiya’s kit will be my choice.
Click the
thumbnails below to view images full-sized.
Click the "Back" arrow on your browser to return to this page.
Article, Model and Images Copyright © 2001 by
Dave Kovach
Page Created 28 July, 2001
Last updated 04 June, 2007
Back to HyperScale Main Page
Back to Features Page
|
 Home
| What's New |
Features |
Gallery |
Reviews |
Reference |
Forum |
Search
Home
| What's New |
Features |
Gallery |
Reviews |
Reference |
Forum |
Search