|
Curtiss
P-6E Hawk
by
John C. Valo
|
|
|
Curtiss P-6E Hawk |

Classic Airframes P-6E Hawk
is available online from Squadron.com
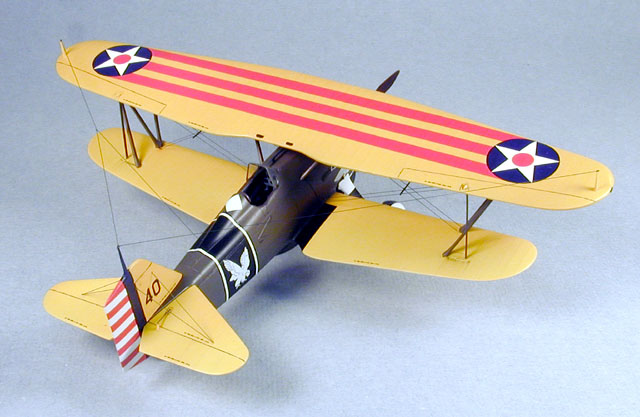
The Curtiss P-6E Hawk is the latest 1/48 scale biplane offering from
Classic Airframes. As usual, the kit contains a mixture of plastic and
resin parts with nice delicate detail (see Brett
Green's in-box review for more details). This kit, as you would
imagine, also includes two very colorful decal sheets.
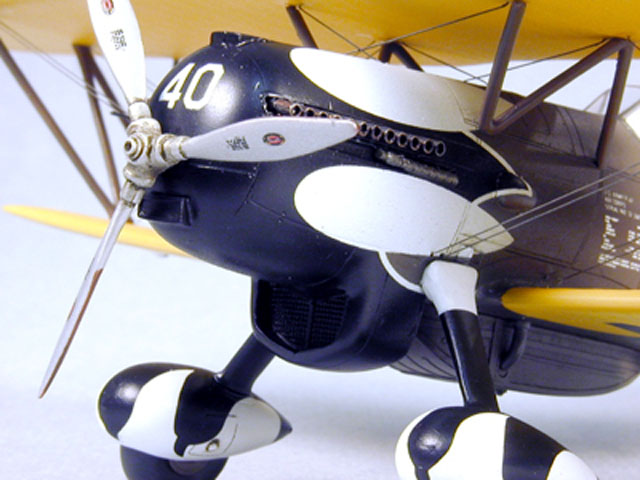
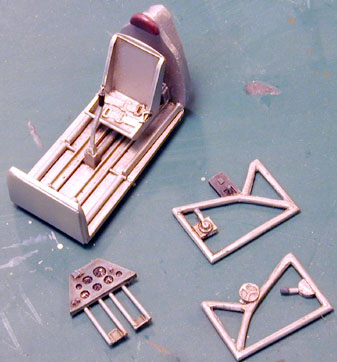 The
cockpit uses the same parts as the earlier Hawk II kit, which are
fairly basic but more than adequate once installed. The
cockpit uses the same parts as the earlier Hawk II kit, which are
fairly basic but more than adequate once installed.
Be sure to glue the instrument panel in place very securely, so
you don't wind up like me - having to fish it out of the fuselage
and reinstall it like a ship-in-a-bottle!
All the constituent parts go together well, with the usual
cleaning up and test fitting being mandatory.
When I built the Hawk II, I glued the upper wing halves
together by hand, as usual. Because the upper wing halves have no
locating pins, I managed to introduce a slight bow to the upper
wing - it actually is almost impossible to see, but it really made
things challenging working with the wing struts later on.
On the P-6E, I attached the upper wing half to a flat surface
with double-stick tape, then glued the lower half to it. This
ensures a straight wing. |
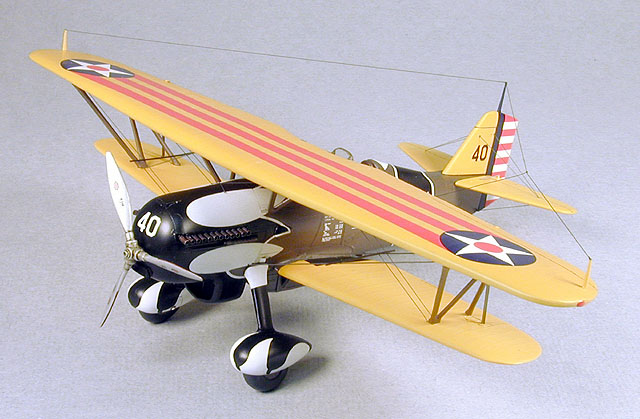
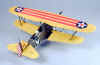
Because of the myriad markings of the 'Snowy Owl' version, I elected
to paint and decal the model before final assembly. I used PollyScale
acrylics, and the decals performed flawlessly.
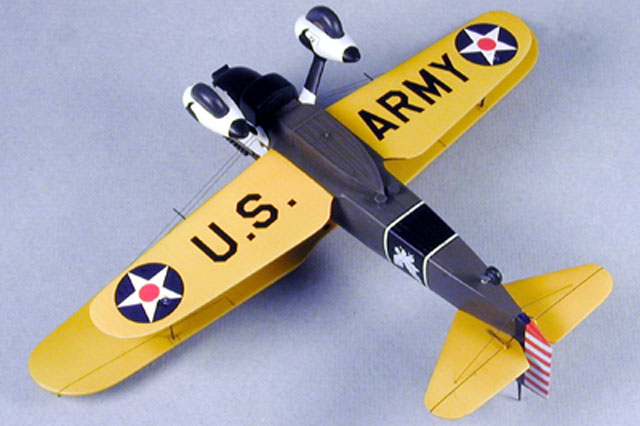
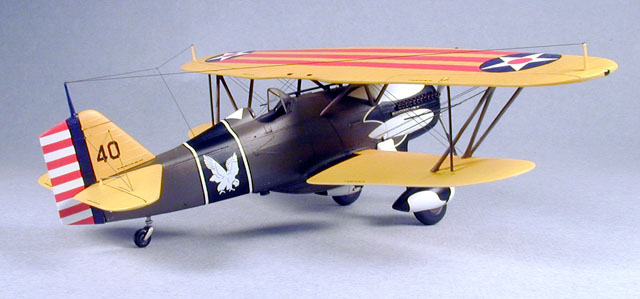
All of the complex markings fit perfectly except one - decal #5, the
white diamond behind the cockpit. The fuselage stripes fit beautifully,
but this decal was too big to fit between the stripes and the cockpit. I
simply cut off two corners and trimmed them to match exactly, the laid
the two parts in place - problem solved.
When decalling, be sure to have plenty of MicroSet-and-Sol handy, as
well as a sharp blade to help with compound curves. Also, be careful
when cutting out individual decals, as there are a number of white
stencils that are very hard to see against the decal sheet and can be
inadvertently sliced up.
When all is said and done, even the unassembled model is quite
spectacular - maybe 'blinding' is a better term!
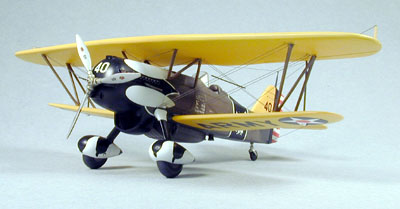
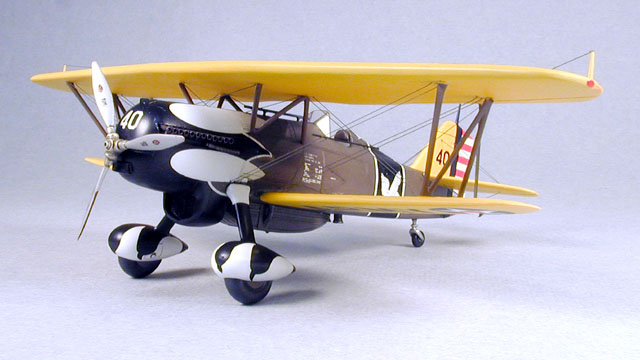
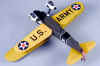
Now the interesting part. For some reason, the pattern makers of CA's
biplane kits seem to have some problem getting the interplane struts
just right, and this kit is no exception. Upon initial test fitting, it
appeared to me that the upper wing would wind up with a negative angle
of attack when installed on the struts as provided. After a bit of
head-scratching, I trimmed the rear upper end of both N-struts to set
the wing in alignment with the lower wing. Straight, yes, but I believe
the upper wing sits slightly too low relative to the fuselage now. The
N-struts are either just a tad short, or the locating holes under the
upper wing are too far outboard. When I build my next P-6E, I am going
to redrill the locating holes in the underside of the upper wing a bit
farther inboard. Granted, this will change the outward splay of the
struts a bit, but it will serve to lift the upper wing to the right
position. I hope.
Aside from that, everything else went together fine, but for some
cosmic reason, this model was a bugger to rig. To quote from Lloyd
Bridges' character in 'Airplane', "I picked the wrong week to quit
drinking/smoking/taking Valium/sniffing glue" etc.
I can't even remember how many rigging lines I broke and had to
re-do. I find it hard to believe Brett didn't hear me swearing all the
way from the US to Australia! Be sure to check photos when rigging the
model, as there is a slight error on the rigging diagram in the kit. The
forwardmost double wires attach to the fuselage just above the gear legs
- not at the wing root as shown in the diagram.
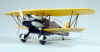
Overall, now that it's done, I must say I really like this model. I
have no reservation in saying it is the prettiest model in my case, and
it really stands out from all the rest of my usual drab models.
If you are an experienced modeler and take some time to think ahead
with the wing struts, then you should have no problems with this kit.
Like any CA kit, just take your time, think ahead and you'll wind up
with an very nice, unique model.
Click the thumbnails below to view
the images full-sized.
Use the "Back" arrow of your browser to return to this page.
Model, Text and Images Copyright © 2000 by
John C. Valo
Page Created 21 April, 2001
Last Updated 04 June, 2007
Back to HyperScale
Main Page
Back to Features Index
|
 Home
| What's New |
Features |
Gallery |
Reviews |
Reference |
Forum |
Search
Home
| What's New |
Features |
Gallery |
Reviews |
Reference |
Forum |
Search