Home
| What's New |
Features |
Gallery |
Reviews |
Reference |
Forum |
Search
Home
| What's New |
Features |
Gallery |
Reviews |
Reference |
Forum |
Search
|
|
|
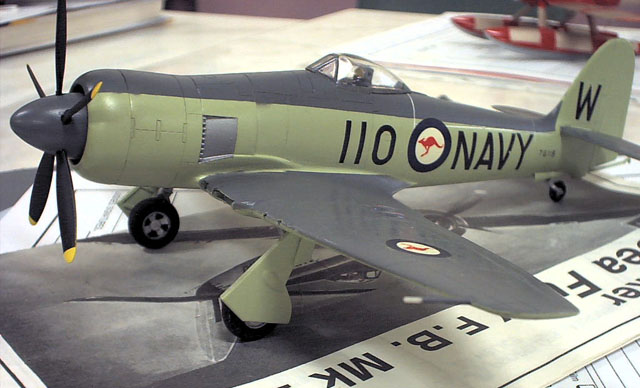
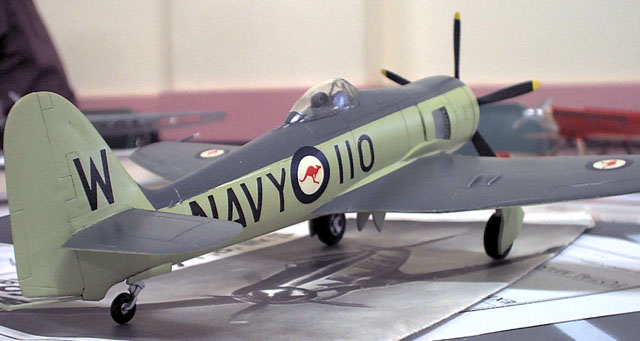
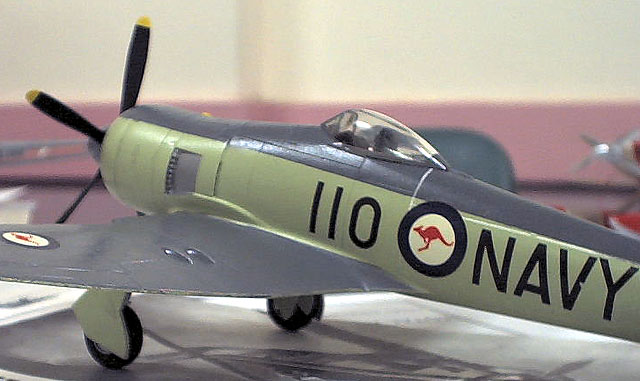
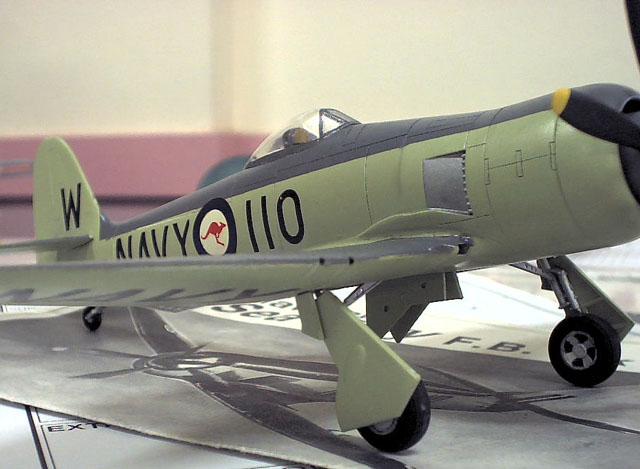
Hawker Sea Fury FB.II by Andrew Wood
The Sea Fury was the fastest piston engine fighter to serve with Commonwealth Air Forces. The Sea Fury was to replace the RN's carrier borne fighters although they were also used as land based planes. The first Sea Furies were delivered to the RAF and RN in mid 1947.From then they were distributed to all of the of the Commonwealth Air Forces. By the onset of the Korean war much of the Commonwealth helped support the British and Americans in Korea.
The Sea Fury served as a ground attack aircraft giving decisive support to British, American and South Korean troops. Although a ground attack aircraft, it was a Sea Fury of No.802 squadron Fleet Air Arm that shot down the first Mig 15 over Korean waters in 1952.
When I first opened the kit I thought looked fairly easy until I read the instructions. The kit supplied decals for 2 aircraft at first I chose to do the RAF Korean war plane but later decided to make it Australian. The instructions are an A4, fold-out booklet with history and decal reference.
As usual, I started with the cockpit. I painted the cockpit interior in RAF interior green and the instrument panel black with dry brushed silver knobs and switches. After completing the cockpit and its components I then went on to assembling the fuselage halves. I then glued the undercarriage gear and wheel well. I constructed the wings at the same time. The wings are a 3 part subassembly plus the wheel wells and oil cooler. Once the glue had dried I secured the rudder and tail planes to the tail.
The next important step was the wing to fuselage assembly. They fitted perfectly with only a little putty required. This was followed by the "great cleanup"! The joins on the wings and fuselage left no gaps and needed minimal sanding to get rid of the seams. The only places that needed putty was the wing root and underneath where the wing meets the fuselage, the tail planes and a little on the nose. Once the sanding was finally finished then came the paint job.
The underside of this Sea Fury was Sky, as were all Sea Furies of the Royal Australian Navy. The paint didn't cover that well for the first two coats but things improved with the next coat. When the under side was completed, the topside was painted in Dark Sea Gray. I sprayed this uppersurface colour after masking the lower surfaces. The Dark Sea Gray only required two coats. Once the paint had dried and the masking tape taken off the model started to look like the real thing I then applied the decals, but I had forgotten to paint the exhaust stacks so the surrounding area was masked and sprayed. The decals from the kit were a bit brittle if not handled carefully. The RAN roundels came from another kit. They settled down with ease. The only problem was the "Navy" decal on the under side which broke up into three pieces but I still managed to get the decal on.
Now came the landing gear. The alignment was already molded into the landing gear so the only thing to worry about was aligning the twol struts with each other and inline with the wing. Once dry, the wheel covers and wheels were put into place.
The spinner and props were all that was left. I assembled the spinner but I needed two pieces of brass tube which were cut into 2 inch sections. One of these was glued to the spinner and one to the model so that when the spinner was put on it could slide into the other. After the propeller blades where glued into the spinner all that was left was to paint the canopy and engine. The engine was a simple ring with details which i painted black and dry brushed the details silver. The canopy was a bit tricky but after 3 attempts I managed to get nice straight lines. I glued the remaining parts on the model and it is now complete with a diorama board.
This was an reasonable kit. It wasn't up to the best quality of the day, but good none the less. This kit can be ordered from retailers or bought from hobby shops for around AUD$20 I would recommend this kit for beginners and up. Text and Images Copyright © 2001 by Andrew
Wood
|