|
Hawker
Sea Fury
by
Mark Beckwith
|
|
|
Hawker Sea
Fury
|

Hobbycraft's
1/48 scale Sea Fury is available online from Squadron.com
I bought this kit because I needed the RCN roundels for a different
project. Having just completed a long resin kit build I wanted to
throw together something relatively simple with a straightforward
paint scheme, just for the fun of it.
Step forward the 1/48 Hobbycraft Sea Fury!
Those of you who have built this kit know that detail is sparse,
fit is really quite good, and to my eye, it looks like a Sea Fury when
completed.
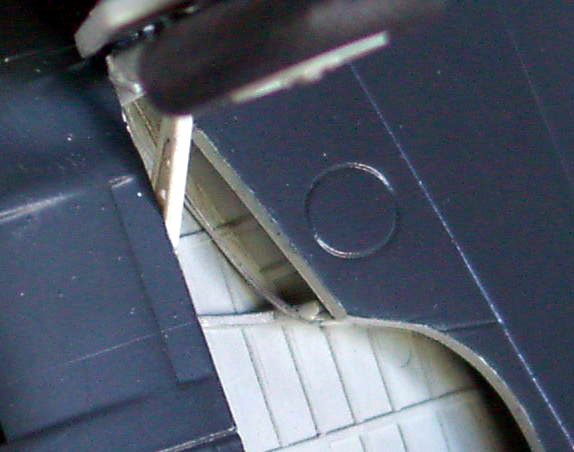
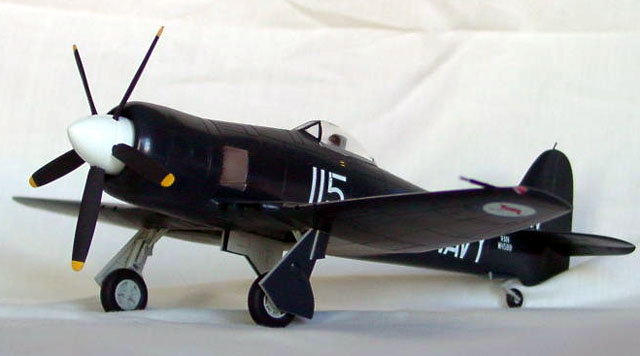
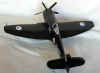
Although I intended to build the model straight from the box, I
ended up adding some plumbing to the wheel wells, dropped the
elevators, replaced the moulded wingtip navigation lights with shaped
clear plastic that I drilled out and filled with some green and red
enamel paint and I used stretched sprue for the antenna on the fin
instead of the kit part.
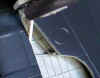
Click the images below
to see the detail additions to the Sea Fury:

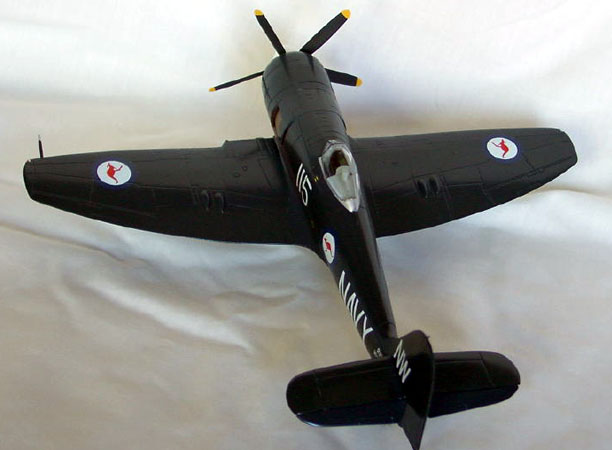
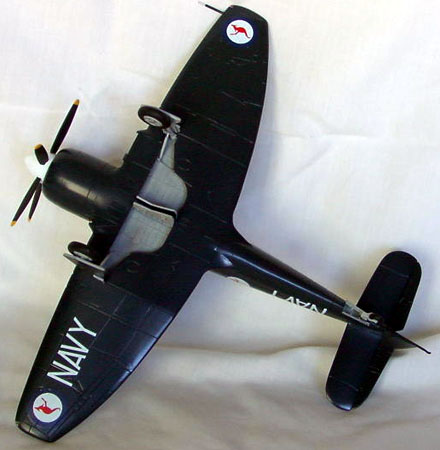
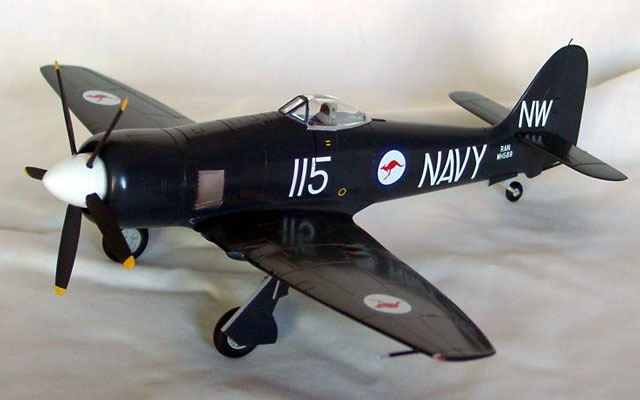
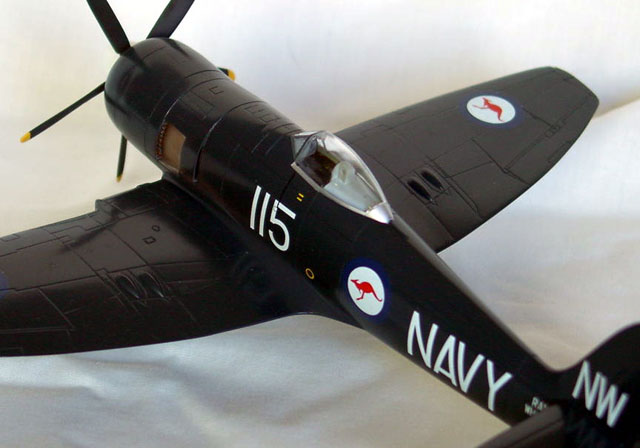
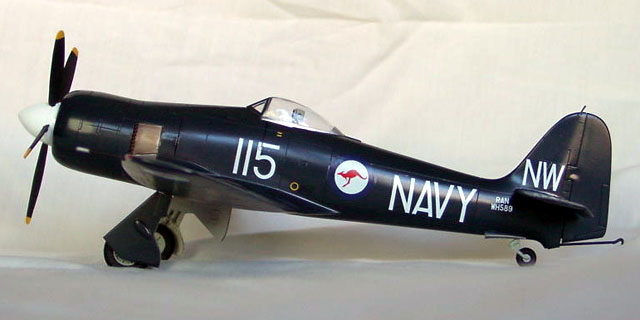
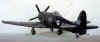
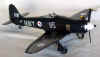
As mentioned above, I wanted a simple scheme for this project and
the decal options provided one. I chose to finish the kit as a RAN Sea
Fury painted overall Glossy Sea Blue.
First I painted the wheel wells light grey, then I filled them with
tissue paper and used tamiya tape to mask the wing tip lights. Next I
used Aluminium Metalizer for the canopy frame and Burnt Steel for the
exhaust area. These areas were also masked with Parafilm and Tamiya
tape respectively. As you might imagine, painting was easy. I used
Gunze paints throughout. When dry I shot with a couple of light coats
of Future in preparation for decaling. Next time I'm going to try
Metalizer Sealer for this instead of future as I've heard it looks
better - thanks Lynn!
I've found that Hobbycraft decals usually go down really well, and
these were no exception. Decaling was completed in about 4 hours
working slowly and methodically. Finally I shot a couple more light
coats of future to seal the decals, then Dullcote to bring the shine
down to what you see.
After painting and decaling was complete, I added the other bits
and pieces to complete the job.
The whole project took two weeks and I enjoyed this kit for what it
is, a simple representation of a beautiful airplane (IMHO!). I builds
well, looks good when finished, and is really easy to make. Now, where
did I put that Bf 110G-4?
Click the thumbnails
below to view the images full-sized.
Use your browser's back arrow to return to this page.

Model, Images and Text Copyright © 2001 by
Mark Beckwith
Page Created 19 June, 2001
Last Updated 04 June, 2007
Back to HyperScale Main
Page
Back to Features
Index
|
 Home
| What's New |
Features |
Gallery |
Reviews |
Reference |
Forum |
Search
Home
| What's New |
Features |
Gallery |
Reviews |
Reference |
Forum |
Search