|
Fairey Swordfish Mk. I
by
Bernhard Schrock
|
 |
|
Fairey Swordfish Mk. I |

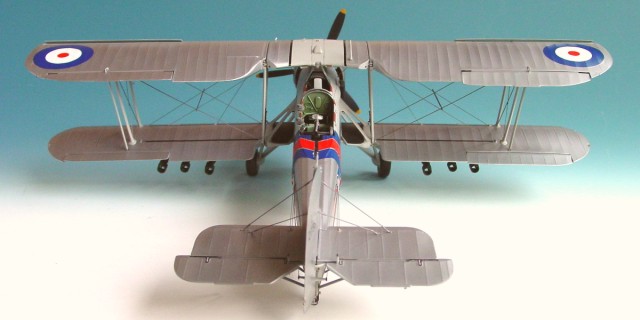
Tamiya's 1/48 scale Swordfish Mk. I
is available online at
Squadron
It is difficult to find something new to say about Tamiya's 1/48
scale Swordfish. Modellers have praised the kit in magazines, websites
and clubs about the quality of the parts and authenticity of the
finished aircraft.
Many articles have been written too, with extra detailing added here
and there, plus a range of colour schemes from silver to grey and green.
Michael Martraix from Replic magazine has even converted the Mk.I to a
marvellously weathered Mk. II in white, green and grey.
After such wide coverage in the short time since this kit was
released, I asked myself if there was room for my model as well!
Because of the complexity of the kit, the instructions are broken
down over many steps. There are still some traps that might cause
headaches if this superb model is tackled in too much haste.
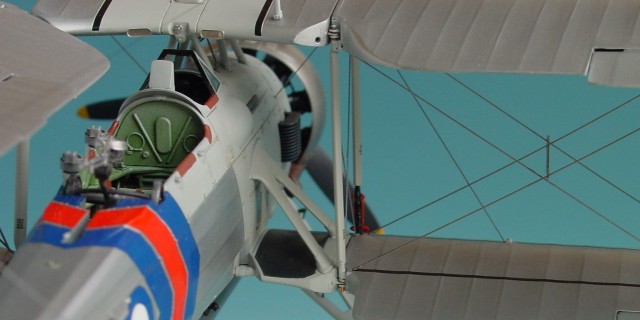
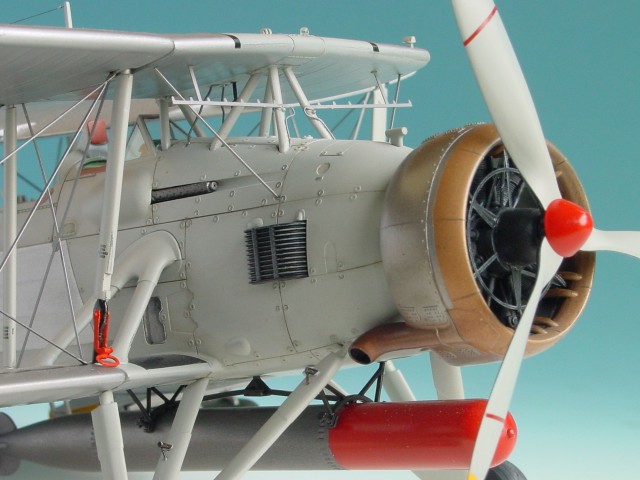
One such small trap is the pitot tube on the outer fore brace. This
should be glued into the gap at the end of the brace. Meanwhile,
however, the brace broke during assembly and the part vanished! Another
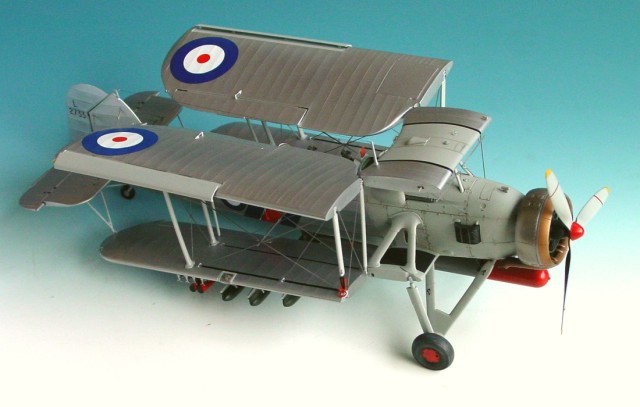
bigger problem lurks in the lower surface centre panel, which must be
drilled from the inside to locate the undercarriage and torpedo mounts.
The flashed-over holes are not visible from outside and unfortunately,
in my impatience, I did not drill the holes before fixing the parts. I
needed a second kit to indicate the correct location of the holes. I
also recommend the the mounts for the torpedo should be added and
reinforced first, and that the torpedo should be added at the end of
construction.
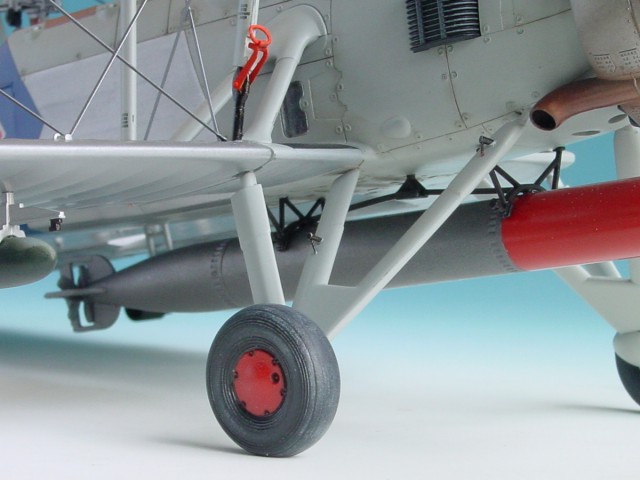
The wheels represent the last hurdle. The correct angle is not
entirely obvious, and I can assure you that pulling the wheels off after
they have been glued on does not help maintain a harmonious mood! To
avoid this problem, line the wheels up at an angle of approximately 7-8°
to the diagonal outside corner.
The folding-mechanism includes prefabricated parts for both
positions. The modeller must decide in favour of one. If the decision
should be difficult for you however, don't begin with reinforcing the 8
prefabricated parts with the braces.
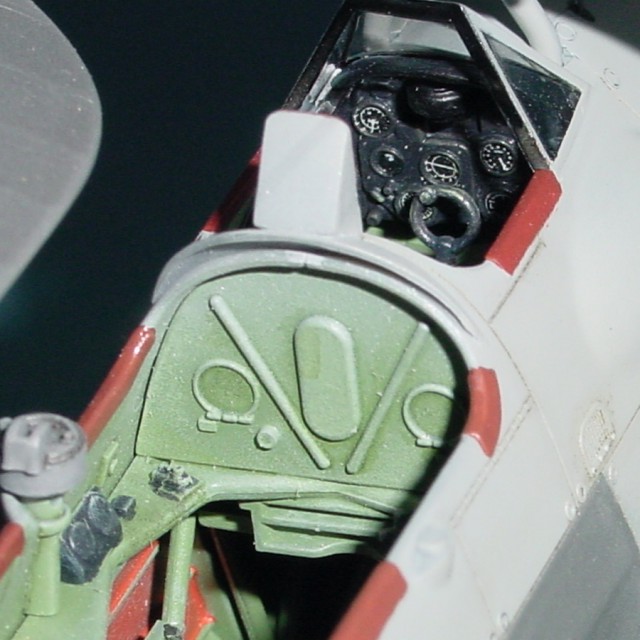
The most complicated part of the whole exercise is drilling 12 holes
with the diameter of 0,8 mm for the hinges. The 4 additional drillings
adds to the stability and accuracy of all 4 hinge-groups by means of 4
doubles-hinges and adds to the authenticity of the hinge too. The
success of this operation depends on he accuracy of the drilling, so
take care!
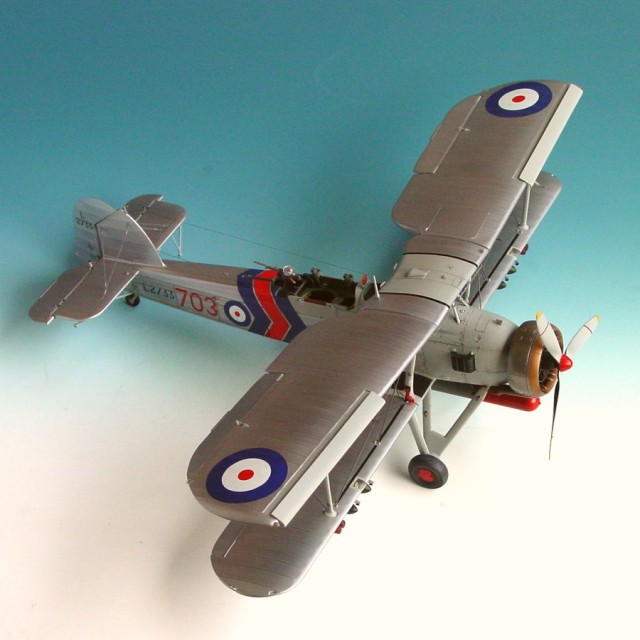
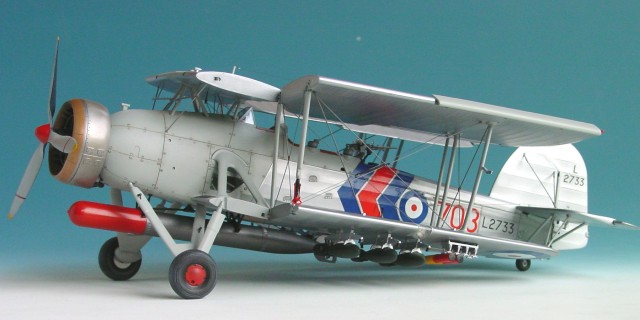
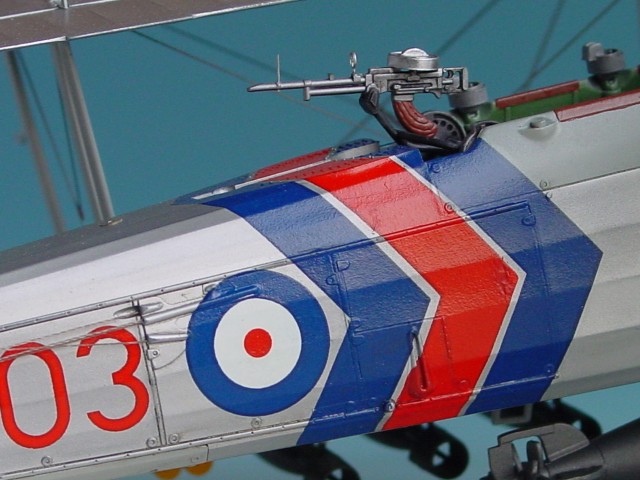
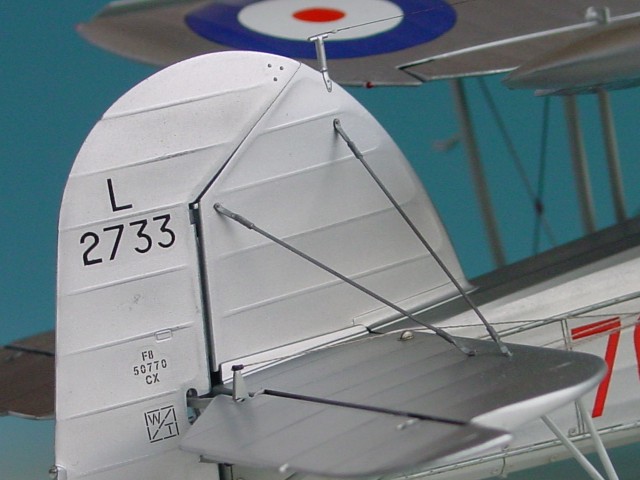
The model was finished using Aeromaster markings from decal set
48-488. These were slightly different to the many pictures and articles
I had seen. The markings were for an aircraft of 814 Squadron based on
the Ark Royal.
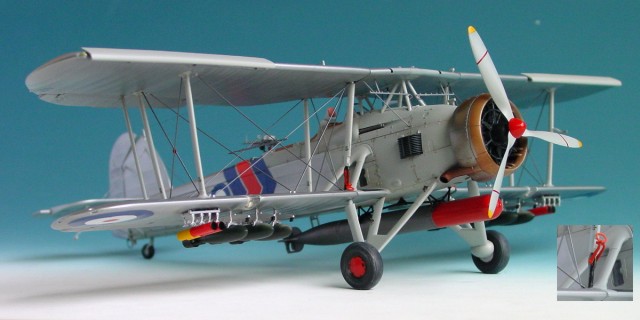
I painted the model with a grey mix from Gunze White (H130), a spot
of Black (H22) and a little bit of yellow (H69). Aluminium paint was
then applied using Alu-Metalizer and Testors Metalizer Sealer.
To complete the job, I applied careful weathering to the surface of
the model.
Once again, Tamiya has risen to fill a modellers dreams. This is a
really lovely kit, and I can recommend it heartily.
Click the
thumbnail below to view larger images:
Text, Images and Model Copyright © 2001 by
Bernhard Schrock
Page Created 11 December, 2001
Last Updated
04 June, 2007
Back to HyperScale Main Page
Back to Features Index |
 Home
| What's New |
Features |
Gallery |
Reviews |
Reference |
Forum |
Search
Home
| What's New |
Features |
Gallery |
Reviews |
Reference |
Forum |
Search