|
Messerschmitt Bf 109G-6
by Vincent Kermorgant
 |
|
Messerschmitt Bf
109G-6 |

Hasegawa's 1/32 scale Messerschmitt Bf 109G-6 is available
online from Squadron.com
This is Hasegawa’s 1/32 scale Messerschmitt Bf 109G-6 kit.
Fuselage
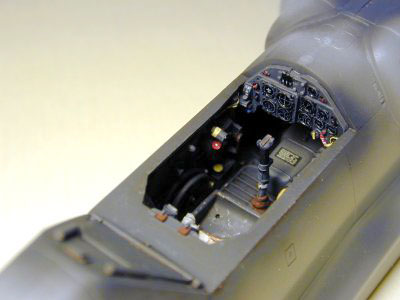
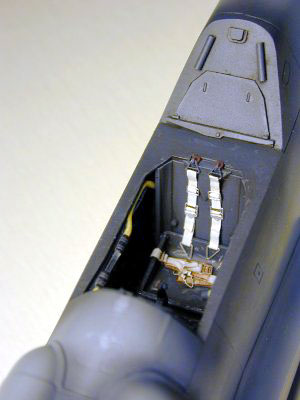
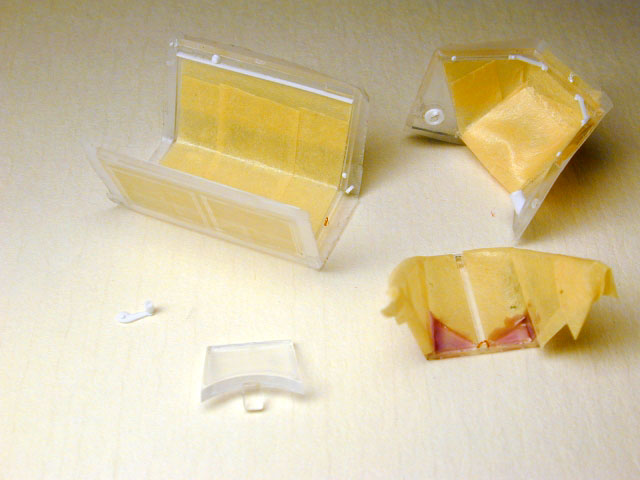
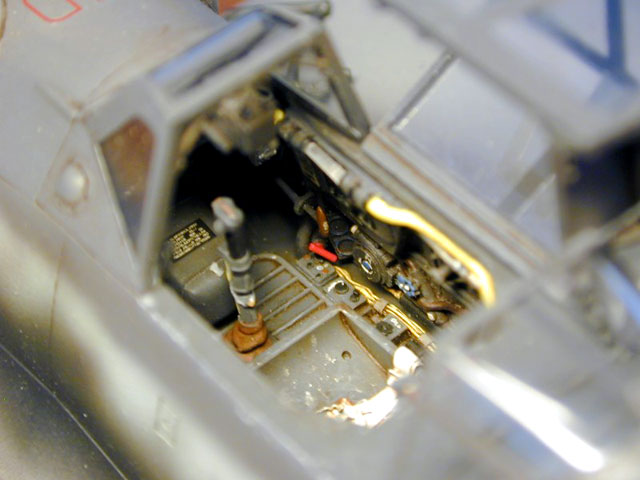
As usual, I started with the cockpit. Since I designed it, I
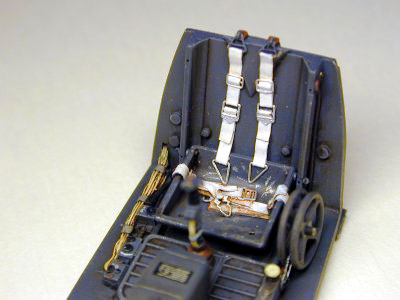
naturally used the MDC cockpit. PE seat belts are provided but I
used the alternative buckles with foil sheet.
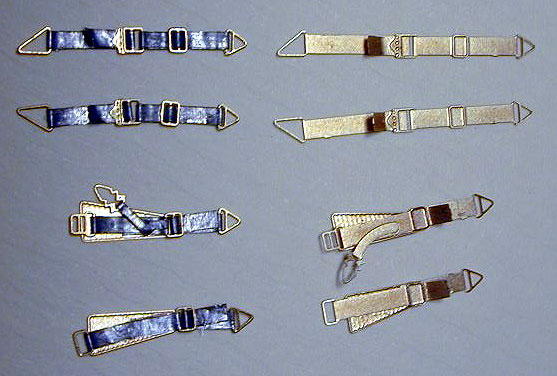
The cockpit overall color is RLM66 (Gunze H333) while the belts
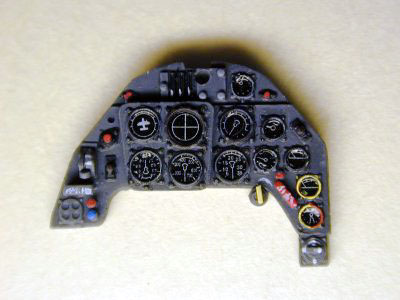
are off-white. The instrument dials were punched out from the
Hasegawa decal sheet and installed one by one.
Click the thumbnails
below to view larger images:
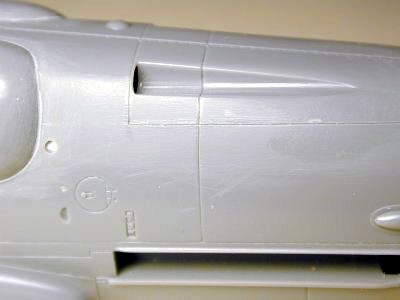
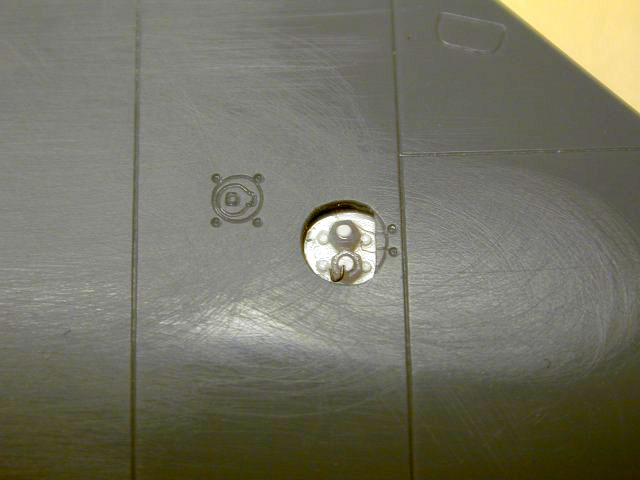
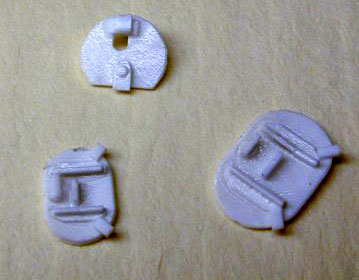
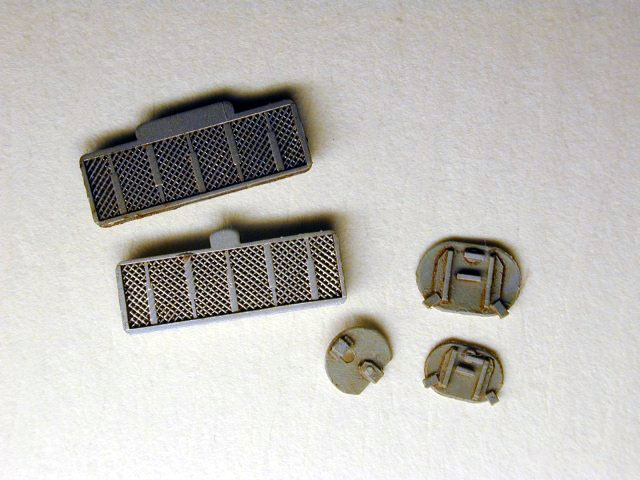
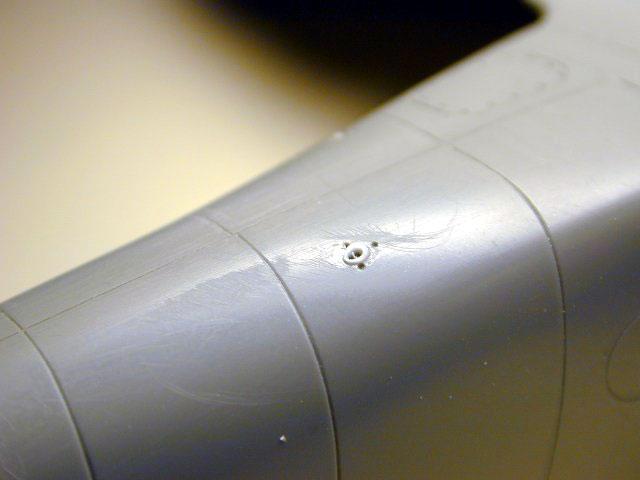
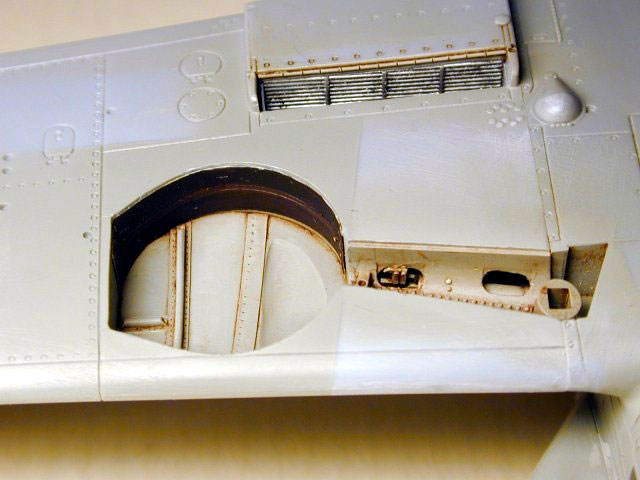
I then turned my attention to the exterior. The Fug25 mount was
drilled out and redone with a rounded rod. In order to give life to
the model, I opened both fuel and oxygen refill hatches. All
internal details are then scratchbuilt with plastic card and other
misc materials.
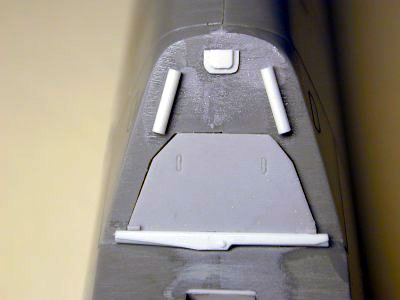
At this stage, I added each tail half to the respective fuselage
half. This prevents the use of putty at a later stage. This done, I
could glue the fuselage halves together and detail the cockpit rear
decking with the jettison mechanism.
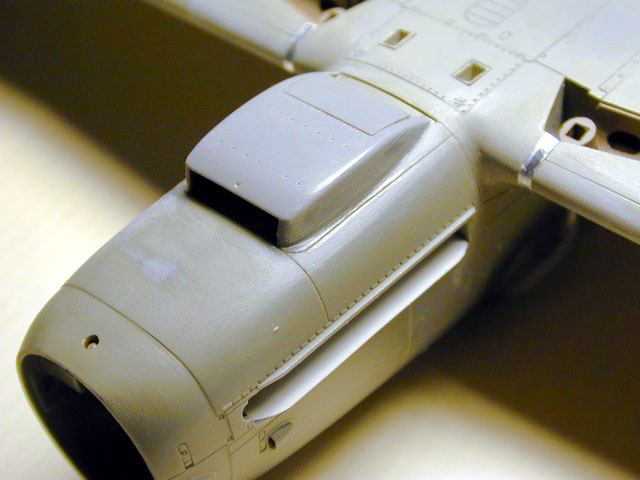
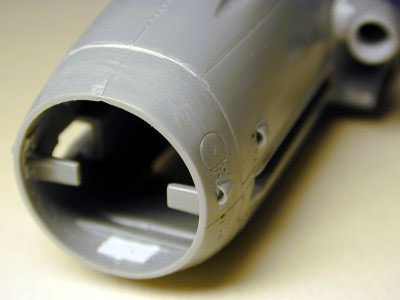
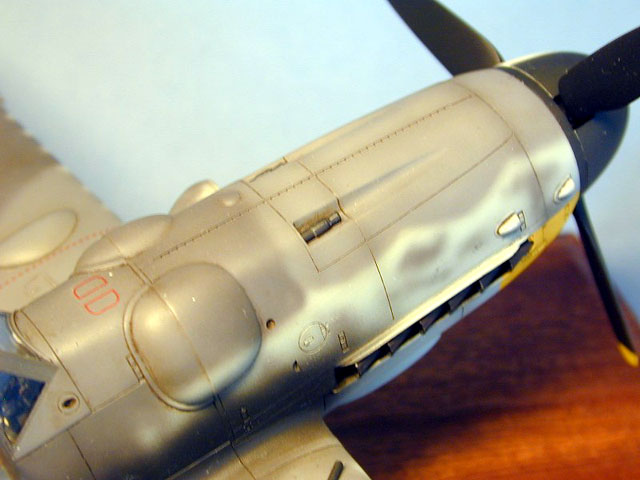
Supercharger intake, upper cowl (making sure to use the correct
one) and gun bulges were added at this stage.
Click the thumbnails
below to view larger images:
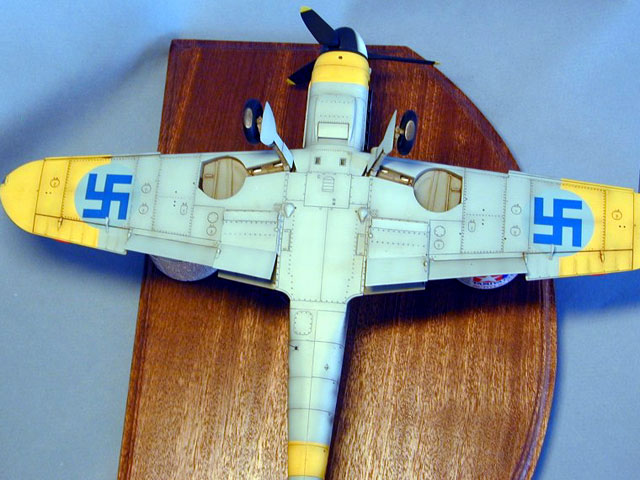
Wings
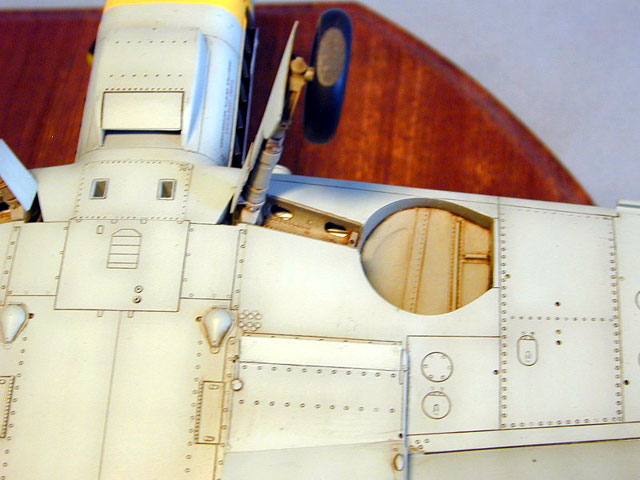
First of all, the wheel wells were “squared” as per instruction.
Then, the 8 oval holes were drilled out and the wheel retraction
mechanism added.
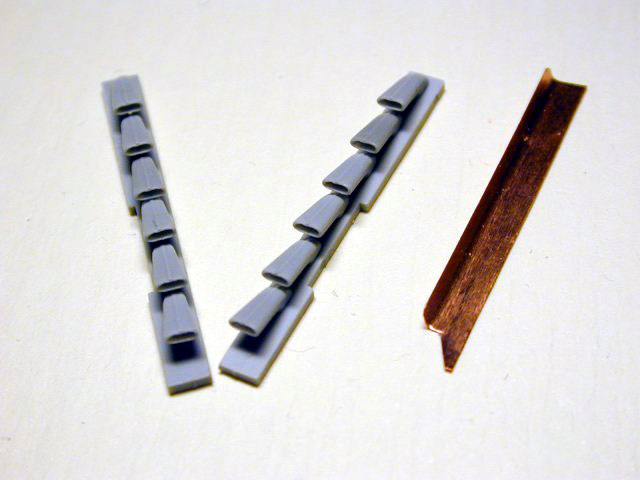
I glued together the 3 parts lower wings together to get better
adjustments. I could then create the belly ejection chutes and add
the inspection liners in the wheel wells (They were made of copper
sheet and punched out rivets).
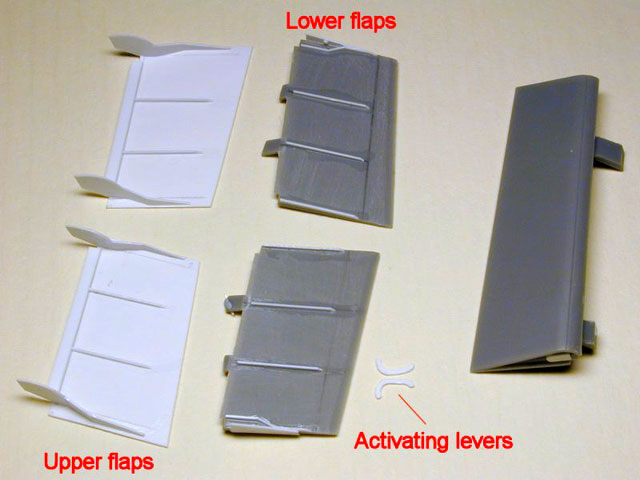
The wing radiators are buried too deep in their fairing. I move
them forward and redid the various cooling flaps in pastic card.
On the upper wings, the wheel well details were redone and the
wing structure recreated since it is seen from the holes. Inner wing
color is bare aluminium with black manufacturing stencils.
Finally, the upper wings were glued to the fuselage (to avoid
puttying later on) and then the whole underwing assembly added.
Click the thumbnails
below to view larger images:
Landing Gear
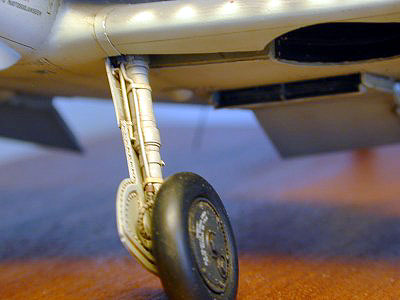
The kit parts are really nice.
However I removed the molded brake line and redid it with thin
wire. The locking system was made of thin plastic card. Gear doors
are nice but too thick. The upper part was redone and the lower part
thinned down to scale. All parts are glued together before painting.
Click the thumbnails
below to view larger images:
The smooth wheel is the MDC one. The wheel angle is wrong. A simple
fix was to shorten the axle in order to give “freedom” and set the
angle to its correct value.
Tail wheel was corrected as well and set to a different angle.
Finishing Touches
The MG131 muzzles were drilled out. The guns were then first
painted in steel color and then very diluted dark blue was sprayed
which gives a very convincing gun blue effect.
Canopy details were added with plastic card and copper wire.
Antenna wire was created in a similar fashion white white glue
insulators.
All trim tabs have been redone in thin plastic card.
Exhaust stack is from MDC with thin copper shielding.
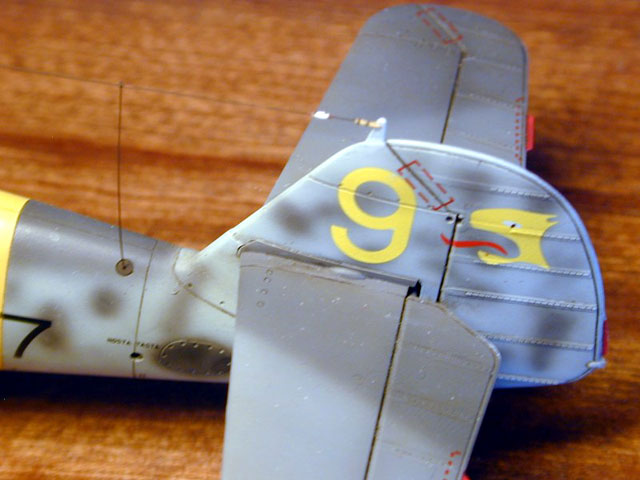
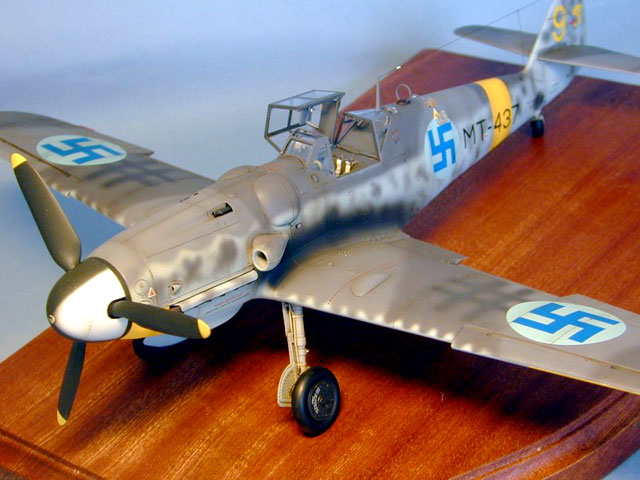
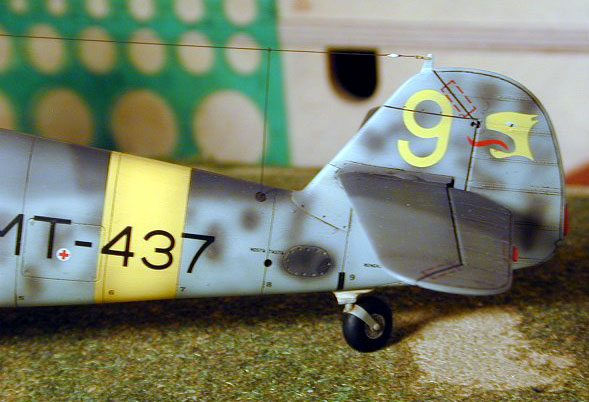
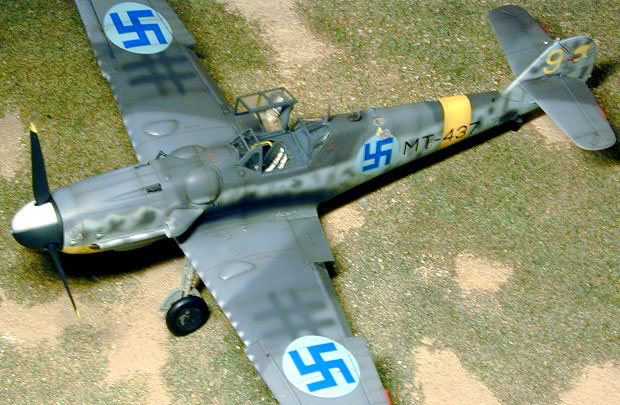
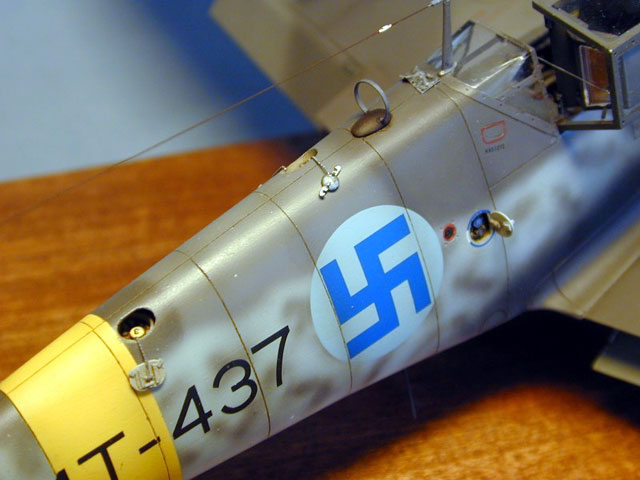
I decided to depict an aircraft in service with the most
successful user of the Gustav: Finland
The new MDC decal sheet was used. This is plane was flown by Sergent
Ahokas from 3/HleLv 24. It features a superb lynx head on the
rudder. By the way, MDC is the only sheet providing the correct
Finnish stencils.
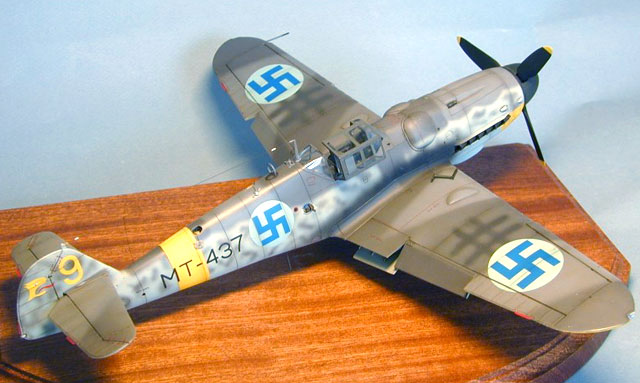
Camouflage was done with Gunze paints and then Metalizer Sealer
was sprayed as gloss coat. Decal were added and then each panel line
was enhanced with very diluted Tamiya Smoke.
Finally, panel lines received an oil paint wash and the model was
coated with Revell Matt varnish, which reproduces the original RLM
paints eggshell finish to perfection.
Click the thumbnails
below to view larger images:
Model, Images and Article Copyright © 2002 by Vincent Kermorgant
Page Created 07 November 2002
Last updated
27 May 2007
Back to
HyperScale Main Page |  Home
| What's New |
Features |
Gallery |
Reviews |
Reference |
Forum |
Search
Home
| What's New |
Features |
Gallery |
Reviews |
Reference |
Forum |
Search