|
Heinkel He 162A
Part One
by
Ian
Robertson
 |
|
Heinkel He 162A |

HyperScale is proudly supported by Squadron.com
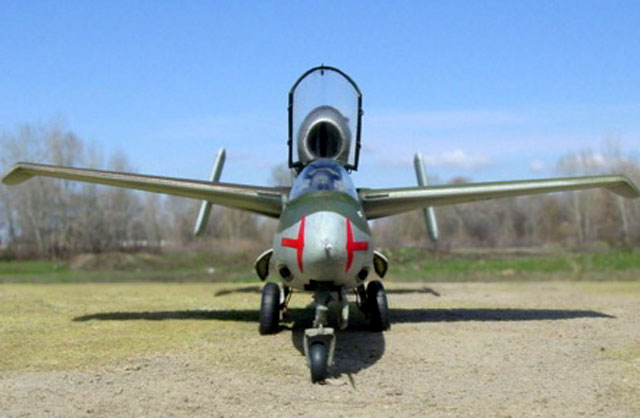
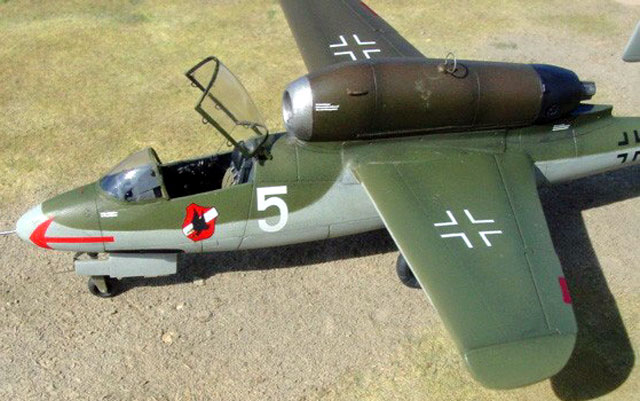
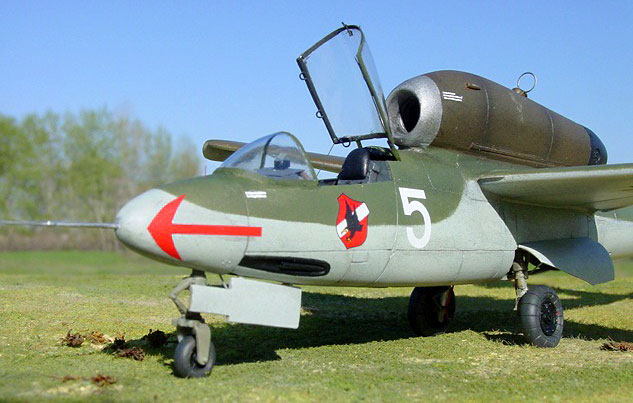
This is DML's 1/48 He.162A-2 Salamander built with the aid of a Verlinden
cockpit detail set, Squadron vacuform canopy, True Details resin tires, and
AeroMaster decals.
This model was built as part of a larger diorama involving another He.162, a
flatcar train, and a Flak-88 gun (see Heinkel He.162A-2, Part II).
|
Dragon's He 162 in
1/48 Scale |
DML's 1/48 He.162A-2 (ex. Trimaster) is a good kit that has gained a
reputation for poor fit. Although I found the fit to be sloppy in places,
particularly at the wing roots and the base of the engine nacelle, I did not
find the model overly difficult to build.
The Verlinden additions enhanced the cockpit greatly because much of the
interior detail is visible when the canopy is positioned open. The original
canopy in my kit showed many small stress fractures as well as distortions, and
it did not fit well to the model. I opted to use Squadron's vacuform canopy as a
replacement. The replacement canopy was clearer and thinner, but the front
windscreen remained a challenge to fit snugly to the fuselage.
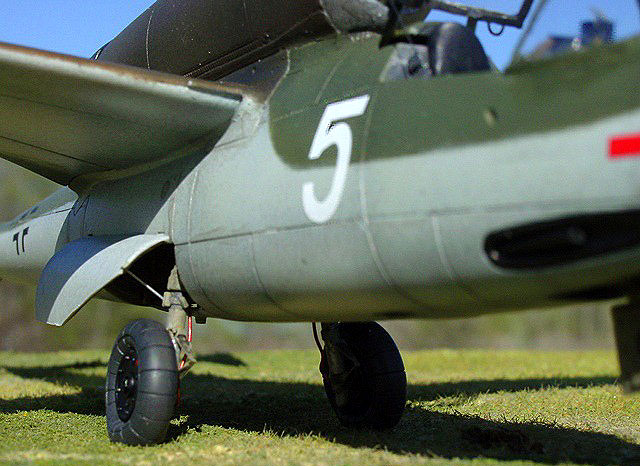
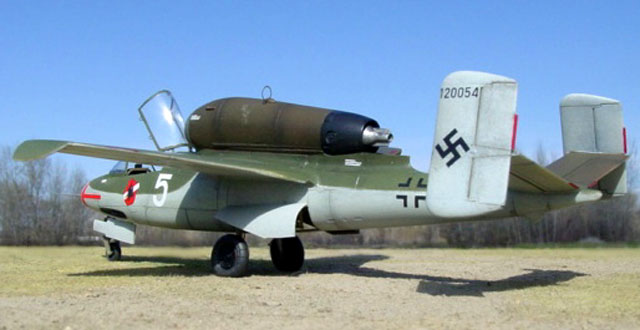
Apart from the aftermarket accessories mentioned above, I added brake lines
using wire and modified the gun sight using a piece of clear acetate. The needle
in the nose of the aircraft was made from syringe tubing and wire.
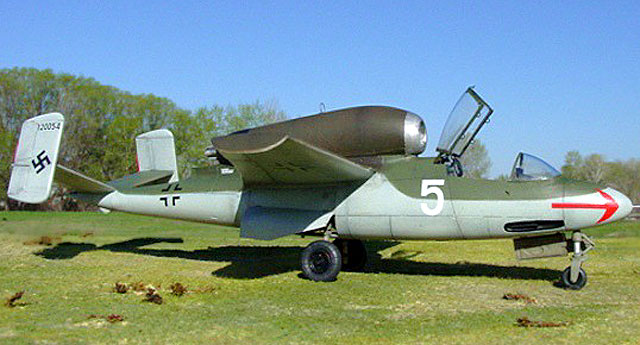
 Using
Polly Scale acrylics the model was painted RLM76 (light blue), RLM81 (brown
violet) and RLM83 (dark green). SnJ aluminum was used on the front ring of the
engine nacelle. Using
Polly Scale acrylics the model was painted RLM76 (light blue), RLM81 (brown
violet) and RLM83 (dark green). SnJ aluminum was used on the front ring of the
engine nacelle.
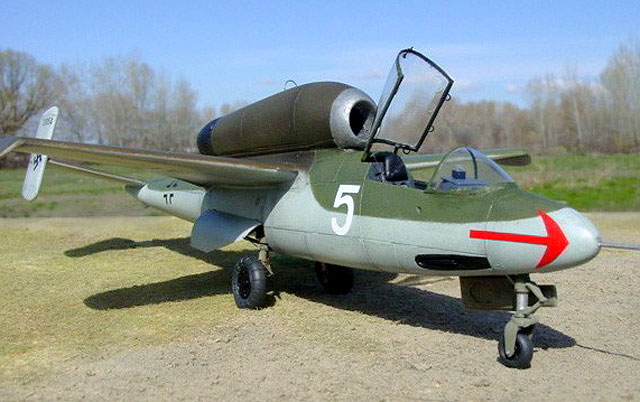
The cockpit interior was painted RLM66 (dark gray), and the wheel wells were
painted RLM02 (German interior gray). Included is a photograph of the main wheel
well from an He.162 on display at the National Aviation Museum of Canada.
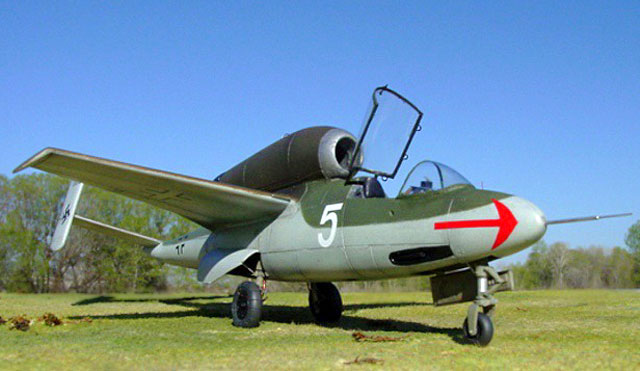
Weathering was kept to a minimum since I assumed that these aircraft saw little
flying time. The panel lines were preshaded in black before the camouflage was
applied.
After the camouflage was applied I sprayed uneven coats of highly thinned
black paint over the model to give it some depth.
Click the thumbnails below to view
larger images:
Model, Images and
Article Copyright © 2002 by Ian
Robertson
Page Created 21 July 2002
Last updated 04 June 2007
Back to HyperScale Main Page
Back to Features Page |
 Home
| What's New |
Features |
Gallery |
Reviews |
Reference |
Forum |
Search
Home
| What's New |
Features |
Gallery |
Reviews |
Reference |
Forum |
Search