|
Grumman E-1B
Tracer
by
Fotios Rouch
|
|
|
Grumman E-1B Tracer |

HyperScale is proudly supported by
Squadron.com
The Grumman Tracer was a great and competent plane that was replaced
by the Hawkeye.
The WF-1 Tracer (AEW) first flew in March 1957. It went into
operational service in February 1958 with VAW-11 and VAW-12. It was
known as "Willie Fudd" and as "Stoof With A Roof".
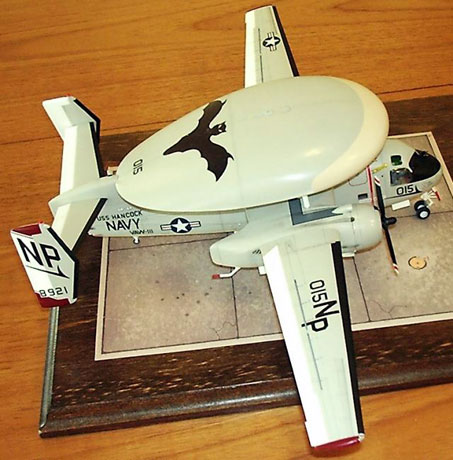
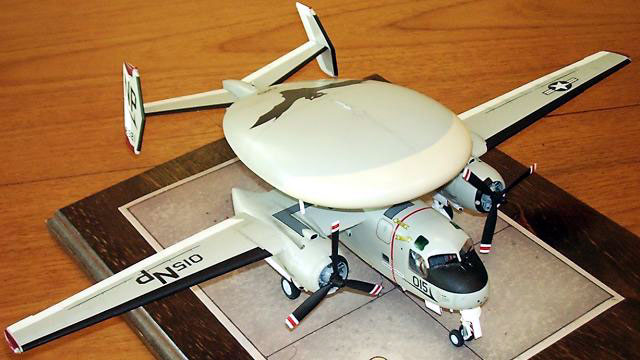
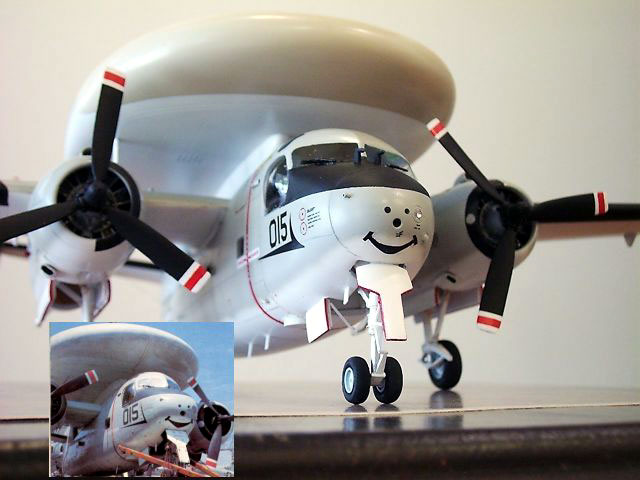
The Tracer featured a large fiberglass saucer radome (20 by 30 feet)
to accommodate the Hazeltine APS-82 search radar antenna. It got a new
tail with three fins to compensate for the aerodynamic interference of
the radome. The Tracer had a crew of four (pilot, copilot and two radar
operators).
89 Tracers were built in total.
Collect-Aire's
1/48 Scale Tracer
|
At the risk of becoming repetitive I will say again that this is
another classic design by my favorite Russian maker. Did I say before
that Collect-Aire has struck gold with this guy? I guess I have.
One more time I will say that the US resin shop did a splendid job
with my example. These things do matter and I will keep repeating
myself. It does make a difference to me that I get a nice resin copy. It
bugs me a lot when I have to dig out of resin over-pours or bubbles or
pits an otherwise good model. Heavy work does not bother me but
unnecessary work caused by prehistoric resin casting methods and
careless casting bothers me plenty. Having said that, I know that
nothing will change so let's get on with the Tracer.
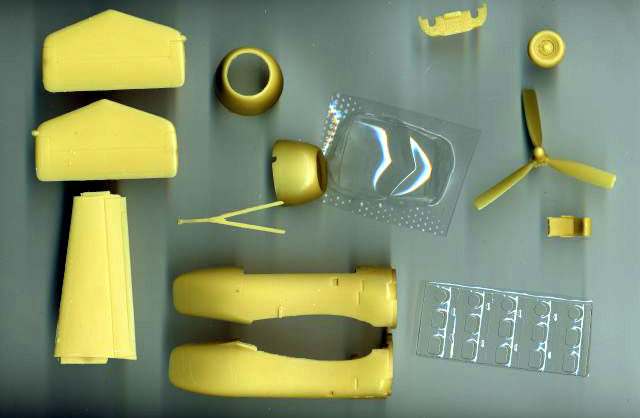
The resin is of the traditional and "aromatic" variety favored by the US
resin shop.
Click the thumbnails below
to view larger images:
The fidelity to scale and shape is great. Ed B helped me in this
project by supplying great Grumman maintenance drawings and plans. The
kit matches them very nicely.
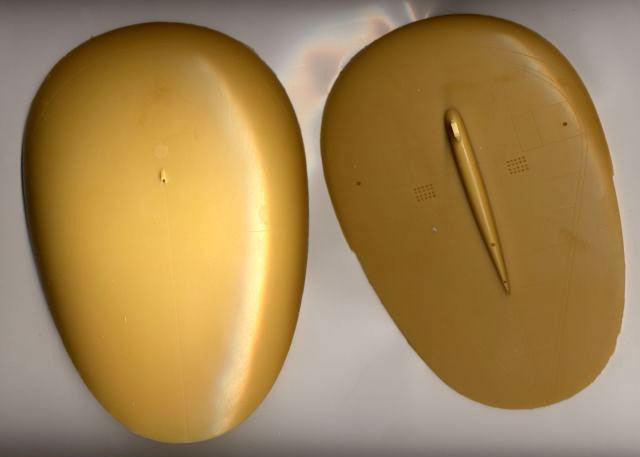
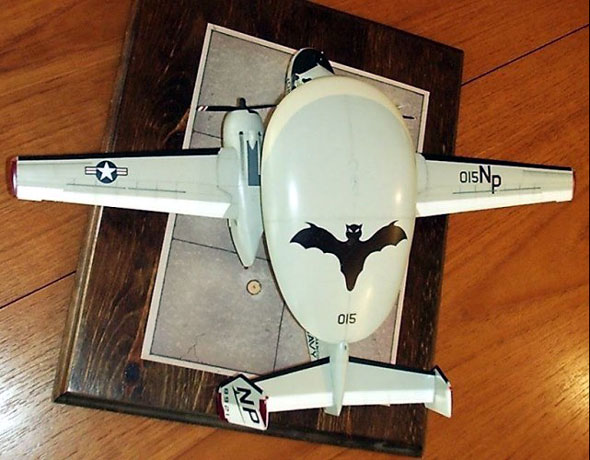
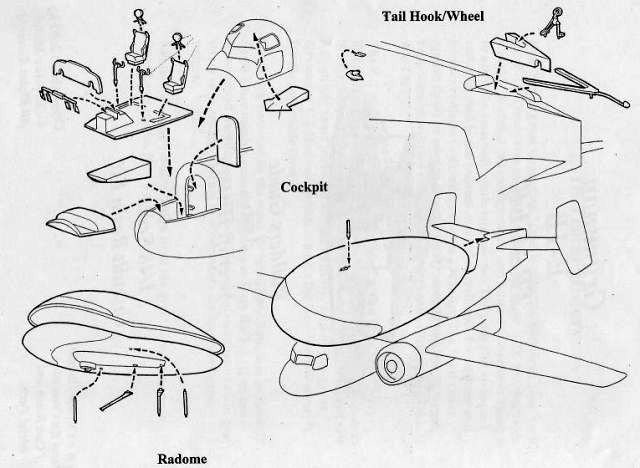
Radome
The shape is great but needs a little work to make the top and bottom
fit good. It is hollow and this is great because it would be very heavy
otherwise. I hope Collect-Aire does the same with their Hawkeye.
The supports (two central and two over the wings) look good but need
a lot of fiddling to get them to correspond to the radome and the plane.
I never managed to get the rear radome support to go to the hole in the
radome. I glued it about 1~2 millimeters off.
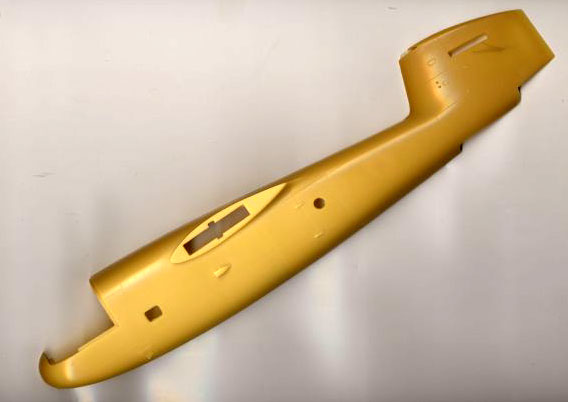
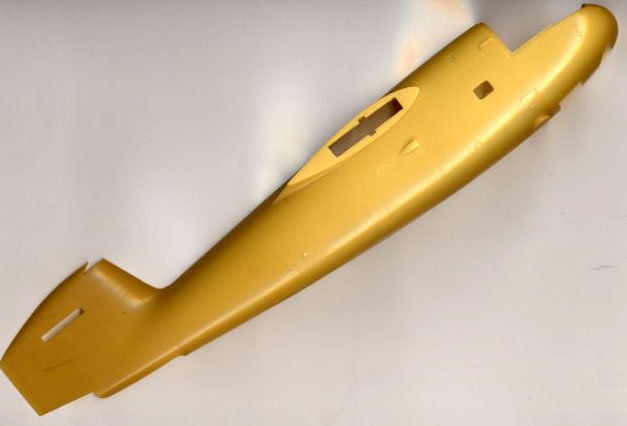
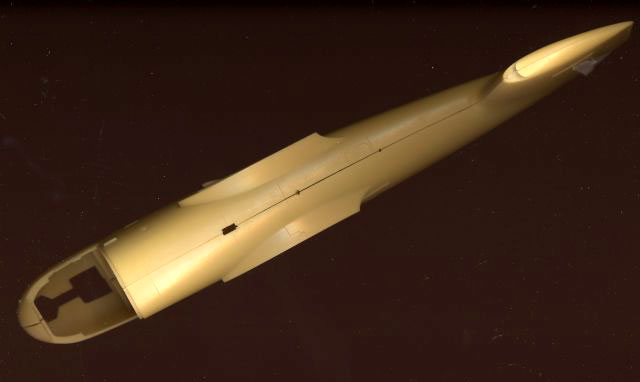
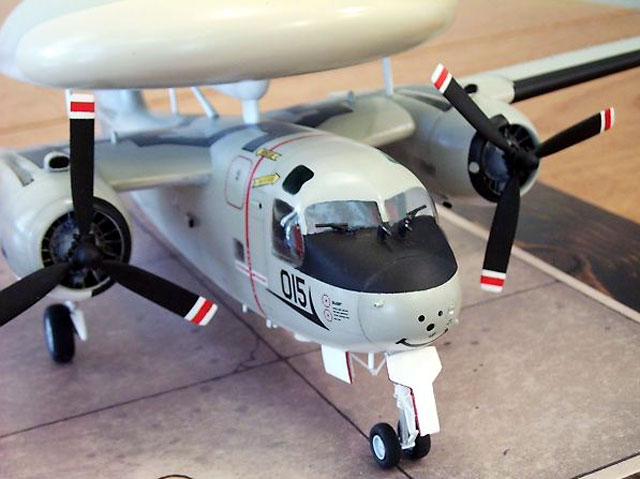
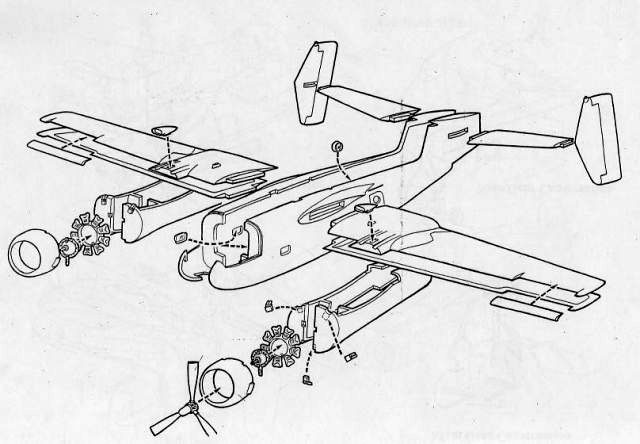
Fuselage
Easy to get the cockpit parts to go in and everything to close
together. Do not bother with the side windows until the end. They will
not fit from the inside anyway. You will white glue them at the end of
the assembly process.
Click the thumbnails below
to view larger images:
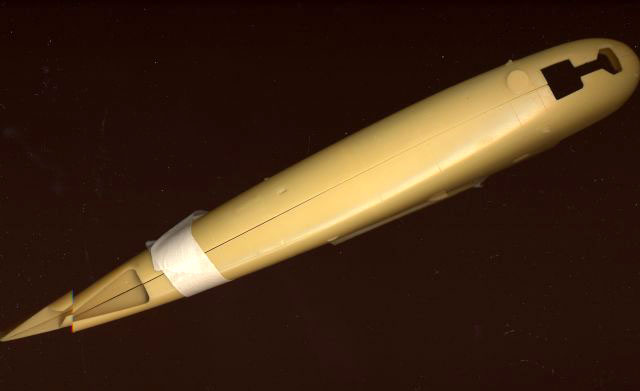
My problem was with the vac canopy. The maker had it made out of some
material of higher thickness than the vac plastic. The maker provides a
"step" so the vac part rests securely on the fuselage for gluing. The
problem is that the vac part seats a little lower due to its smaller
thickness creating a visible step.
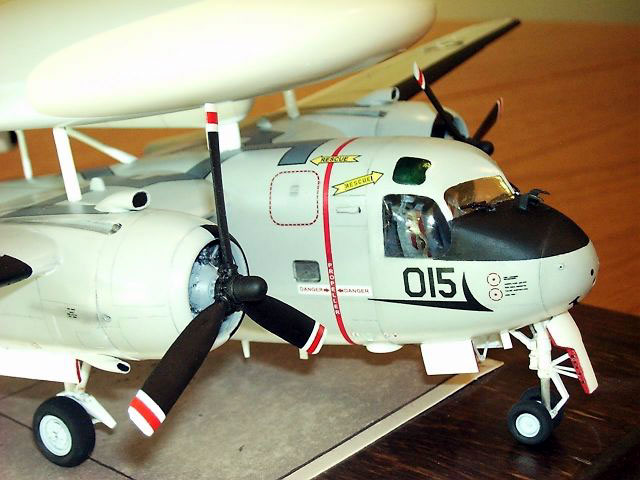
I added thin styrene strip to help with the problem. Also make sure
that you test fit the canopy at least a hundred times before gluing!
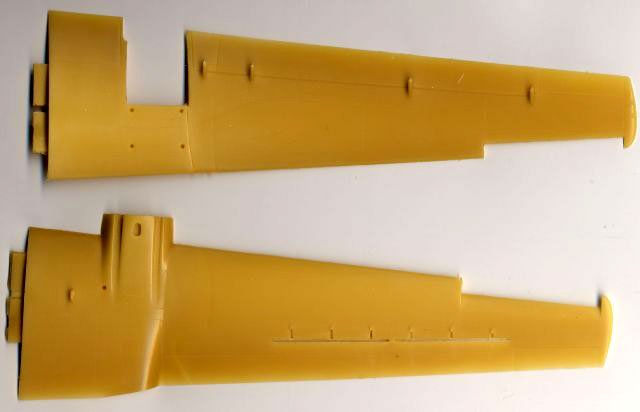
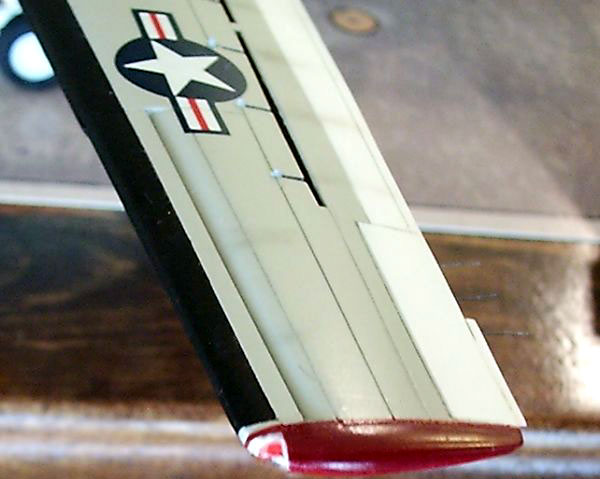
Wings.
No problems at all. Very straight on my kit. Add the little missing
trim tabs on the elerons. The blow through slats are cool but you might
want to add the little fillets that are seating between the slat and the
wing. Not too visible so you can skip it.
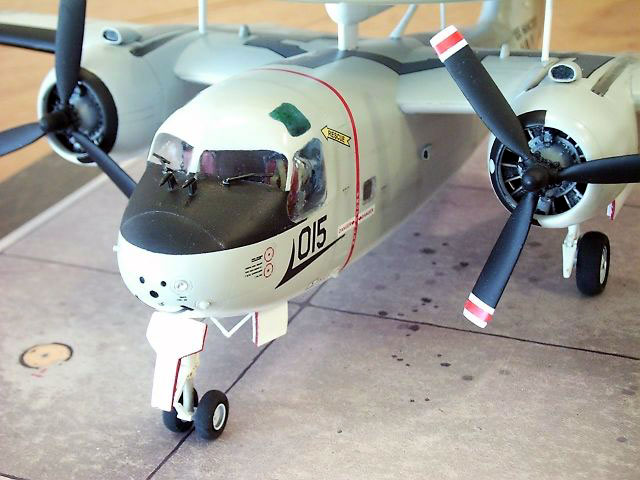
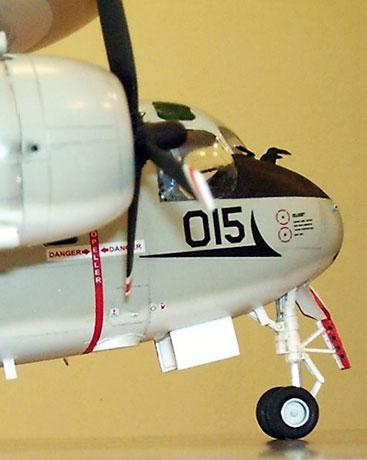
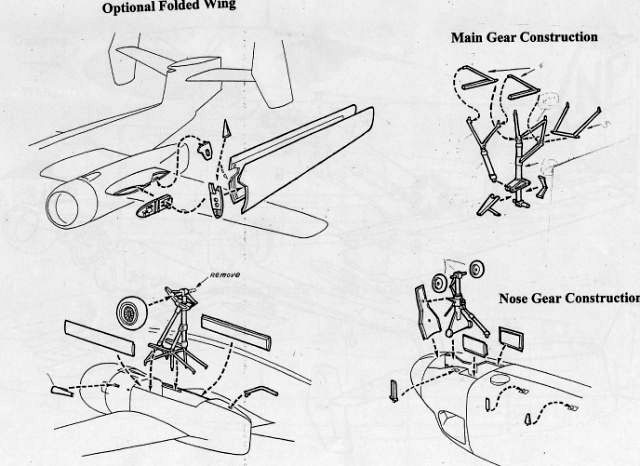
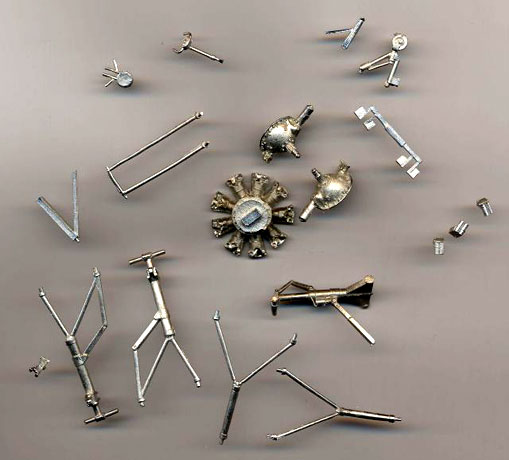
Landing Gear
Good detail on the gear. You need to add your own inside the nacelle
structures. Front landing gear needs a little extra stuff on the front
door area. Use my pictures if you wish for the added detail.\
Do not even think about adding wait to keep the Tracer from tail
siting. Not enough weight in the world would do this! I just used the
tail wheel for the job. I have a few pictures where the Tracer is seen
on all its four points.
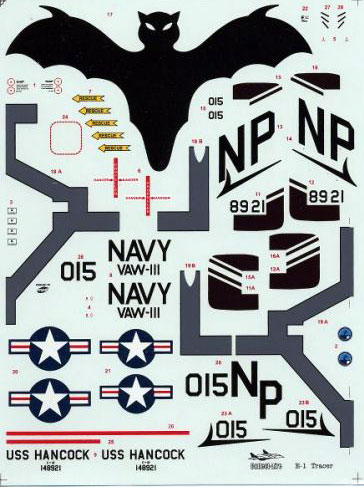
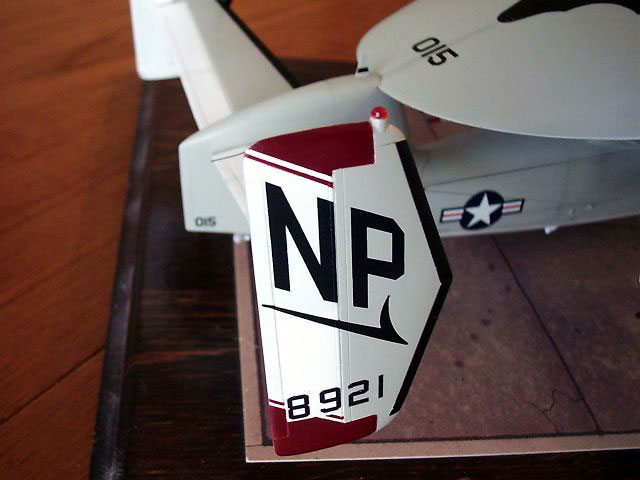
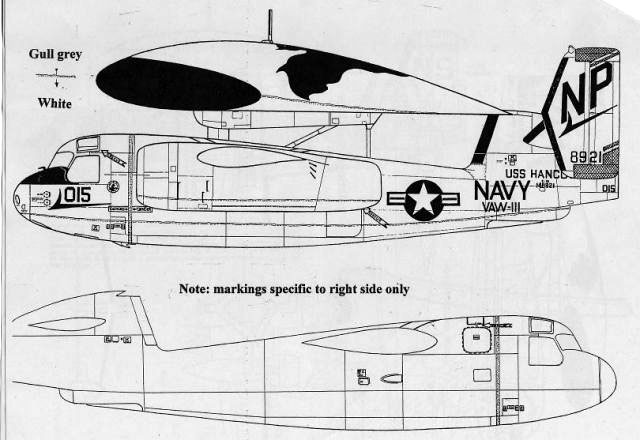
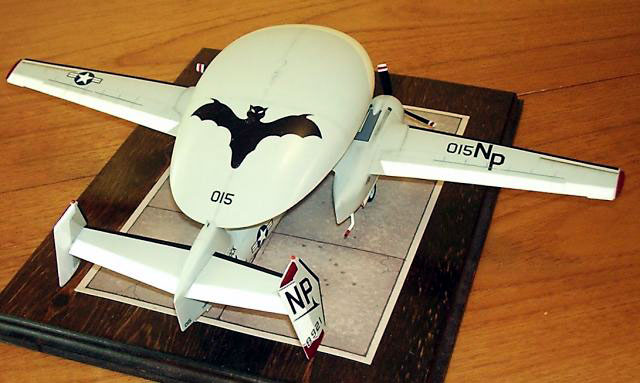
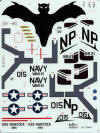
Decals
I am a little confused here. I could not find color pictures of the
plane depicted in the decals sheet and the instructions. US Navy planes
get painted different ways for different events I guess. Collect-Aire
told me that the decal art is based on pictures showing a bigger bat and
black radome trim. I did mine based on pictures from KokuFan provided by
Ed B.
I like to do my models and having at least one picture of the real
thing to see what I am doing. This means that I had to reduce the Bat by
20%. I also redid the tail numbers by changing the font to Long Beach
Navy and increasing them by 20% so they would fit right in their paint
scheme per the KokuFan pictures.
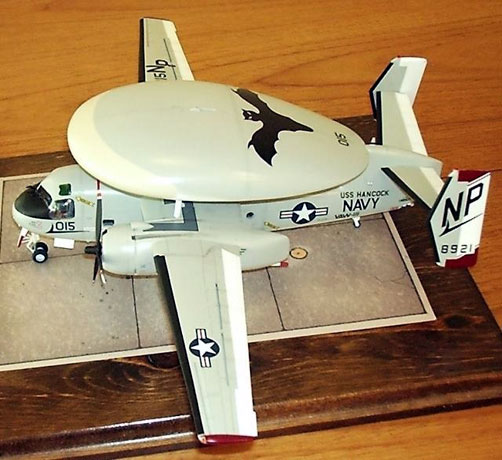
 I
practically had to finish the model, decals and weathering before adding
the radome so I would not mess any of the paintwork up. I enjoyed having
the very complex walkways done for me by Collect-Aire. I
practically had to finish the model, decals and weathering before adding
the radome so I would not mess any of the paintwork up. I enjoyed having
the very complex walkways done for me by Collect-Aire.
Careful with the decals, they are very sensitive due to thinness but
they look like they are painted on after drying. Dig up an extra Rescue
arrow from your spares for your escape hatch because all the ones
included in the decal sheet are facing one way.
All in all a very entertaining resin kit that fills a huge void in my
NAVAIR collection. Too bad we will not see a Trader. Alright Collect-Aire,
on to the Hawkeye and Greyhound because nobody else cares!
Click on the thumbnails
below to view larger images:
Model, Images and Text Copyright © 2002 by
Fotios Rouch
Page Created 21 August, 2002
Last Updated 04 June, 2007
Back to HyperScale
Main Page
Back to
Features Index
|
 Home
| What's New |
Features |
Gallery |
Reviews |
Reference |
Forum |
Search
Home
| What's New |
Features |
Gallery |
Reviews |
Reference |
Forum |
Search