|
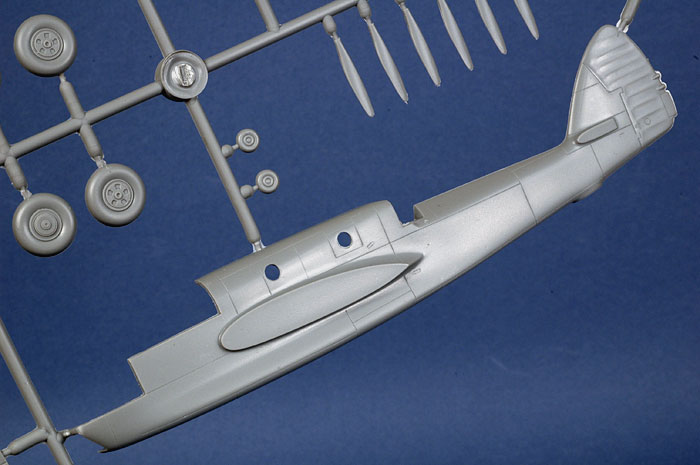
DAP Beaufort Mk.VIII
Special Hobby, 1/72 scale
S u m m a r y
|
|
Catalogue Number: |
Special Hobby SH 72027
Beaufort Mk. VIII |
|
Scale: |
1/72 |
| Contents and
Media: |
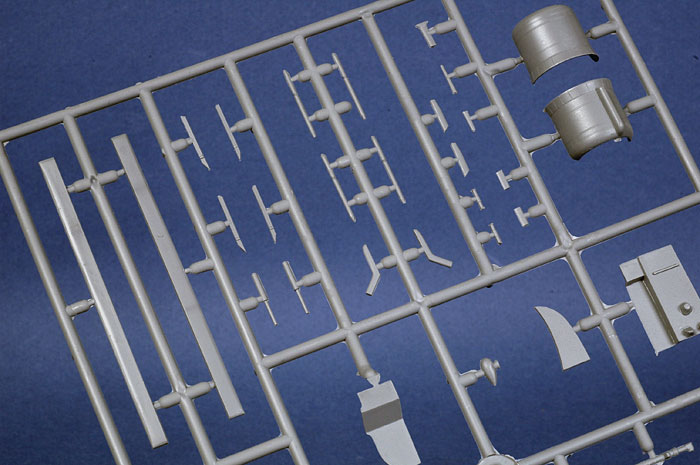
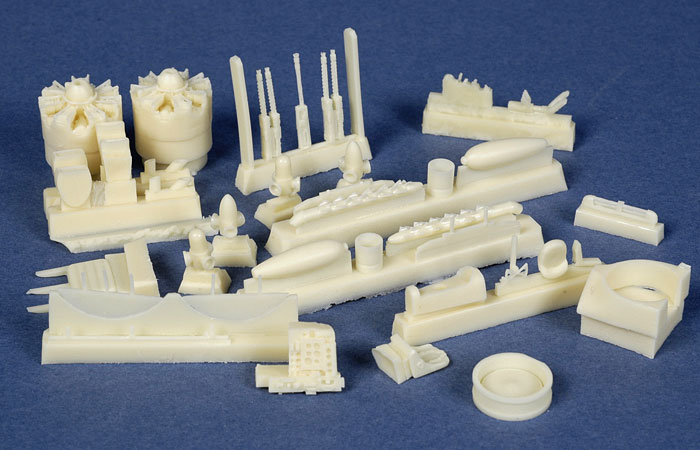
82
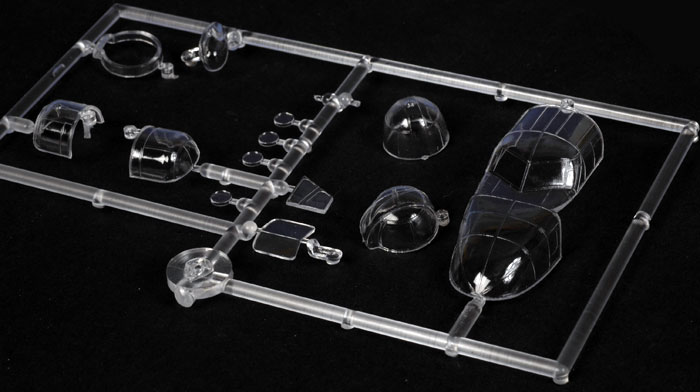
mid-grey plastic parts on four sprues, 13 clear parts on one
sprue, 62 PE parts on one fret, 37 pale cream resin parts,
decals for three aircraft plus a 14 page A5 sized
instruction booklet with history, parts plan, 17 build
diagrams and 4 pages of paint/decal instructions. |
| Price: |
From GBPŁ13.70 available online
from Hannants
and specialist
model retailers worldwide |
| Review Type: |
FirstLook |
| Advantages: |
Highly detailed inside
and out; excellent decals, resin and PE; any Australian
Beaufort can be built from Mk.V to Mk.VIII using this kit. |
| Disadvantages: |
Some ambiguity in the
instructions regarding parts to be used for specific
markings; experience required. |
|
Recommendation: |
Highly Recommended |
Reviewed by Glen Porter

Special Hobby's 1/72 scale
Beaufort Mk.VIII will be available online from Squadron.com
A Brief History
Australian built Beauforts were based on the British Beaufort Mk. I but
fitted with American Pratt & Whitney Twin Wasp engines. Thanks to the
success of the Australian aircraft, and also the fear that the Bristol
engine supply may run short, the British also made a version with the
American engines, calling it the Mk. II.
Australian DAP (Department of Aircraft Production) Beauforts were built
in six main variants, Mk. V, VI, VII, VA, VIII and IX. The Mk. IX was a
freighter version and is not applicable to this kit. The difference
between the others was mainly in the engine and propeller combination
fitted, although the Mk. VII, VA, and VIII had an enlarged tail fin and
the Mk. VIII also had two later model Bristol gun turrets fitted.
In total, there were just under 750 Australian Beauforts built by the
Department of Aircraft Production.
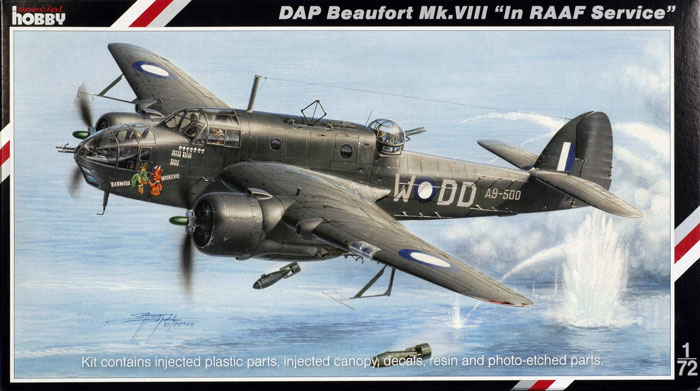
The Model
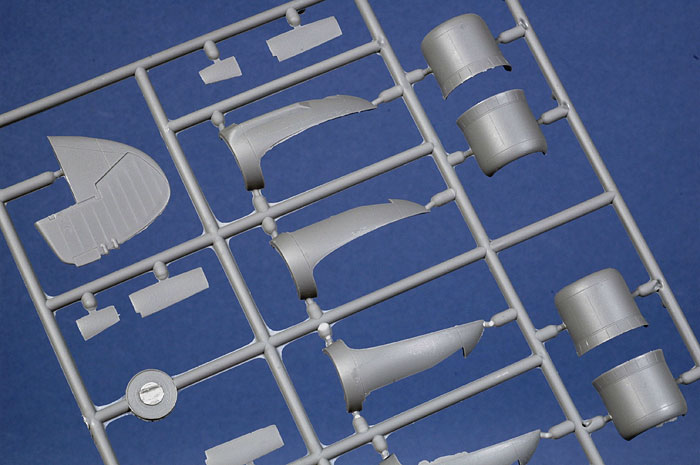
This is the third 1/72nd scale Beaufort from Special Hobby. The plastic
is essentially the same except that the Mk. I had only parts for the
Bristol Taurus engines, the Mk. II both Taurus and P&W engines and this
one the P&W engines only. Although this kit is marked as a Mk. VIII, all
of the other Australian Marks, except the Mk. IX, can be built.
The kit is based on the earlier Beaufort Mk. IA/II (kit number SH 72083)
but with one sprue taken out and some extra PE and resin added plus of
course different decals and instructions and a bigger and stronger box.
Oddly, the history section of the instructions make no mention of the
Australian Beauforts and is in fact exactly the same as the original Mk.
I kit from twelve to eighteen months ago.
Click the thumbnails below to view larger images:
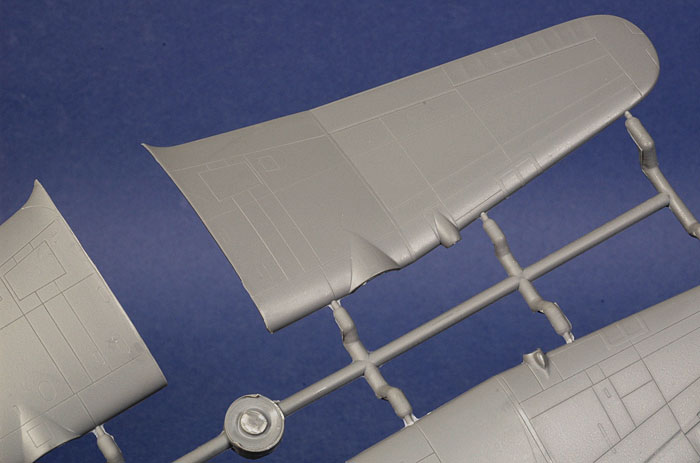
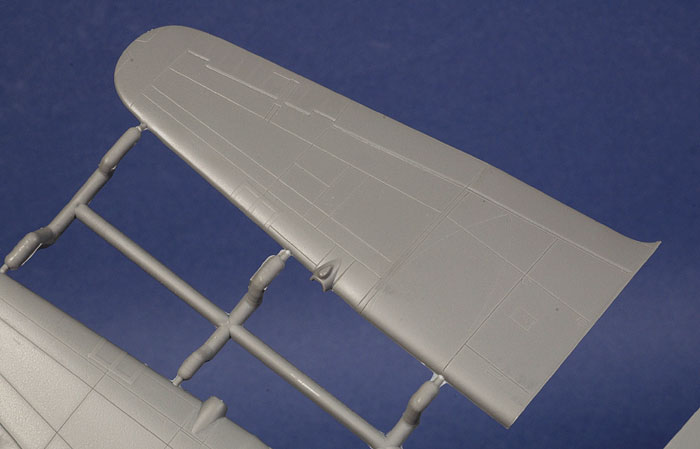
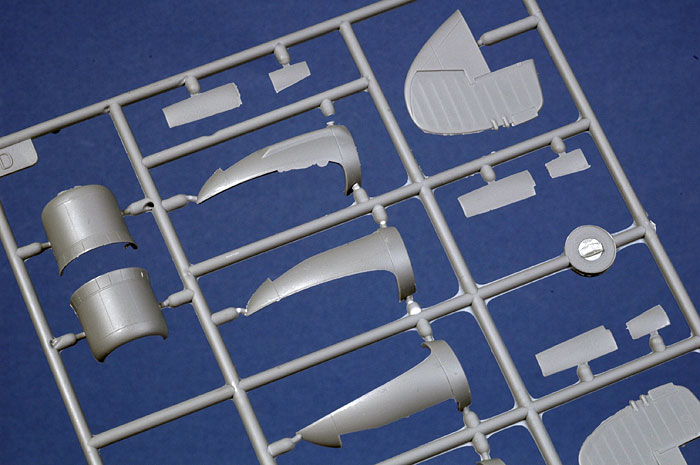
Now there are a couple of issues that may put this kit into the “too
hard basket” for some less experienced modellers. To use the larger tail
of the Aussie aircraft, you have to first remove the British one. The
cuts are all on panel lines and they are described well in the
instructions, but still perhaps not what a beginner would want to try.
Similarly, the area around the dorsal turret has to be cut out and
replaced by a resin insert and therein lies another challenge for the
inexperienced.
According to my references, the turret you are instructed to use in this
kit is in fact the late model Bristol B.1 Mk.VE which carried two 50
cal. machine guns and was fitted from aircraft serial No A9-561 to
A9-700. The problem is, the three aircraft covered by the decals are all
mid-production aircraft, A9-427, A9-486 and A9-500. Now, I could be
wrong in this because the references, Stewart Wilson's Beaufort,
Beaufighter and Mosquito in Australian Service plus Geoffrey Pentland's
RAAF Camouflage & Markings Part 1&2, don't say much about the turrets
carried by the Beaufort and show no close-ups or diagrams of them.
However, I believe the correct turret is the one vertically spit on the
clear sprue, numbers 1 and 2, which is the same one used in the Mk.II
kit along with a slight modification of the existing Mk. VIII fuselage.
Alternatively, you could build the kit as is and find another set of
decals. As I mentioned above, all of the Australian Marks can be built
from this kit as all of the necessary parts are included.
The problem here is, there are not a lot of after-market decals for
Australian Beauforts. Gary Byk, are you reading this?
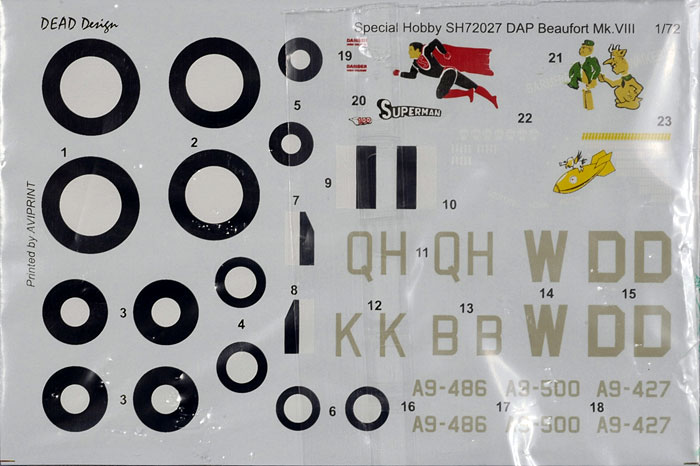
The decals, printed very cleanly by Aviprint, have some inaccuracies
also. Both the codes and serials appear to be in RAF Sky. The codes
should be in White or RAAF Sky Blue and the serials should be Sea Grey
Medium or Black
-
Option 1 is DAP Beaufort
Mk. VIII, A9-500/DD-W “Barmera Waikerie” 15 Squadron RAAF,
Middleburg Island, New Guinea, September 1945 in over-all Foliage
Green.
-
Option2 is DAP Beaufort
Mk. VIII, A9-486/QH-K “Scotty's Homin Pidgin”, 100 Squadron RAAF,
Tadji, New Guinea 1944 in the RAAF three colour scheme.
-
Option 3 covers DAP
Beaufort Mk. VIII, A9-427/QH-B “Superman”, 100 Squadron RAAF, Tadji,
New Guinea 1944 also in the RAAF three colour scheme.
-
Option 4 is the same
aircraft as Cam.3 but repainted in Foliage Green after the war has
ended at Madang, New Guinea, October 1945.
The colours shown for the RAAF three colour scheme in the instructions
are Foliage Green, Earth Brown and Sky Blue. I believe these should be
the RAAF equivalent of the RAF Day Bomber Scheme, Dark Green, Dark Earth
and Sky type S. This is because the first few Mk. Vs were destined for
the RAF in Singapore but failed to get operational before Singapore was
over-run by the Japanese and were returned to Australia and the factory
simply kept using the colours until the introduction of overall Foliage
Green, but there were exceptions so check you references carefully.
The PE fret supplied in this kit is bigger than that in the Mk. II.
Apart from the bomb and torpedo fins this fret contains the radar
aerials mounted on the sides of the Australian aircraft fuselage.
The above observations notwithstanding, this is a fine kit and one that
Aussies have been waiting on for some time. Most modellers will be
content to build it as is and not worry too much about the small
ambiguities and, skills willing, will end up with a very nice model.
The observations I have made are not meant to denigrate the kit but just
show those to whom accuracy is important what needs to be done.
Enjoy!
Highly Recommended.
Thanks to MPM/Special Hobby for the review sample.
Review Text Copyright © 2007 by Glen Porter
Images Copyright © 2007 by Brett Green
Page Created 14 September, 2007
Last updated 25 December, 2007
Back to HyperScale Main Page
Back to Reviews Page
|
 Home
| What's New |
Features |
Gallery |
Reviews |
Reference |
Forum |
Search
Home
| What's New |
Features |
Gallery |
Reviews |
Reference |
Forum |
Search