|
Antares'
1/48 scale
Messerschmitt Bf 109
TL
by Greg Goheen
|
 |
|
Messerschmitt Bf 109 TL |

HyperScale is proudly supported by
Squadron.com
The Messerschmitt Bf 109TL was Willy
Messerschmitt’s backup to the illustrious Me 262 that was proposed at an
RLM conference in January of 1943. The thought had been that the Bf
109TL could cut down on production time and costs by utilizing
components from existing aircraft already in production by
Messerschmitt, including the fuselage from the Me 155B, wings from the
Me 409 and undercarriage from the Me 309. However, by March it became
apparent that the modifications required of these in service components
would not gain time over the Me 262 and thusly the project was
abandoned.
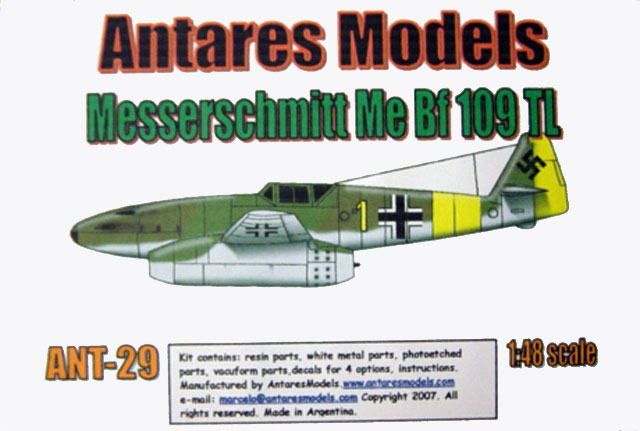
The kit from Antares is a limited run,
multi-media kit that will be of great interest to Luftwaffe aficionados
tired of building the same old array of 1/48th scale Luftwaffe warbirds.
Click the thumbnails below to view larger images:
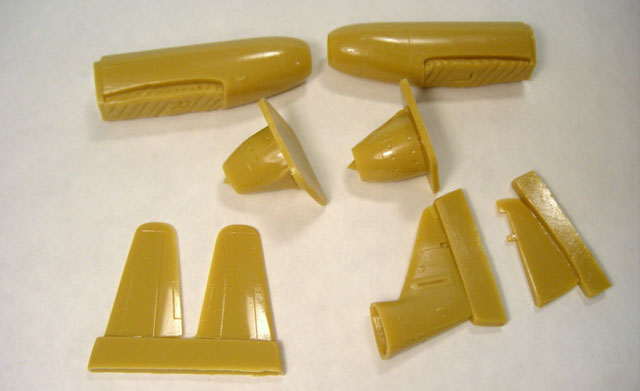
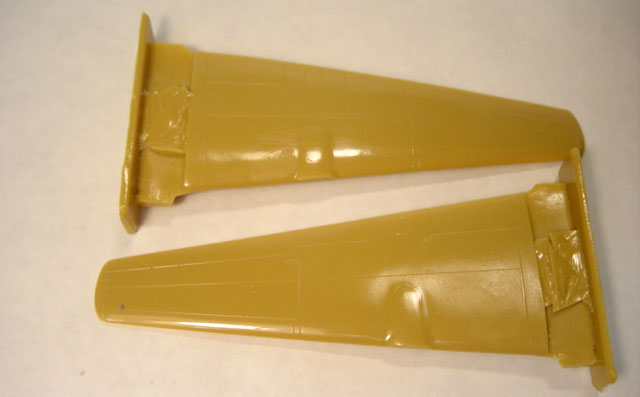
The small (approx.) 4”x6” box contains
exquisite hand-molded resin parts including the one piece fuselage,
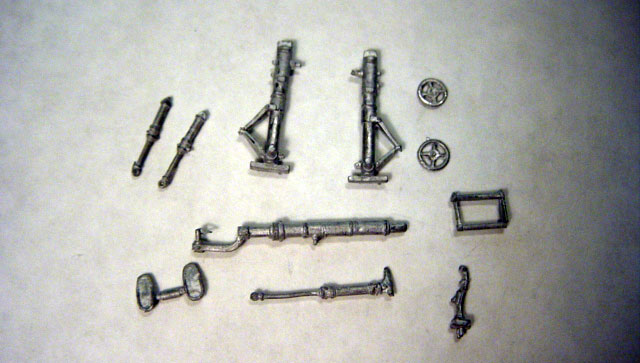
wings, engines and cockpit while it also contains a small bag of white
metal parts for the landing gear, trim wheel and such, photo-etched
details for the instrument panel with acetate sheet for the dials,
custom printed decals, two (2) vacuform canopies and detailed
instructions printed on 8.5”x11” paper including painting schemes for
(4) aircraft.
The instructions themselves are very
simple and quite easy to follow, including painting instructions for the
interior. The resin moldings for the cockpit sidewalls are truly quite
accurate and detailed so spending time here will truly be worthwhile
should one wish to pose the open canopy as I did. I began my
construction by using my Dremel with both a fine cutting wheel and
sanding disc to remove the casting blocks on all the resin components
and took the better part of an hour and a half to do so to my
satisfaction. At this time I only rough cut the two piece engine
nacelles as I wanted to ensure as crisp of a cut as possible to as to
avoid any unsightly gaps that could have necessitated in major
construction to fix.
The cockpit assembly went together well and without any problems, test
fitting this assembly from the bottom up into the fuselage cavity quite
snug yet without the need to modify the inner sidewalls whatsoever.
However, as the panel lines on the fuselage were a bit shallow I thought
it would be wise to re-scribe and went to work with my scriber and
trusty roll of Dymo tape. Yet it was around this time I managed to break
the port side of the fuselage, having removed the Styrofoam that had
been taped in place earlier while test fitting the cockpit assembly. It
would seem that this block wasn’t just for shipping and packaging
safely, as it would have probably aided to keep the fuselage rigid
enough while re-scribing to keep from having cracked the resin from the
sill to the wing root, yet the mistake was easy enough to remedy with a
thin application of CA to the interior sidewall and a shot of
accelerator to lock into place.
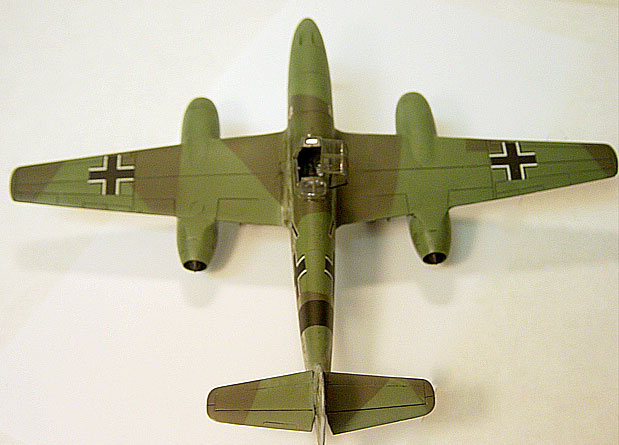
Construction resumed without any real problems again, although I did
manage to cut a bit too much resin away from the casting blocks for the
butt joint of the wings underneath the aircraft. I had somehow managed
to leave myself with a tapered gap approximately 1” long that was nearly
3/8” at its widest point. Still, a bit of CA to crudely fill the
unsightly gap was used followed by Milliput that was then sanded down
and blended until I was satisfied with the results. The next big order
of business was getting the two-piece nacelles to fit properly, so I
fitted my Dremel with the smallest sanding disc I could find and
carefully went to sculpting the roughly cut nacelles. Final contouring
was done with both my hobby knife and fine wet-dry sandpaper to the
results of fitting nearly perfectly to each wing. Only a minimal amount
of putty was needed at this point as I readied her for paint.
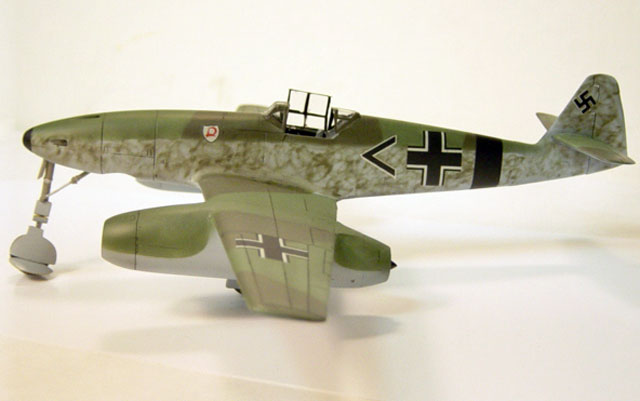
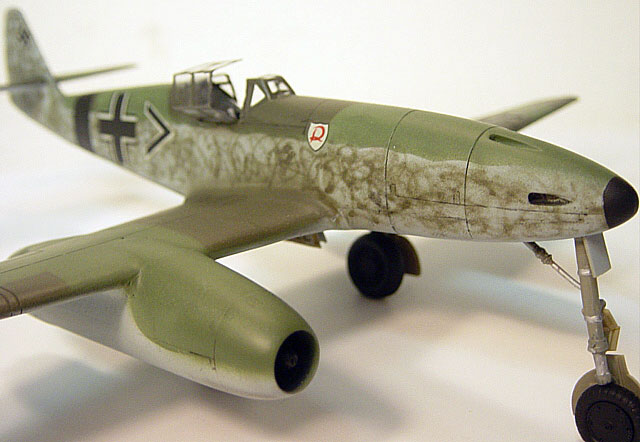
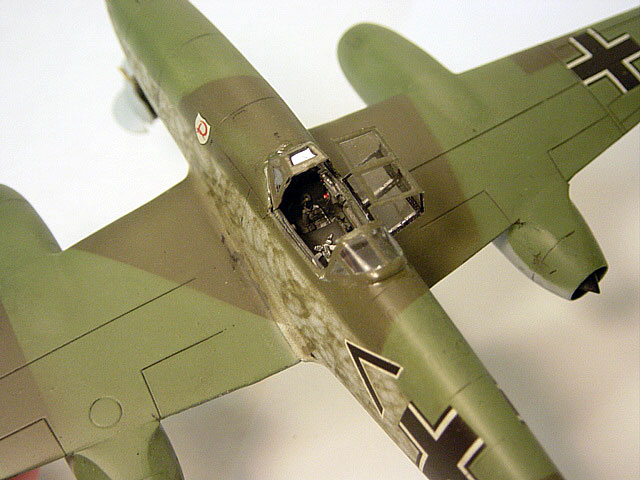
The instruction sheet depicts four (4)
different aircraft, ranging from a RLM 70/71 splinter patterned variant
to even a tropical, however I opted for a scheme more indicative to that
used on the Me 262’s, RLM 81 & 82. Gunze acrylics were used via my Iwata
Eclipse airbrush and the squiggle pattern mottling was achieved at
approximately 7psi with the very tip of the crown cap actually resting
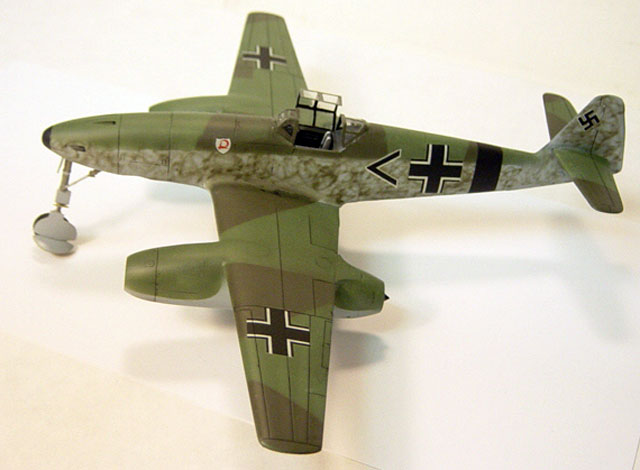
softly atop the fuselage sides. The fuselage band was hand masked and
painted too, as there was no decal provided for such. Future was applied
to the paint to ready her for decals.
At this point I discovered what is probably the only real downfall of
this kit, the decals, as they are slightly off in registry as well as
printed too faintly. Yet, as most of have in our boxes of spares various
decals this shouldn’t pose any real problems. Decals were placed and set
with Solvaset before another coat of Future was applied for final
weathering. As this was essentially a prototype aircraft of the
Luftwaffe I wanted to portray as clean as possible, using a thin
application of Tempera to the panel lines and wiping away most of it
with a lightly damp tissue.
Click the thumbnails below to view larger images:
Model, Images and Text
Copyright © 2008 by Greg Goheen
Page Created 02 January, 2008
Last Updated 02 January, 2008
Back to HyperScale
Main Page
|
 Home
| What's New |
Features |
Gallery |
Reviews |
Reference |
Forum |
Search
Home
| What's New |
Features |
Gallery |
Reviews |
Reference |
Forum |
Search