|
Messerschmitt Bf 110 C-7
Dragon, 1/32 scale
S
u m m a r y |
| Catalogue Number: |
Dragon Kit No. 3203 - Messerschmitt Bf 110 C-7 |
| Scale: |
1/32 |
| Contents and Media: |
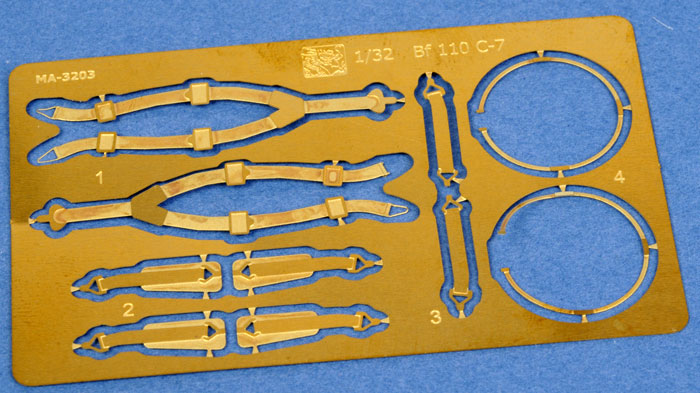
394 parts in grey plastic; 21 parts in clear plastic; 10 photo-etched parts; markings for two aircraft. |
| Price: |
Price TBA, will be available from hobby retailers worldwide |
| Review Type: |
FirstLook |
| Advantages: |
Excellent quality moulding; high level of detail; subdued surface features (crisply recessed panel lines, subtle fabric surfaces and very selective recessed rivets and raised panels); includes ETC racks and bombs; alternate clear parts for closed or open canopy clamshell; alternate clear parts for open sliding side windows; straightforward engineering for easy construction; includes photo-etched harness straps and DF loop; hollow machine gun barrel ends; high quality decals; other Bf 110 versions may be depicted with minimal work. |
| Disadvantages: |
Some questionable colour callouts; solid exhaust ends; no stencil data or hakenkreuz decals. |
| Conclusion: |
An impressive and highly-detailed kit that should be quite straightforward to build. |
Reviewed by Brett Green

Dragon's 1/32 scale Messerschmitt Bf 110 C-7 will be available online from Squadron.com
The Messerschmitt Bf 110 entered the Second World War as a new and prestigious weapon of the Luftwaffe, performing the roles of bomber escort, heavy fighter and troop support during the German invasion of Poland. It performed well against Polish fighters, and put its heavy armament to effective use against ground targets after the Luftwaffe had established air superiority. The Bf 110 repeated these roles during the campaign in the West. The long range of the Bf 110 was especially useful for escorting bombers deep into France.
The twin engine Messerschmitt was more than a match for most contemporary French fighters, but early encounters with Spitfires and Hurricanes resulted in unaccustomedly heavy losses. This was an ominous indicator of the coming months over the British Isles.
In those Summer months of 1940, Messerschmitt Bf 110s on long-range escort missions suffered heavy losses to British fighters.
Even if its fortunes as a pure fighter aircraft were mixed, the Messerschmitt Bf 110 had a better record as a defensive weapon.
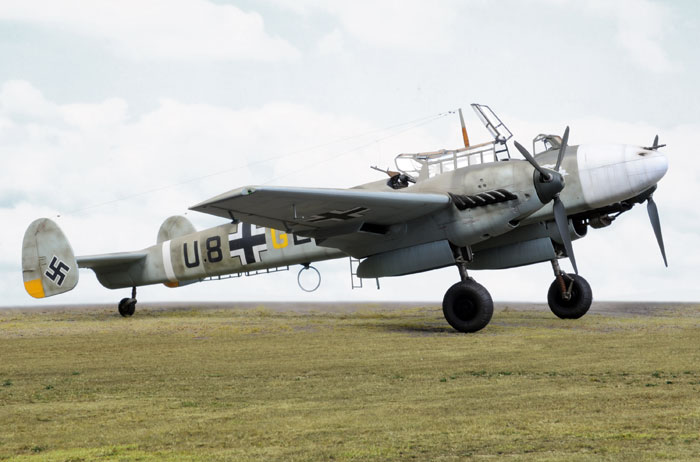
As early as December 1939, Bf 110 C aircraft of I./ZG 76 were involved in the decimation of an armed reconnaissance patrol over the Heligoland Bight. Eight Wellingtons out of a total 22 on patrol were claimed by the Zerstörers. This single event put massed daylight bombing off the agenda until 1943, but ZG 2 and ZG 76 continued to enjoy superiority over Blenheims and Wellingtons in the following months.
Arguably the most important contribution made to the German war effort by the Messerschmitt Bf 110 was as a night fighter. The role was initially ad-hoc. From July, 1940, day fighters were simply painted black and sent aloft to deal with British bombers, now making their attacks under the relative protection of darkness. These early night fighters had no additional equipment nor ground control assistance. Enemy aircraft were held in the cone of a searchlight, and the Bf 110 would engage the bomber while it was illuminated in the beam.
The Messerschmitt Bf 110 C soldiered on as a fighter-bomber into the mid-war years on the Eastern Front and North Africa.
Three images of the completed model may be seen by following this link to the Gallery
Luftwaffe modellers have been blessed with a wonderful selection of new releases in recent years. These include Eduard's beautifully detailed 1/48 scale Messerschmitt Bf 110 C and E kits.
Dragon has now joined the fray with their second 1/32 scale aircraft offering - the Messerschmitt Bf 110 C-7.
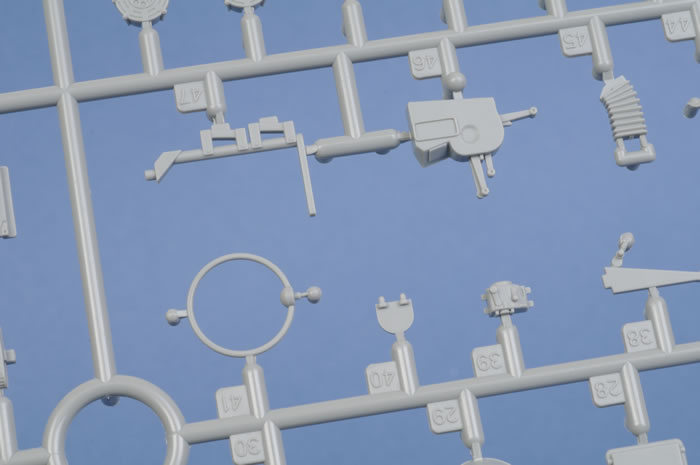
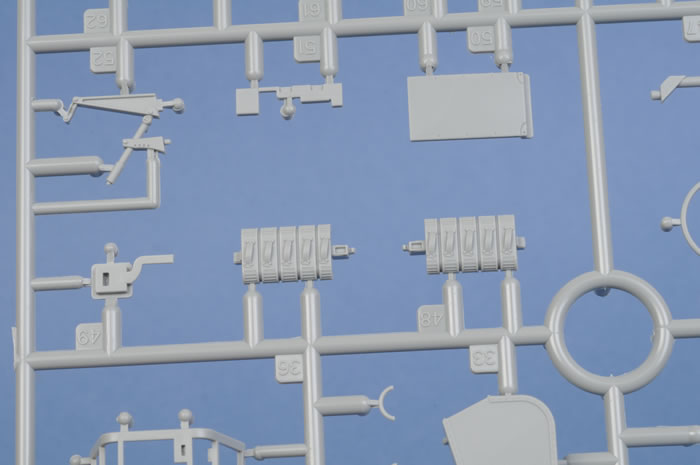
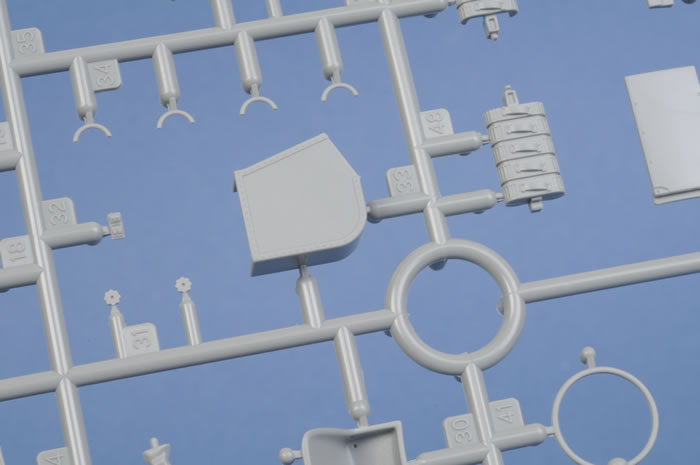
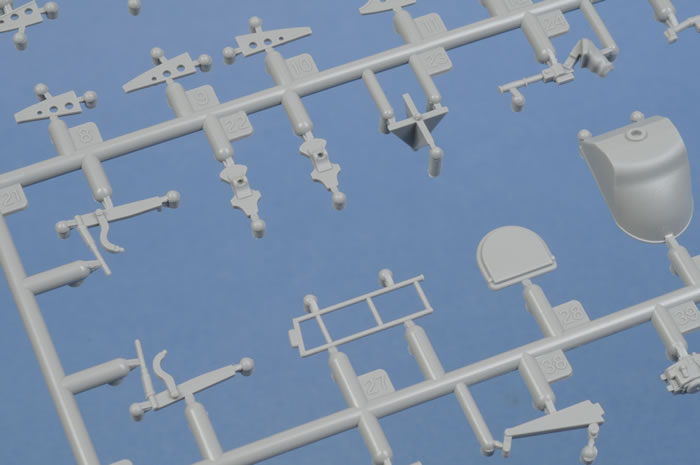
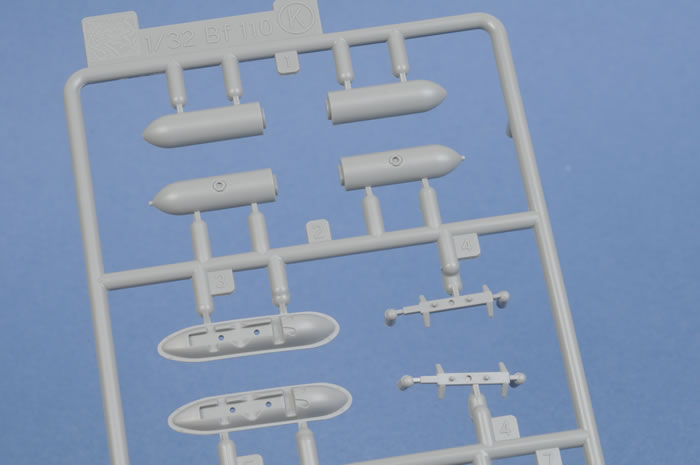
Dragon's 1/32 scale Messerschmitt Bf 110 C-7 comprises 394 parts in grey plastic, 21 parts in clear plastic, 10 photo-etched parts and markings for two aircraft.
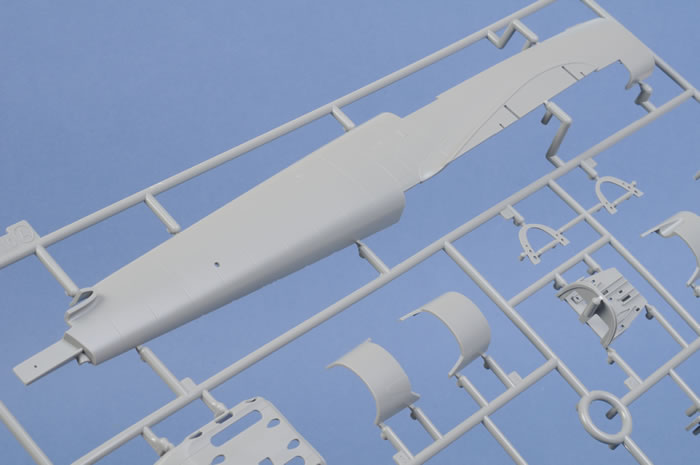
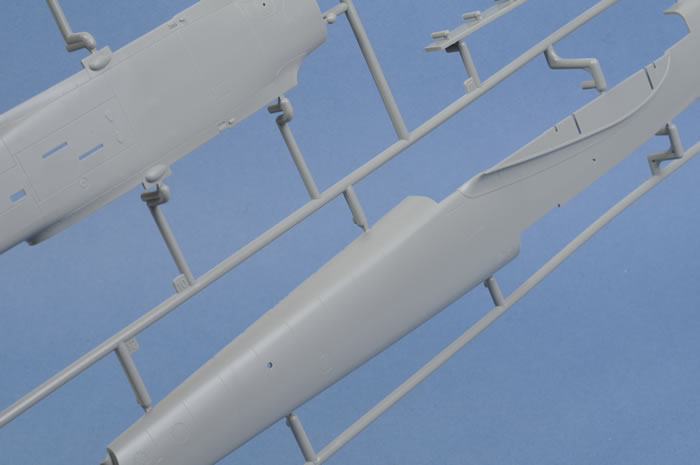
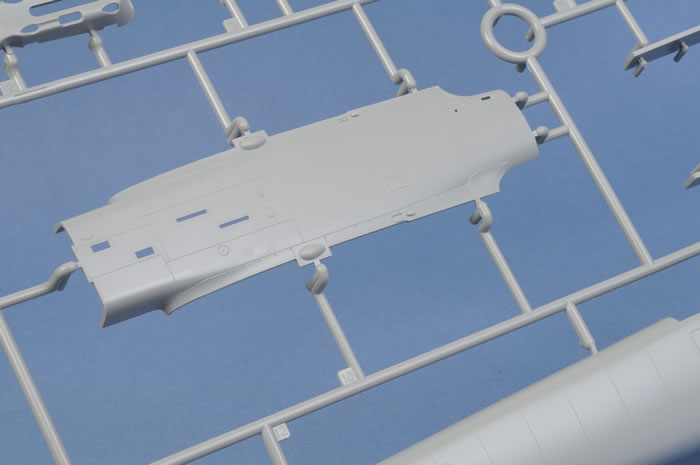
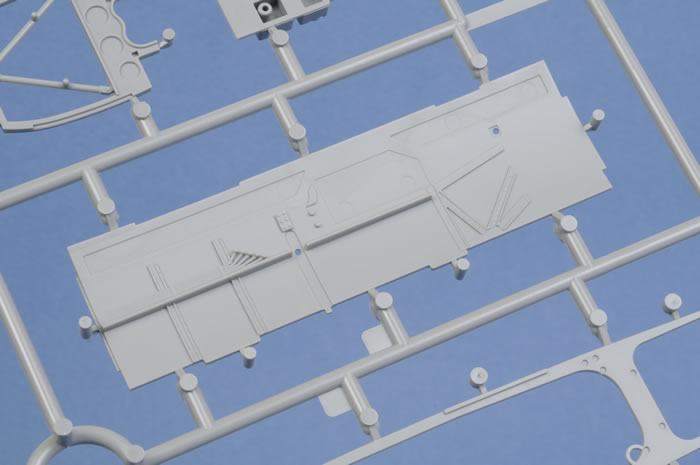
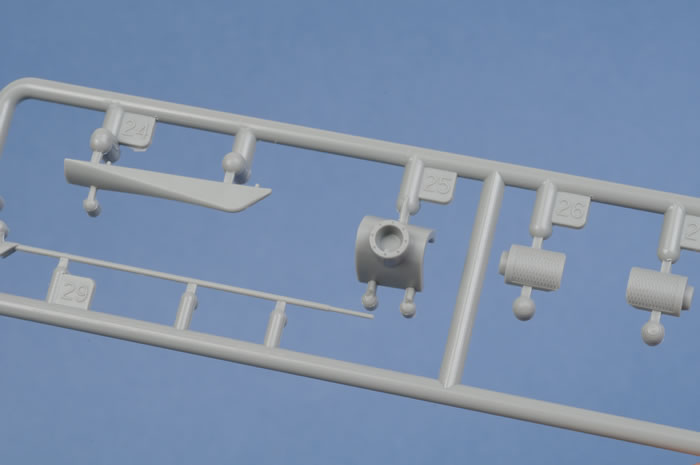
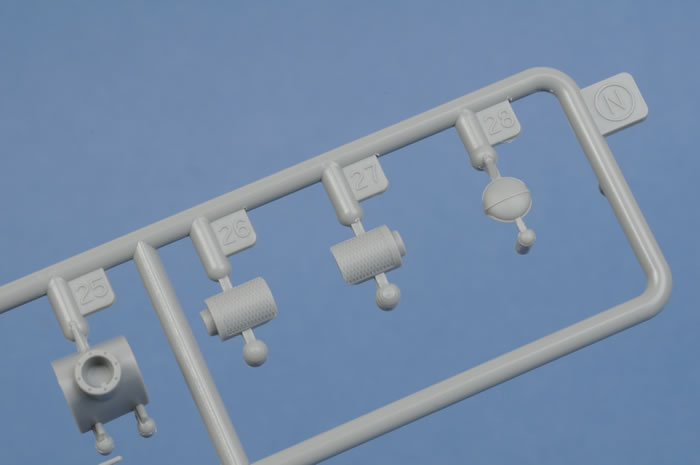
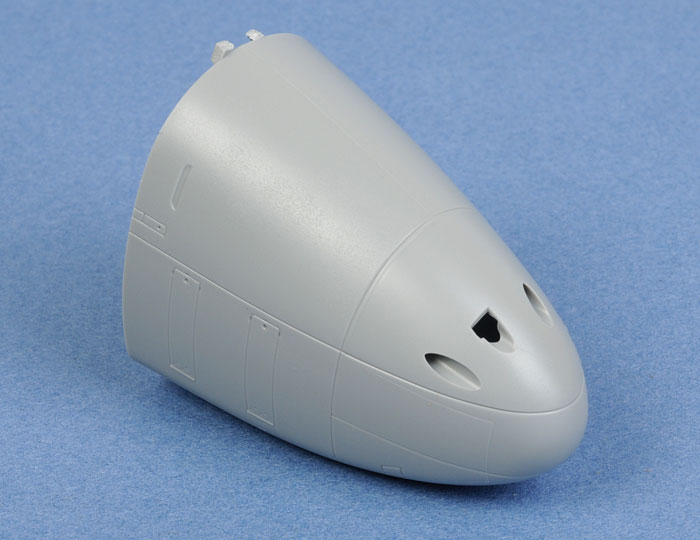
Moulding quality appears to be perfect. I cannot see a single sink mark or ejector pin in any position that will be exposed on the finished model. The surface of the plastic is consistently smooth, with a slightly satin texture.
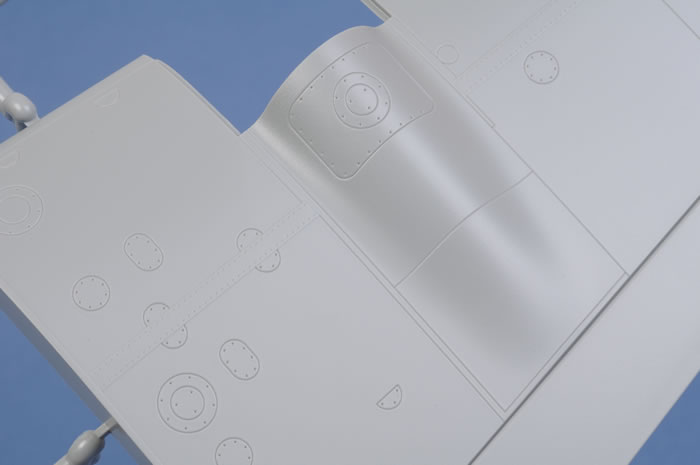
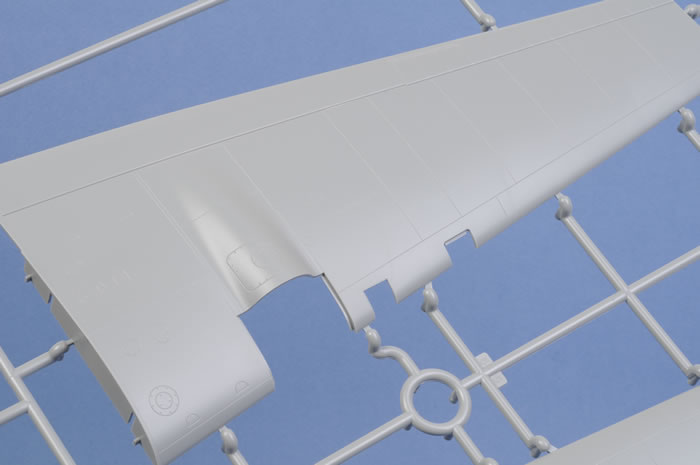
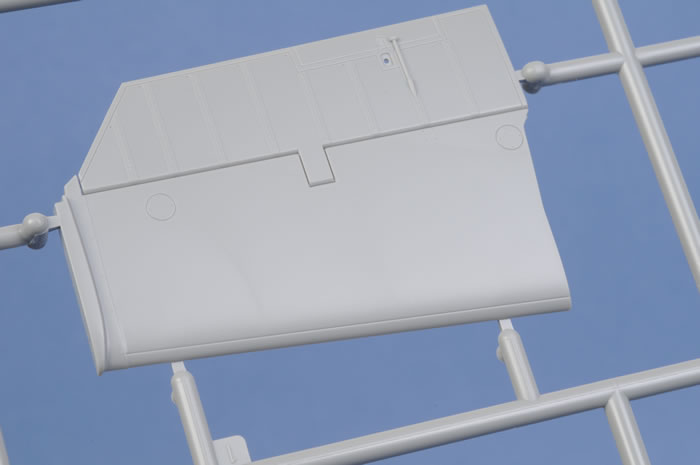
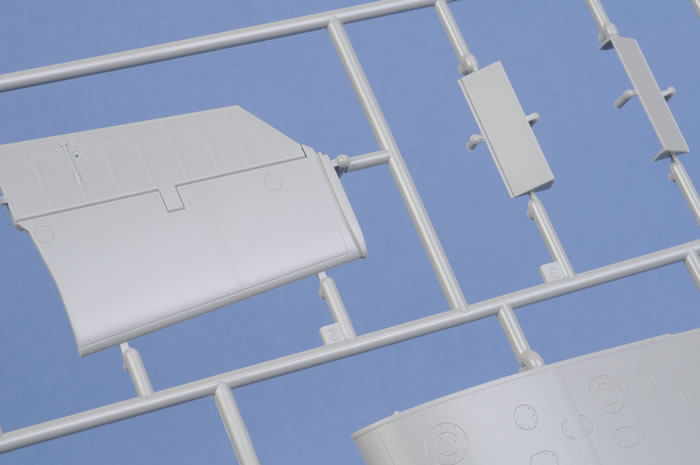
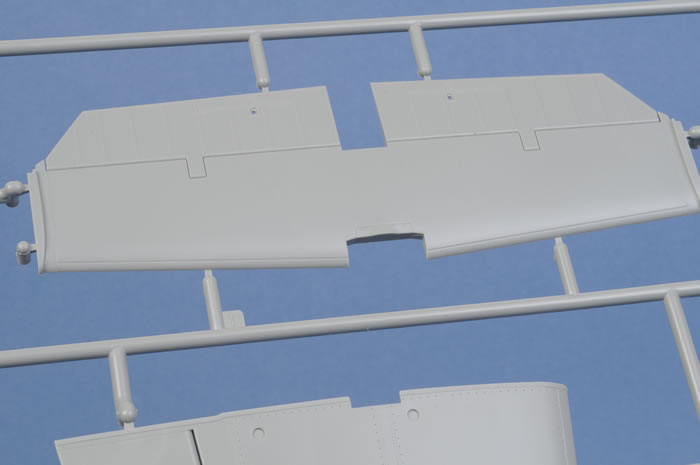
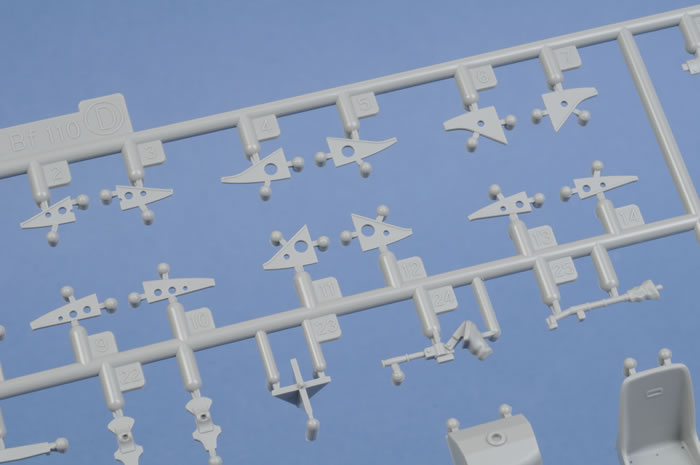
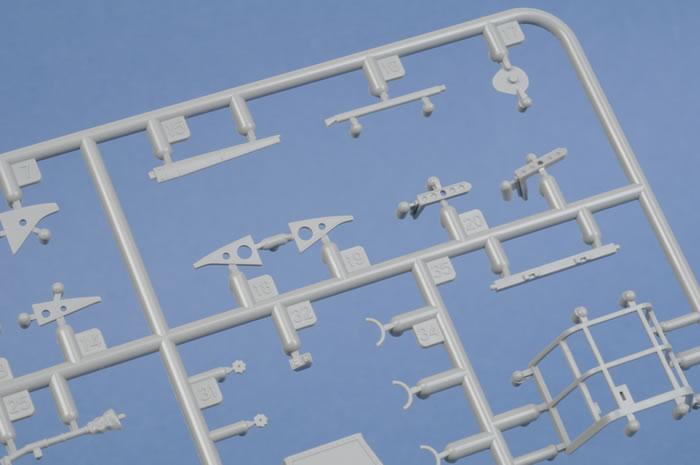
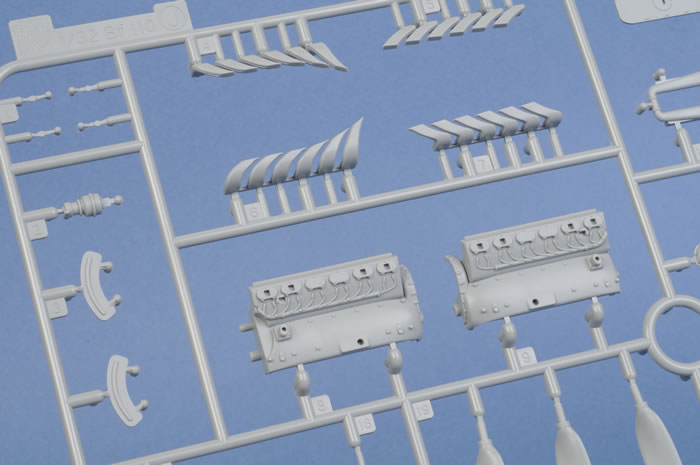
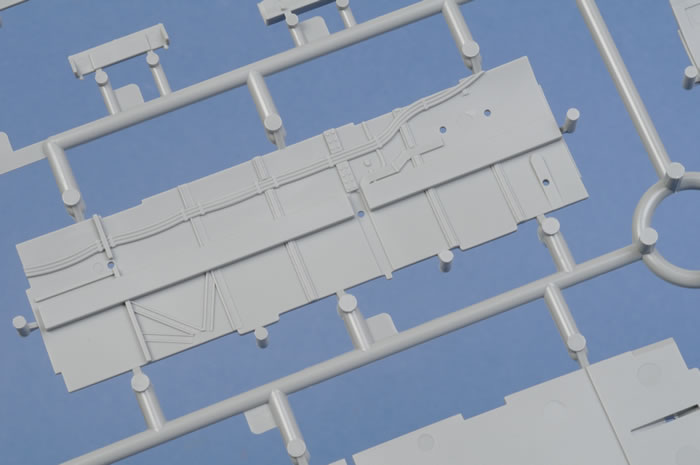
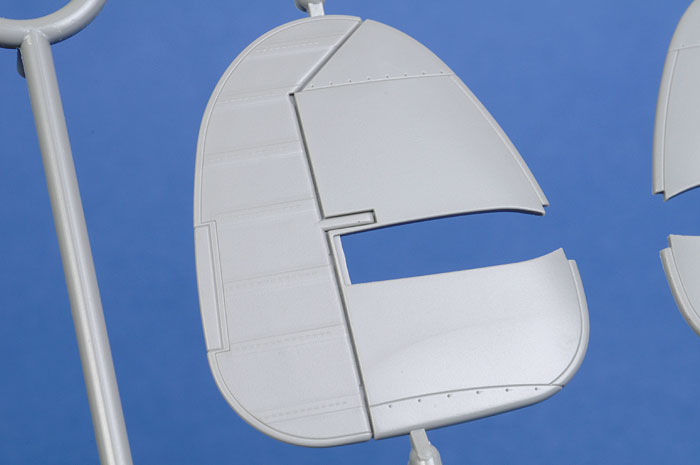
Surface detail is restrained and authentic. You will not find masses of deep recessed rivets here. Instead, there are crisp and finely engraved panel lines supplemented by very selective recessed fasteners and some raised detail as appropriate (such as spar caps and actuators). Fabric control surfaces are very well done, with softly raised strip and stitching detail.
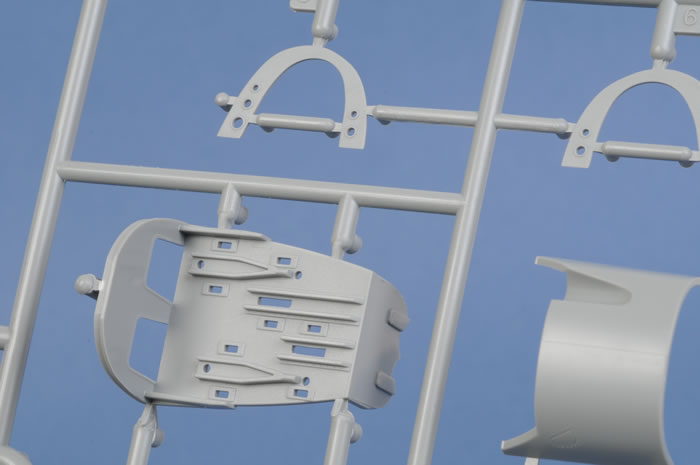
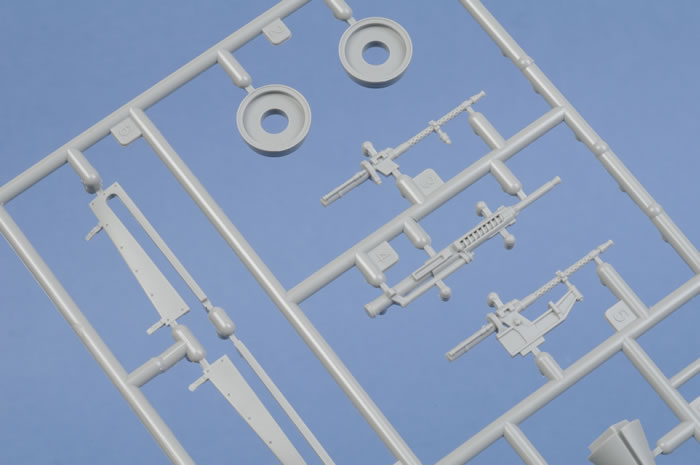
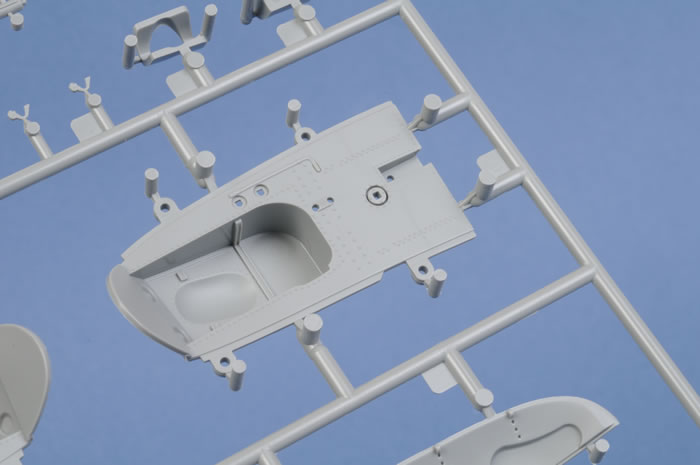
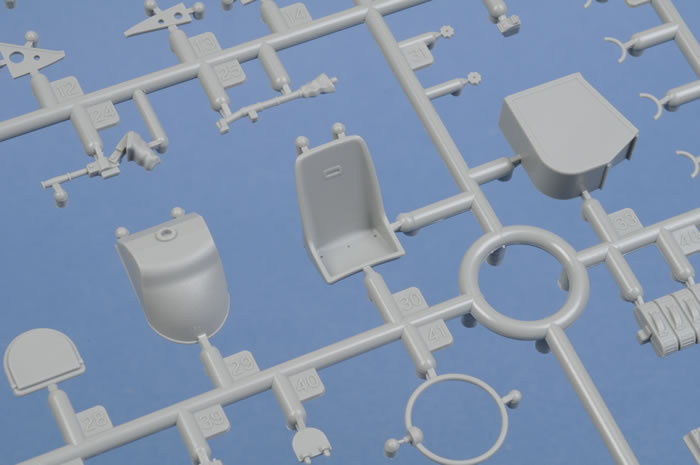
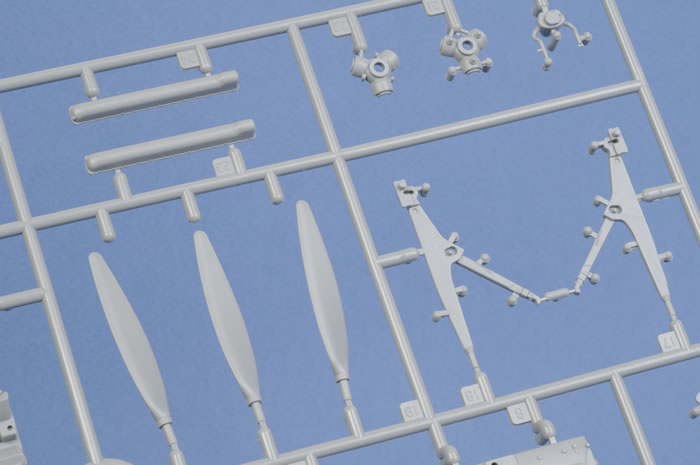
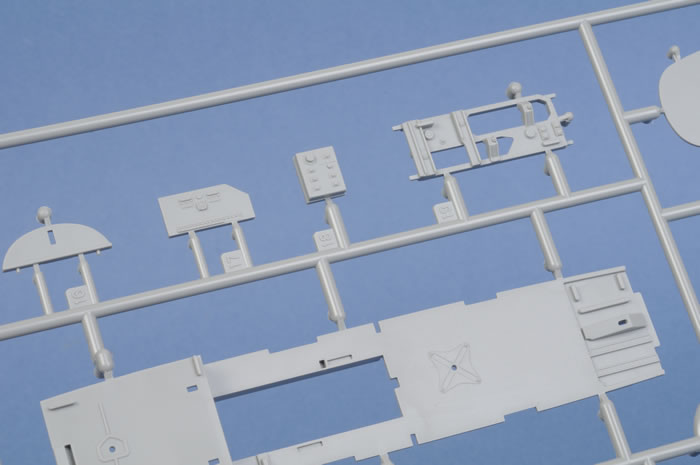
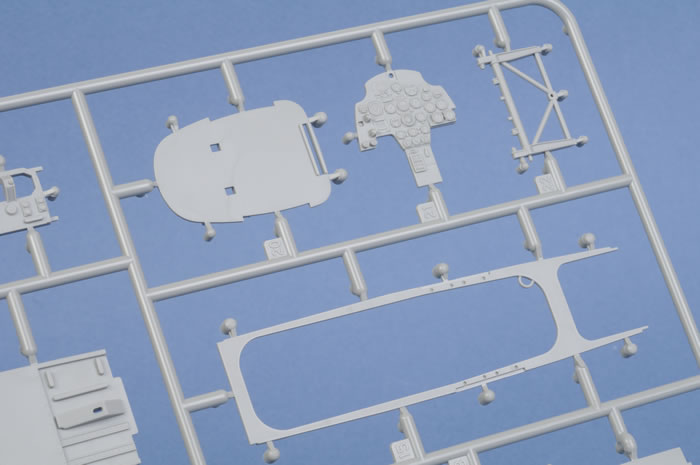
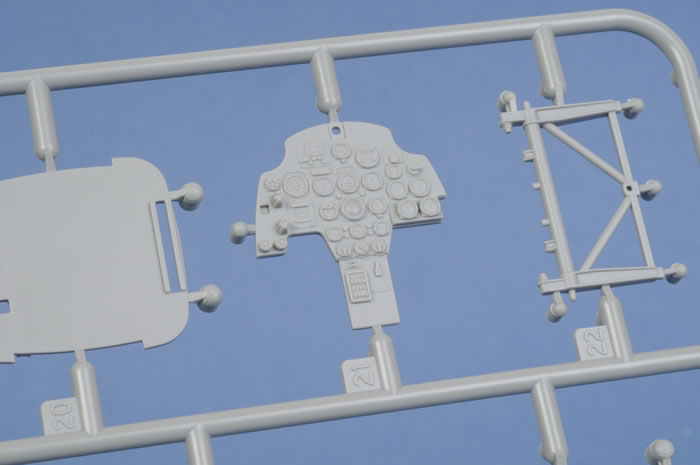
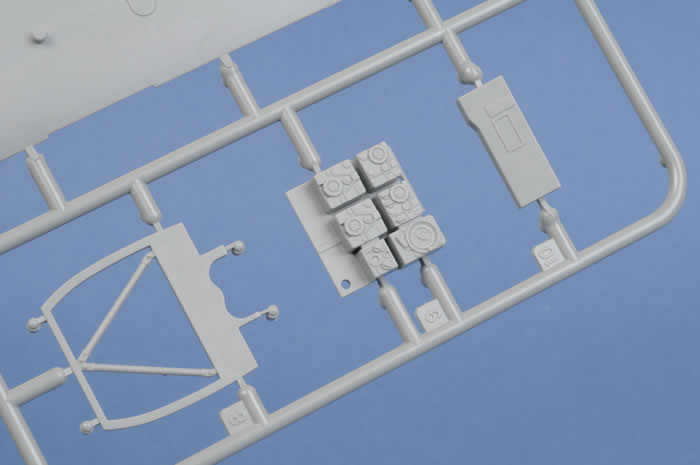
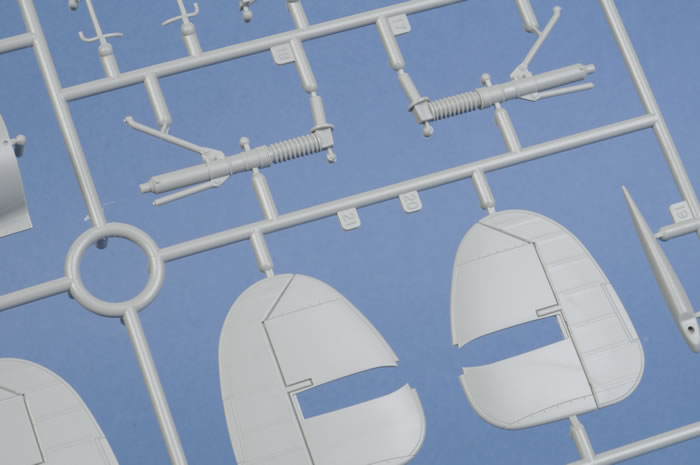
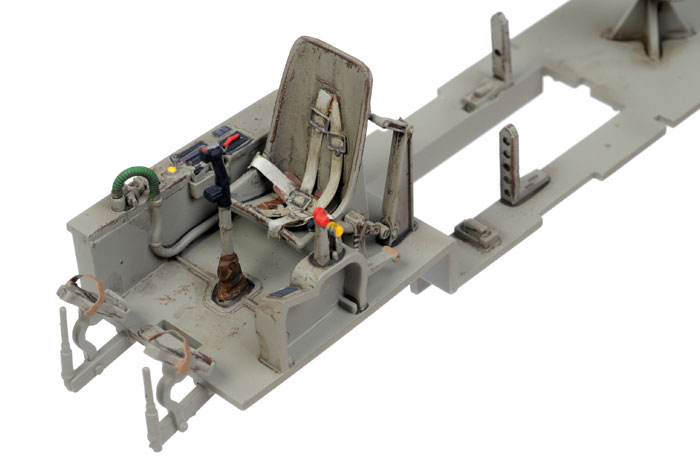
Detail is excellent, and is almost exclusively delivered using plastic parts. The cockpit interior is very complete. It includes well detailed consoles, quadrants, seats, guns and a jumble of ammunition cans. The sidewalls look great too. I was particularly impressed with the separate interior canopy framing. This should create a convincing effect underneath the clear central canopy section. The rear-facing cockpit machine gun is also well detailed. The barrel is hollowed out at the end (as are the barrels on all the other machine guns in the kit).
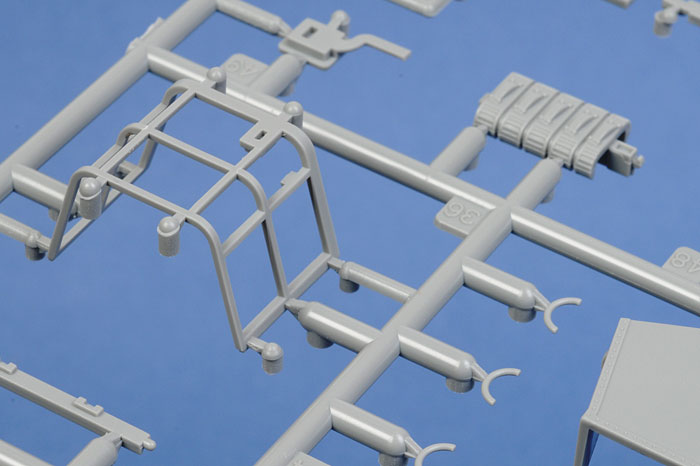
The plastic cockpit detail is supplemented by a photo-etched fret with harness straps. The buckles of the lap straps are open. These should be blanked off underneath.
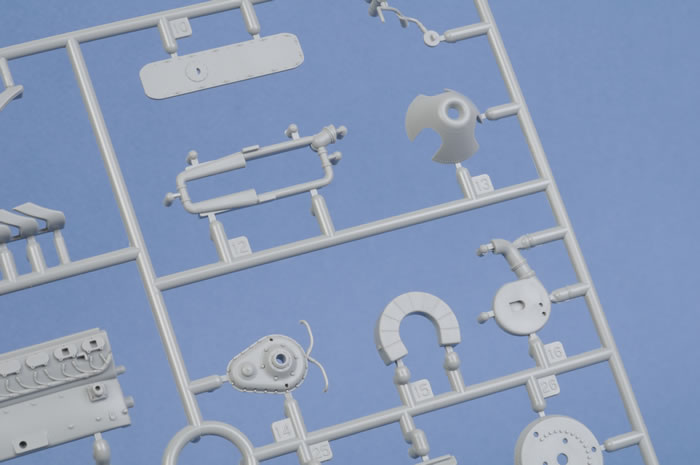
An optional DF loop is also provided, although a plastic part may be used if preferred.
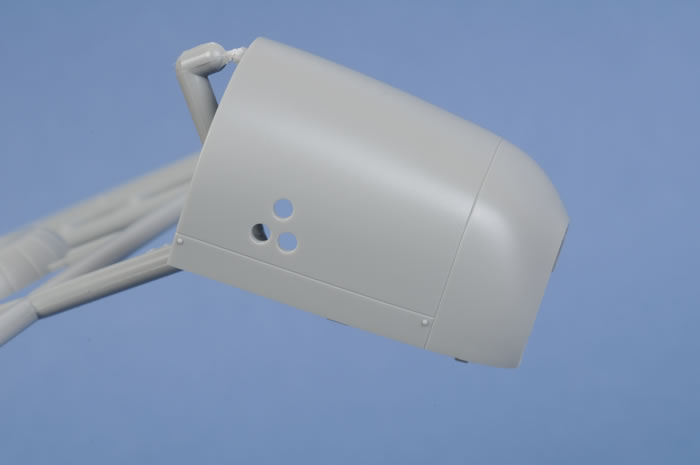
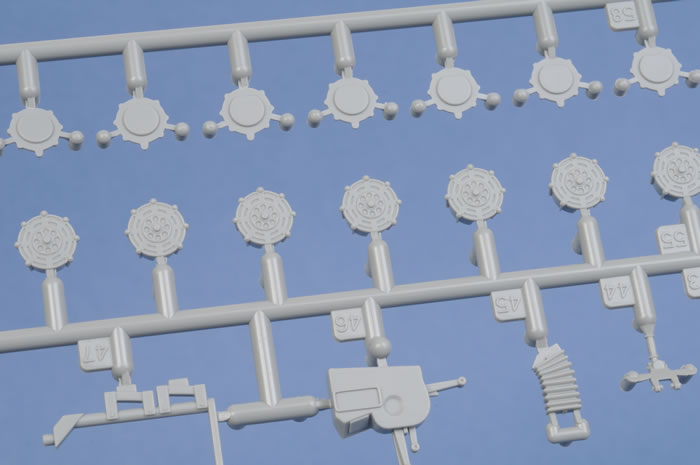
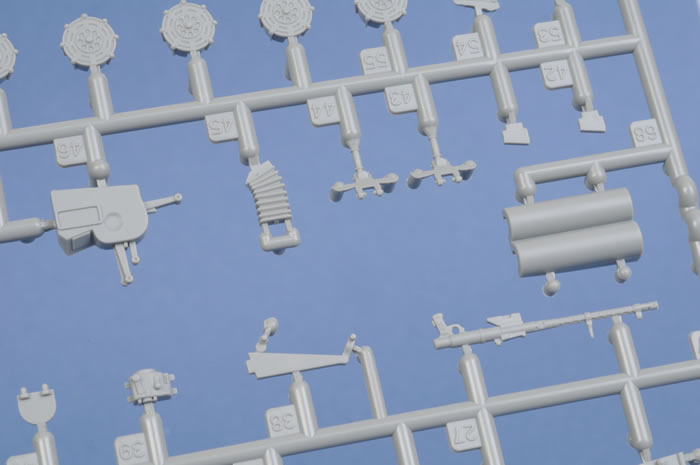
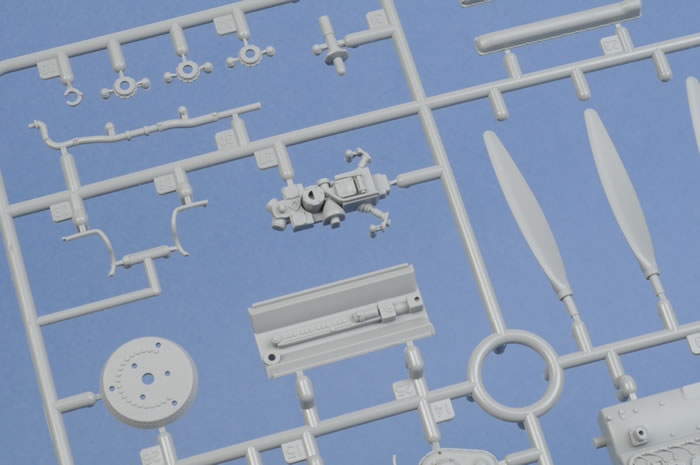
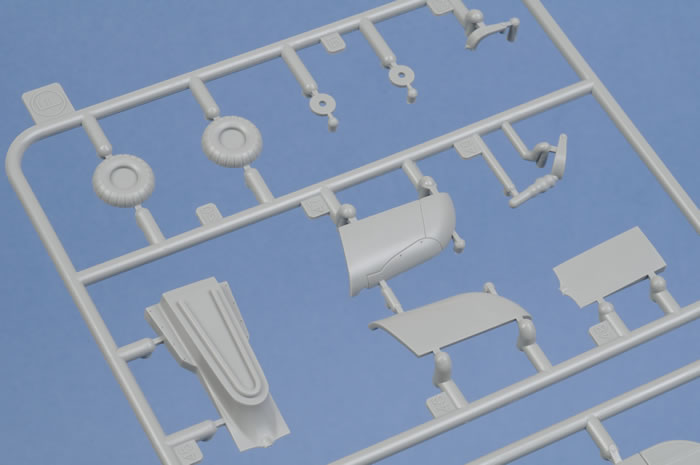
Two complete Daimler Benz engines are provided. Each is made up from around 30 parts. The engines may be displayed fully if the cowls are not installed. The three tiny inspection ports are supplied as clear parts for the inboard side of the engine nacelles, but you will have to source the instruments inside the engines yourself. Three black circles mounted on a small triangular piece of plastic card will do the trick, or you might have some 1/32 scale instrument decals in your spares box.
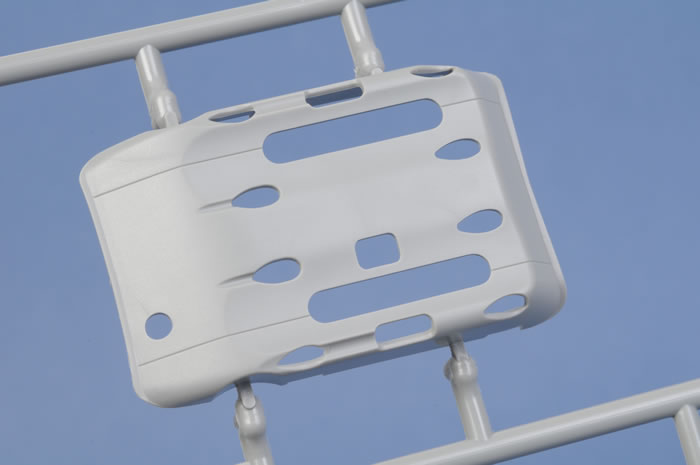
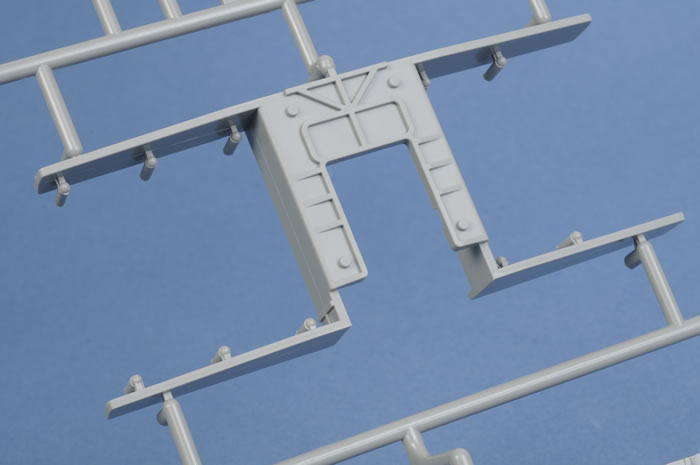
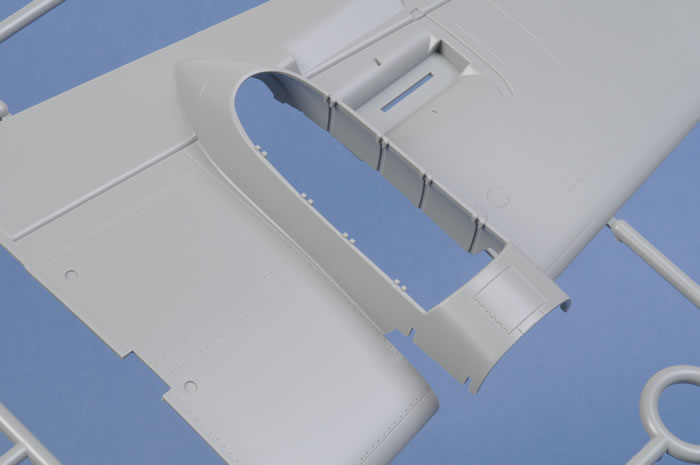
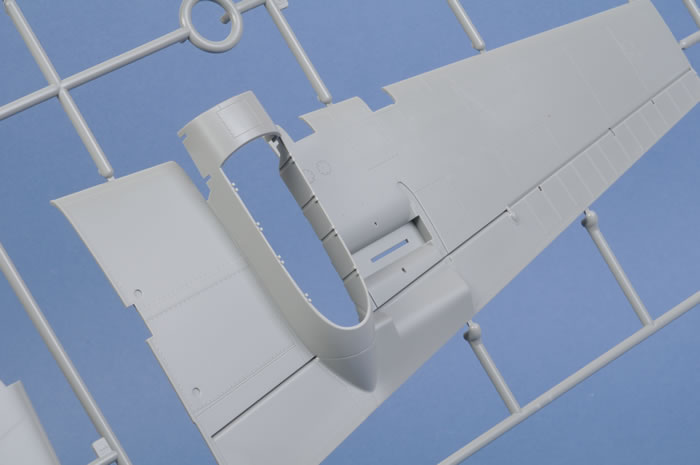
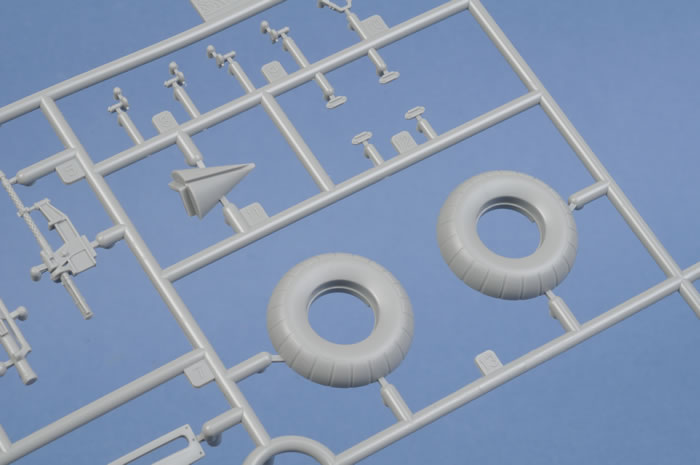
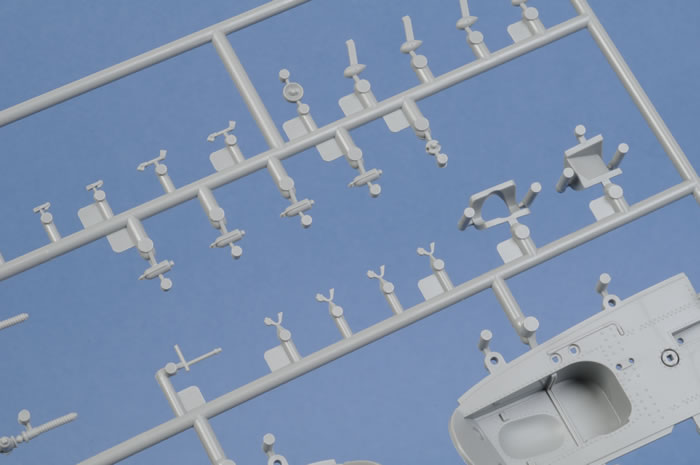
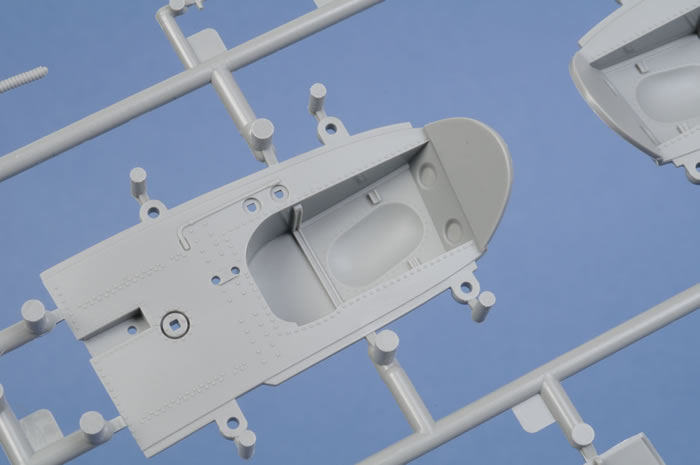
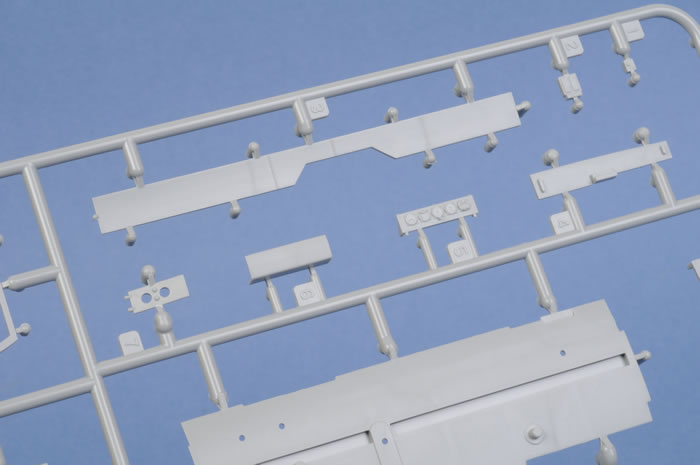
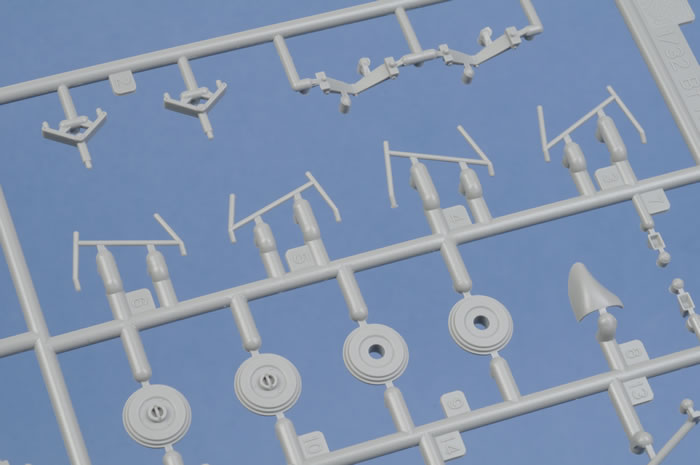
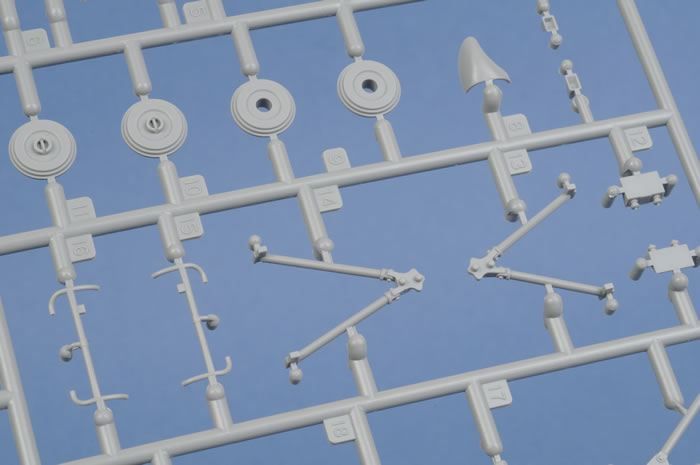
The wheel wells are deep and nicely detailed.
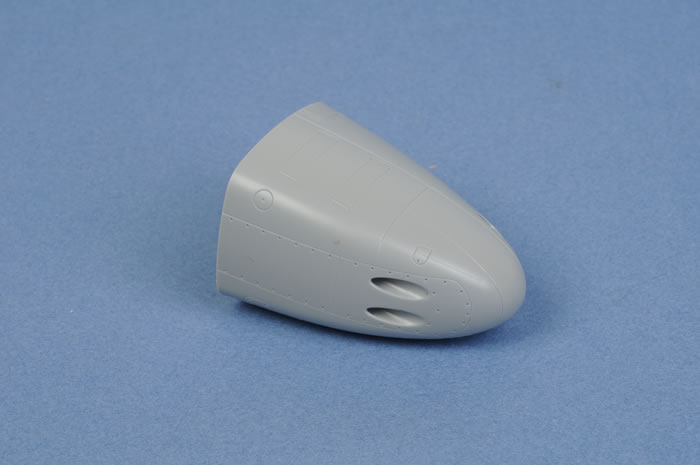
Basic detailing is provided for the nose machine gun bay including charging bottles, but the gun cowl is not designed to be removed. Attention to detail is indicated by the irregular shape of the second nose machine gun port.
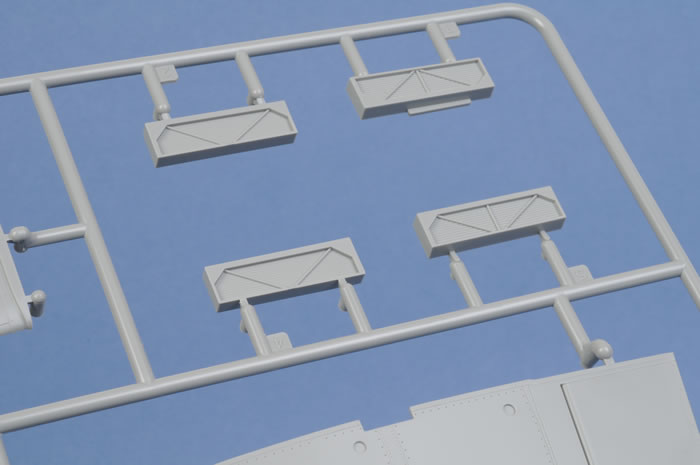
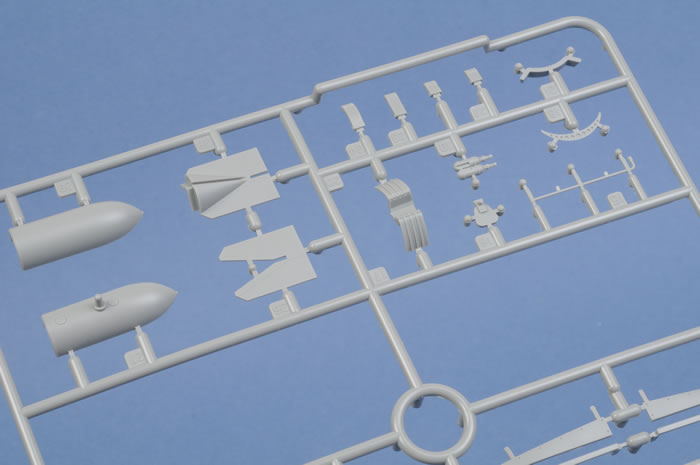
Exterior details are equally well done. I like the approach to the centreline ETC rack with its interior insert.
Options include 50 kg and 250 kg bombs, and the choice of either a standard or tropical filter for the port wing leading edge. Curiously, the corresponding trop intake for the starboard nacelle is not included.
Three styles of decking behind the canopy are supplied. One has the recessed rest for the machine gun, the second has the rest faired over, and the third is a plain version with no evidence of the recessed rest. Although the third option is the only one called for in this kit, some earlier versions of the Bf 110 C used the faired over version with the cut-out clamshell.
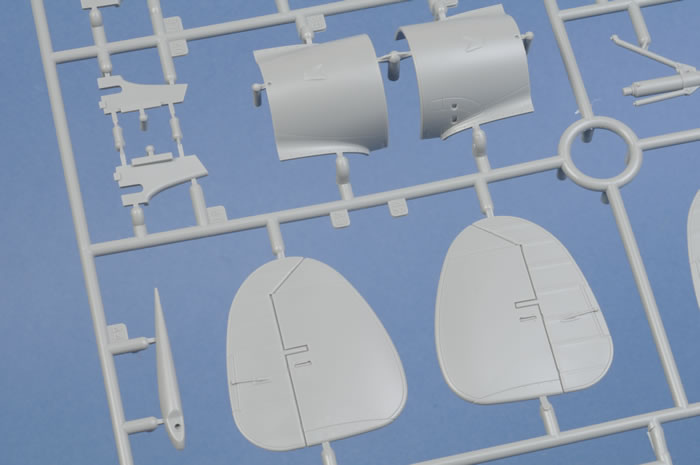
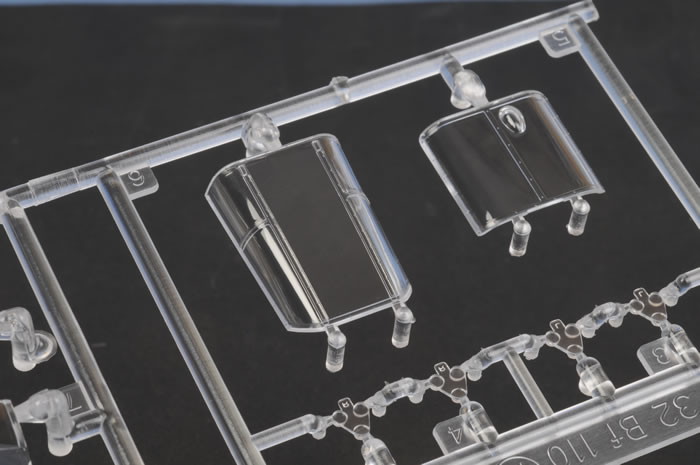
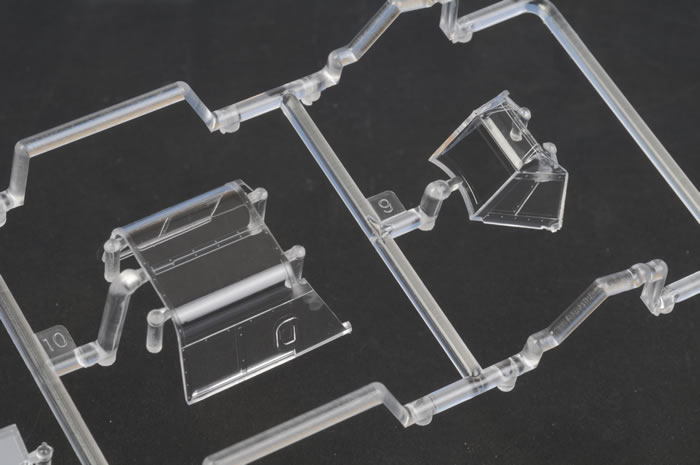
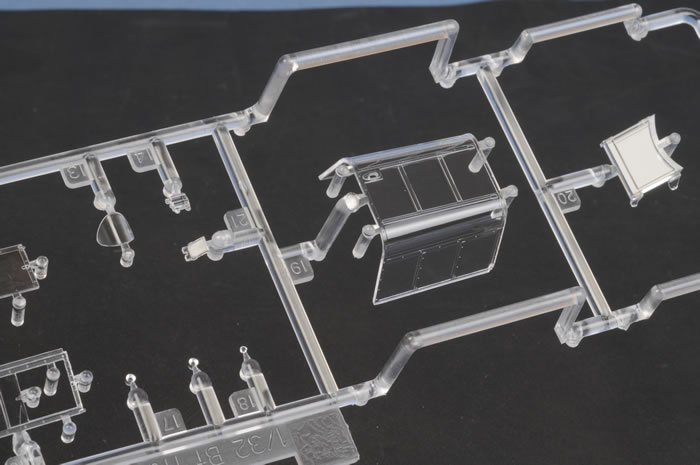
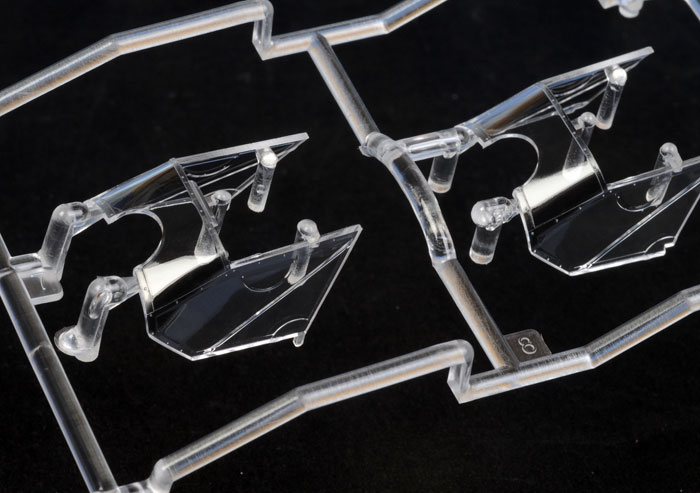
The clear parts are attached to two separate sprues. The canopy is broken down into ten parts. These parts include a number of options. The pilot's side windows may be posed open or closed, but alternate parts are also supplied with one open sliding panel - a very nice touch.
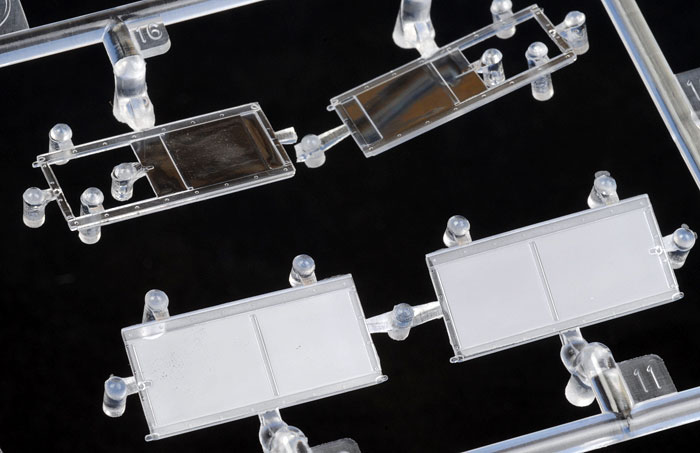
The rear clamshell may be posed open or closed. Two different parts are offered for these two positions. The open clamshell is "pinched in" to permit it to slide under the canopy centre section.
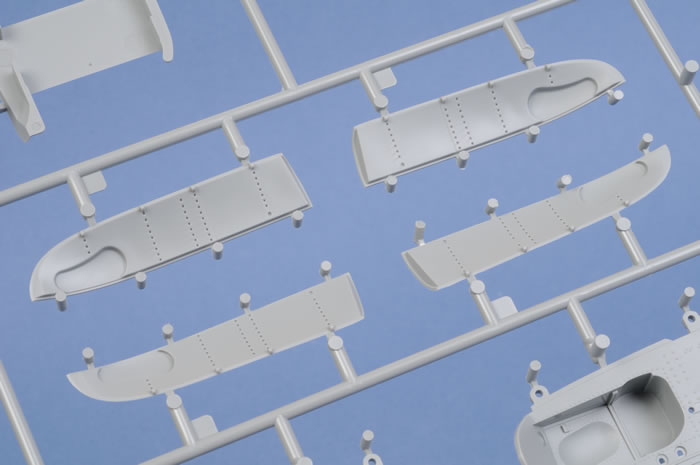
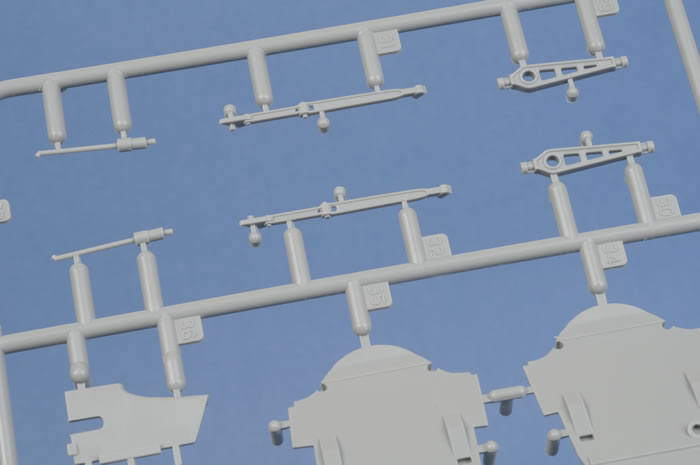
Parts breakdown is surprisingly simple for such a large and well detailed model. All control surfaces are fixed in neutral positions, and the lower nacelles are moulded to the bottom wing halves. The big wings are secured via a stout wing spar fitted to the bottom of the fuselage. Another nice touch is that the exhaust stacks are moulded in strips of six, so there will be no fiddling to align individual parts.
The overall parts count is high, but there should not be any major construction hurdles even for the relatively inexperienced modeller.
With the nose and tail provided as separate sub-assemblies, I am sure that we will be seeing other Bf 110 variants from Dragon. In fact, earlier C variants and short-tailed Bf 110 D versions might be built from this kit. Check your references carefully as there were many retrofits and individul variations between these early versions of the Bf 110.
Instructions are delivered on a single four fold sheet over ten illustrated steps. There are no colour callouts for interior or detail parts, so references will be helpful.
Markings are supplied for two aircraft:
-
Bf 110 C-7, 6.ZG 1, Russia 1942. This is one of the colourful Wespen machines with the large wasp painted on the nose.
-
1.(Z)/JG 77, Norway, 1941. This aircraft has a Dachshund marking on the nose.
Surprisingly, no stencil data or hakenkreuz for the tail are provided.
Decals are printed by Cartograf. They are in perfect register and colours appear opaque.

The instructions call for both aircraft to be painted RLM 74 Grey Green and RLM 75 Grey Violet upper surfaces with RLM 76 Light Blue underneath.
I think it is far more likely that these Bf 110 Cs would have been finished in RLM 02 Grey and RLM 71 Dark Green on the upper surfaces with RLM 65 Light Blue below.
The painting instructions also suggest that the bombs should be RLM 74. In fact, the 50 kg bombs should be painted either RLM 02 Grey or Dark Green overall, while the larger SC 250 bombs should be either RLM 02, Sky Blue or Aluminium.
Dragon's 1/32 scale Messerschmitt Bf 110 C-7 is a very impressive model.
I confess that I was disappointed in Dragon's first 1/32 scale effort, their P-51D Mustang. Surface detail looked overdone to my eye, and there were a number of surprising mistakes including the mirror-image propeller pitch and incorrect wheel wells.
Their 1/32 scale Messerschmitt Bf 110 is a major advance on the Mustang. Dragon has clearly sought out expert opinion for this new kit and, even more importantly, acted upon the advice. Luftwaffe research experten and authors Jerry Crandall and Mark Proulx are credited on the instructions.
This big Bf 110 has a very well detailed cockpit, beautifully restrained surface detail and sensible engineering that will ensure that even relatively inexperienced modellers should have no trouble with construction. I loved some of the innovations too, such as the optional open sliding side windows and separate internal canopy framing. It might have been nice to see separate flaps and leading edge slats, but an experienced modeller will be able to cut out the parts and reposition them if desired.
Dragon's 1/32 scale Bf 110 C-7 is a kit that just screams out to be built. Go on, build one - you know that you want to!
Thanks to Dragon for the sample
Addendum - 16 September 2008
Instruction Errata List
I have finished basic construction of Dragon’s 1/32 scale Messerschmitt Bf 110 C-7.
The good news is that detail and fit are generally excellent. Assembly is somewhat more complicated than I expected, especially around the cockpit and engine nacelles.
However, by far the biggest hurdle has been the instructions, which have a number of errors and omissions in some very important areas.
I have listed the errors and omissions that I have found to date. If you are planning to build Dragon’s excellent 1/32 scale Bf 110 C, you might like to print this list to supplement the instructions:
Step 1:
-
The pilot’s throttle quadrant is incorrectly labelled part E46 on the instructions. It is actually part D46 on the sprues.
-
Part D20 is a rack for an extra MG/FF ammunition drum. It should not be installed on part E19 as illustrated. Also there is a second part D20 not mentioned in the instructions. These two "L" shaped racks should be installed on the mid cockpit floor (part E14) on either side of the opening for the MG/FF mounting tray.
Step 2:
-
Part E3 is a long fairing that should be installed at the top of part E13, the starboard sidewall. This is not mentioned in the instructions.
-
Part E1 is a small box that should be installed on the port sidewall. The part is pictured as installed, but not mentioned in the instructions.
Step 3:
- Part D59 is the trim wheel. This should be installed on the upper port side of the pilot’s cockpit. This part is not mentioned in the instructions.
Step 5:
-
The engine rocker covers (parts J23 and J24) should only be installed after the rear engine parts, as these fit over locating tabs moulded onto part J27.
-
Parts H16 are engine instruments. These are not mentioned in the instructions. Part H16 should be installed on the inboard engine mount for each engine (parts J17 and J18). These will need to line up with the three small holes in the side of the engine covers.
Step 6:
-
The illustration of the exhaust panel seems to show the parts back the front. Check carefully before assembly.
-
I would recommend leaving the installation of the exhausts until the rest of the model has been assembled. There does not appear to be any way to secure the exhausts to the exhaust fairings.
-
The rear wheel well arch supports (parts A5 and A6) should not be attached to the wheel well ceilings (part N12 and N13) as illustrated. There is no locating position on the wheel well ceilings for these arches. However, there is a positive locating groove inside the rear of the nacelles. The arches should be glued into these grooves.
-
Double-check the front firewall for the wheel wells (parts F34 and F35). These may be incorrectly labelled on the instructions. If the wrong combination is fitted, the wheel well and engine assembly will not fit inside the engine nacelle properly. I had the wrong bulkheads installed and did not find out until attempting to install the wheel wells. I had to remove and swap the bulkheads (this might have been my mistake, but check carefully and test fit anyway)
-
Parts F15 and F16, the main gear door actuators, should be glued to the gear legs (parts F17 and F18) in Step 6, not in Step 8.
Step 8:
-
The radiator faces (parts C2, C3, C4 and C5) are pictured with the faces pointing inboard (i.e. toward each other). The grille detail should actually be facing outward. They also appear to be pictured upside down. These parts should actually be fitted into recesses in the bottom of the wings. The locating slots make their positioning quite clear.
-
Parts N5 are small braces for the radiator. These are not mentioned in the instructions. The braces should be installed near the front opening of the radiators.
Step 11:
- Part N29 is the pitot tube for the later Bf 110 E. Do not open the locating hole or install this part. The correct part for the Bf 110 C and D is the “T” shaped pitot tube, part N8. This part is pictured installed in Step 11, but it is not mentioned in the instructions. The locating hole for this part is already open in the bottom of the starboard wing.
Review Text Copyright © 2008 by
Brett Green
Page Created 1 September, 2008
Last updated 16 September, 2008
Back to HyperScale Main Page
Back to Reviews Page |
 Home | What's
New | Features
| Gallery |
Reviews | Reference
| Forum
| Search
Home | What's
New | Features
| Gallery |
Reviews | Reference
| Forum
| Search